Day10:今天来谈一下如何使用Parrot Security的nmap扫描NFS资讯
今天我们要示范如何用Parrot Security的nmap来执行NFS Enumeration(列举),
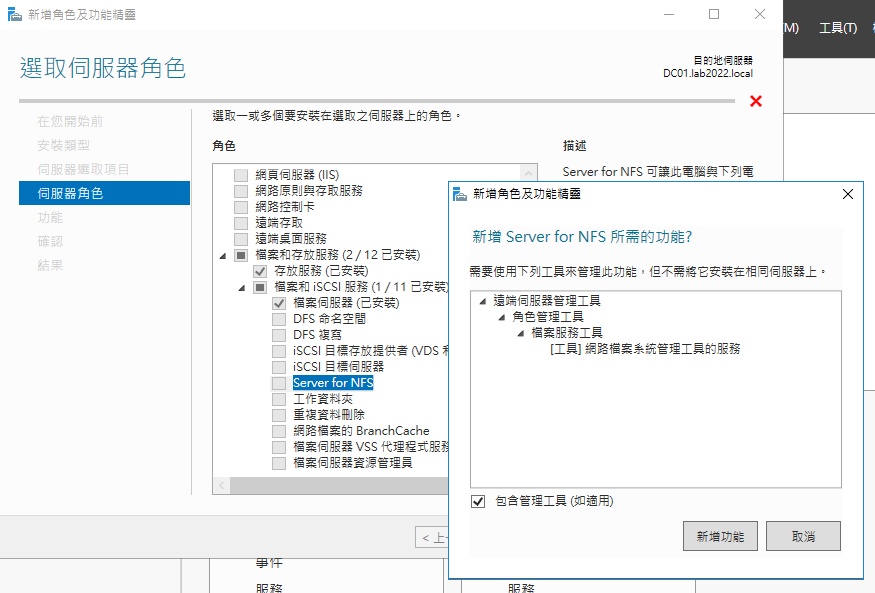
我们要先准备好一台NFS Server,测试前我们在Windows Server上
安装NFS服务,操作如以下
接下来登入Parrot Security主机,输入sudo su切换身份,
并输入cd切换目録,输入以下指令

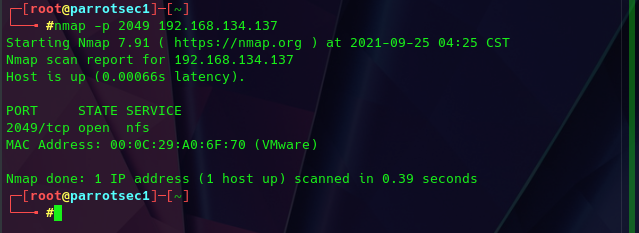
接着输入nmap -p 2049 192.168.134.137(NFS主机IP Address)确认NFS服务正运作
-p为指定的port,NFS使用的Port为2049
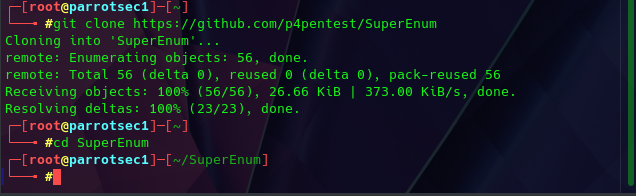
接着输入指令从git下载SuperEnum套件
git clone https://github.com/p4pentest/SuperEnum
并切换到SuperEnum目録
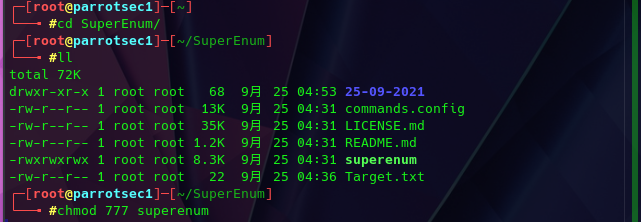
输入指令echo "192.168.134.137" >> Target.txt,将NFS主机IP存入Target.txt

记得要使用指令chmod 777 superenum改成有权限执行
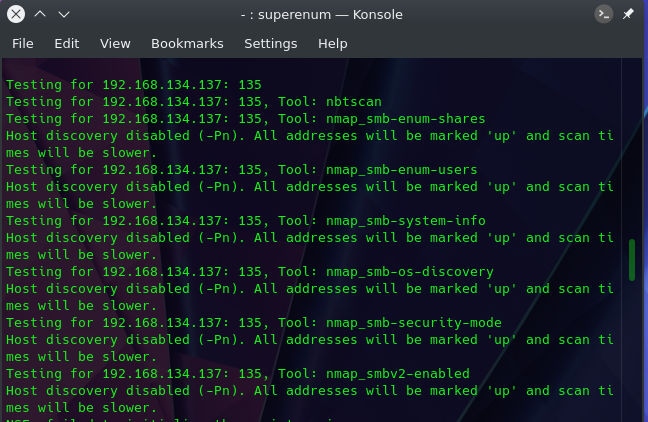
输入./superenum及含有NFS主机IP的Target.txt进行检查

可以看到执行superenum的结果
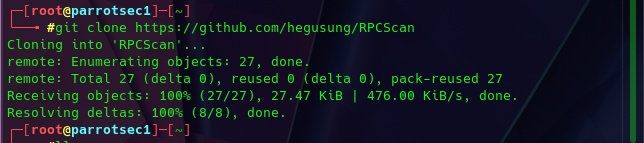
输入以下指令下载RPCScan套件
git clone https://github.com/hegusung/RPCScan
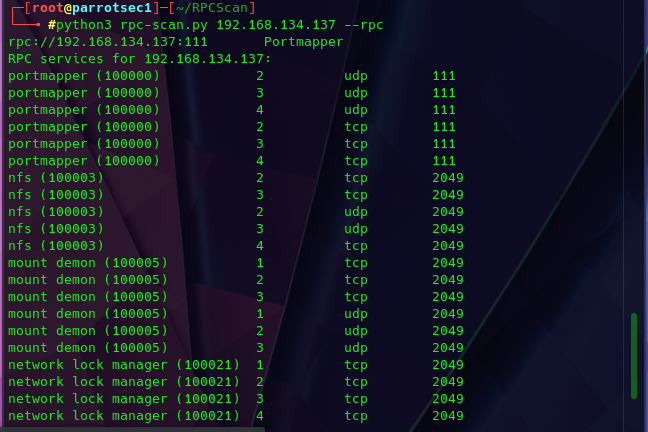
输入以下指令即可看到NFS连线RPC资讯
python3 rpc-scan.py 192.168.134.137 --rpc
>>: DAY24 搞样式--用CSS Gird来搞个万年历吧(上)
[Day1] 时间序列分析:时间序列资料属性拆解
欢迎来到【时间序列分析与预测方法大全】第一篇! 本篇我们会介绍时间序列资料所包含的属性。 先对资料特...
创建App-上传图片
创建App-上传图片 本App中会使用多种不同的图片来显示不同的主题,所以上传不同图片来使用! 例如...
企业资料通讯Week5 (1) | Catche 网页快取
完整参考连结在底下 甚麽是网页快取? 想一想大型网站如FB、IG,或是虾皮等购物网站,如果一次有很多...
[Day 29] Trivy - 介绍、操作与导入CI/CD
Aqua Trivy Vulnerability and Misconfiguration Scan...
Day 20 测试router的前奏
昨天我们讲到使用context-util来让每个测试都包住Provider来达到测试的元件都能取得P...