Day10 - LinearLayout线性布局
目前Android Studio预设的布局是ConstraintLayout
它的效能比起其他布局还要好,但时常动一个元件,另一个元件的位置就跑掉了,较难上手。
所以我们就从较简单的布局开始讲起
开始
今天要介绍的是LinearLayout
LinearLayout
线性布局。顾名思义,所有的原件都依序以直线排列。
这个布局又可以分为2种
- LinearLayout(Vertical):元件依照垂直方向,由上至下直线排列。
- LinearLayout(Horizontal):元件依照水平方向,由左至右直线排列。
-
预设
(先不特别设定方向,随便拉几个元件看看)
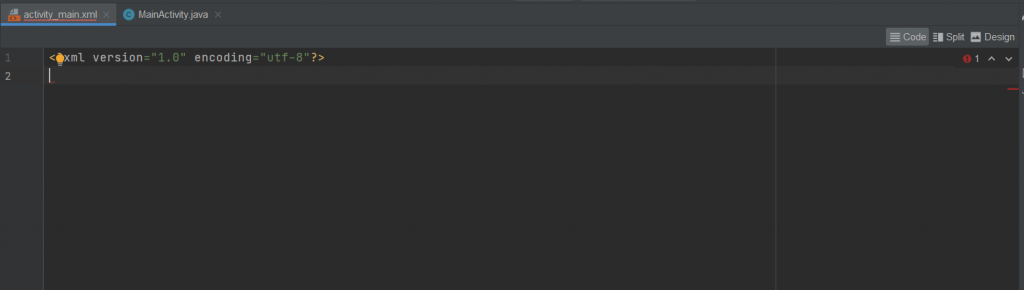
首先要先把xml原本预设的布局删掉,留下最上面那排
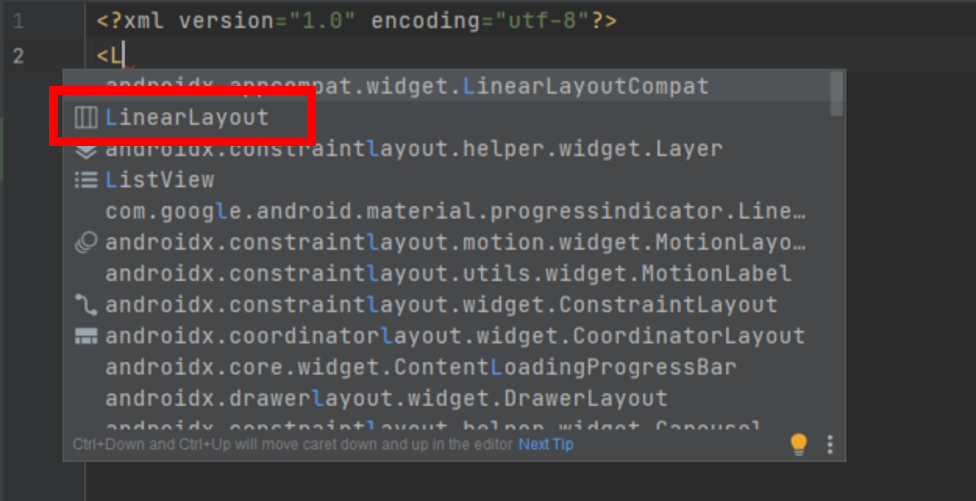
再来新增LinearLayout
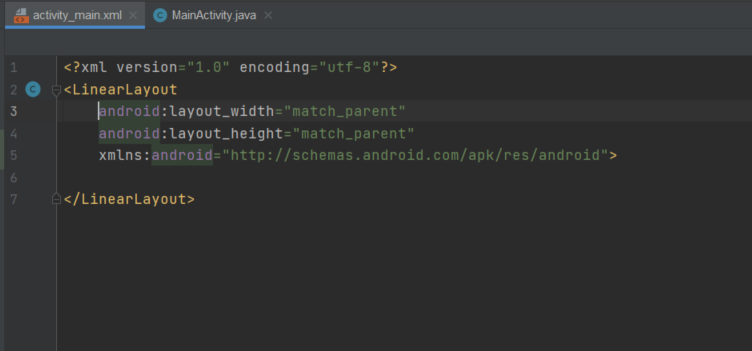
将LinearLayout的宽(width)与高(height)设定好
宽与高可以设成:
1."match_parent":与手机板面宽度/高度一样
2."wrap_content":依照内容物的大小调整宽高
3."xxdp":固定xxdp宽高
我们使用match_parent就可以了
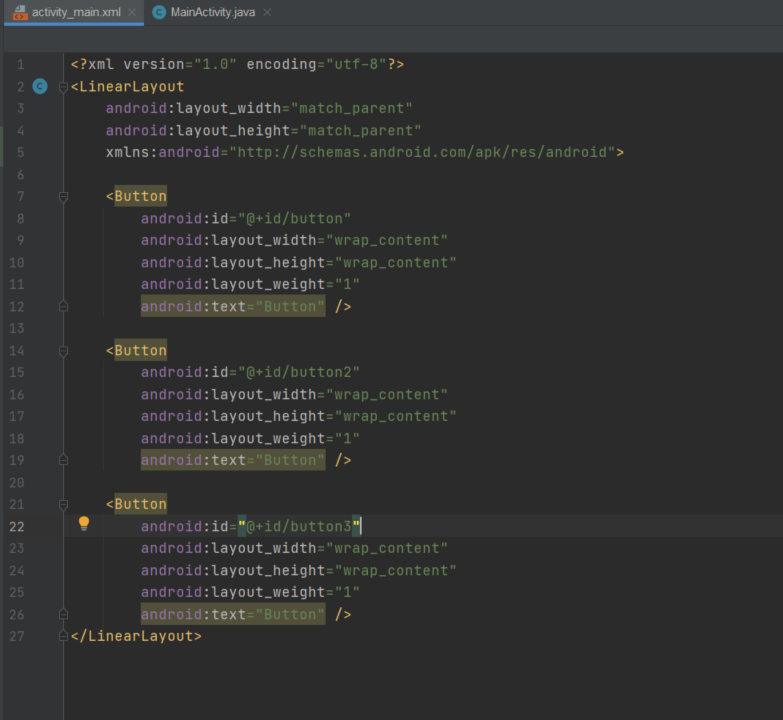
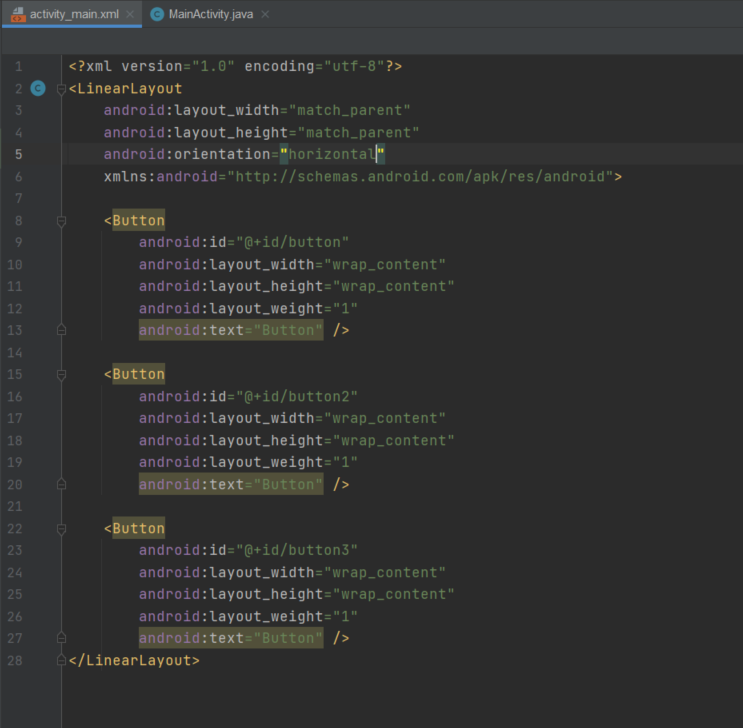
再来随便拉2个以上的元件包在LinearLayout里面
我拉3个按钮当范例
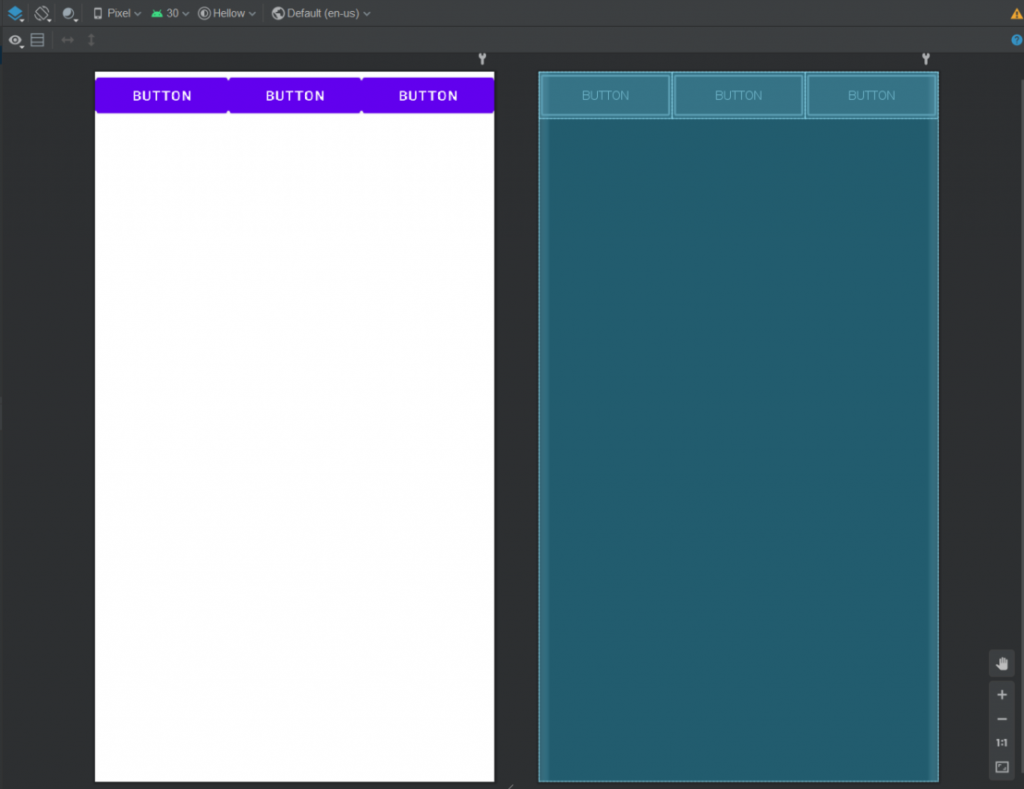
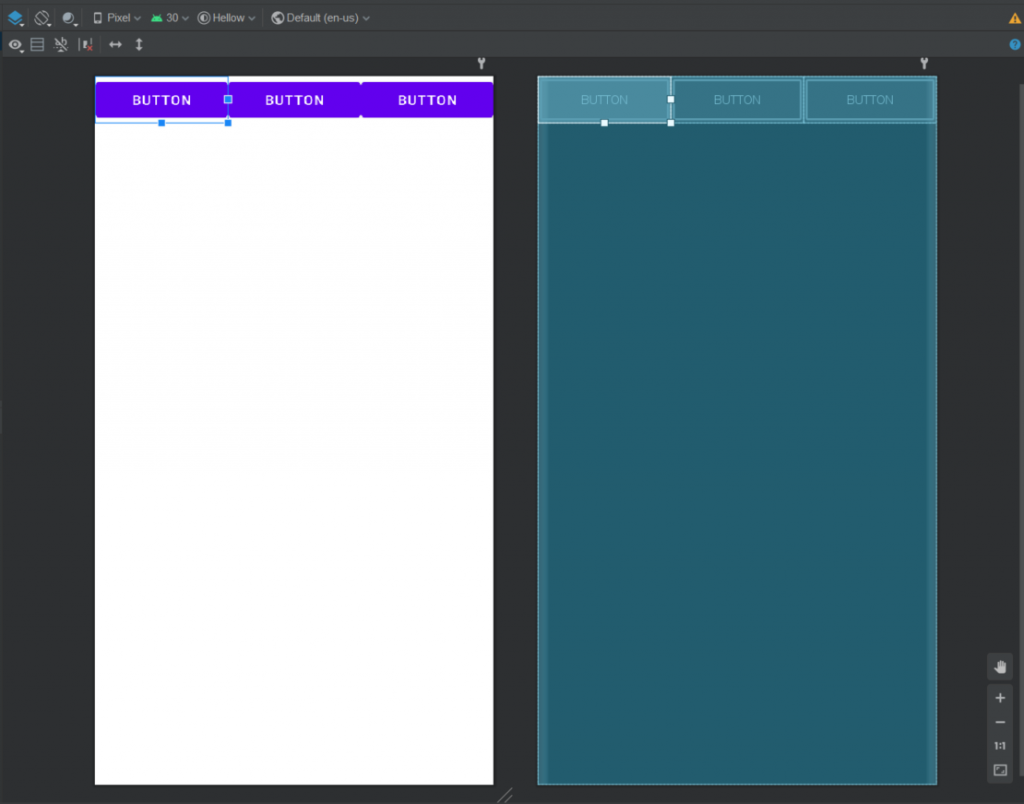
执行结果:
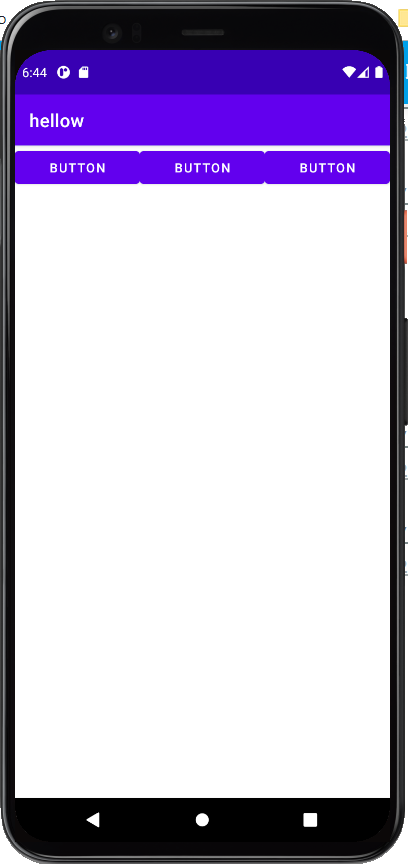
这时发现按钮是以水平方向排列
所以如果没有特别设定方向的话
系统会预设为LinearLayout(Horizontal)水平排列
-
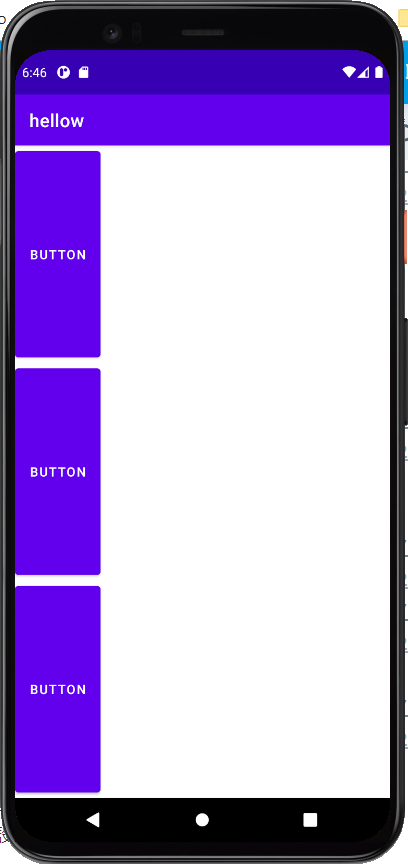
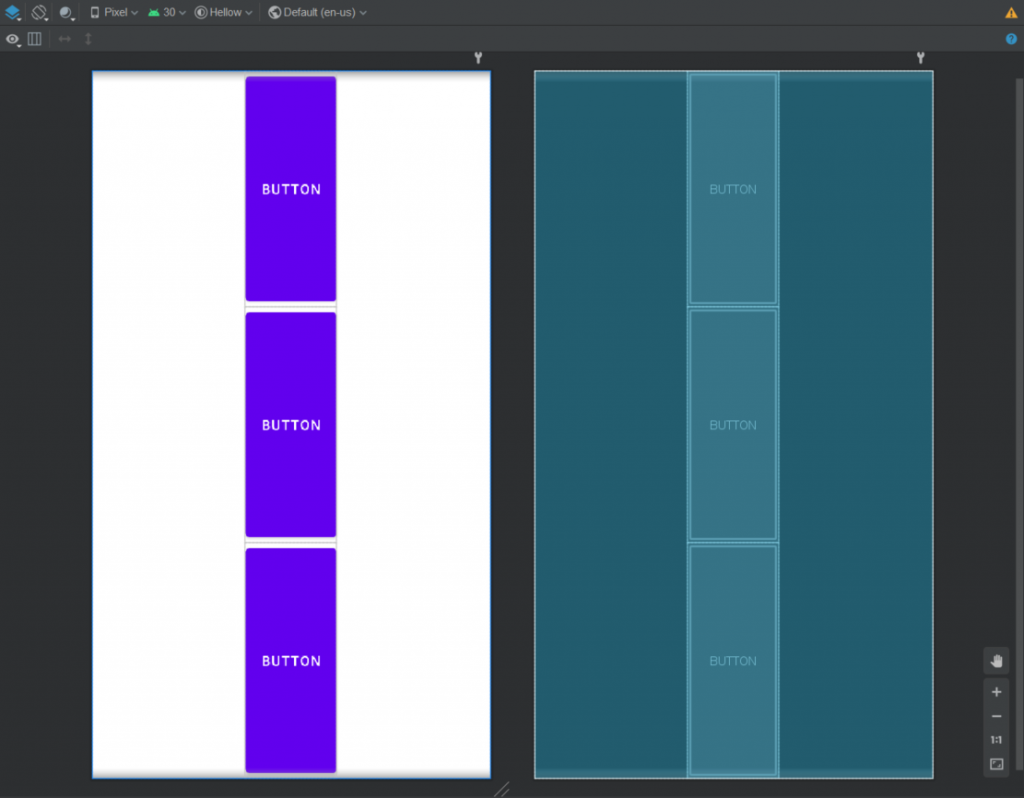
LinearLayout(Vertical)
来试看看垂直的会长怎样八
在LnearLayout里新增android:orientation="vertical"
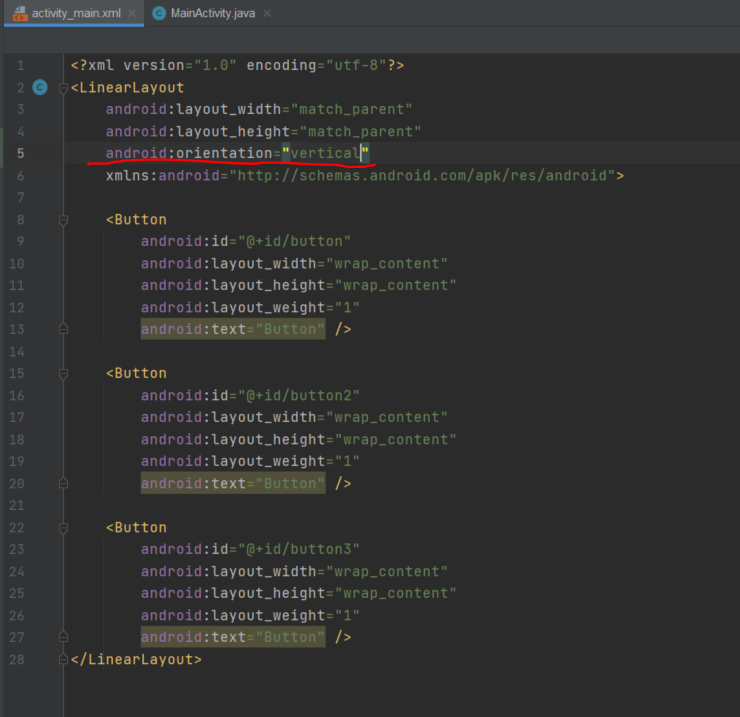
我们回到Design页面会发现,按钮变成垂直排列
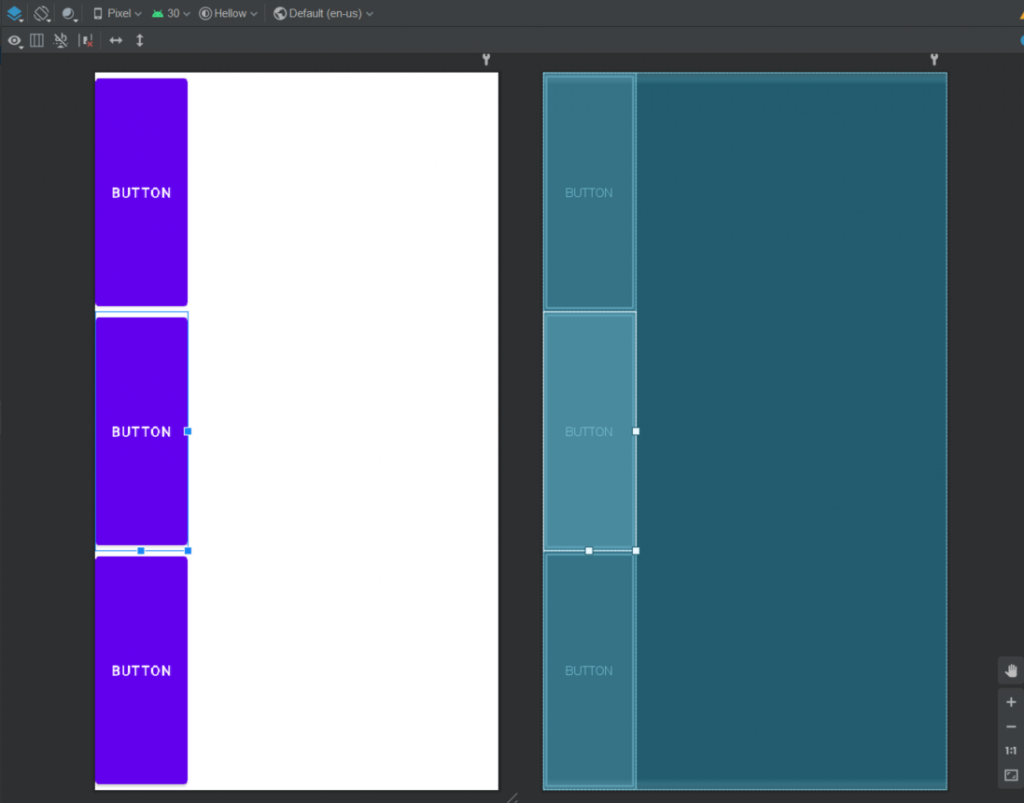
执行结果:
-
LinearLayout(Horizontal)
最後一个的结果与预设的其实一样,因为预设为水平方向排列
但还是必须时做一下
把android:orientation="vertical"改成android:orientation="horizontal"就好了
来看看有没有改变
执行结果:
恩~~果然跟预设一样
常用程序码
-
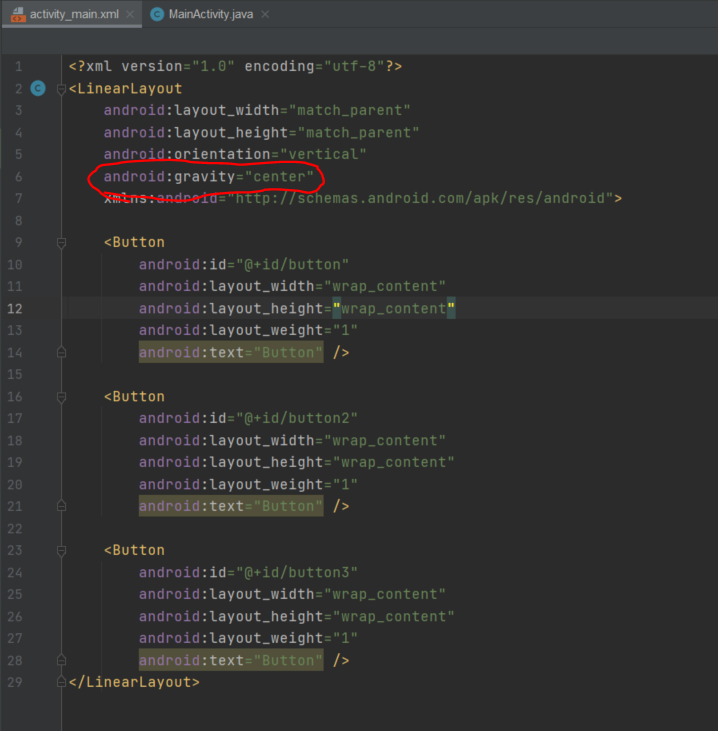
android:gravity
设定所有子元件的位置,假如设为center
在LinearLayout底下的元件都靠中间了
<<: Day6 - 2D渲染环境基础篇 II [同场加映 - 非零缠绕与奇偶规则] - 成为Canvas Ninja ~ 理解2D渲染的精髓
>>: 【从零开始的Swift开发心路历程-Day9】打造美观的App版面!UI属性篇
Day 20 To Do List - 封装
第 20 天~ 走到了三分之二了~!!! 好激动阿!! 再接再厉~ 加油! 昨天把 To Do Li...
Day 9:使用 Typora 发表你的第一篇 Hexo 文章
今天我们正式要使用 Markdown 撰写你的第一篇部落格文章啦! 用指令建立文章或草稿 .md 档...
AE新手必学の三种常用追踪方法03-Day30
终於来到最後一天的练习了!!! 参考范例:https://www.youtube.com/watch...
Day10 X 实作一个简单的 Virtualized List 吧!
Facebook、Instagram 应该都是我们日常生活中非常依赖的社群媒体了,每天闲来无事就要...
IT铁人DAY 18-Adapter 适配器模式
今天介绍的Adapter Pattern是属於结构型模式,以字面上来说不难猜到它是用来让物件与物...