Vue 2 & 3 正确使用 TinyMCE (Self Hosted)
前言
由於 CKEditor 的客制化需要仰赖 Webpack,无法在 Vite 的专案上使用
因此需要改使用 TinyMCE,发现网路上太多用很不直觉且奇怪的方式,在 Vue 引入 TinyMCE 的写法
所以从官方文件 & Issue 整理出相对正确的使用方式,可以用在 Webpack 或 Vite 的 Vue 2 与 Vue 3。
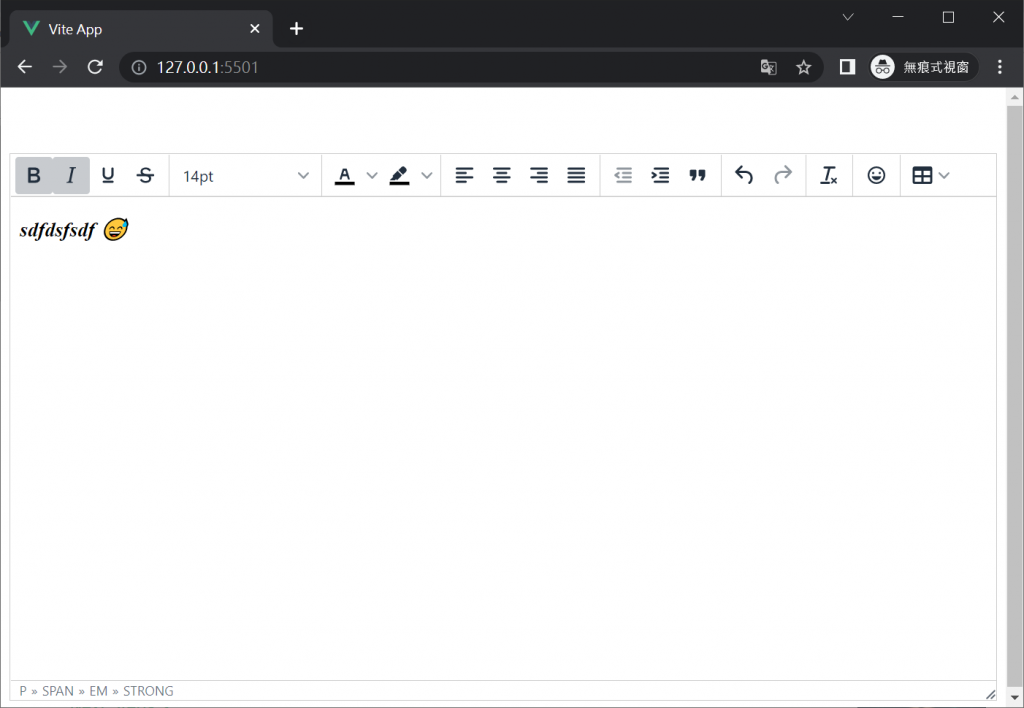
完整范例 (使用 Vite 2.9.9):
使用步骤
1. 安装 (vue 2)
npm install tinymce@^5.x.x @tinymce/tinymce-vue@^3.x.x tinymce-i18n
1. 安装 (vue 3)
npm install tinymce@^5.x.x @tinymce/tinymce-vue@^4.x.x tinymce-i18n
备注1: 由於最新版的 TinyMCE 只有简体中文,所以这边用 V5 来示范。
备注2: 社群有整理一套来自 TinyMCE 的语言包 npm 套件: tinymce-i18n
2. 建立一个元件封装 TinyMCE
<template></template>

<script setup>

</script>
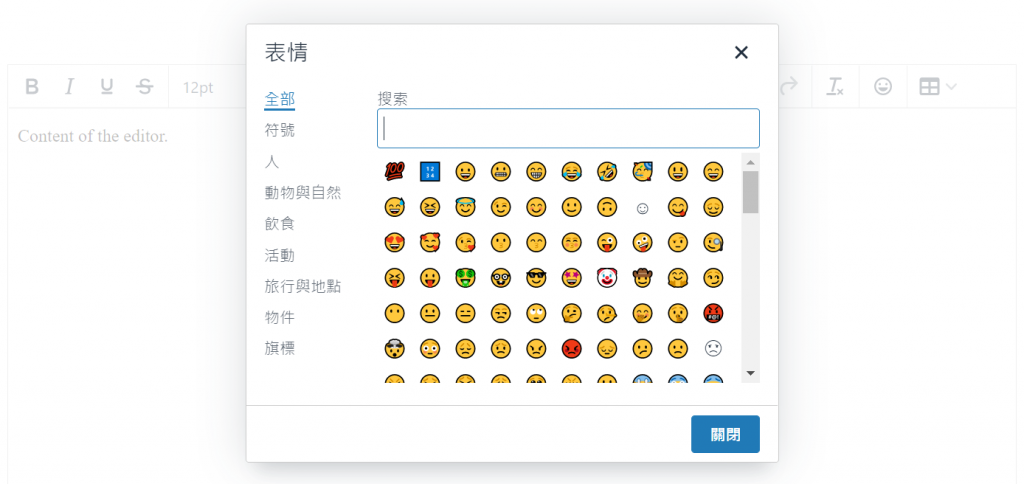
3. 依序引入 TinyMCE、外观、icons、plugins、语言包、TinyMCE-Vue
这边不需要像网路上大多数的文章写的,要先自行复制外观、表情、语言包的档案
直接从套件 import 进来就可以了
(Vue 2 记得将 Editor 注册到 components)
<template></template>

<script setup>
import tinymce from 'tinymce/tinymce.js'
// import 'tinymce/models/dom'; (TinyMCE 6)

// 外观
import 'tinymce/skins/ui/oxide/skin.css'
import 'tinymce/themes/silver'

// Icon
import 'tinymce/icons/default'

// 用到的外挂
import 'tinymce/plugins/emoticons';
import 'tinymce/plugins/emoticons/js/emojis.js';
import 'tinymce/plugins/table';
import 'tinymce/plugins/quickbars';

// 语言包
import 'tinymce-i18n/langs5/zh_TW.js'
// import 'tinymce-i18n/langs/zh_Hans.js' (TinyMCE 6 的简体中文)

// TinyMCE-Vue
import Editor from '@tinymce/tinymce-vue'
</script>
4. 定义封装元件的 Props、Emit、Data、v-model
由於我们直接引入了外观与表情符号
所以 content_css、skin 直接设定为 false (参考 Issue),也不需要设定 emoticons_database_url (参考 Issue)
做法跟其它的网路文章完全不同,也是相对比较正确的写法。
(Vue 2 的写法请参考上方的完整范例)
<script setup>
import { reactive, ref, watch, toRefs } from 'vue';

// ... 省略上方的 Import
const props = defineProps({
  modelValue: {
    type: String,
    default: '',
  },
  plugins: {
    type: [String, Array],
    default: 'quickbars emoticons table',
  },
  toolbar: {
    type: [String, Array],
    default:
      ' bold italic underline strikethrough | fontsizeselect | forecolor backcolor | alignleft aligncenter alignright alignjustify|bullist numlist |outdent indent blockquote | undo redo | axupimgs | removeformat | table | emoticons',
  },
});

const emit = defineEmits(['update:modelValue']);

const init = reactive({
  language: 'zh_TW',
  height: 500,
  menubar: false,
  content_css: false,
  skin: false,
  plugins: props.plugins,
  toolbar: props.toolbar,
  quickbars_insert_toolbar: false,
  branding: false,
});

const { modelValue } = toRefs(props);
const editorValue = ref(modelValue.value);

watch(modelValue, (newValue) => {
  editorValue.value = newValue;
});

watch(editorValue, (newValue) => {
  emit('update:modelValue', newValue);
});
</script>
5. 定义封装元件的 Template
<template>
  <editor v-model="editorValue" :init="init"></editor>
</template>
6. 使用自行封装的 TinyMCE 元件
<template>
  <tinycme-editor v-model="editorData"></tinycme-editor>
</template>

<script setup>
import TinycmeEditor from './tinymce.vue';
import { reactive, ref, watch } from 'vue';

const editorData = ref('<p>Content of the editor.</p>');

watch(editorData, (newValue) => {
  console.log(newValue);
});
</script>
总结
以上是在 Vue 完全从套件引入并使用 TinyMCE 的方式。
不需要自行复制外观、表情、语言包,使用上方便许多。
当使用开源套件遇到问题时,建议多参考官方的文件跟 github-issue,避免单方面直接使用网路上的文章解法。
关於专案打包的部分,Vue CLI 与 Vite 不需要另外设定。
<<: 可以录制Mac 内部/外部声音的 5 种荧幕录制方法
>>: Android 手机笔划输入法,三星 Sansung
[Day 10] tinyML整合开发平台介绍
话说唐牛抢了我的餐厅,当上老板後,就开始训斥我的厨师:「椅子要多窄有多窄,吸管要多粗有多粗,冰块要多...
D9 - 如何用 Google Apps Script 自动化对 Google Drive 的操作?(一)列出所有档案 ID 与相关资讯
来到了第九天。但一样先讲结论,如果你很急着用,可以直接使用这份 Add-On: Drive Expl...
Android Studio初学笔记-Day15-ListView
ListView Listview是个能装载多个view的列表元件,在资料的展示时很常被使用。Lis...
Day 23 - 开发人员工具的日常
前言 今天再来聊聊另一个重要的工具,是很多人刚开始学 Javascript 就一路接触到现在,如果没...
30天轻松学会unity自制游戏-往前移动
用最简单的方式Ctrl+C&Ctrl+V把场景往上延伸,Ctrl+D也可以直接复制此物件,看...