三分钟就可以 CentOS 7 安装 LogAnalyzer
首先 CentOS 7 做 mini install
putty ssh 登入安装 LogAnalyzer
1./ 安装必要元件:
[root@loganalyzer ~]# yum install httpd php php-mysql wget
– 启动 Httpd
[root@loganalyzer ~]# systemctl enable httpd && systemctl start httpd
– Install mariadb server and rsyslog-mysql package:
[root@loganalyzer ~]# yum install mariadb-server -y rsyslog-mysql
– Enable at boot and start mariadb server:
[root@loganalyzer ~]# systemctl enable mariadb && systemctl start mariadb
2./ 设定 RSYSLOG Database
– Import the default database scheme offered by RSYSLOG using the below command:
[root@loganalyzer ~]# mysql -u root -p < /usr/share/doc/rsyslog-8.24.0/mysql-createDB.sql
– Create a user to access the Syslog database:
mysql -u root -p
MariaDB [(none)]> GRANT ALL ON Syslog.* TO 'rsyslog'@'localhost' IDENTIFIED BY 'Password';
MariaDB [(none)]> FLUSH PRIVILEGES;
MariaDB [(none)]> exit
cp /etc/rsyslog.conf /etc/rsyslog.conf.org
vi /etc/rsyslog.conf
– Find and uncomment the following lines to make your server to listen on the udp and tcp ports.
[...]
$ModLoad imudp -去掉前面的 # 字号
$UDPServerRun 514 -去掉前面的 # 字号
[...]
$ModLoad imtcp -去掉前面的 # 字号
$InputTCPServerRun 514 -去掉前面的 # 字号
[...]
– 在 RULE 底下新增 Add the following lines to create a new forwarding rule and a load the mysql module:
[...]
# Load the MySQL Module
module(load="ommysql")
[...]
#*.* :ommysql:127.0.0.1,Syslog_Database,syslog_user,password
*.* :ommysql:127.0.0.1,Syslog,rsyslog,Password
– Save and restart the rsyslog service
[root@loganalyzer ~]# systemctl restart rsyslog
3./ Install LogAnalyzer
– Download LogAnalyzer
[root@loganalyzer ~]# cd /tmp
[root@loganalyzer ~]# wget http://download.adiscon.com/loganalyzer/loganalyzer-4.1.10.tar.gz
[root@loganalyzer ~]# tar -xzvf loganalyzer-4.1.10.tar.gz
– Create the LogAnalyzer Directory under the apache web directory:
[root@loganalyzer ~]# mkdir /var/www/html/loganalyzer
– Copy the installation files into loganalyzer directory using the following commands:
[root@loganalyzer ~]# cp -r /tmp/loganalyzer-4.1.10/src/* /var/www/html/loganalyzer
[root@loganalyzer ~]# cp -r /tmp/loganalyzer-4.1.10/contrib/* /var/www/html/loganalyzer
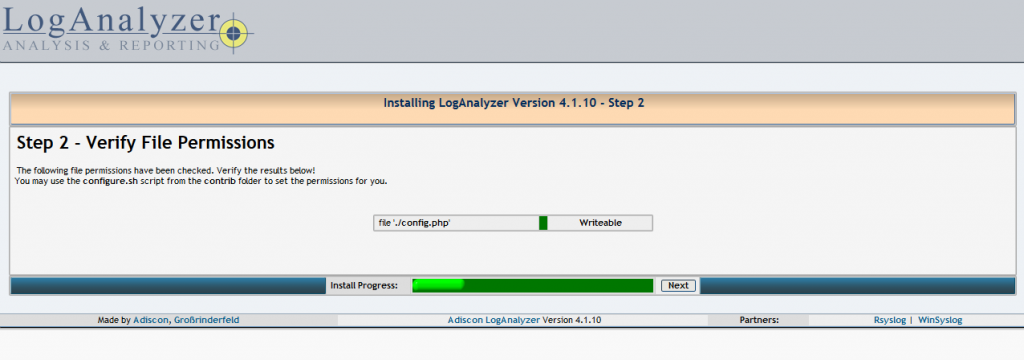
– Create a blank configuration file named config.php in loganalyzer directory and setup write permission to apache user using the following commands:
产生 config.php
[root@loganalyzer ~]# cd /var/www/html/loganalyzer
[root@loganalyzer ~]# touch config.php
[root@loganalyzer ~]# chown apache:apache config.php
[root@loganalyzer ~]# chmod 777 config.php
[root@loganalyzer ~]# chcon -h -t httpd_sys_script_rw_t /var/www/html/loganalyzer/config.php
Ps:关掉 Firewall <--多出来的动作
systemctl disable firewalld
systemctl stop firewalld
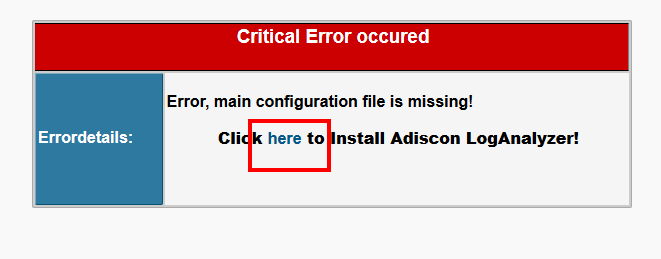
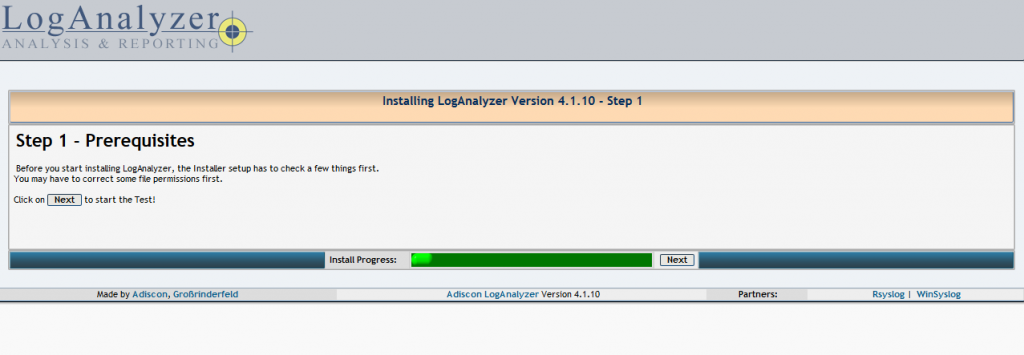
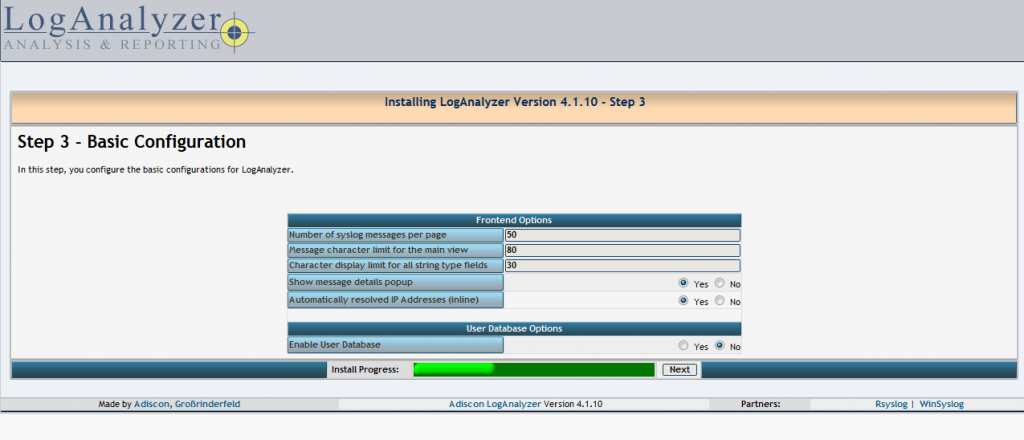
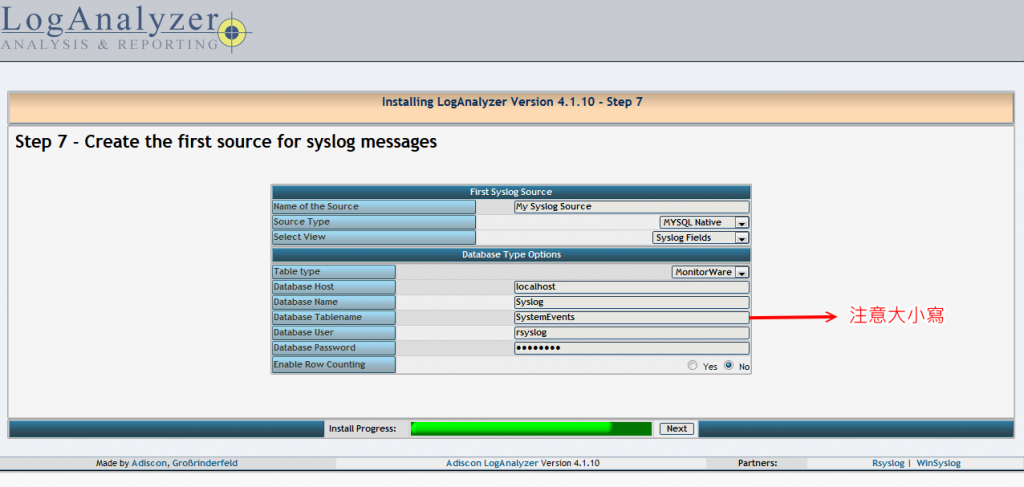
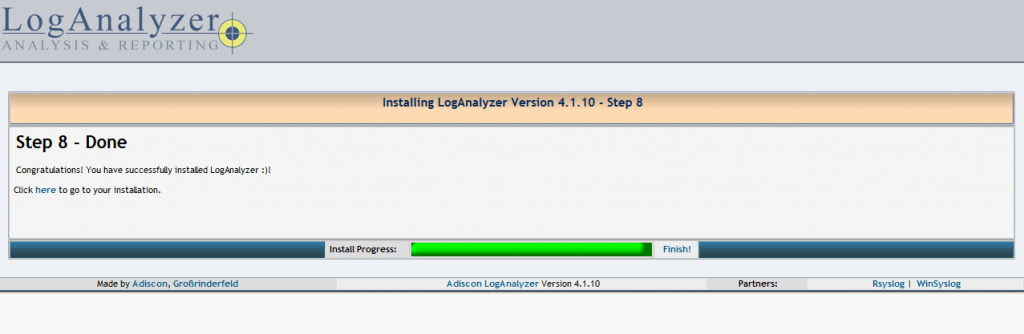
4./ start LogAnalyzer web installer
After completing above steps op
en following url in your favorite web browser to start LogAnalyzer web installer.
http://localhost/loganalyzer
这边有修改动作

Could not find the configured table.maybe misspelled or the tablenames are case sensitive
出现这错误时就是因为 SystemEvents 大小写错误
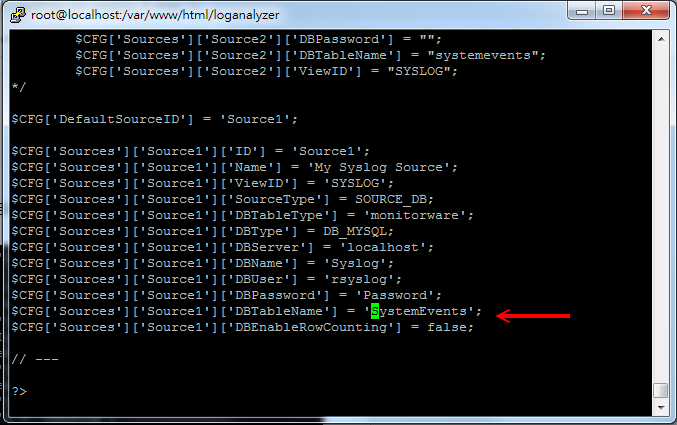
你可以直接 vi config.php
修正 SystemEvent 大小写
也可以 rm config.php 之後重新步骤 "产生 config.php"
再回到 Web install
就会成功
然後将设备的 syslog 指向 安装的 LogAnalyzer Server
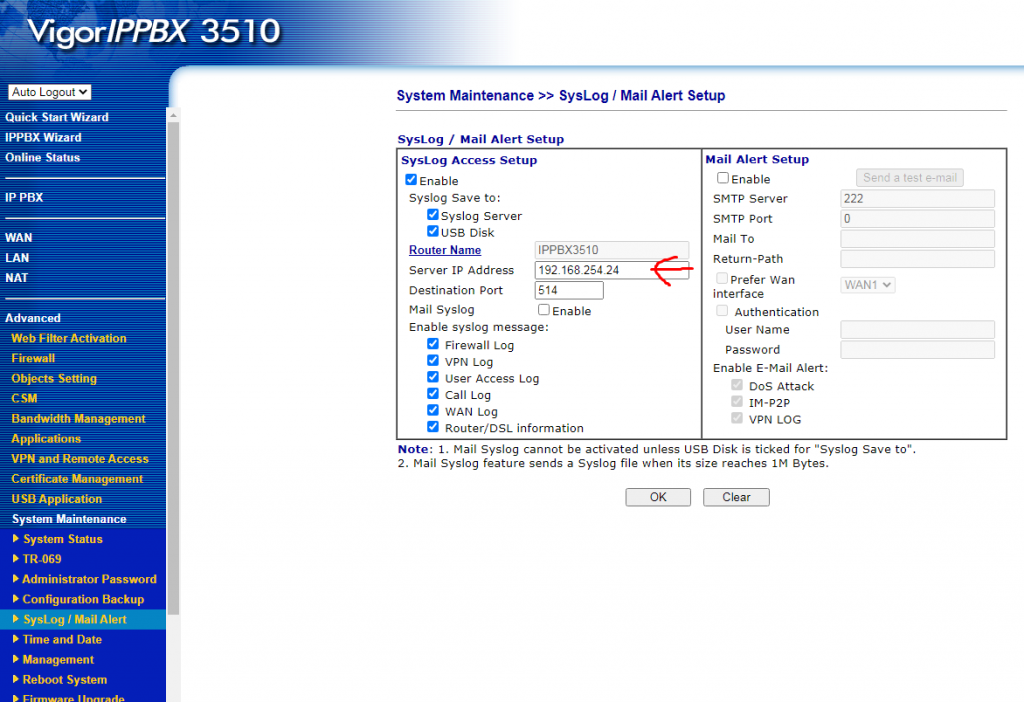
Vigor
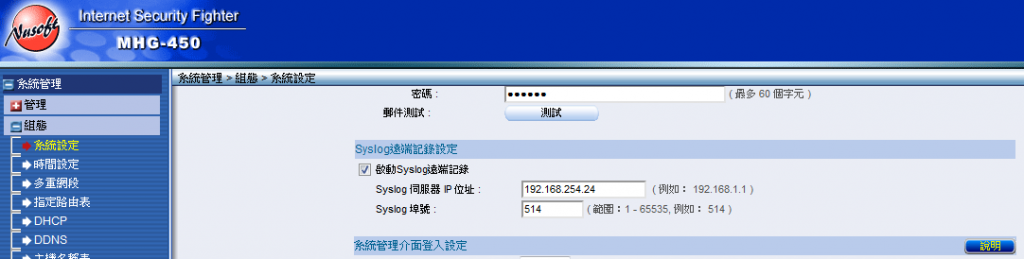
NUSOFT MHG / NFW / UTM
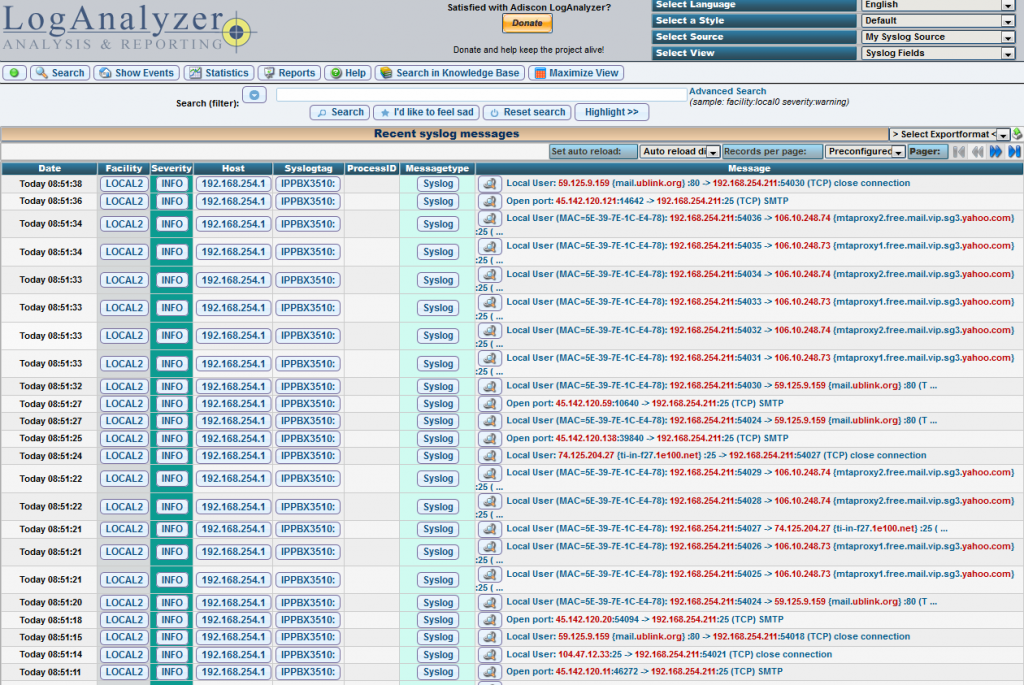
就完成了
参考文章
https://wdmbr.wordpress.com/2020/03/31/how-to-setup-loganalyzer-with-rsyslog-on-centos-7-rhel-7/
<<: R语言-视觉化-GIF图 (GIF in r.studio)
>>: 安装测试 WinSyslog for windows 7/10
Python turtle套件
今天要来教一个比较额外的,就是turtle套件,这是一个画图的套件,我们可以写程序画出自己想要的图,...
【Day09】数据输入元件 - Upload
元件介绍 Upload 是一个上传元件。帮助我们能够发布文字、图片、影片、档案到後端服务器上。 参考...
第十五天:初探 Gradle properties
为了让 Gradle 在运行的时候可以更弹性,Gradle 支援一系列载入建置环境(Build En...
It’s an endless night again. The corporate website and database crashed at the same time!
You wanna cry, but tearless. The General Manager i...
[Day1] 前言
大家好,欢迎来到我的学习Django暑假之旅,我在这个暑假花了一点时间,摸索了Django相关的架构...