[Day17] Vue 3 单元测试 (Unit Testing) - Vue Test Utils + Jest 基本范例 & 核心语法
在开始进入复杂的内容之前,我想先带大家认识几个会大量出现在每一个测试程序码里的核心语法,这些语法如果不了解的话可能就没办法看懂之後的测试程序码,所以我们赶快开始吧!
这些核心语法分别由 Jest 和 Vue Test Utils 所提供的:
Jest
test(name, fn, timeout) 或 it(name, fn, timeout)
test 为测试的最小单位,就是像是变数的宣告一样,要攥写每一笔测试时都需要使用 test 宣告。
it 为 test 的别名,所以两者其实是一样的。
其中的三个参数分别为:
-
name测试名称。 -
fn测试内容的函式。 -
timeout (optional)指定测试中止前等待的时间,单位为毫秒。
const number = 2

test('test: is 2', () => {
  expect(number).toBe(2)
})

it('it: is 2', () => {
  expect(number).toBe(2)
})

expect(value)
攥写每一笔测试时都会使用 expect(value) 和匹配器 (matcher) 来断言某个值,expect (value) 的参数 value 会是程序码产生的值,而匹配器 (matcher) 的任何参数都应该是正确的值,如此一来才能判断我们的程序码是否如断言的一样。
下面这段测试程序中 toBe 是一个匹配器,而事实上还有许多不同功能的匹配器,不过我们等到日後用到时再向大家介绍。
const number = 2

test('test: is 2', () => {
  expect(number).toBe(2)
})
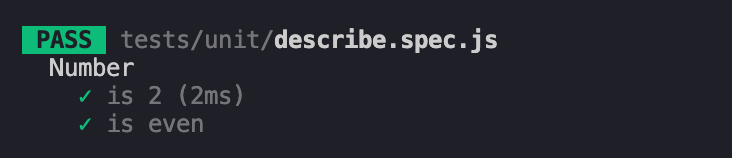
describe(name, fn)
describe 是用来将一至多组有相关的测试组合在一起的区块。例如,Number 这组测试有两个测试案例。
const number = 2

describe('Number', () => {
  test('is 2', () => {
    expect(number).toBe(2)
  })

  test('is even', () => {
    expect(number % 2).toBe(0)
  })
})
Vue Test Utils
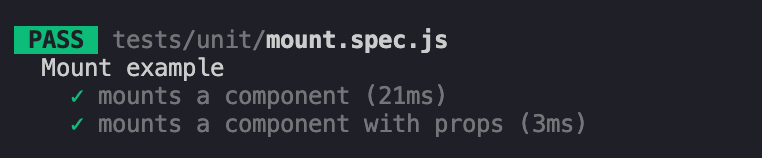
mount(component, options)
要为我们写好的元件进行测试,就需要透过 mount() 产生一个已经挂载 (mounted) 和渲染完的元件(Wrapper),并对其进行操作和断言。
mount 的第一个参数是欲被测试的元件,第二个参数是可以用来定义元件的状态 (state) 配置,例如 props, data, attrs 等等。
import { mount } from '@vue/test-utils'

const Component = {
  template: '<div>Hello world</div>'
}

const ComponentWithProps = {
  template: '<div>{{ msg }}</div>',
  props: {
    msg: {
      type: String,
      required: true
    }
  }
}

describe('Mount example', () => {
  test('mounts a component', () => {
    const wrapper = mount(Component)

    expect(wrapper.html()).toContain('Hello world')
  })

  test('mounts a component with props', () => {
    const wrapper = mount(ComponentWithProps, {
      props: {
        msg: 'Hello world'
      }
    })

    expect(wrapper.html()).toContain('Hello world')
  })
})
语法说明:
html() - 回传元件的 HTML。
toContain() - 检查一个字符串是否是另一个字符串的子字符串,也可检查一个项目是否在 Array 中。
shallowMount()
shallowMount 和 mount 非常相似,差别在於透过 shallowMount 产生的 wrapper 元件,如果它有子元件的话,子元件不会被解析渲染,也不会触发子元件内的程序码,而是会用 stub 来替代。
什麽意思呢?我们来看一下下面的范例程序码。宣告了两个元件 (Parent 和 Child) 并透过两种渲染方式来比较一下两者的差异。
import { mount, shallowMount } from '@vue/test-utils'

const Child = {
  template: "<div>Child component</div>"
}

const Parent = {
  template: "<div><child /></div>",
  components: {
    Child
  }
}

describe('shallowMount example', () => {
  test('test', () => {
    const childShallowWrapper = shallowMount(Child)
    const childMountWrapper = mount(Child)
    console.log(childShallowWrapper.html())
    console.log(childMountWrapper.html())

    const parentShallowWrapper = shallowMount(Parent)
    const parentMountWrapper = mount(Parent)
    console.log(parentShallowWrapper.html())
    console.log(parentMountWrapper.html())
  })
})
执行结果
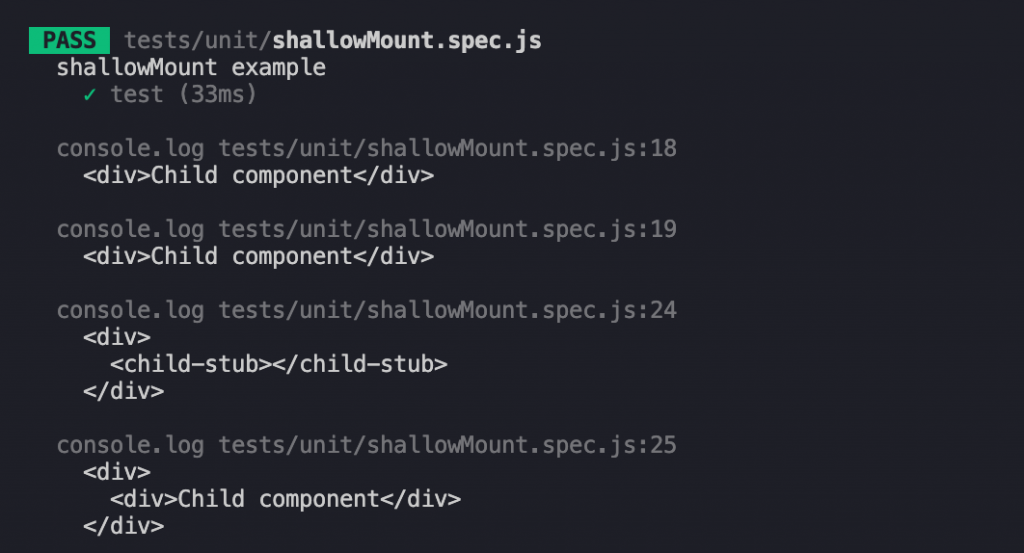
可以发现如果元件内没有子元件的话,使用 mount 和 shallowMount 是没有差别的,但如果元件内有子元件的话,使用 shallowMount 的方式的话,其子元件会被 stub 给替换。
而使用 shallowMount 的情况会像是,我们只想关注在父层元件的测试内容,不希望这个测试被子元件所影响,而降低测试的效率,又或者子元件可能也有自己的测试内容,为了避免重复渲染导致的测试时间拉长。
参考资料
- 从范例学习 Vue.js 的 Unit Test
- Vue Test Utils for Vue 3
- Vue Testing Handbook - Two ways to render
- Globals - Jest
今天的分享就到这边,如果大家对我分享的内容有兴趣欢迎点击追踪 & 订阅系列文章,如果对内容有任何疑问,或是文章内容有错误,都非常欢迎留言讨论或指教的!
明天要来分享的是 Vue3 单元测试 (Unit Testing) 主题的第三篇 Conditional rendering & Elements visibility ,那我们明天见!
>>: DAY 17 制作 Nav Bar - Header
[Day 07] 从简单的Todolist 了解 iOS开发的大致流程之二
下面是前篇文章 ViewController的程序码,我将用注解大概解释流程以及状况 关於@obj的...
Day22 参加职训(机器学习与资料分析工程师培训班),Python程序设计
今天教学os模组 import os filename = 'text.txt' if os.pat...
常见攻击(Common Attacks)
高级持久威胁(APT) 多向量多态攻击 拒绝服务 缓冲区溢出 流动码 恶意软件(恶意软件) 偷渡式...
Day 24 | 使用ManoMotion制作打地鼠游戏Part2 - 游戏管理
在上一篇文章中完成手部侦测及地鼠设定,今天我们要来加上游戏管理。 目录 地鼠时间控制 分数机制 游戏...
AE-LED流动效果2-Day20
接续昨天的练习~ 1.然後我们再新增一个Comp,这次把高度改为1080px 2.并把刚刚的Comp...