JWT实作(一)(Day5)
首先,先建立一个controller&config的package在 com.stockAPI底下
接着在controller内新增一个Class- UserController
package com.stockAPI.controller;

import org.springframework.web.bind.annotation.GetMapping;
import org.springframework.web.bind.annotation.RequestMapping;
import org.springframework.web.bind.annotation.RestController;

@RestController
@RequestMapping("user")
public class UserController {

	@GetMapping("testBlock")
	public String testBlock() {
		return "testBlock";
	}

	@GetMapping("testUnblock")
	public String testUnblock() {
		return "testUnblock";
	}
}
*此时我们如果直接用浏览器打上
http://localhost:8080/user/testBlock 和 http://localhost:8080/user/testUnBlock
这两个网址的话,你会看到预设的登入画面且 网址也会被引导到 http://localhost:8080/login。*
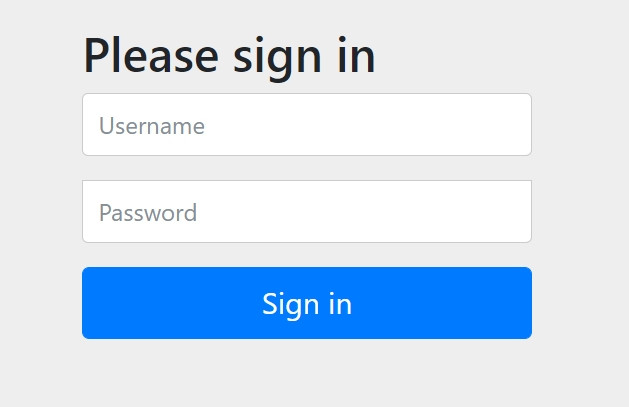
这是因为Spring Security已经预设所有除了/login以外的连结都会需要验证。
再来,我们新建一个 package- config,
然後在里面新增一个 Class-SecurityConfig 并继承 WebSecurityConfigurerAdapter
package com.stockAPI.config;

import org.springframework.beans.factory.annotation.Autowired;
import org.springframework.security.config.annotation.authentication.builders.AuthenticationManagerBuilder;
import org.springframework.security.config.annotation.web.builders.HttpSecurity;
import org.springframework.security.config.annotation.web.configuration.EnableWebSecurity;
import org.springframework.security.config.annotation.web.configuration.WebSecurityConfigurerAdapter;


@EnableWebSecurity
public class SecurityConfig extends WebSecurityConfigurerAdapter {

	@Override
    protected void configure(AuthenticationManagerBuilder auth) throws Exception {

    }


    @Override
    protected void configure(HttpSecurity http) throws Exception {

    }
}
当你打开浏览器打上
http://localhost:8080/user/testBlock 和http://localhost:8080/user/testUnBlock
分别会看到这两个画面
这是因为我们还没实作security的设定,所以才会两个连结都看得到。
由此可以看到,如果我们没有实作security的设定的话,他预设是会需要验证所有连结的
如果点进去看WebSecurityConfigurerAdapter的介绍可以发现,其中一个方法 configure(HttpSecurity http)
已经有预设的写法了
protected void configure(HttpSecurity http) throws Exception {
		this.logger.debug("Using default configure(HttpSecurity). "
				+ "If subclassed this will potentially override subclass configure(HttpSecurity).");
		http.authorizeRequests((requests) -> requests.anyRequest().authenticated());
		http.formLogin();
		http.httpBasic();
	}
那为什麽我们的设定是如何实现的呢?
//初始化触发
@Override
public void init(WebSecurity web) throws Exception {
		HttpSecurity http = getHttp();
		web.addSecurityFilterChainBuilder(http).postBuildAction(() -> {
			FilterSecurityInterceptor securityInterceptor = http.getSharedObject(FilterSecurityInterceptor.class);
			web.securityInterceptor(securityInterceptor);
		});
	}


/**
	 * Creates the {@link HttpSecurity} or returns the current instance
	 * @return the {@link HttpSecurity}
	 * @throws Exception
	 */
	@SuppressWarnings({ "rawtypes", "unchecked" })
	protected final HttpSecurity getHttp() throws Exception {
		if (this.http != null) {
			return this.http;
		}
		AuthenticationEventPublisher eventPublisher = getAuthenticationEventPublisher();
		this.localConfigureAuthenticationBldr.authenticationEventPublisher(eventPublisher);
		AuthenticationManager authenticationManager = authenticationManager();
		this.authenticationBuilder.parentAuthenticationManager(authenticationManager);
		Map<Class<?>, Object> sharedObjects = createSharedObjects();
		this.http = new HttpSecurity(this.objectPostProcessor, this.authenticationBuilder, sharedObjects);
		if (!this.disableDefaults) {
			applyDefaultConfiguration(this.http);
			ClassLoader classLoader = this.context.getClassLoader();
			List<AbstractHttpConfigurer> defaultHttpConfigurers = SpringFactoriesLoader
					.loadFactories(AbstractHttpConfigurer.class, classLoader);
			for (AbstractHttpConfigurer configurer : defaultHttpConfigurers) {
				this.http.apply(configurer);
			}
		}

//最後会触发我们的客制化设定
configure(this.http);
		return this.http;
	}
在WebSecurityConfigurerAdapter 会初始化时引用 getHttp方法,getHttp在引用configure(HttpSecurity http) 方法,如此我们客制化设定便可以启用。
OK! 了解原理後让我们来实作这个功能吧!
package com.stockAPI.config;

import org.springframework.beans.factory.annotation.Autowired;
import org.springframework.security.config.annotation.authentication.builders.AuthenticationManagerBuilder;
import org.springframework.security.config.annotation.web.builders.HttpSecurity;
import org.springframework.security.config.annotation.web.configuration.EnableWebSecurity;
import org.springframework.security.config.annotation.web.configuration.WebSecurityConfigurerAdapter;

@EnableWebSecurity
public class SecurityConfig extends WebSecurityConfigurerAdapter {


	@Override
    protected void configure(AuthenticationManagerBuilder auth) throws Exception {

    }


    @Override
    protected void configure(HttpSecurity http) throws Exception {
    	http
    		.authorizeRequests()
    		.antMatchers("/user/testBlock").authenticated()
    		.antMatchers("/user/testUnblock").permitAll();

    }
}
http.authorizeRequests(): 请求权限分配
antMatchers: 当符合这个条件的路径
authenticated: 需要通过验证,才能使用
permitAll: 允许所有用户使用
底下是设置後的执行结果
http://localhost:8080/user/testBlock
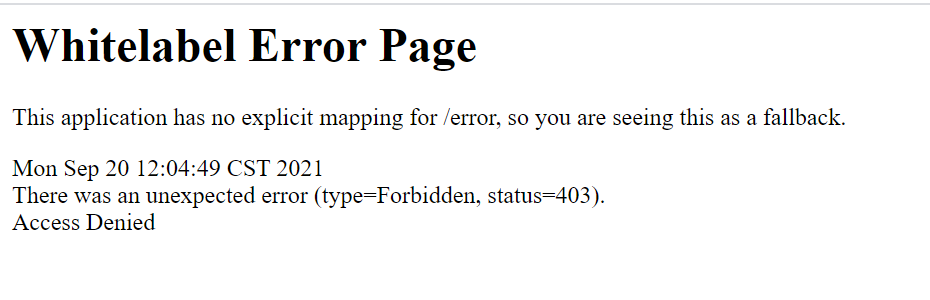
http://localhost:8080/user/testBlock
好的,今天先实作到这边,明天会开始实作用户登入的功能。
参考资料:
https://blog.csdn.net/u012702547/article/details/107655180
https://www.jianshu.com/p/e6655328b211
<<: Day5 NodeJS-Events和EventEmitter
UML 图摘要
UML (统一建模语言),对於所有学过 OOP 语言的人是一个耳熟能详的图表,UML, SysML,...
Day 14 | 同步与非同步- Handler类别
Handler类别 使不同Thread沟通的机制,将Thread要传递的讯息放入Message类别,...
[Day26] React - 设定属性(style属性 & 事件属性)
设定style属性 上一篇有提到我们可以在React.createElement的第二个参数设定Re...
Day1 - 你适合观看本系列教学影片吗?
大家好,我是卡米哥 Day1 主要讲的是接下来 30 天会包含什麽内容,以及谁适合观看这系列的影片。...
D15 第七周 前端基础 JavaScript - 事件传递
今天要分享的是事件传递的机制,相信初学的大家听到比较多的应该是捕获、冒泡、stopPropogati...