Day 06 Heroku、Heroku CLI、Git push建置
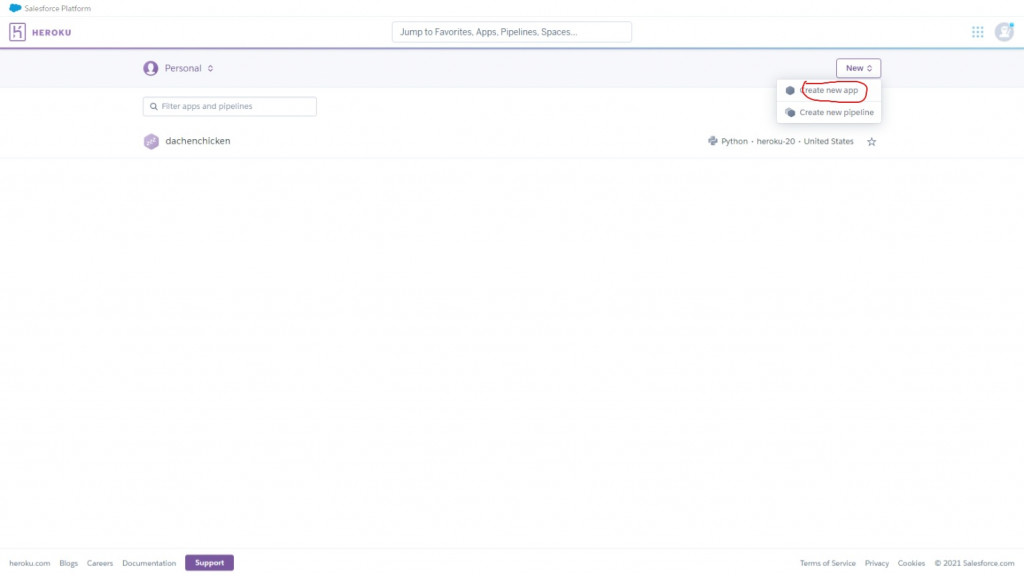
创建Heroku APP
https://www.heroku.com/
进入网站注册并登入Heroku
在仪表板页面右上角New => Create new app
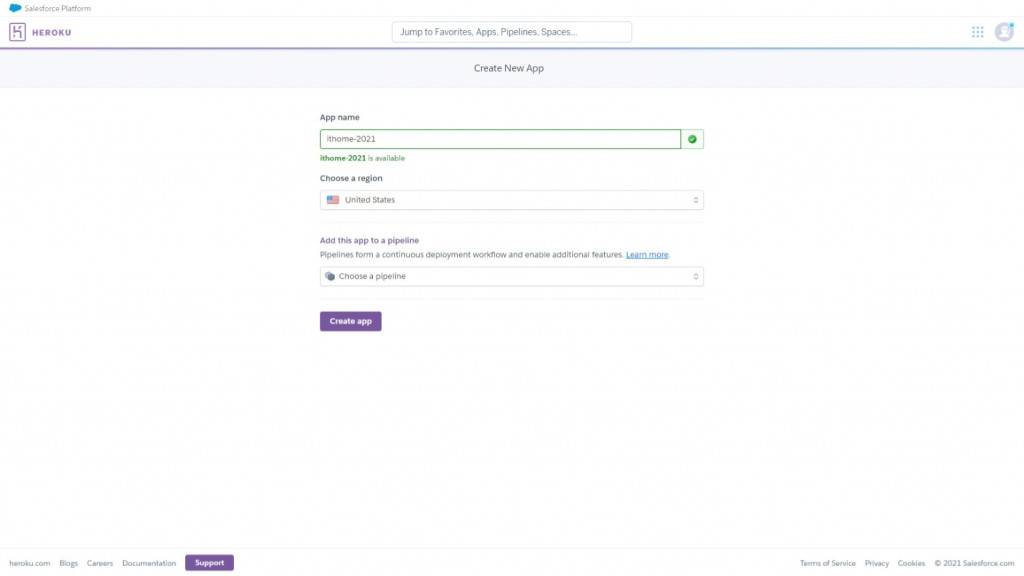
在App name输入你的app名字,并点Create app创建app
创建後至最右方Setting设定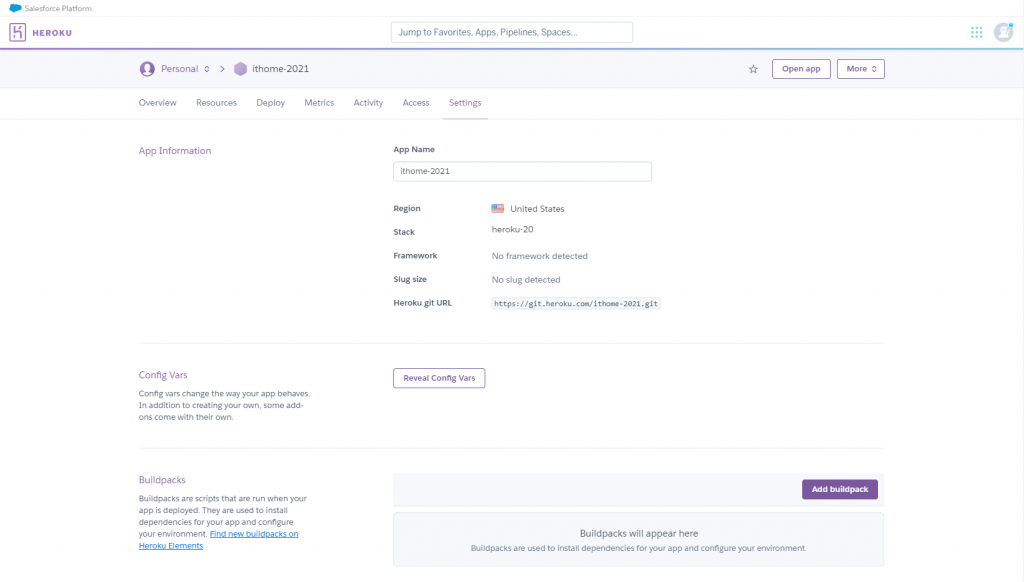
Heroku CLI下载
进入网页并下载Heroku CLI
https://devcenter.heroku.com/articles/heroku-command-line
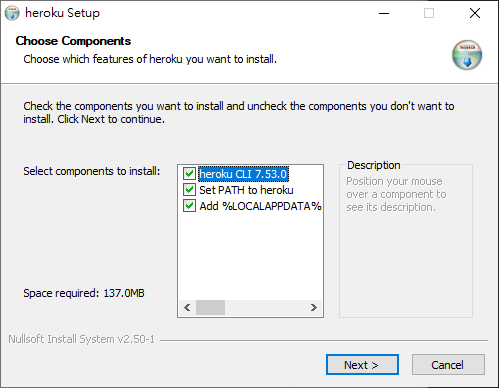
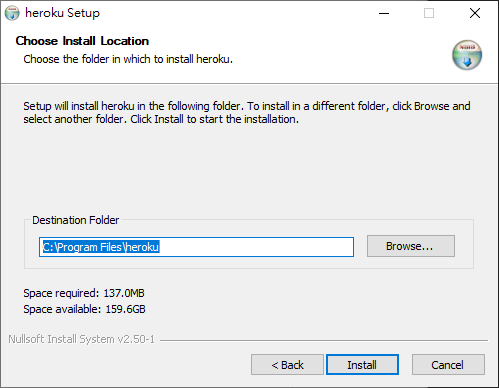
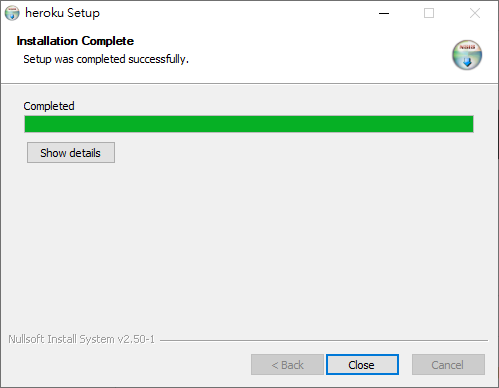
close结束安装
部署Heroku
必要档案建置
先在VS Code左边档案总管新增一个名为Procfile的档案,并在里面输入
web: python app.py
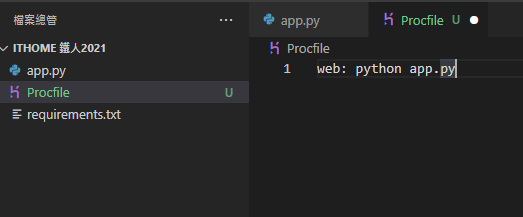
requirements.txt档案在前面测试时已经建立了
line-bot-sdk
flask
numpy
psycopg2
程序修改
这边程序在本地端测试不会有问题,在部署至heroku前须要做修改,不然後面会报错
将前面的这段程序
if __name__ == "__main__":
    app.run()
修改成下面这样
import os
if __name__ == "__main__":
    port = int(os.environ.get('PORT', 5000))
    app.run(host='0.0.0.0', port=port)
部署
在Heroku仪表的Deploy有完整的教学
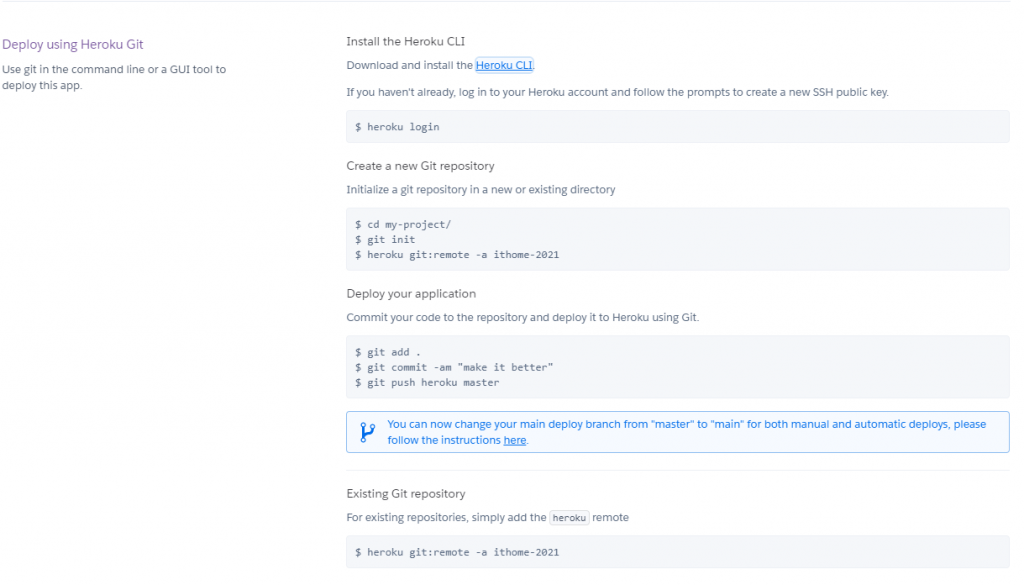
接着在VS Code右下新增一个命令提示字元分页
输入下方後,按任意键开启浏览器登入你的heroku
heroku login
登入後关闭网页
显示这个代表登入成功

接着输入下方新增Git Repository
git init

接着把你的app的远端节点添加至git
heroku git:remote -a 你的App名称

将你的buildpack设定为python
heroku buildpacks:set heroku/python

设定你的git作者资讯
git config --global user.email "[email protected]"
git config --global user.name "Your Name"
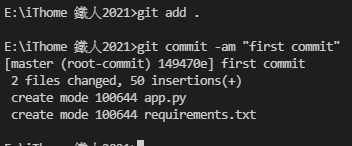
提交你的程序到git储存目录,并部署至heroku
git add .
git commit -am "first deploy"
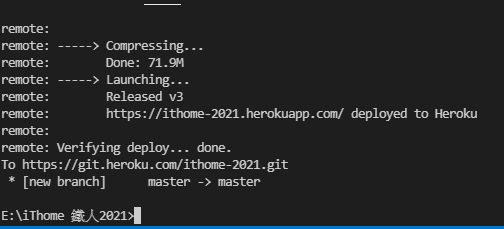
git push heroku master
部属完成
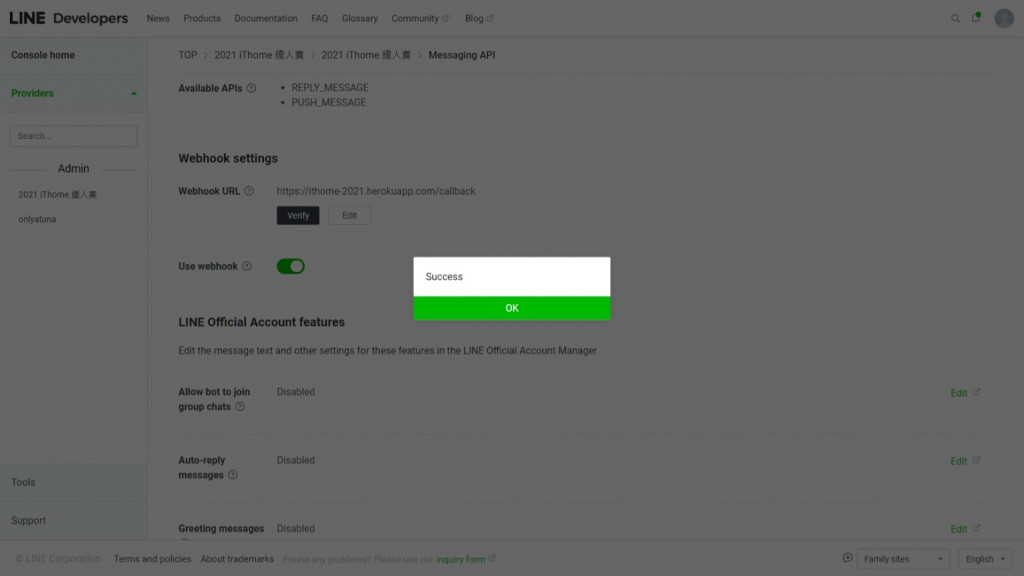
接着开启频道页面内的Messaging API
更改你的Webhook URL到你的heroku
按Update更新
https://你的App名称.herokuapp.com/callback
接着点击Verify,显示Success代表连接成功了
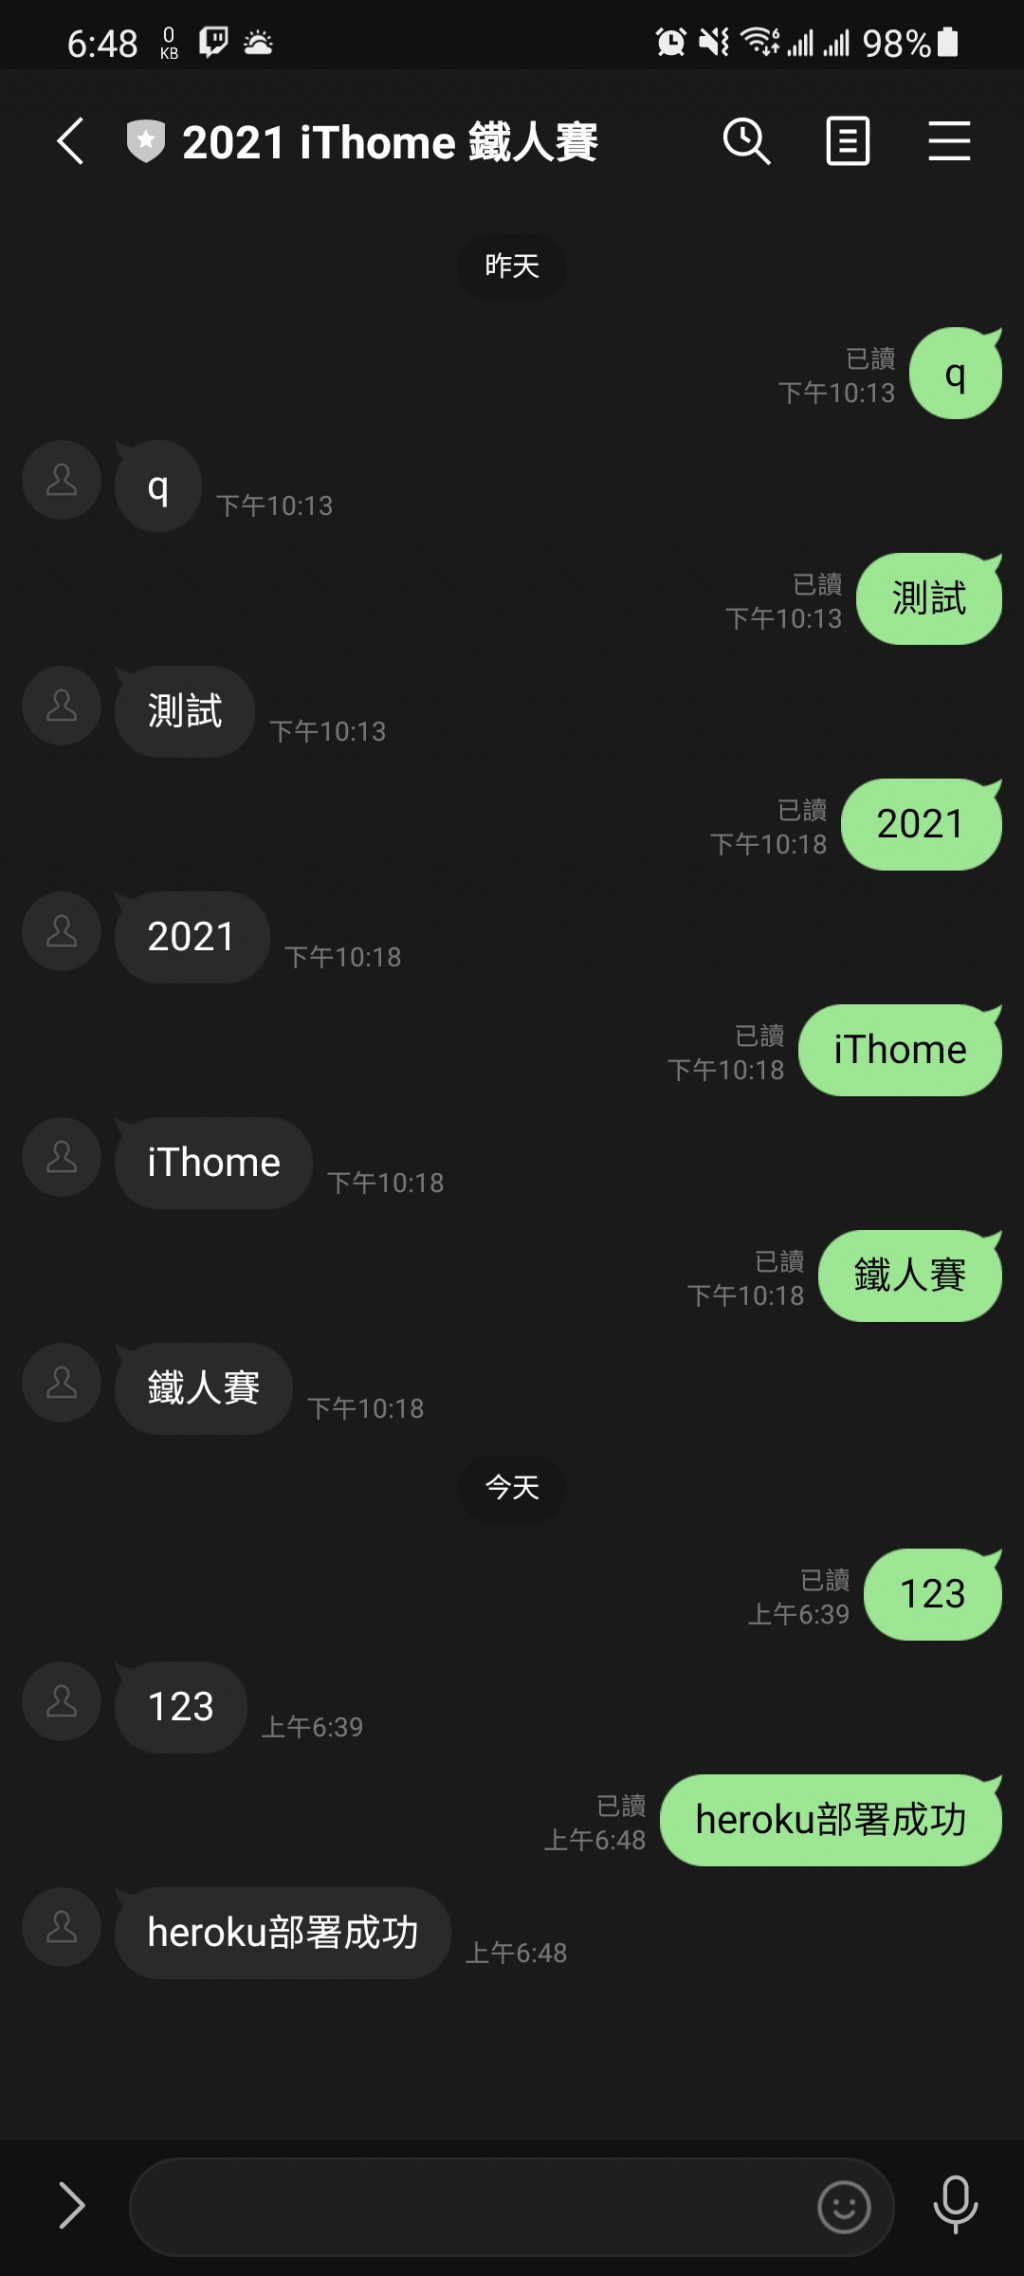
测试
结语
在这篇之前切顺利,这边在部属後发现报错,不过问题很快就解决了
>>: Day 18-更改 state 有其风险,State manipulation 有赚有赔(?),更改前应详阅官方文件说明书
DAY22 - 将作品发布出去吧 - 前端篇 (firebase)
到目前为止做了那麽多东西,但都仅限於在自己的本机观看,还没有发布到网路上面,因此没有人可以看得到,...
第51天~
这个得上一篇:https://ithelp.ithome.com.tw/articles/10259...
Day 12 - 动态组件(Dynamic Components)
动态元件(Dynamic-Components)是指Vue可以根据传入参数的,来去切换不同的元件。 ...
Day 8 - Fun with HTML5 Canvas
前言 JS 30 是由加拿大的全端工程师 Wes Bos 免费提供的 JavaScript 简单应用...
DAY2 [从游戏带起兴趣-1]
第二天记录想让大家从游戏中探索,最基本好理解的游戏,是帮助上手的好方法。 下载离线版 Blockly...