伸缩自如的Flask [day 29] Line Messaging API
只要再撑过这一天,就只要写结语就可以达成30天的目标了。
本来已经快想不到可以写甚麽了,那就来拿Line Messaging API来当这天的主题。
Line Messaging API的东西真的还蛮多的,也很多人有做过相关的主题说明了,
要在一天说明完真的很困难,所以这里主要就说一下应用概念。
像疾管家这种官方做出来api就觉得蛮厉害的,你只需要加入好友就可以使用应用服务。
相比於用react native或是kivy来开发一个app所需要投入的成本相对低很多。
但是相对来说就是固定於line的框架,自由度受限於line的开放服务。
假设你今天的公司上班签到表还是用手写的,或是必须要自己打上excel,
你非常辛苦的打好了一份每月签到表,
再拿给人资小姐的时候,却被人资小姐说你的签到表不符合规范,必须要重新交货。
虽然就算人资小姐很正,
但是你可是一名软件工程师,不是签到工程师。
聊天机器人影片版本:
我想是时候你可以帮公司开发一套签到聊天机器人系统了。
首先,相信你已经注册了开发者帐号:
https://developers.line.biz/en/
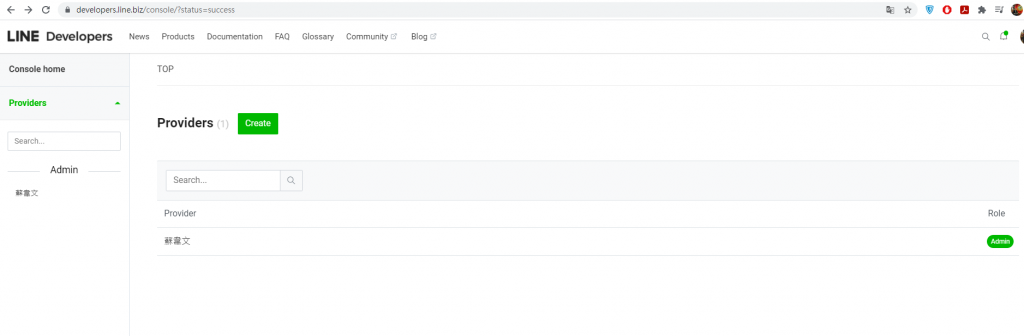
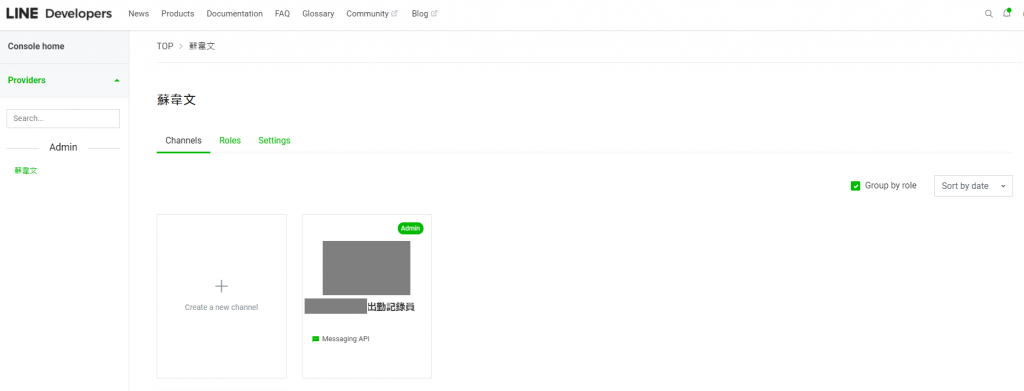
接着创立了Provider以及line message API 的 channel了:
可以先串接出一个可以使用的linebot,再来思考把功能补上:
https://github.com/line/line-bot-sdk-python
进行安装:
pip install line-bot-sdk
可以先使用范例说明的Usage example来先做串接:
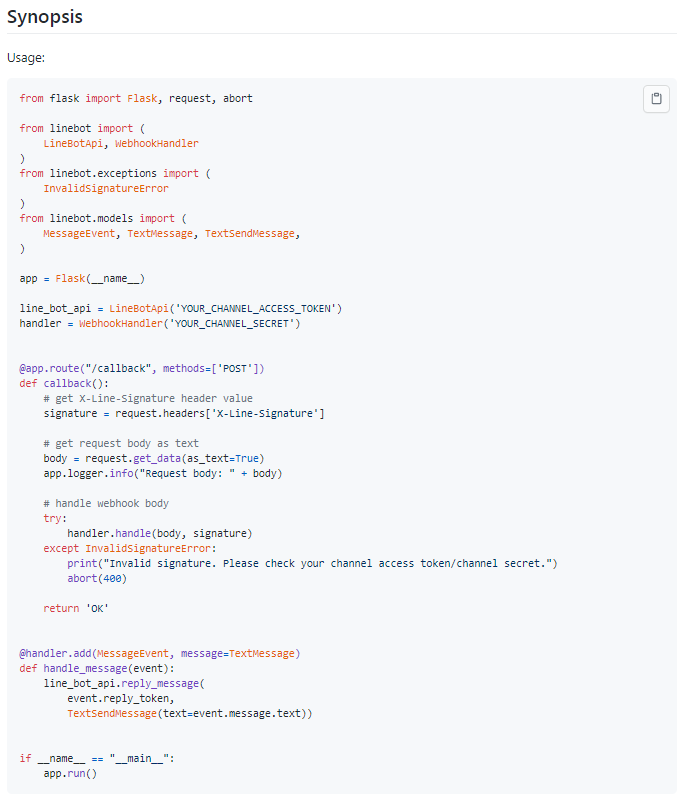
在自己的channel中获取Channel secret及Channel access token,并且替代范例程序的'YOUR_CHANNEL_ACCESS_TOKEN'及'YOUR_CHANNEL_SECRET'。
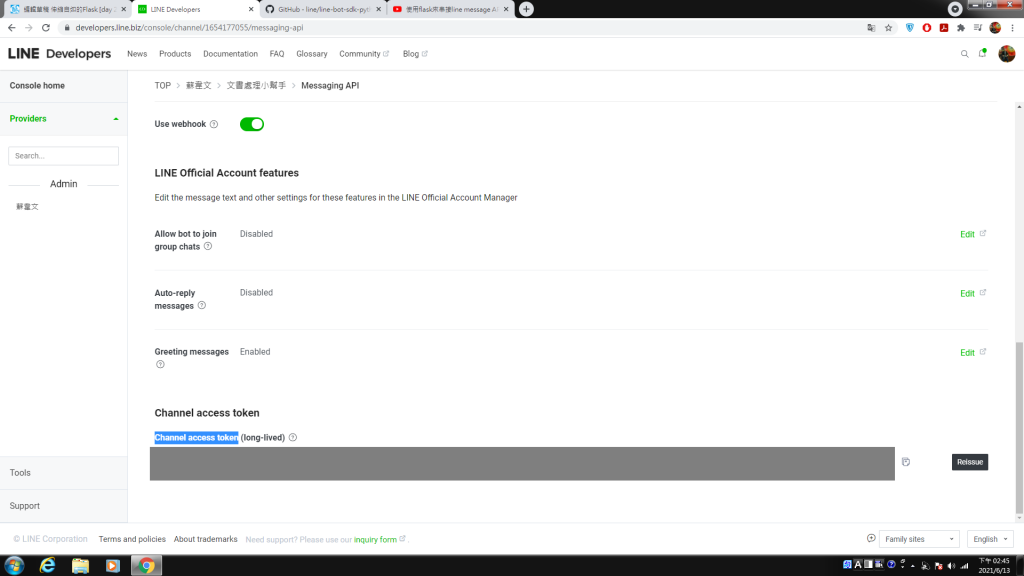

推上GCP app engine,在串接webhook:
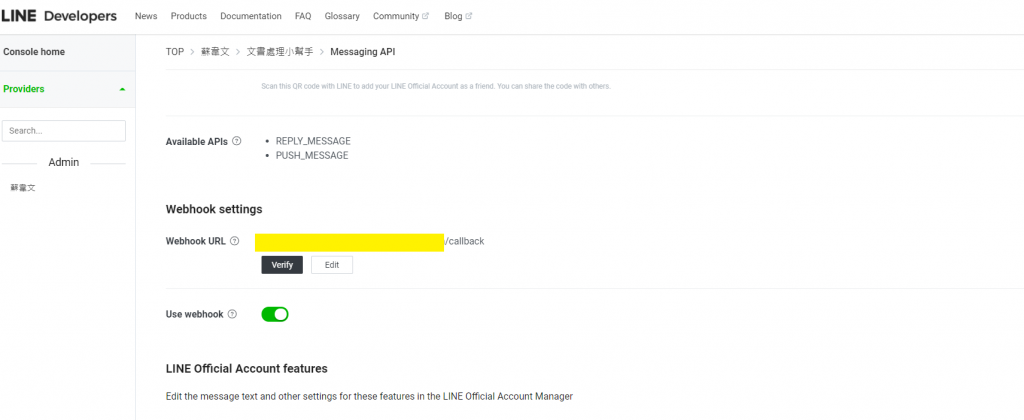
记得路由的路径有加上callback。
再来可以跟line bot对话看看有没有成功。
再来可以补上richmenu的设定:
(这里另外写新的PY档来呼叫API以设定richmenu)
import requests

url = 'https://api.line.me/v2/bot/richmenu'

data = {
    "size": {
      "width": 2500,
      "height": 1686
    },
    "selected": "false",
    "name": "行销平台选单",
    "chatBarText": "选单",
    "areas": [
      {
        "bounds": {
          "x": 0,
          "y": 0,
          "width": 883,
          "height": 943
        },
        "action": {
          "type": "message",
          "text": "行销平台"
        }
      },
            {
        "bounds": {
          "x": 883,
          "y": 0,
          "width": 883,
          "height": 943
        },
        "action": {
          "type": "message",
          "text": "个人资料"
        }
      },      {
        "bounds": {
          "x": 1766,
          "y": 0,
          "width": 883,
          "height": 943
        },
        "action": {
          "type": "message",
          "text": "会员注册"
        }
      },
       {
        "bounds": {
          "x": 0,
          "y": 943,
          "width": 883,
          "height": 943
        },
        "action": {
          "type": "message",
          "text": "最新活动消息"
        }
      },
       {
        "bounds": {
          "x": 883,
          "y": 943,
          "width": 883,
          "height": 943
        },
        "action": {
          "type": "message",
          "text": "修正个人资料"
        }
      },
       {
        "bounds": {
          "x": 1766,
          "y": 943,
          "width": 883,
          "height": 943
        },
        "action": {
          "type": "message",
          "text": "客服协助"
        }
      }
   ]
}
创立richmenu,并获得richmenu ID:
r=requests.post(url, headers={'Authorization': 'Bearer <你的Channel access token>'}, json=data)
print(r)
print(r.json())
上传richmenu图片,line有规定特定的图片size,这里根据设定上传宽2500,高1686像素的图片:
with open('./richmenu.png', 'rb') as img:
    menu_bin=img.read()
r=requests.post("https://api-data.line.me/v2/bot/richmenu/richmenu-<你的richmenu ID>/content", data=menu_bin, headers={'Authorization': 'Bearer <你的Channel access token>',"Content-Type": "image/png"})
print(r)
print(r.json())
(设定richmenu API到这里结束,回传可以获得richmenu ID)
在callback的地方连结使用者与richmenu:
@app.route("/callback", methods=['POST','GET'])
def callback():
    # get X-Line-Signature header value

    signature = request.headers['X-Line-Signature']
    body = request.get_data(as_text=True)
    d = json.loads(body)
    User_id=d["events"][0]["source"]["userId"]

    line_bot_api.link_rich_menu_to_user(User_id, richmenu-<你的richmenu ID>)
要想要打卡我们可以先串接每个员工的员工编号、line userID
(使用了datastore资料库来将资料写入,先在GCP上搜寻datastore来开启服务,前2G 不用钱,Free !):
    elif event.message.text[0:4] == "绑定帐号":
        UserName = event.message.text[4:]
        UserId = session.get('UserId')
        datastore_client = datastore.Client()
        kind = 'UserName'
        name = UserId
        task_key = datastore_client.key(kind, name)
        task = datastore.Entity(key=task_key)
        task['UserName'] = UserName
        datastore_client.put(task)

        line_bot_api.reply_message(event.reply_token,TextSendMessage(text="绑定姓名成功:"+UserName))
用storage来下载打卡excel范本到当前暂存区域/tmp:
from google.cloud import storage

def download_blob(bucket_name, source_blob_name, destination_file_name):
    """Downloads a blob from the bucket."""
    # bucket_name = "your-bucket-name"
    # source_blob_name = "storage-object-name"
    # destination_file_name = "local/path/to/file"
    storage_client = storage.Client()
    bucket = storage_client.bucket(bucket_name)
    blob = bucket.blob(source_blob_name)
    blob.download_to_filename(destination_file_name)
    print(
        "Blob {} downloaded to {}.".format(
            source_blob_name, destination_file_name
        )
    )
# 上船物件
def upload_blob(bucket_name, source_file_name, destination_blob_name):
    """Uploads a file to the bucket."""
    # bucket_name = "your-bucket-name"
    # source_file_name = "local/path/to/file"
    # destination_blob_name = "storage-object-name"

    storage_client = storage.Client()
    bucket = storage_client.bucket(bucket_name)
    blob = bucket.blob(destination_blob_name)

    blob.upload_from_filename(source_file_name)

    print(
        "File {} uploaded to {}.".format(
            source_file_name, destination_blob_name
        )
    )

    if event.message.text == "下载档案":
        UserId = session.get('UserId')
        downloadfileName="/tmp/"+UserId+".xlsx"

        DBUserIdExcelName=UserId+".xlsx"

        download_blob("<你的storage bucket name>", "出勤纪录表.xlsx" , downloadfileName)

        line_bot_api.reply_message(event.reply_token,TextSendMessage(text=downloadfileName+" 下         载出勤纪录表成功"))
写excel,openpyxl套件:
from openpyxl import load_workbook

wb = load_workbook(filename = downloadfileName)
ws = wb.active

cellnum=GoodAfterNoonCard[todayDay]
ws[cellnum].value = a[11:16]

ws["I2"].value = a[0:4]+"年"
ws["J2"].value = a[5:7]+"月"

wb.save(downloadfileName)
如果希望获得员工位置:
限时间签证(五分钟内不点选就失效),itsdangerous套件:
from itsdangerous import TimedJSONWebSignatureSerializer

s = TimedJSONWebSignatureSerializer('punch', expires_in=3600)
TimeToken=s.dumps({'user_id': AccountName})

s = TimedJSONWebSignatureSerializer('punch')
data = s.loads(TimeToken)
再来,到了每个月最後一天,可以使用Flask_mail将写好的excel签到表寄给很正的人资小姐,
你甚至可以推广给她,让每个同事都加入这个聊天机器人当好友,让她可以省去了一份份检查的时间。
当然她也可能会不鸟你,不过至少你努力尝试过了。
天啊,内容真的很多啊,我想就到这边了,如果想要挑战看看的,可以试着把上面的东西凑齐来试试看。
我想第29天的内容就到这了吧。
- [day 1] 开场白
- [day 2] blue_print
- [day 3] Factory mode
- [day 4] JWT token
- [day 5] session
- [day 6] Jinja
- [day 7] Post data with Form tag
- [day 8] ajax with jquery
- [day 9] request
- [day 10] 将资料写进DB(pymongo)
- [day 11] log with mongoDB
- [day 12] Sql Database
- [day 13] 档案上传
- [day 14] 档案下载 及 其他传值方法
- [day 15] boostrap 4.6
- [day 16] API
- [day 17] Docker image化--安装篇
- [day 18] Docker image化--运行篇
- [day 19] Nginx
- [day 20] Docker compose
- [day 21] Nginx with https
- [day 22] pythonanywhere 部署
- [day 23] GCP app engine (介绍)
- [day 24] GCP app engine (deploy)
- [day 25] Flask with web cam
- [day 26] Flask with ML
- [day 27] Supervisor
- [day 28] Flask-Mail
- [day 29] Line Messaging API
- [day 30] 结语
Day 30 Quantum Protocols and Quantum Algorithms
Solving Linear Systems of Equations using HHL HHL ...
[iT铁人赛Day23]练习题(2)
嗨,大家好,由於本人昨天去打了疫苗,然後晚上9点开始被副作用折腾 以至於过了12点不能马上发文 然後...
Day30练习java-魔方阵+心得
原本想说都最後一天了,就写个心得就好了ㄅ,但是同学突然问我要不要写写看魔方阵,引起我的好奇心想说试试...
[Day12] 文本/词表示方式(三)-TFIDF实作
一. 序 这篇主要用python实作TFIDF,来表示文本的方式 二. 载入套件与文本 主要利用ji...
第二十四天:三探 Gradle Plugin
延续昨天的 Plugin 实作,今天来看一下 Extension 及 Task 类别各要怎麽实作? ...