Android Studio初学笔记-Day28-Fragment
Fragment
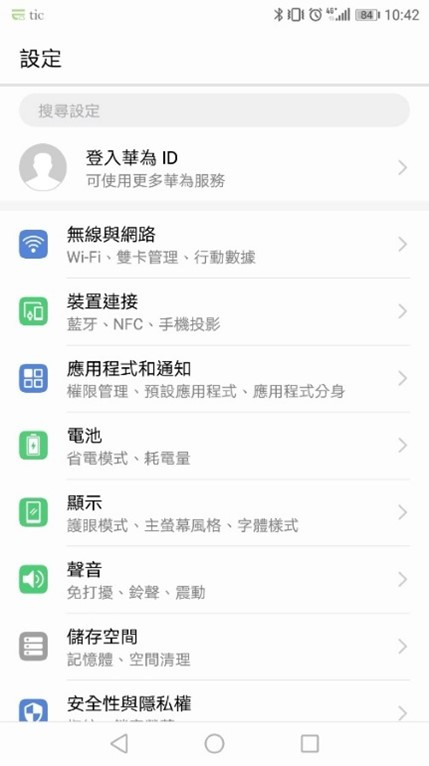
Fragment 通常被嵌入在Activity,不过它其实跟Activity很像,都可以包含布局。Fragment能放我们手机或平板在直立或横竖时有不一样的呈现,举个最简单的例子,就我们使用的手机设定,通常只能塞下一个fragment如下
而平板的设定是能够塞下两个Fragment。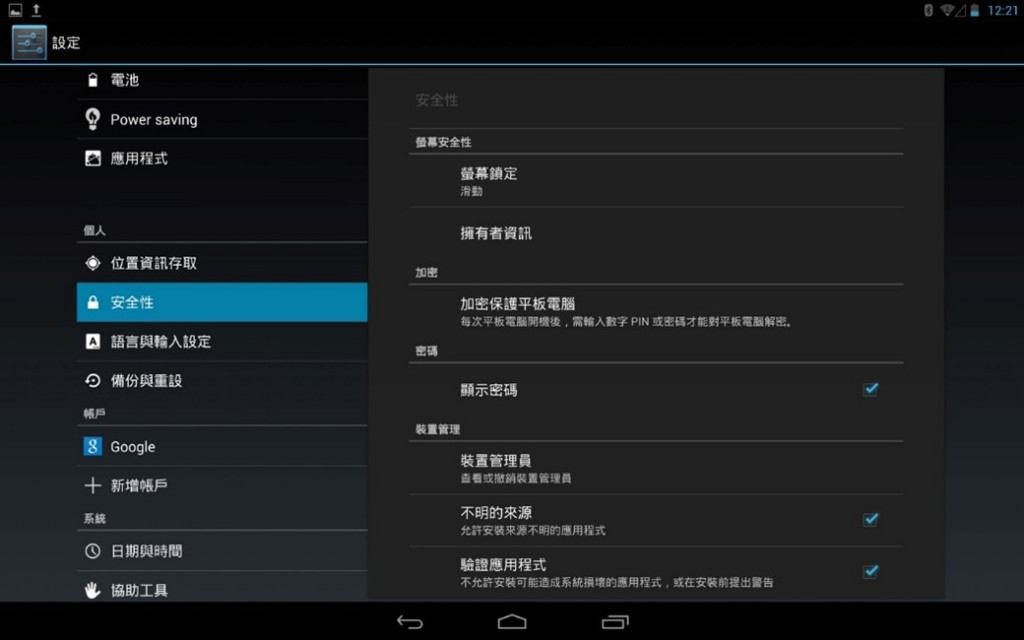
这样举例完希望让各位对Fragment有点感觉,接下来我讲透过程序码简单讲解Fragment的用法。
activity_main
<androidx.constraintlayout.widget.ConstraintLayout xmlns:android="http://schemas.android.com/apk/res/android"
    xmlns:app="http://schemas.android.com/apk/res-auto"
    xmlns:tools="http://schemas.android.com/tools"
    android:layout_width="match_parent"
    android:layout_height="match_parent"
    tools:context=".MainActivity">

    <Button
        android:id="@+id/bt1"
        android:layout_width="0dp"
        android:layout_height="wrap_content"
        android:text="Change A"
        app:layout_constraintEnd_toStartOf="@+id/guideline3"
        app:layout_constraintStart_toStartOf="parent"
        app:layout_constraintTop_toTopOf="parent" />

    <Button
        android:id="@+id/bt2"
        android:layout_width="0dp"
        android:layout_height="wrap_content"
        android:text="Change B"
        app:layout_constraintEnd_toEndOf="parent"
        app:layout_constraintStart_toStartOf="@+id/guideline3"
        app:layout_constraintTop_toTopOf="parent" />

    <androidx.constraintlayout.widget.Guideline
        android:id="@+id/guideline3"
        android:layout_width="wrap_content"
        android:layout_height="wrap_content"
        android:orientation="vertical"
        app:layout_constraintGuide_begin="205dp" />

    <FrameLayout
        android:id="@+id/fl_container"
        android:layout_width="match_parent"
        android:layout_height="0dp"
        app:layout_constraintBottom_toBottomOf="parent"
        app:layout_constraintTop_toBottomOf="@+id/bt1" />
</androidx.constraintlayout.widget.ConstraintLayout>
接者设置Fragment的layout,在res/layout中加入layout_a,layout_b,并简单设置Textview的两个的布局。
layout_a.xml
<androidx.constraintlayout.widget.ConstraintLayout
    xmlns:android="http://schemas.android.com/apk/res/android"
    xmlns:app="http://schemas.android.com/apk/res-auto"
    xmlns:tools="http://schemas.android.com/tools"
    android:layout_width="match_parent"
    android:layout_height="match_parent">

    <TextView
        android:id="@+id/textView"
        android:layout_width="wrap_content"
        android:layout_height="wrap_content"
        android:layout_marginStart="124dp"
        android:layout_marginLeft="124dp"
        android:layout_marginTop="356dp"
        android:text="Fragment A"
        android:textSize="30sp"
        app:layout_constraintStart_toStartOf="parent"
        app:layout_constraintTop_toTopOf="parent" />
</androidx.constraintlayout.widget.ConstraintLayout>
新增两个Class来用创建Fragment(AFragment,BFragment),这里可以详读Fragment的生命周期,比较能了解Fragment的在创建时的步骤和启动时机,以下是简单创立Fragment的参考范例。
public class AFragment extends Fragment {
    private TextView tx1;
    @Nullable
    @Override
    public View onCreateView(@NonNull LayoutInflater inflater, @Nullable ViewGroup container, @Nullable Bundle savedInstanceState) {
        View view = inflater.inflate(R.layout.layout_a,container,false);
        return view;
    }

    @Override
    public void onViewCreated(@NonNull View view, @Nullable Bundle savedInstanceState) {
        super.onViewCreated(view, savedInstanceState);
        tx1 = (TextView) view.findViewById(R.id.textView);
    }
}
最後到MainActivity.java档中绑定Fragment
public class MainActivity extends AppCompatActivity {
    private Button bt1;
    private Button bt2;
    private AFragment aFragment;
    private BFragment bFragment;
    @Override
    protected void onCreate(Bundle savedInstanceState) {
        super.onCreate(savedInstanceState);
        setContentView(R.layout.activity_main);

        bt1 = (Button)findViewById(R.id.bt1);
        bt2 = (Button)findViewById(R.id.bt2);
        aFragment = new AFragment();
        //透过getSupportFragmentManager(),获取FragmentManager并使用beginTransaction()
          开启一个事务。最後将Fragmnet加入容器内的方法,可以使用add。
        getSupportFragmentManager().beginTransaction().add(R.id.fl_container,aFragment,"A").commit();
        bt1.setOnClickListener(new View.OnClickListener() {
            @Override
            public void onClick(View v) {
                if(aFragment == null)
                    aFragment = new AFragment();
                //这里要做到替换的效果,所以我们用replace做到取代。
                getSupportFragmentManager().beginTransaction()
                                           .replace(R.id.fl_container,aFragment,"A").commit();
            }
        });
        bt2.setOnClickListener(new View.OnClickListener() {
            @Override
            public void onClick(View v) {
                if(bFragment == null)
                    bFragment = new BFragment();
                getSupportFragmentManager().beginTransaction()
                                           .replace(R.id.fl_container,bFragment,"B").commit();
            }
        });
    }
}
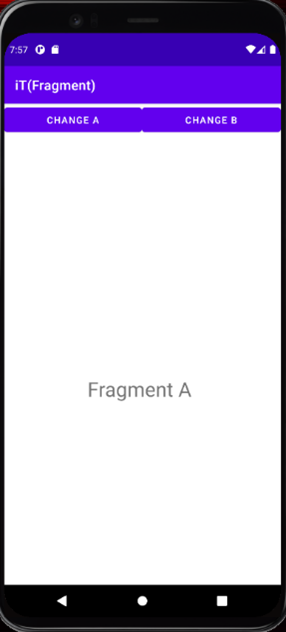
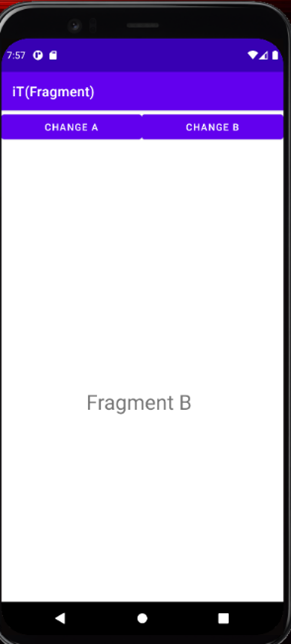
可以看到它与以往的Activity跳转不同,按钮的部分被保留了下来。
以上就是今天Fragment的介绍,谢谢大家~
D10. 学习基础C、C++语言
D10: 简单的练习UVA(11805) #include <stdio.h> #inc...
Day 25【Deploy NFT - Layers Blending & MetaData】Read the License
【前言】 最後这个 Deploy NFT 才是真正真正真正的大魔王,比我想像中还要难超级多,难到我...
[Day06] 第六章- 开发环境安装(xampp,vscode,composer)
目标 安装环境 勘误修正及补充 1. 前言 到目前为止 已经把永丰的api参数以及相关制作流程做完了...
Day 13:第三方套件、授权
前言 以前很经常使用 GitHub 上的各种套件, 不管是大到页面,小到按钮,深到语法,都喜欢用自己...
[17] 建立统一放资料的地方
建立一个放资料的地方,统一读取和写入这样比较方便 dataCenter.js const GetIn...