强型闯入DenoLand[32] - 使用 Deno 串接 MongoDB

强型闯入DenoLand[32] - 使用 Deno 串接 MongoDB
在安装 MongoDB 後,来看看要如何使用 Deno 串接 MongoDB 吧!
开始之前: 设定 collection 以及 database
继昨天的安装教学,我们现在来建立待会要使用的 database 以及 collection :
- 打开 MongoDB Compass 并按下
Create Database。
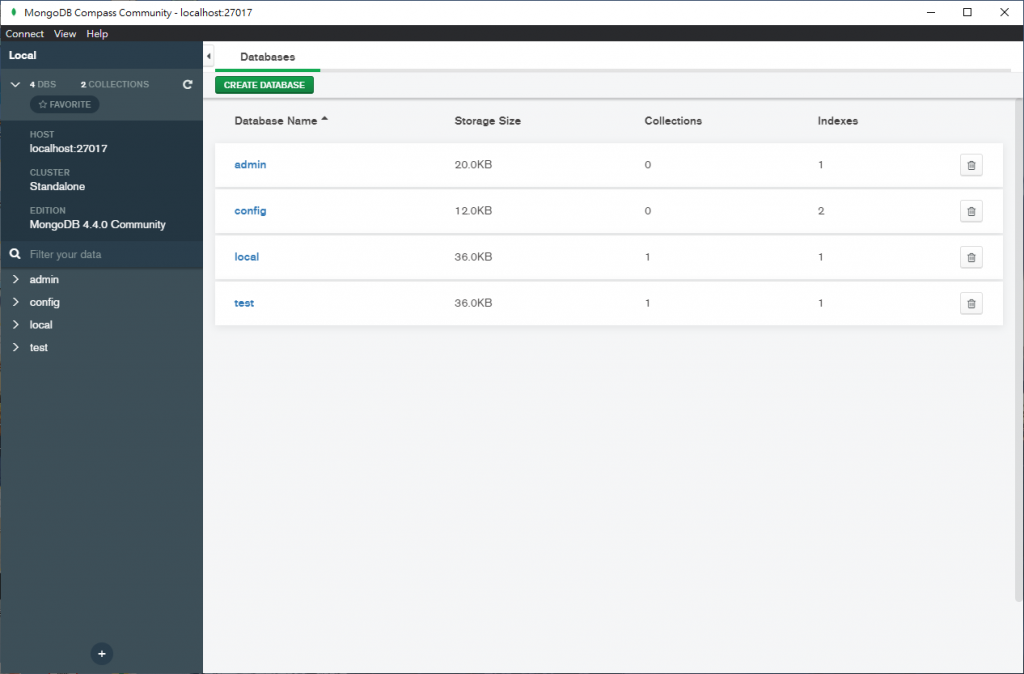
- 输入 Database 和 Collection 的名字:

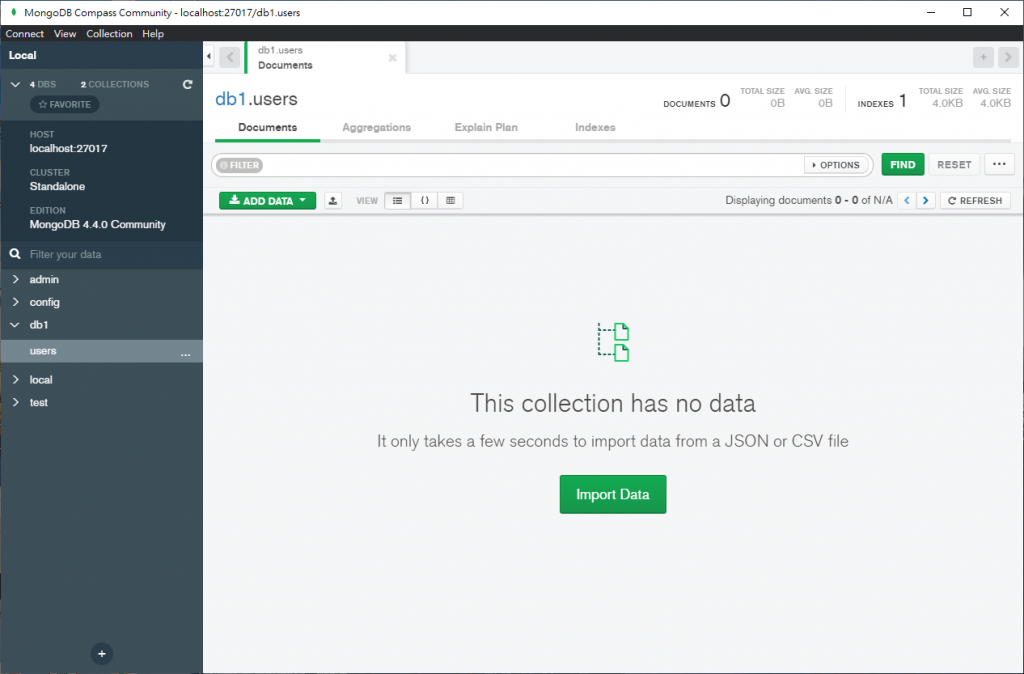
- 创建完成,如果读者有需要,也可以先插几笔资料进去。
进入正题: deno_mongo 教学
deno_mongo 是一款 MongoDB 资料库驱动的 Deno 第三方套件,它是基於 rust 官方的 mongoldb Library 所打造的。
建立连线
在开始之前,需要将第三方模组引入:
import { MongoClient } from "https://deno.land/x/[email protected]/mod.ts";
引入後,将 MongoClient 物件实例化:
const client = new MongoClient();
开启 MongoDB 後,就可以使用 client 建立连线:
client.connectWithUri("mongodb://localhost:27017");
执行到这一步时,就已经成功连上 MongoDB 了,不过我们还没告诉 Deno 要存取资料库中的哪一个 database 和 collection :
const db = client.database("test");
const users = db.collection("users");
上面的范例是让 Deno 连上 MongoDB 中 test database 的 users collection 。
使用 Interface 防止非预期资料写入 MongoDB
使用 Interface 可以有效预防有心人士在 json 格式内插入不需要的资料。
假设我们预期 collection 的栏位只有 id 、 username 以及 password ,可以先定义好 interface :
interface UserSchema {
  _id: { $oid: string };
  username: string;
  password: string;
}
定义好後,我们在连结 collection 的那行程序码加入 interface 检查:
const db = client.database("test");
const users = db.collection<UserSchema>("users");
常见操作
在学会如何与 MongoDB 建立连线後,跟着笔者一起看看 deno_mongo 提供的操作方法吧!
注意!进行以下常见操作都需要先将 Deno 与 MongoDB 做连接唷!
import { MongoClient } from "https://deno.land/x/[email protected]/mod.ts";
const client = new MongoClient();
client.connectWithUri("mongodb://localhost:27017");
const db = client.database("test");
const users = db.collection("users");
新增单笔资料
const insertId = await users.insertOne({
  username: "user1",
  password: "pass1",
});
新增多笔资料
const insertIds = await users.insertMany([
  {
    username: "user1",
    password: "pass1",
  },
  {
    username: "user2",
    password: "pass2",
  },
]);
寻找单笔资料
const user1 = await users.findOne({ _id: insertId });
寻找多笔资料
const all_users = await users.find({ username: { $ne: null } });
计数
计算 Collection 中有多少笔资料包含使用者输入的键值对 :
const count = await users.count({ username: { $ne: null } });
聚合
聚合操作主要用於处理数据 (像是:取平均值、加总等操作)并回传计算後的结果。
const docs = await users.aggregate([
  { $match: { username: "many" } },
  { $group: { _id: "$username", total: { $sum: 1 } } },
]);
新增单笔资料
const { matchedCount, modifiedCount, upsertedId } = await users.updateOne(
  { username: { $ne: null } },
  { $set: { username: "USERNAME" } }
);
新增多笔资料
const { matchedCount, modifiedCount, upsertedId } = await users.updateMany(
  { username: { $ne: null } },
  { $set: { username: "USERNAME" } }
);
删除单笔资料
const deleteCount = await users.deleteOne({ _id: insertId });
删除多笔资料
const deleteCount2 = await users.deleteMany({ username: "test" });
跳过
我们可以使用 skip() 跳过指定数量的资料:
const skipTwo = await users.skip(2).find();
限制
如果使用者需要在 MongoDB 中找寻数据并指定数据记录的数量,可以使用 limit() :
const featuredUser = await users.limit(5).find();
执行
最後要注意的是, deno_mongo 目前还不稳定,使用上不要忘记加入 --unstable 标签唷!
deno run --allow-net --allow-write --allow-read --allow-plugin --allow-env --unstable yourCode.ts
总结
今天我们学会了使用第三方套件去连线 MongoDB 。明天笔者就会将超简易 WebAPI 留下的坑填完,顺便分享一下什麽是 ORM ,我们明天见!
此外,本篇所使用的范例程序码参考了 deno_mongo 的官方文件,请知悉。
<<: 骨董级Fortigate 60B防火墙dual WAN应用心得分享
Day 24 Compose UI Test
今年的疫情蛮严重的,希望大家都过得安好, 希望疫情快点过去,能回到一些线下技术聚会的时光~ 今天目标...
企业资料通讯 Week3
Q:多个传送者去分配同一条channel? FDM(分频) V.S TDM(分时) 可以看: FDM...
人脸辨识-day25 Overfitting、Underfitting
在处理完资料集後,将资料放入模型训练时,会将资料集分为训练集、验证集和测试集,训练集是模型会对训练集...
[Day13] 团队系统设计-估点技巧
前面的文章讨论过估点与专案管理、风险控管的高度相关性。对於较年轻的工程师来说,估点是一个容易产生挫折...
来画一个视力检查表吧!
前言 今天要来研究的是 canvas~ 踩下去才发现是一个大坑XD,以下先从最基本的开始认识起,最後...