连续 30 天 玩玩看 ProtoPie - Day 23
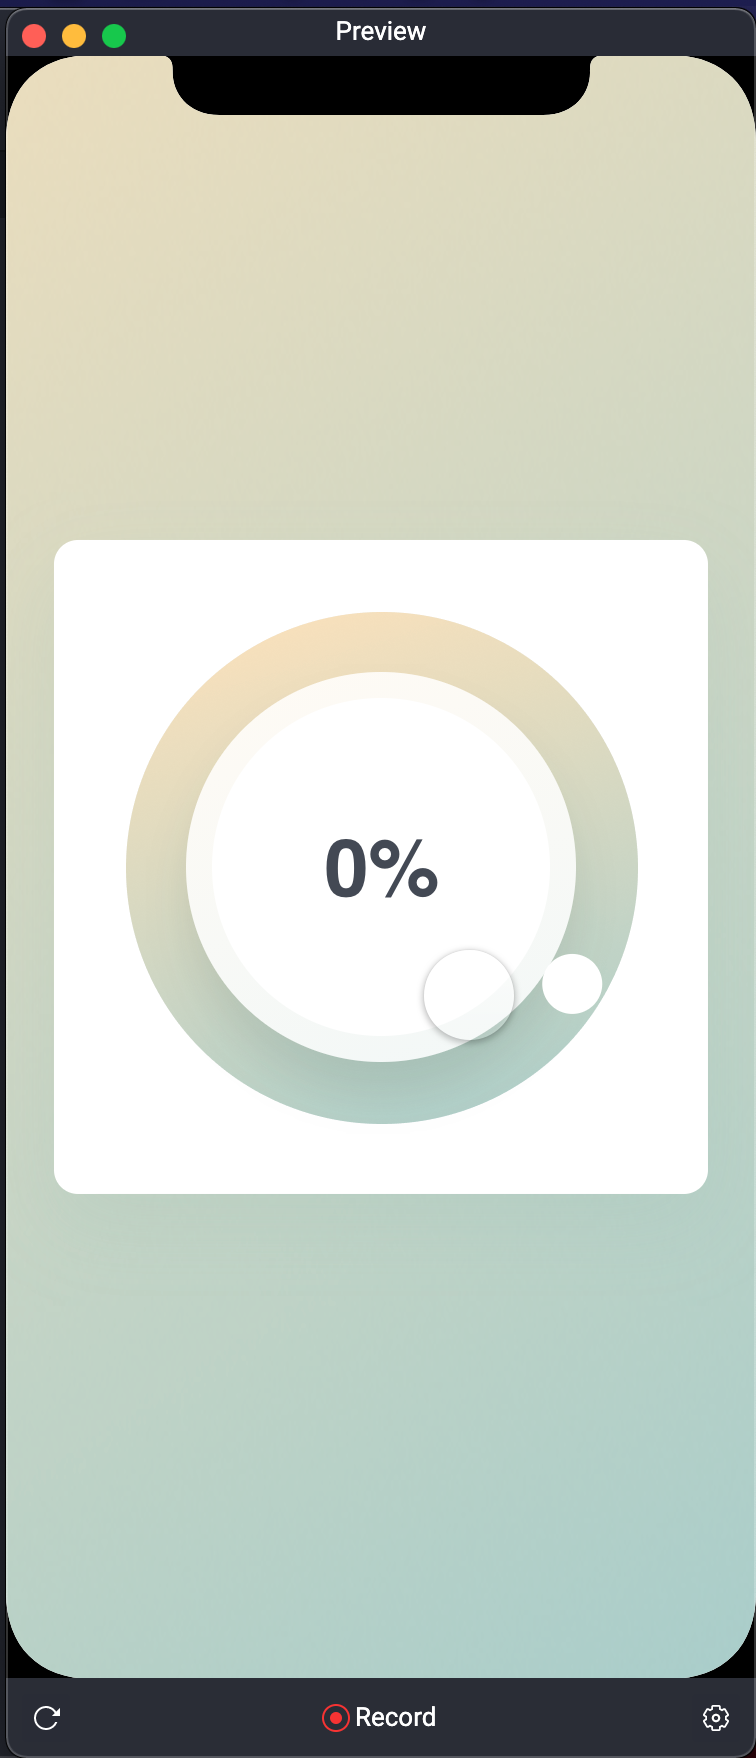
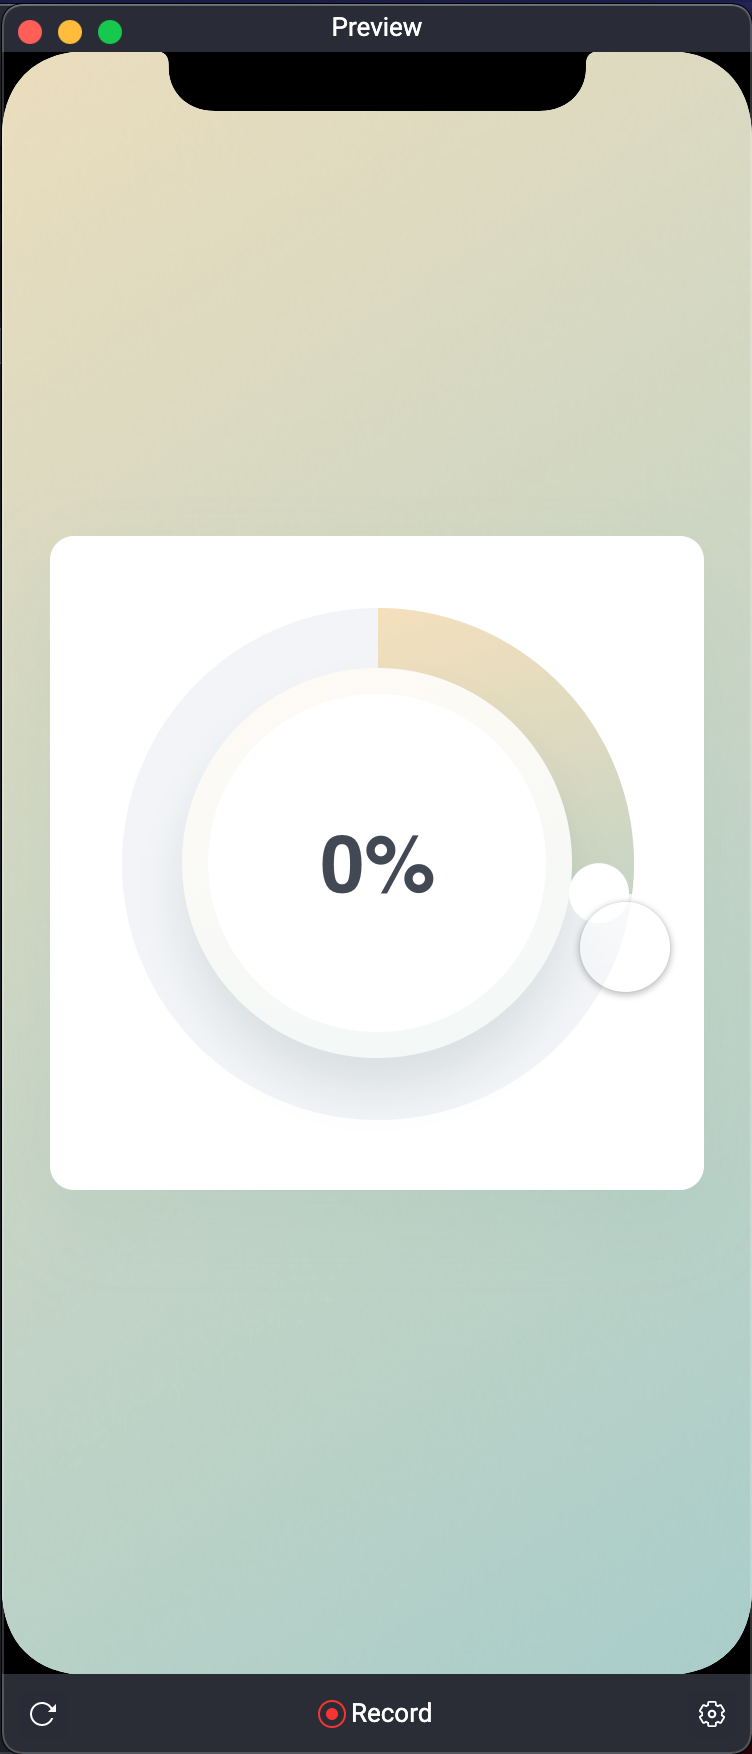
今天来玩这个,模拟一个旋转钮。
(其实是 Slider 但这东西真不容易翻译。等等直接看图片吧。)
分享者是个在学使用者设计的大学生,Cal Brackin。
会使用到 Mask 和 Chain 这两个功能。
讲者有顺道帮忙解释,当你没有要追求很精准的控制,让使用者可以设定自己想要的数值的时候,Slider就很适合。
我想,就像是音量这种很凭感觉的设定。
(除非你跟我以前很像,转到某些地方一定要是双位数或某个数字。)
所以等等会用 Chain 来连动两个 layer 并利用 Variable 来计算这个旋转钮的值。
原始档案下载的地方在这。
让手指可以拖曳旋转钮
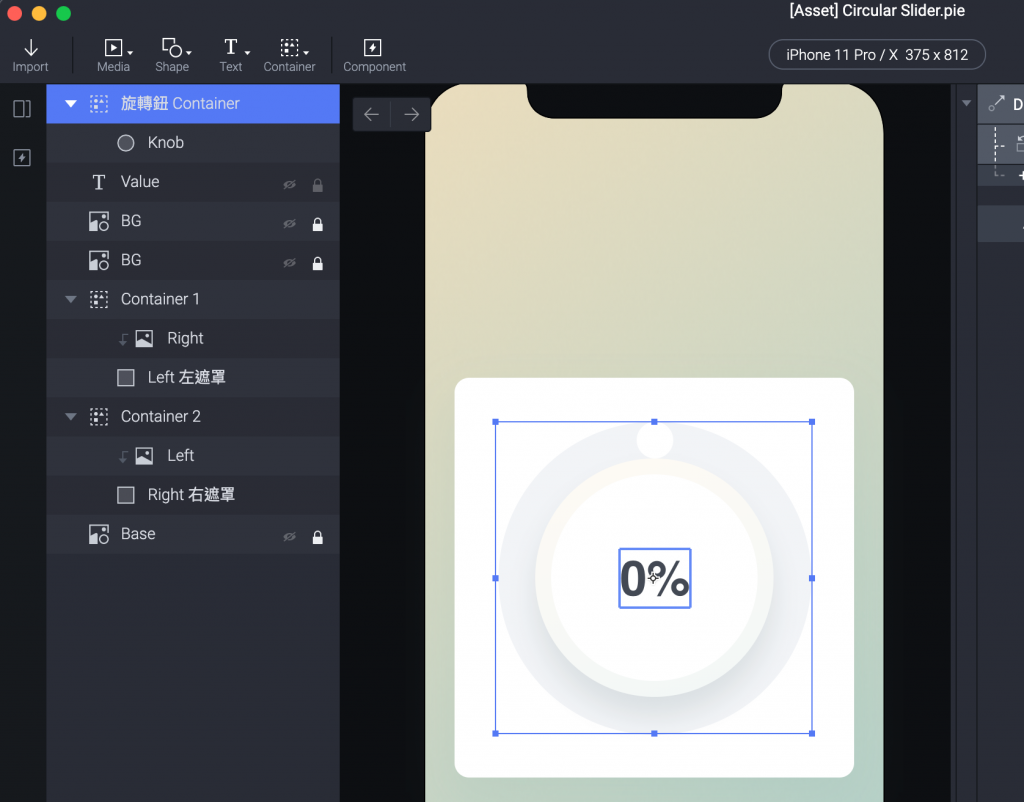
跟之前一样,每次的开始都是从一个 Container 开始。
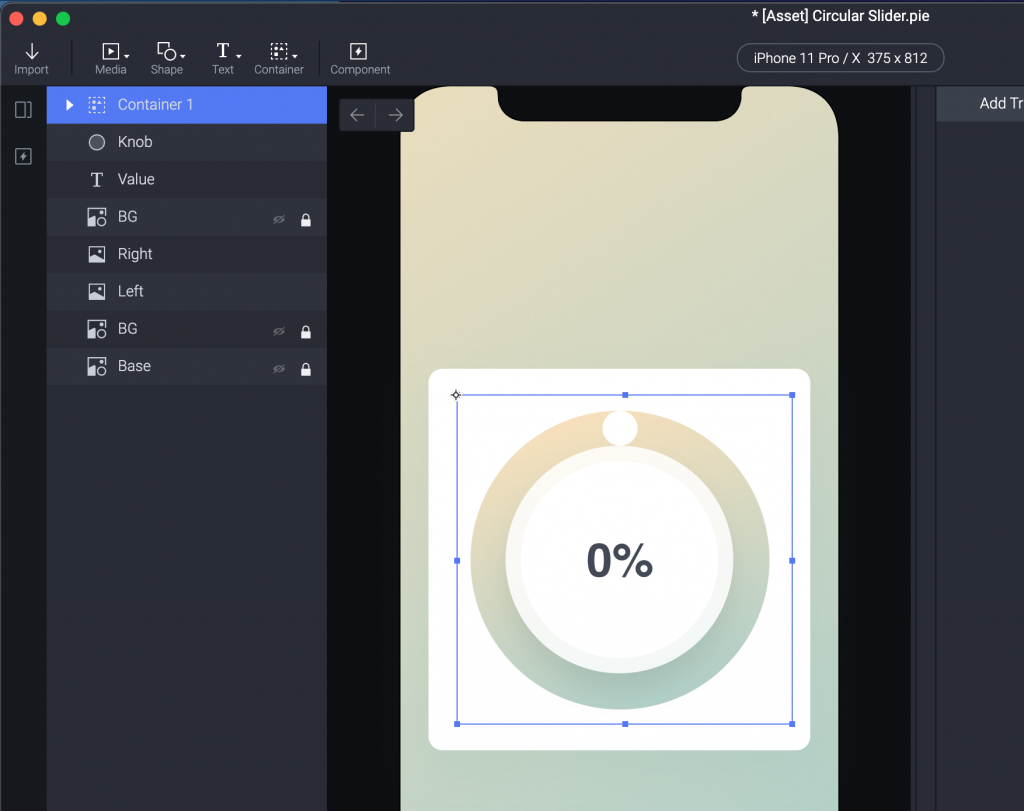
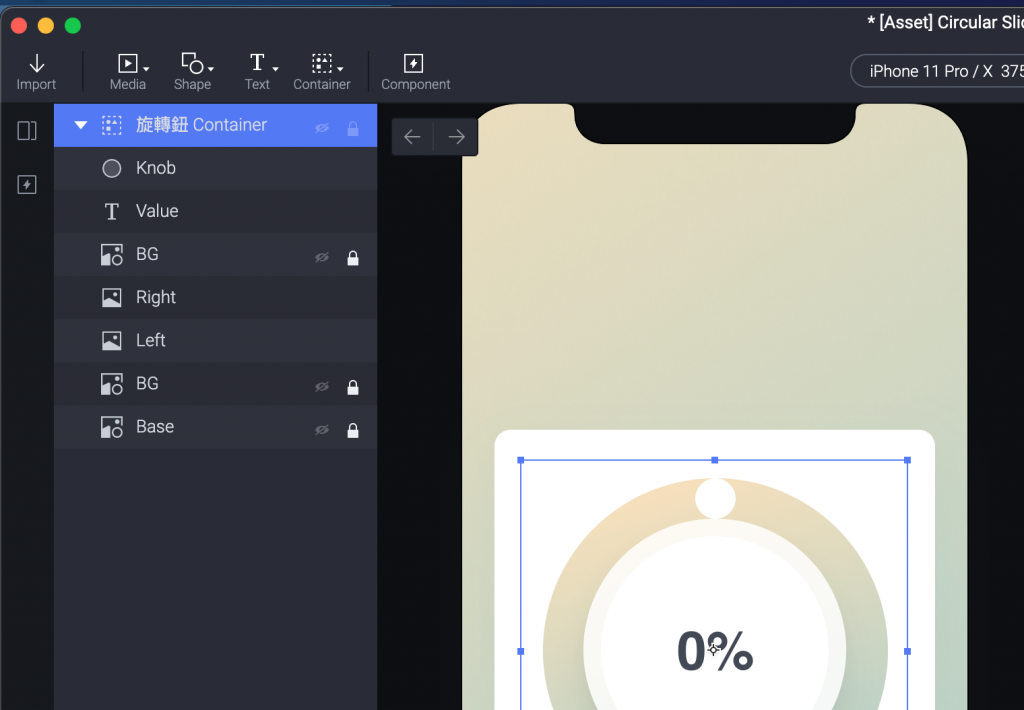
我们做一个跟中间圈圈一样大的 Container 然後命名为「旋转钮 Container」。
(这样命名ok吗?我也不知道,但我想试试看用中文命名,看看顺不顺。)
(上传前加上这句:不顺,直接用英文比较不会乱掉...)
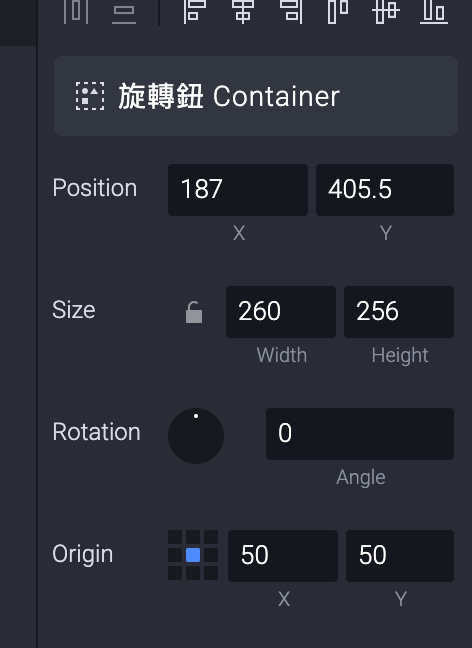
旋转钮 Container 的 Origin 移动到中间。
(Rotation 旋转时候的轴心。)
再来选择 Knob 顺便把他放到旋转钮 Container 里面。
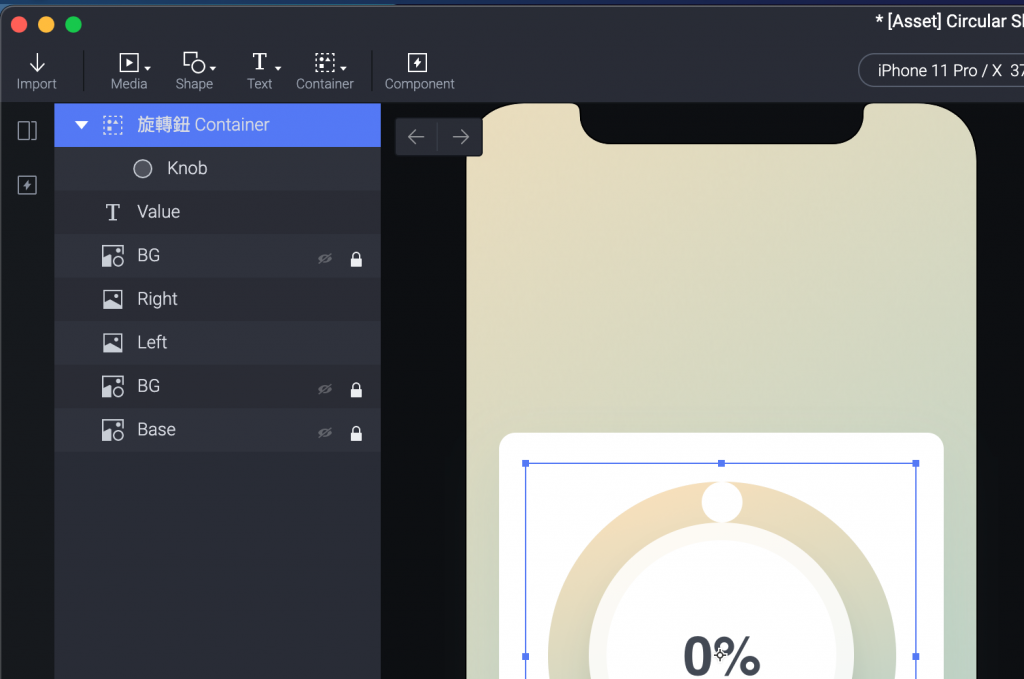
我们给他一个 Drag 的 Trigger,并且加上一个 Rotate response 。

Preview 就能看到手指能拖动Knob绕圈圈了。
让Knob 视觉上显示目前的值
这个部分比较混乱,我们一步一步来看。
原始档案已经把圆圈做成两半。
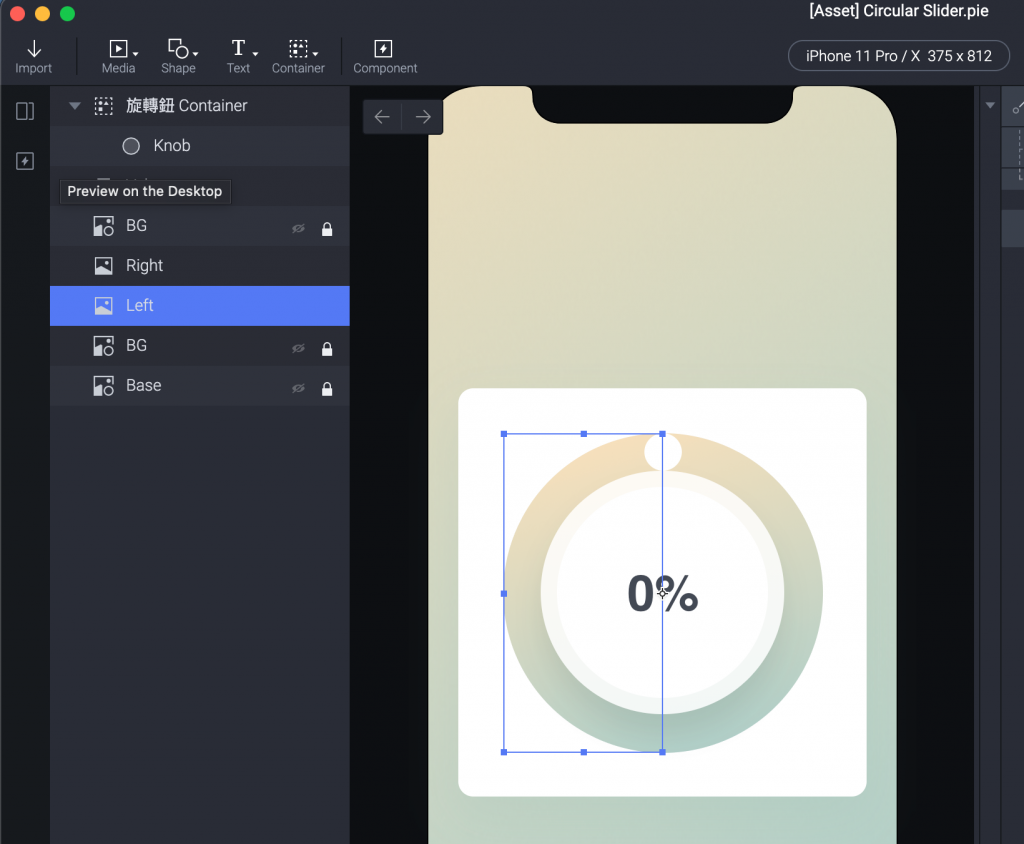
一个 Left 。
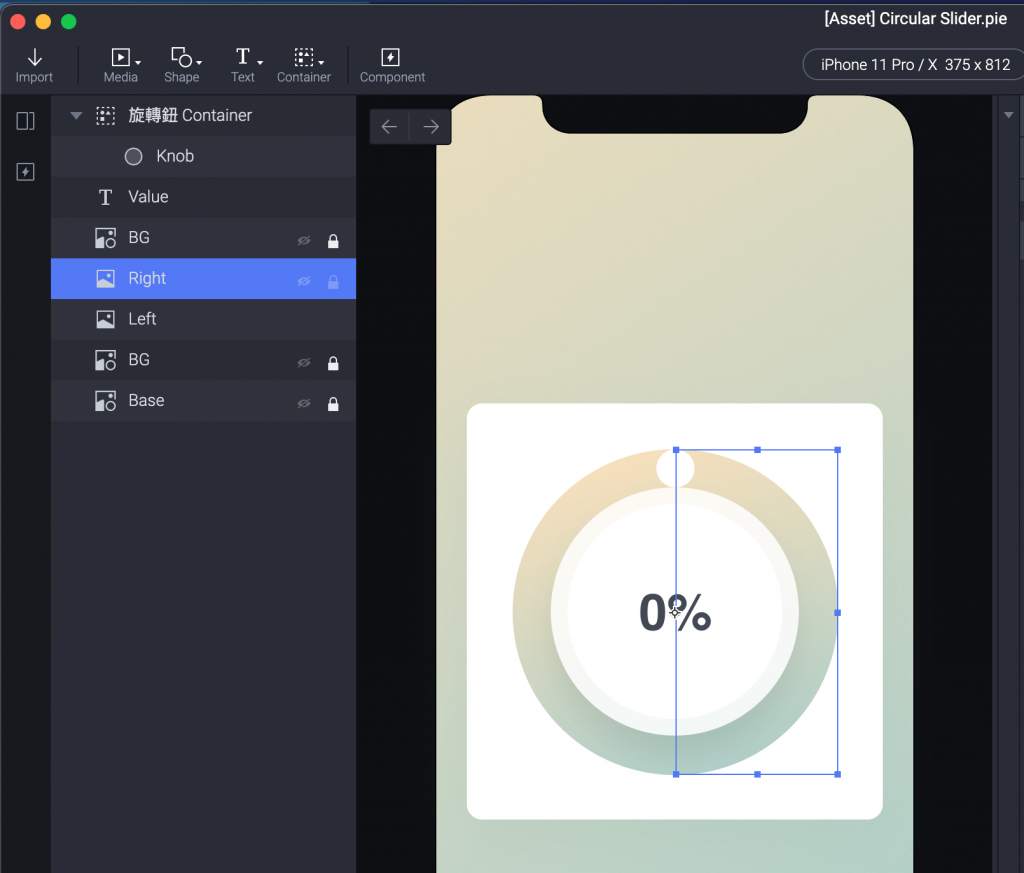
一个 Right 。
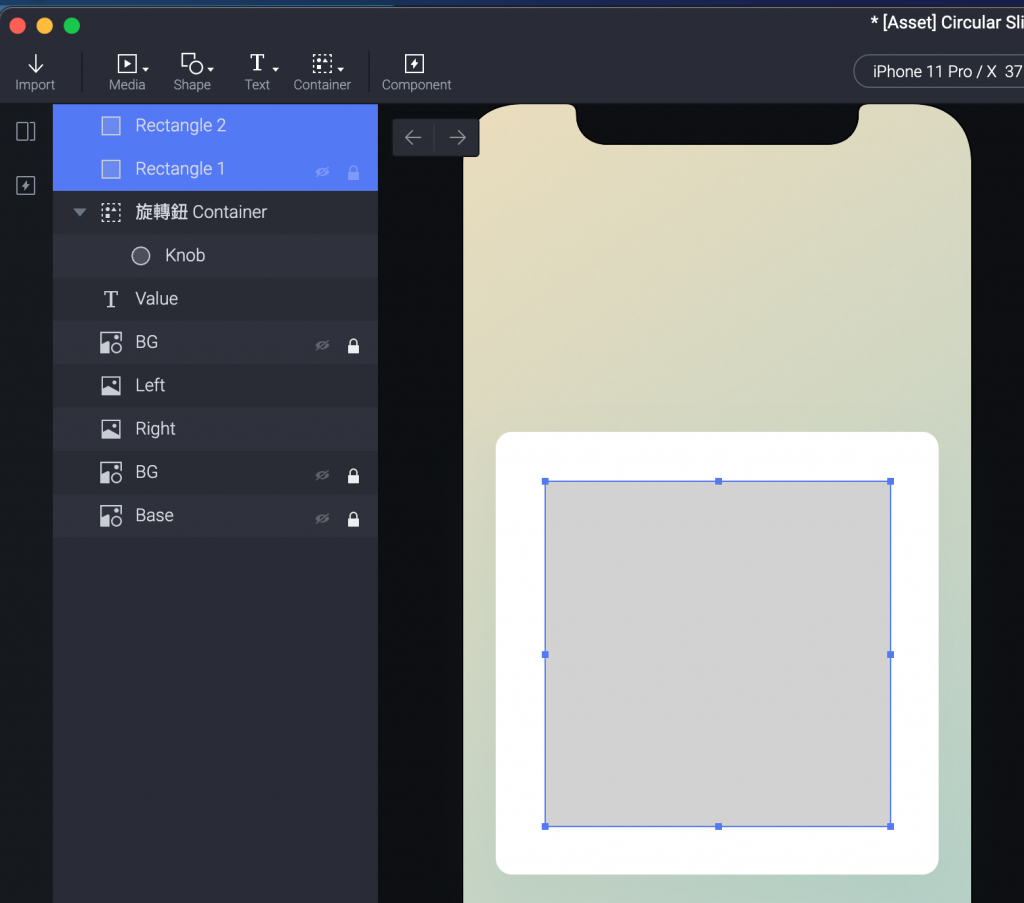
我们制作两个方块 Rectangle,刚好一个盖住左边、一个盖住右边,这个等等要做 Mask 遮罩用。
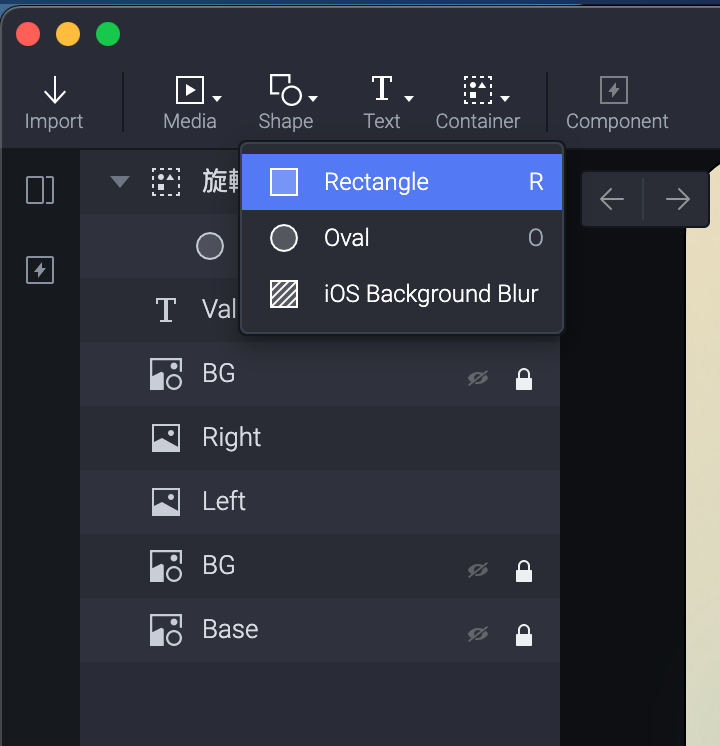
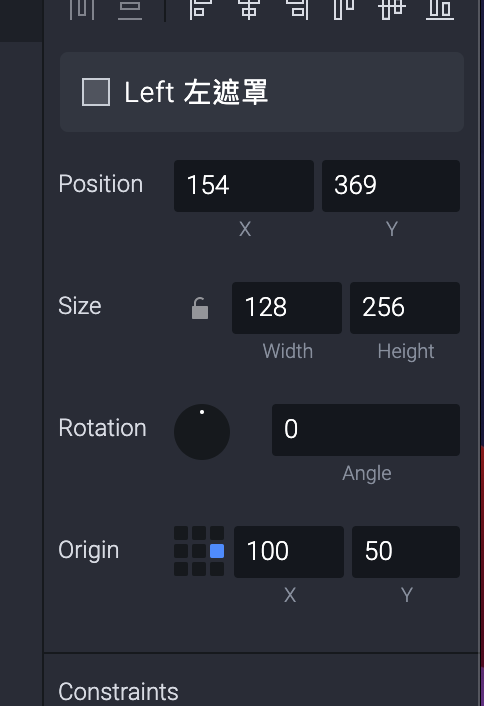
你可以手动直接拉也可以用左右图的长宽(128*256)来设定。
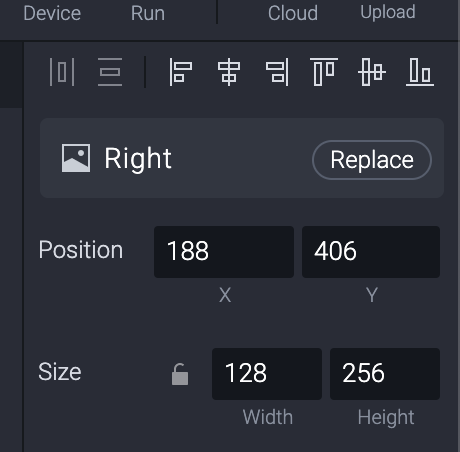
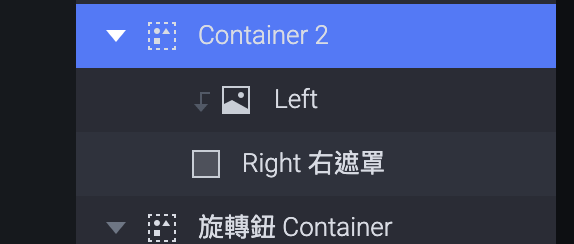
记得把方块两个名称也改一下,左边的就设为「Left 左遮罩」,右边的是「Right 右遮罩」。
(觉得这个人写得教学有点不清楚,也好好反省是不是自己写的很多地方也不是很清楚...)
所以自己尝试了一下,接下来这边我顺序跟讲者的会不太一样。。
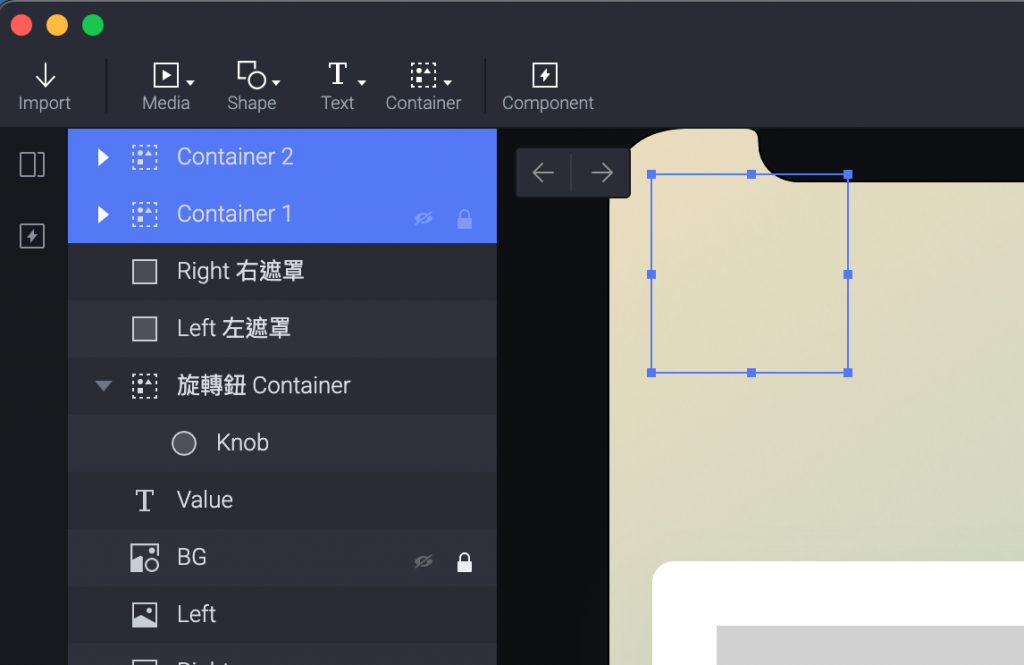
这时我们做两个 Container ,一个 Container 1 、一个 Container 2 。
我随便在萤幕上点一下,感觉 Container 设定在哪好像没差。
(刚测试起来是这样没错,原讲者没解释放哪。)
接着我们把「Right 右遮罩」按右键,设定为 Mask。
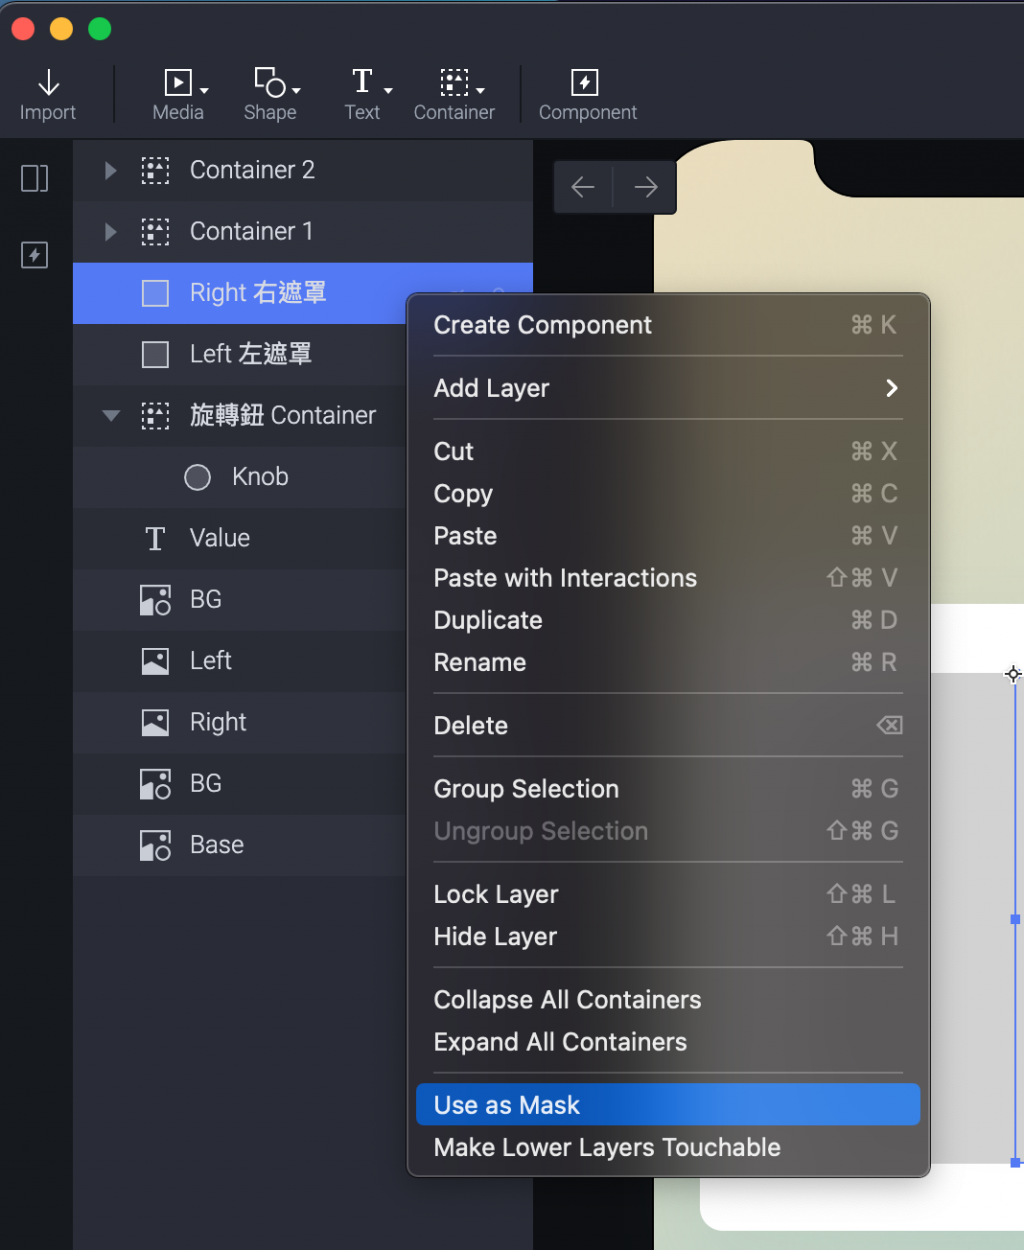
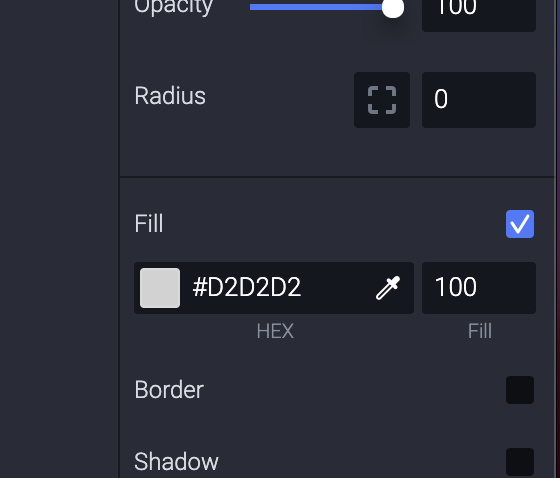
然後把右边的 Fill 取消勾选。
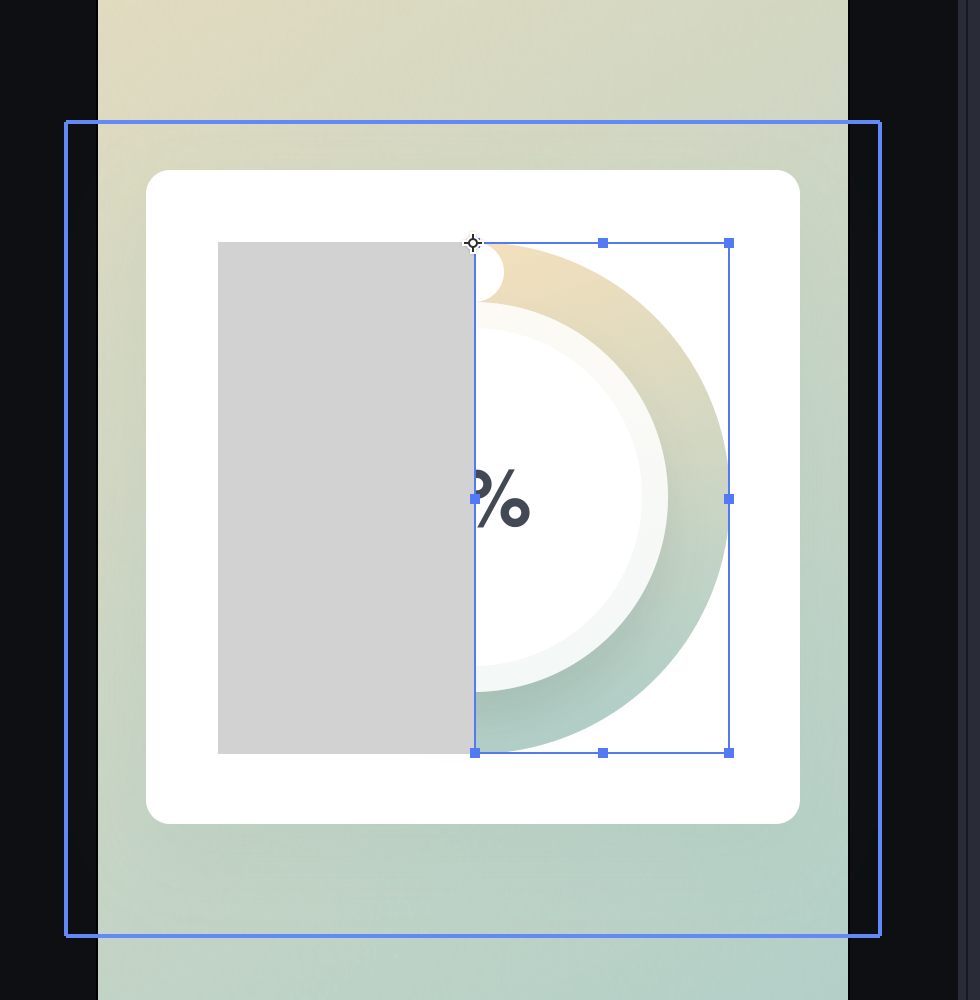
你的画面会长这样。
(但记得如果你的Layer 顺序跟我不同可能会有差异)
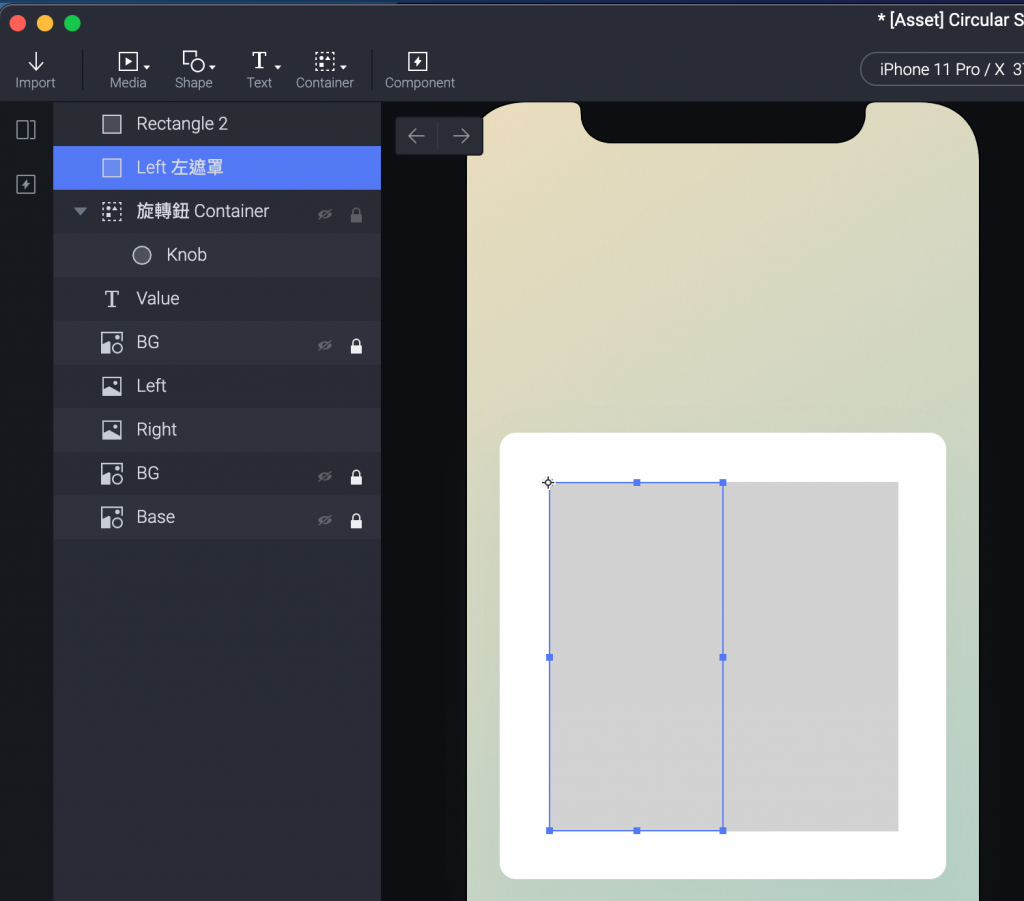
「Left 左遮罩」也依样设定 Mask 和取消 Fill 。
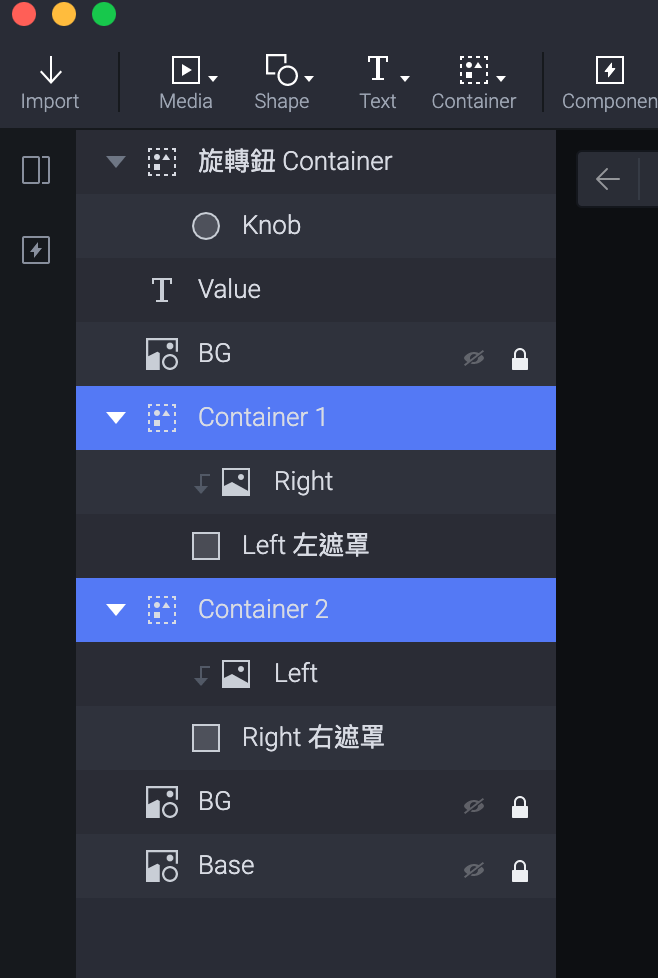
接着把 Left 左遮罩 放在 Right 下方,装进 Container 1。
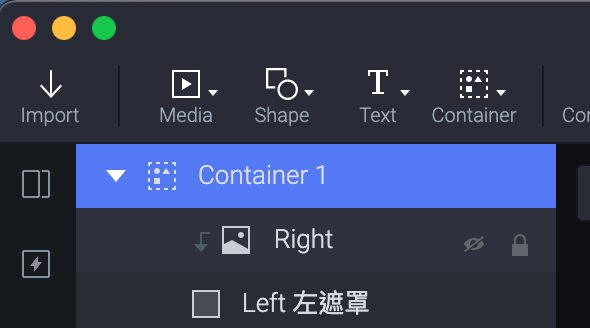
Right 右遮罩 放在 Left 下方,装进 Container 2。
接下来我们就要来用 Chain 施点魔法。
其实制作的原则很单纯,我们是顺时钟在转,所以用两个 Mask 遮罩分别去跟着中心轴转动,去把後面的颜色放出来。
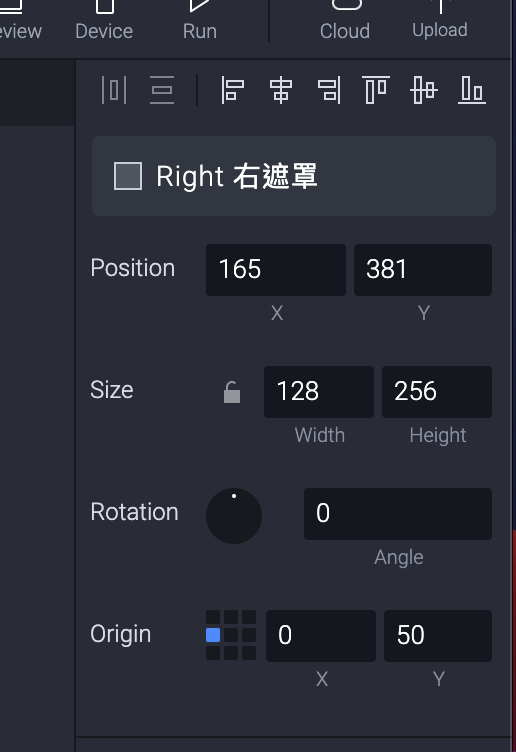
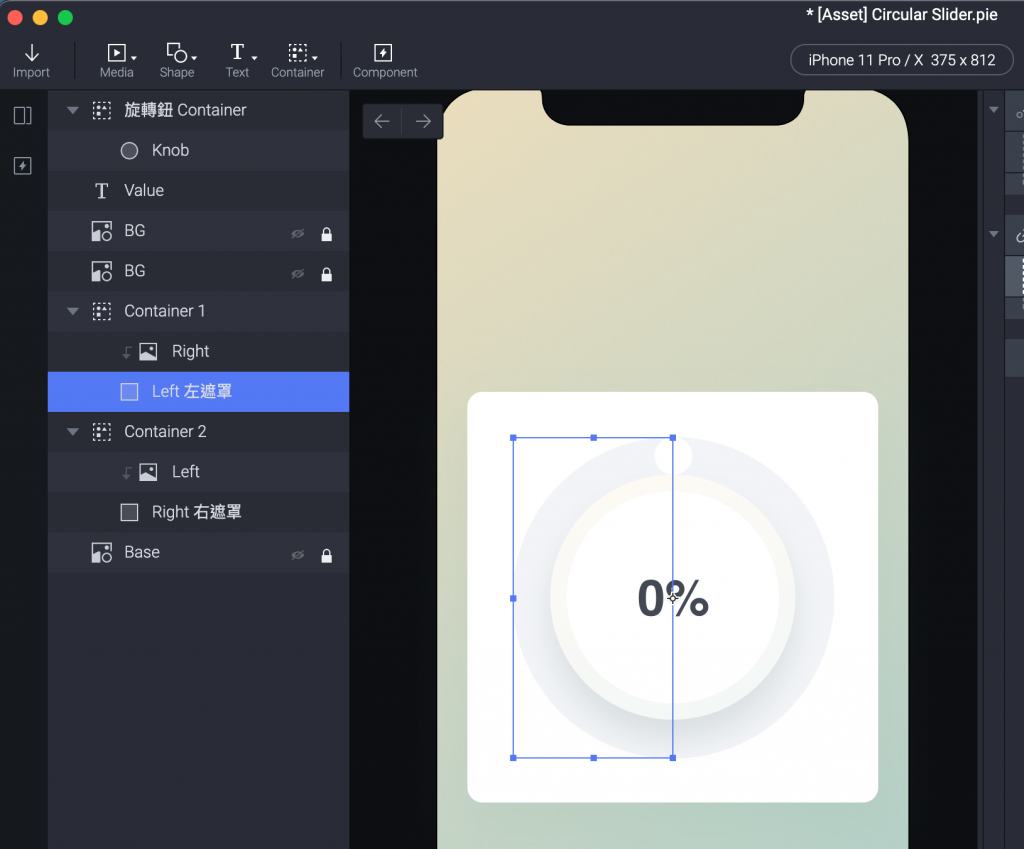
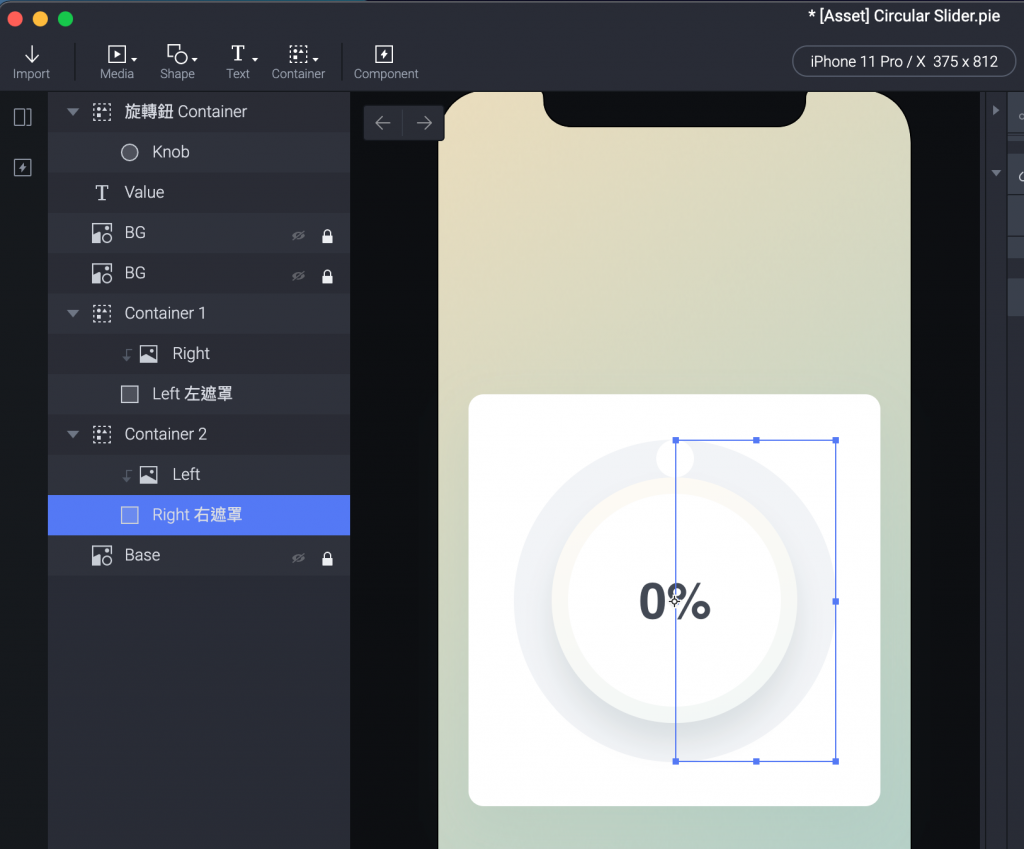
我们先选「Left 左遮罩」。
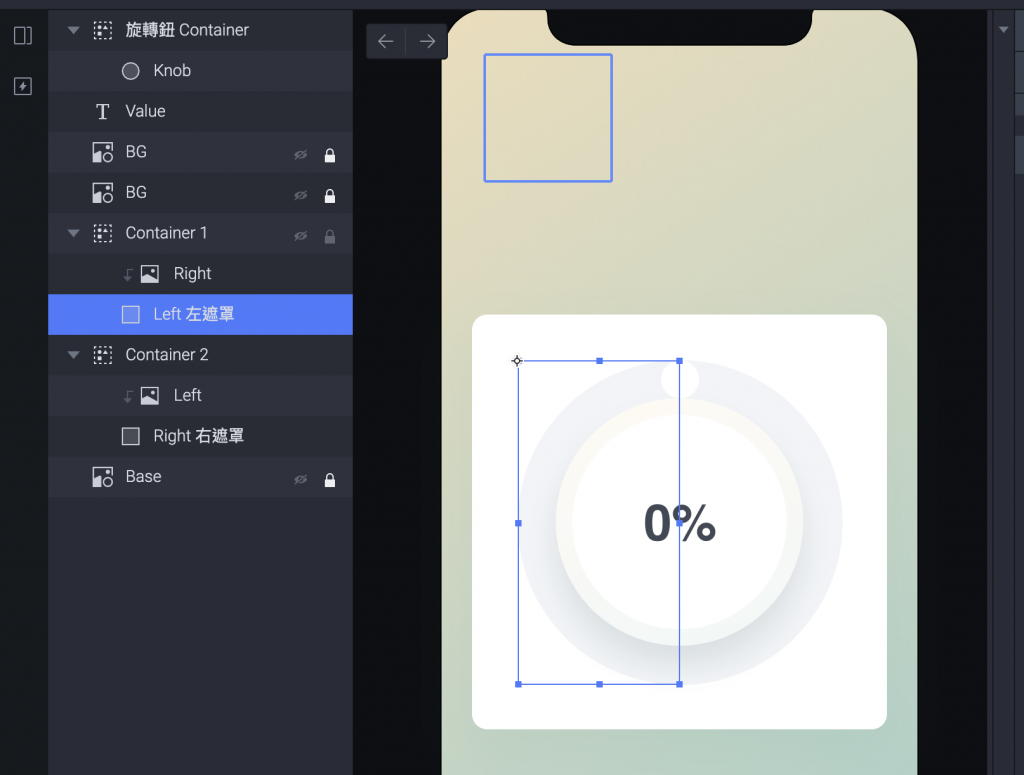
然後把 Origin 设定成右侧的中间。
(蓝色的方块所在之处当作轴心)
我们再选 Right 右遮罩。
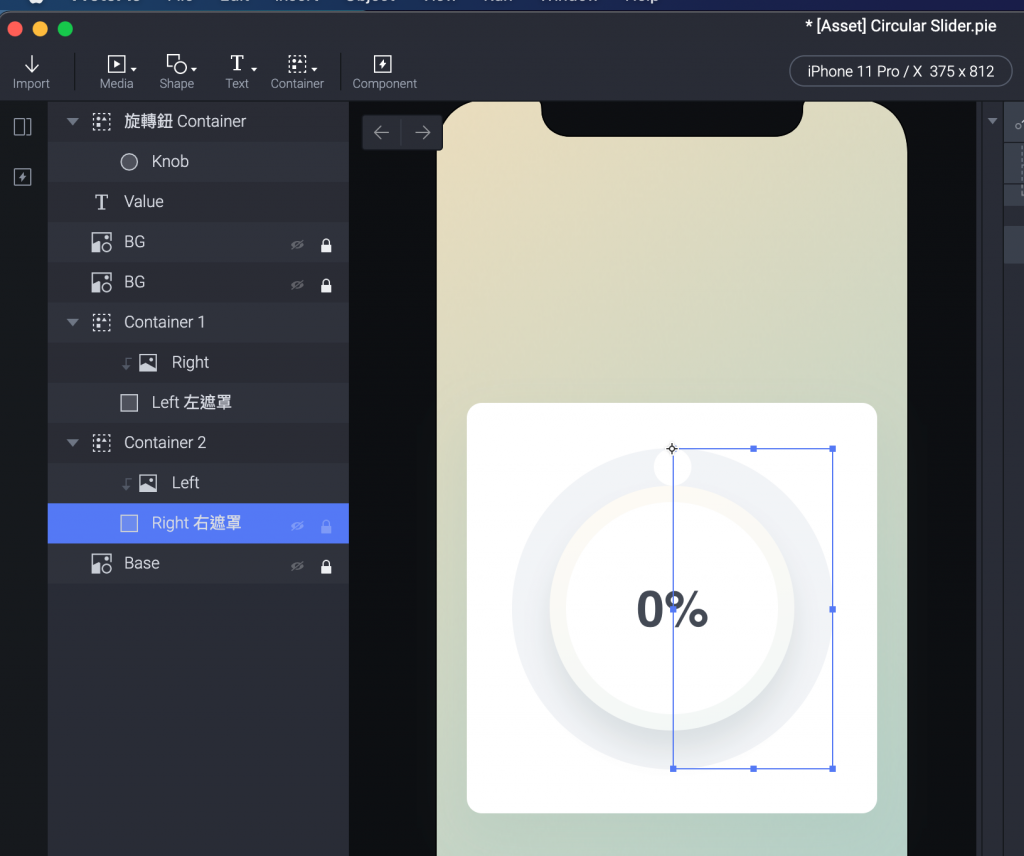
Origin 设定成为左侧的中间。
这时我们回来选择我们的「选转扭 Container」。
把他设定一个 Chain Trigger 的 Rotation。
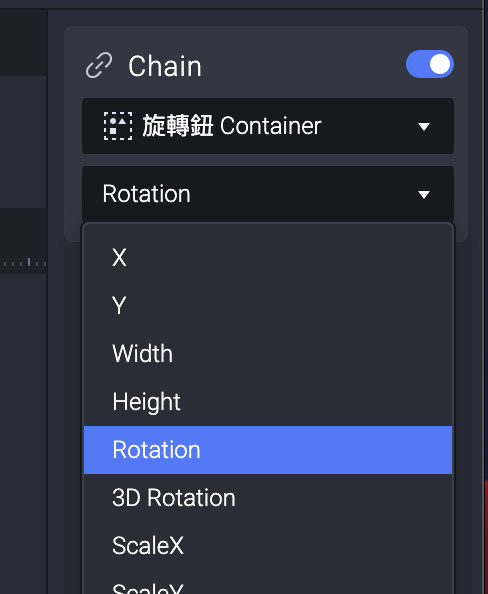
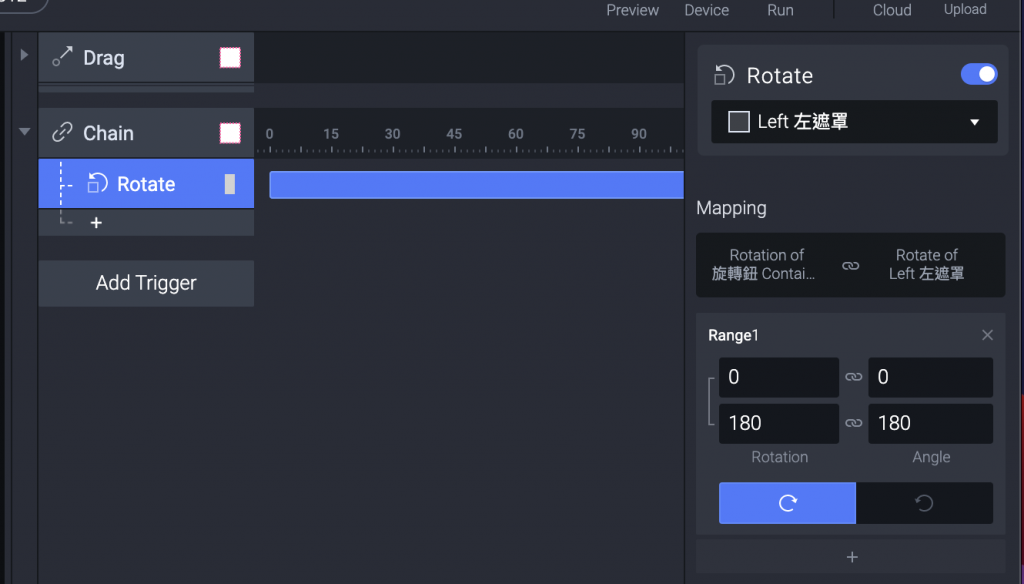
因为我们是顺时钟转,所以 Left 左遮罩会先显露右侧的图片,所以选择 Left 左遮罩。
同时设定 Range 1 里面,当「选转扭 Container」从 0 到180 转动的时候,连动 Left Mask 也转 0 到 180。
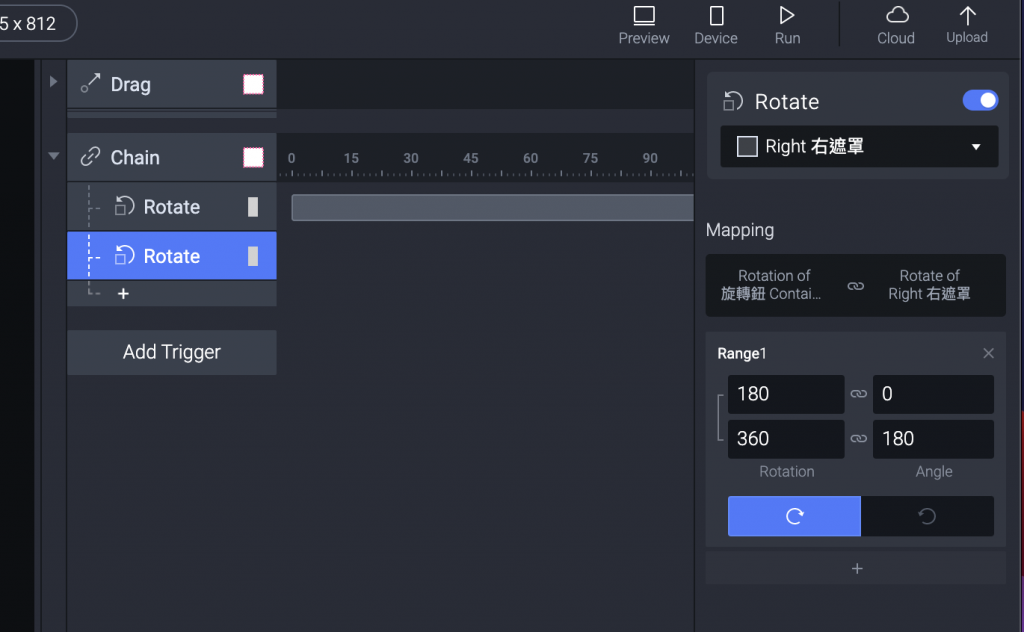
接着选 Right 右遮罩,是要显示後半圈的部分。
所以再加上一个 Rotate ,让「选转扭 Container」从 0 到180 转动的时候,连动 Right Mask 也转 0 到 180。
这部分会有一个瞬间想通,不知道有没有更直觉的解法就是。
接着把 Container 1 跟 Container 2 移动到这个位置,这样 Layer 才会顺利显示。
(想知道为什麽就上下移动看看,去 Preview 看发生什麽事情。)
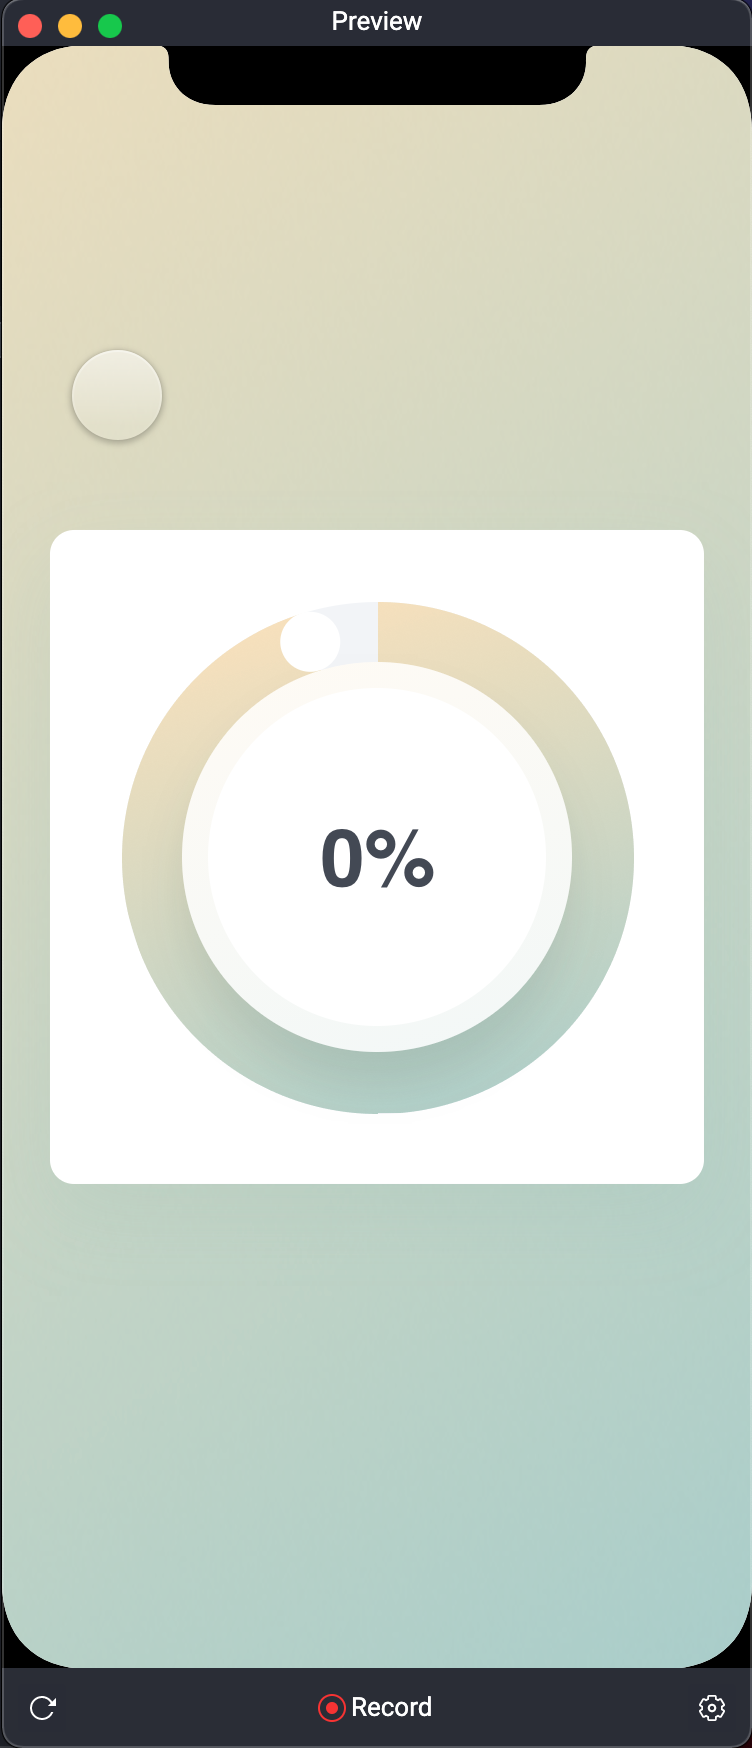
Preview 看一下,就会长这样啦!
旋转
继续旋转

继续往下
现在还有一个小问题就是如果一直转动就会再次从 0 开始计算,他不会停在上方。
明天再来继续。
晚安。
<<: 【Day23】SwiftUI Essentials - SwiftUI 基础
>>: [Day28] 再访碰撞侦测与解析 (一) - 需要的资料
资料科学、资料探勘、机器学习、深度学习是甚麽碗糕?
初次接触AI时,常常会听到数据分析、资料科学、机器学习、深度学习,一堆专有名词,倒底是甚麽碗糕? 有...
D26 将config等等隐密资讯另外放置 - yaml
将重要资讯放到yaml内 config.yaml(放在BASE_DIR) --- email: EM...
Day 23 实时时钟(real-time)与系统时钟(system clock)
嵌入式系统,会因为时间关系,系统和用户的任务经常要定期的重新设定排程。所以对於某个特定时间就需要透过...
@Day1 | C# WixToolset + WPF帅到不行的安装包 [软件选用比较]
@前言 今年规划好的新产品准备上市,所以开始准备"安装包"的设计与规划, 自告奋...
JS读书笔记30天 - Day30 感想
缘由 因为拖延症严重,想要强迫自己看课,所以如果把每天进度都写成了铁人30天的文章,为了不中断,造成...