EP23 - 持续部署使用 Octopus Deploy 三部曲,新增 Octopus 专案及调整 Jenkins 环境
前几天我们为 Octopus Server 建置基础设施,
今天我们则是设定专案内容,
并在 Jenkins 安装 ocotpus 所需套件,
本来以为今天可以将整个部署流程拼完,
但是无奈步骤太多,
又硬生生把专案 Pipeline 的调整另外拆出去做。
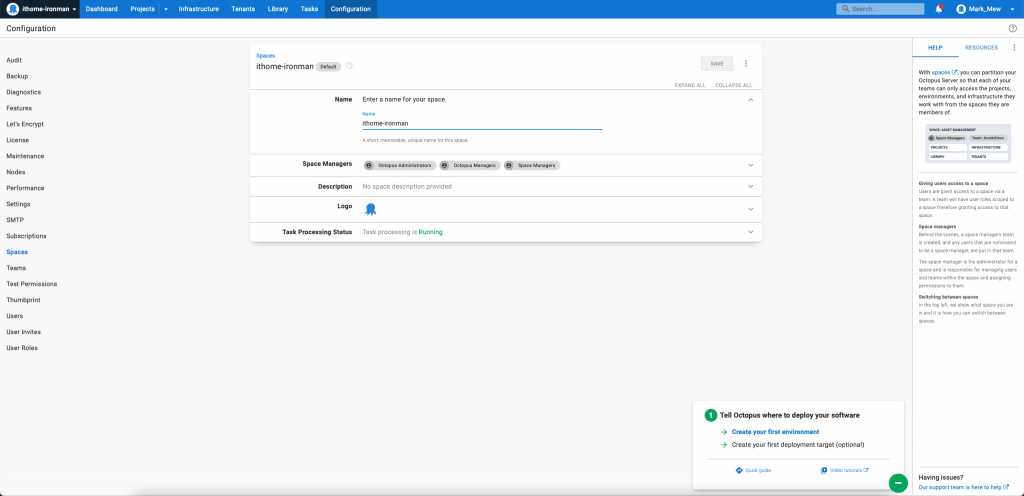
设定 Octopus Deploy Server
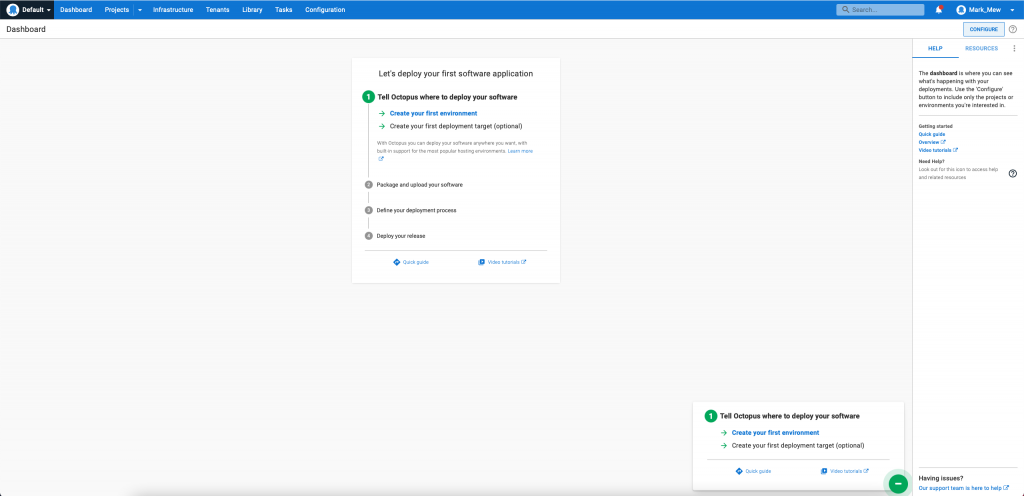
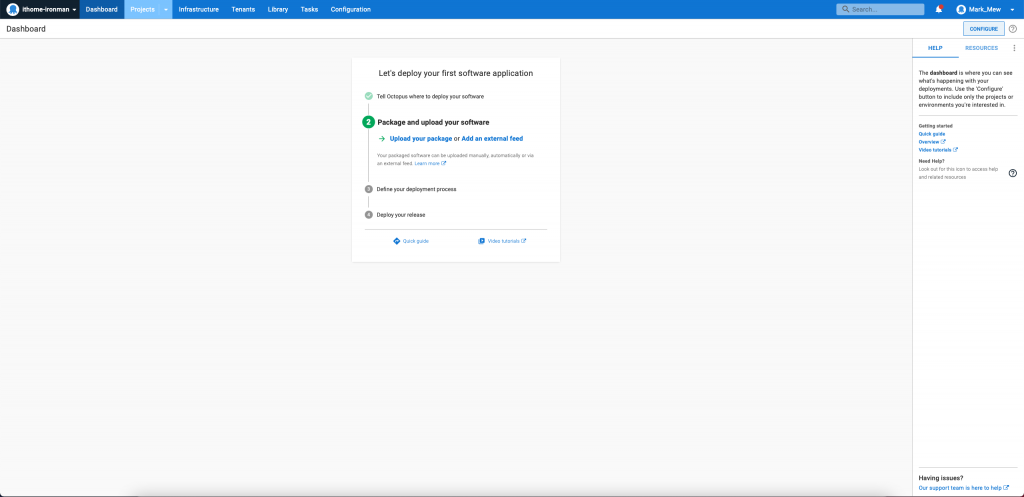
登入
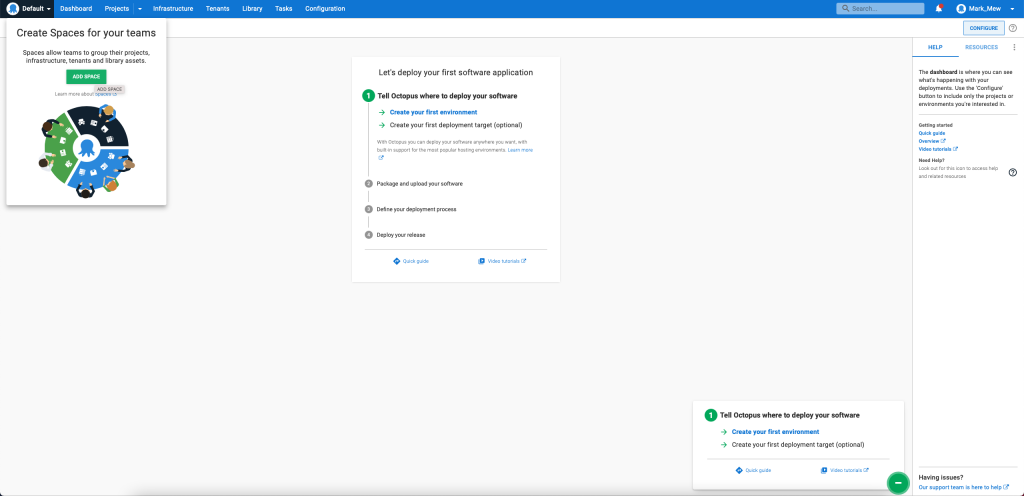
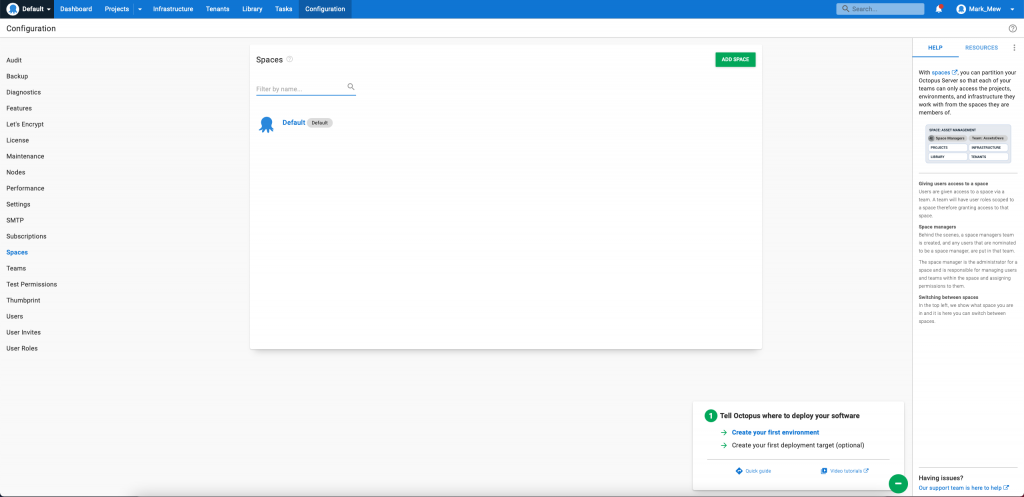
更改 default space 名称
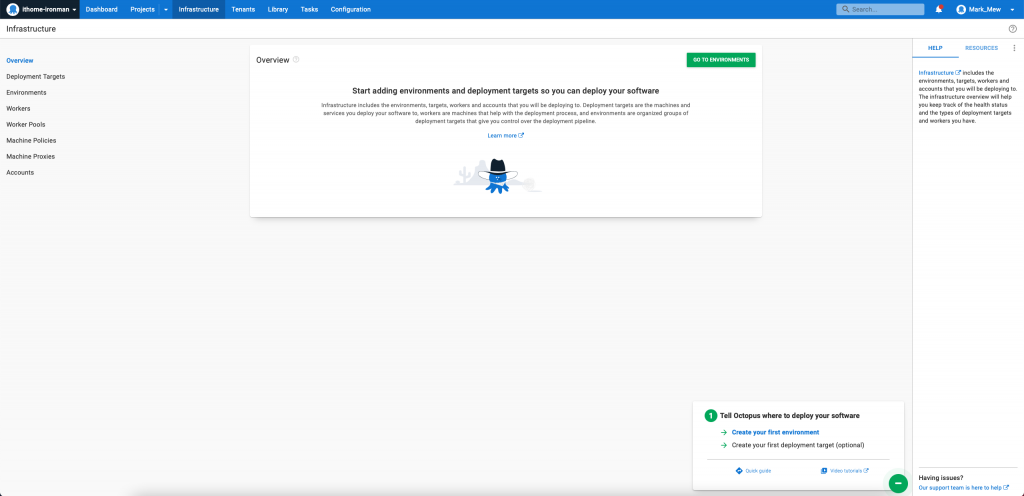
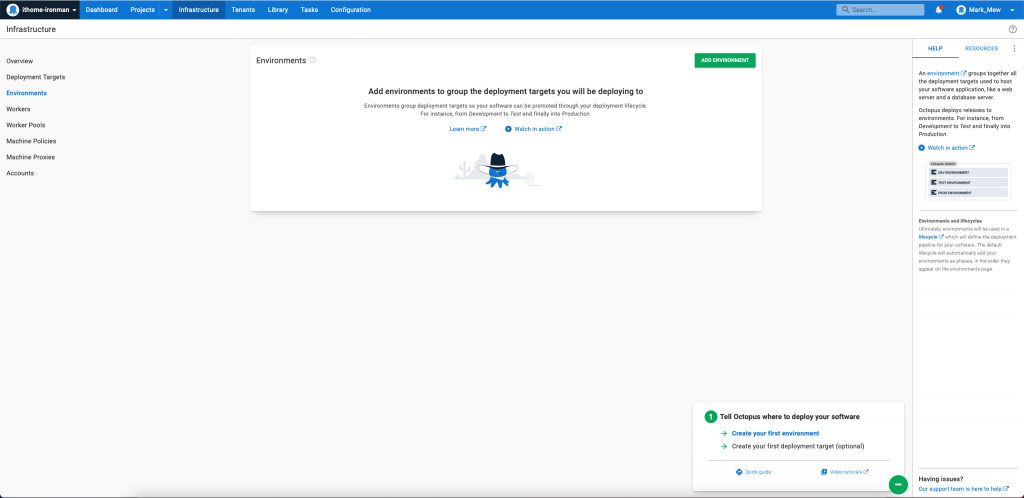
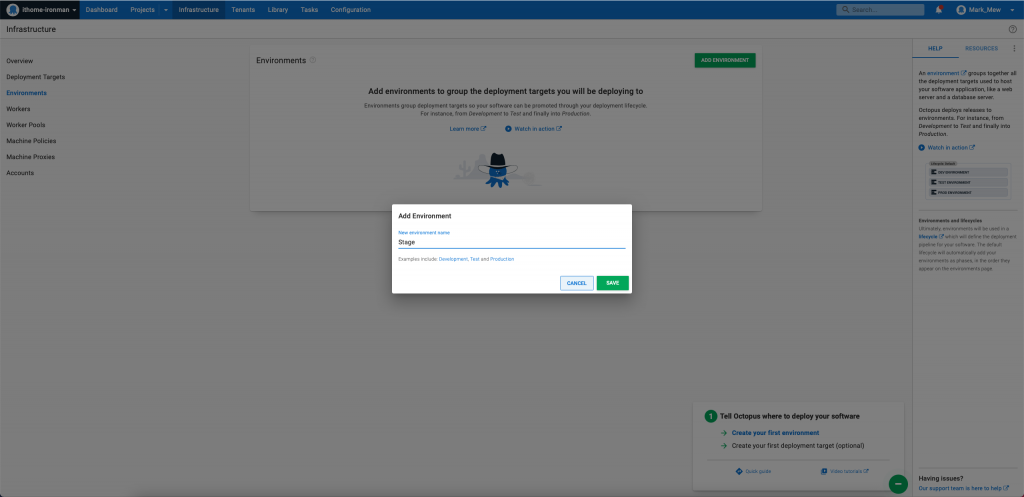
设定 Environment
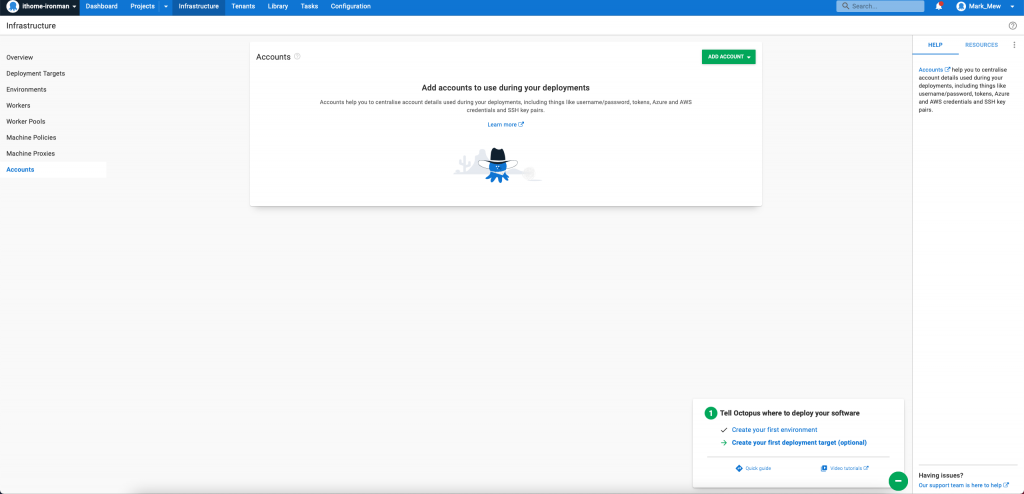
先点选上方的 Infrastructure
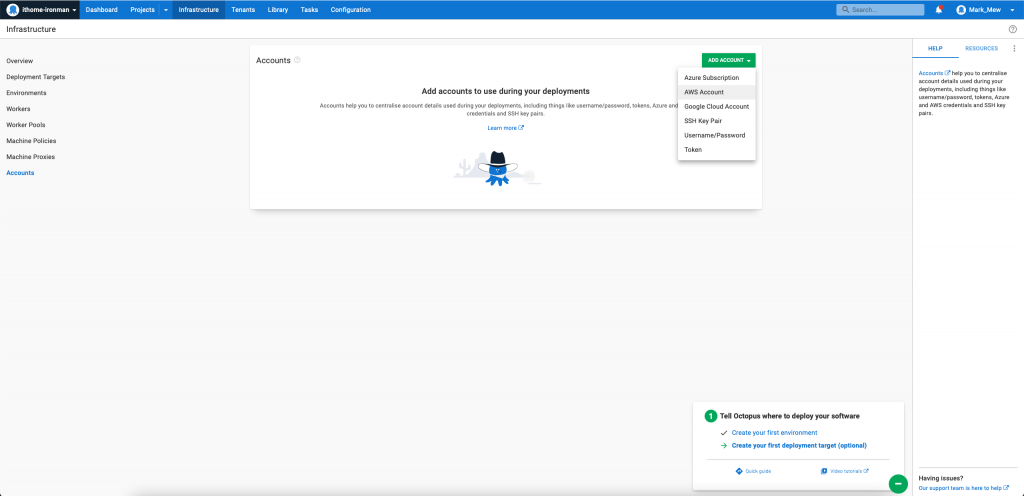
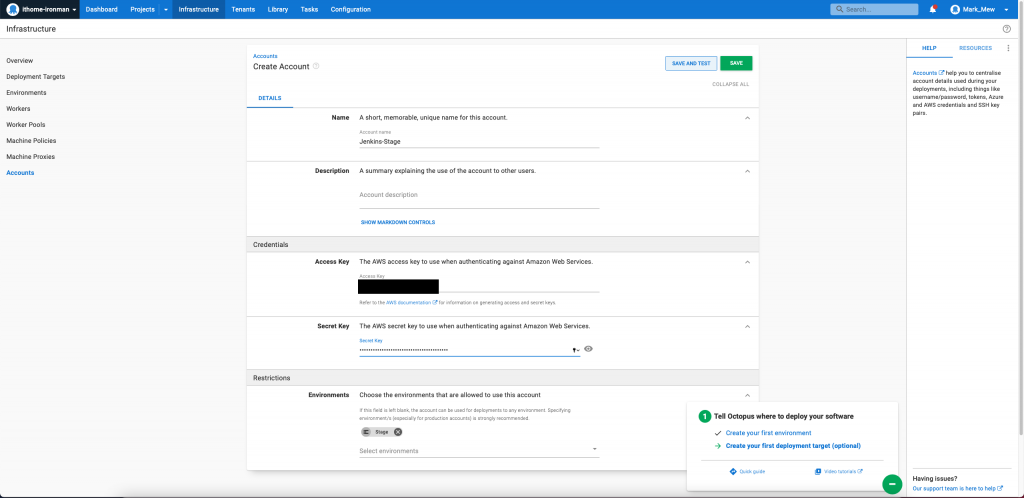
新增 Accounts
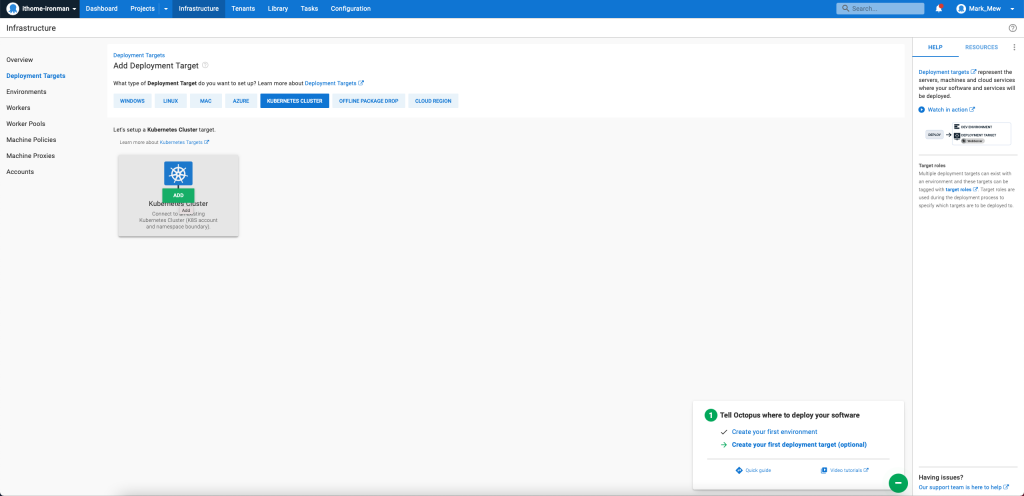
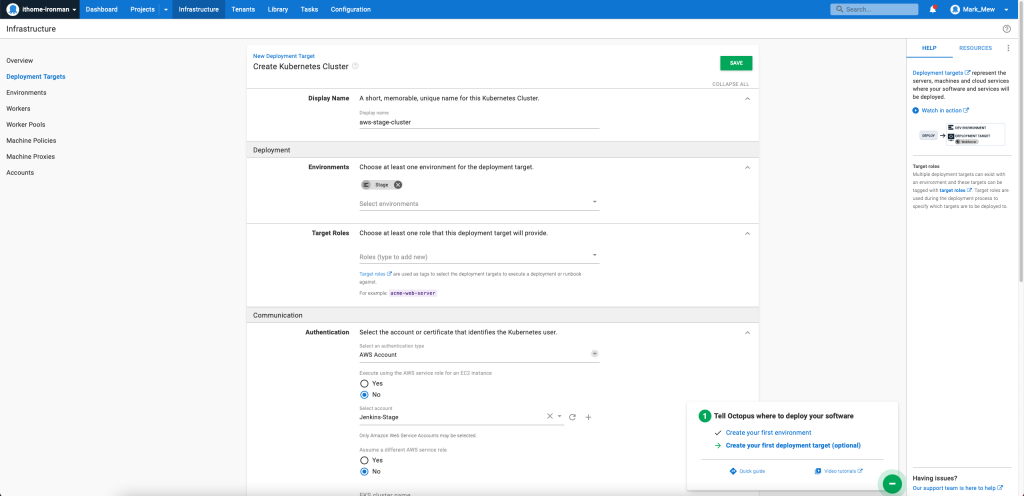
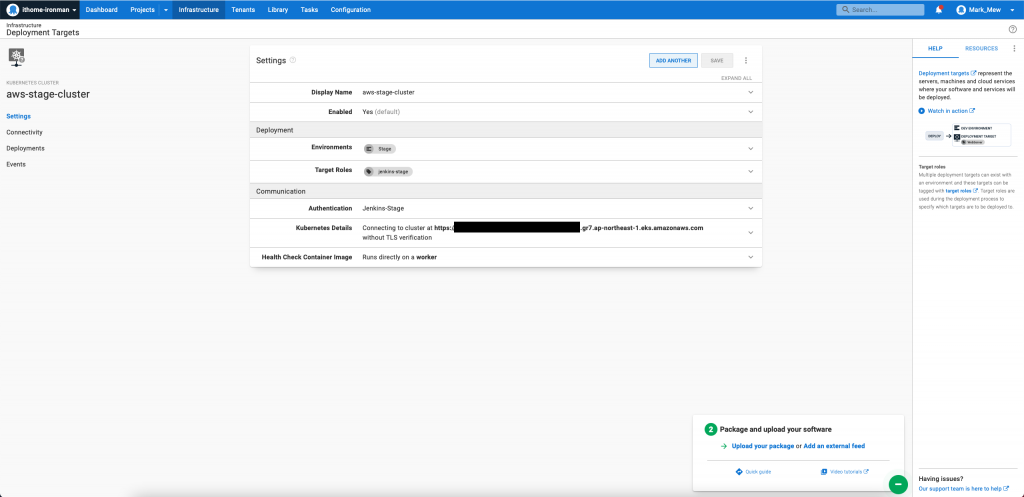
新增 Deployment Target
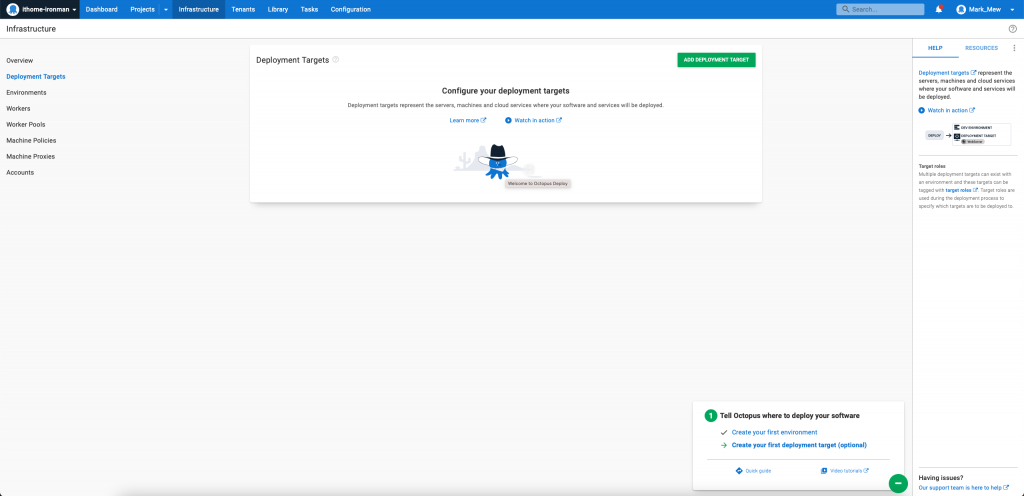
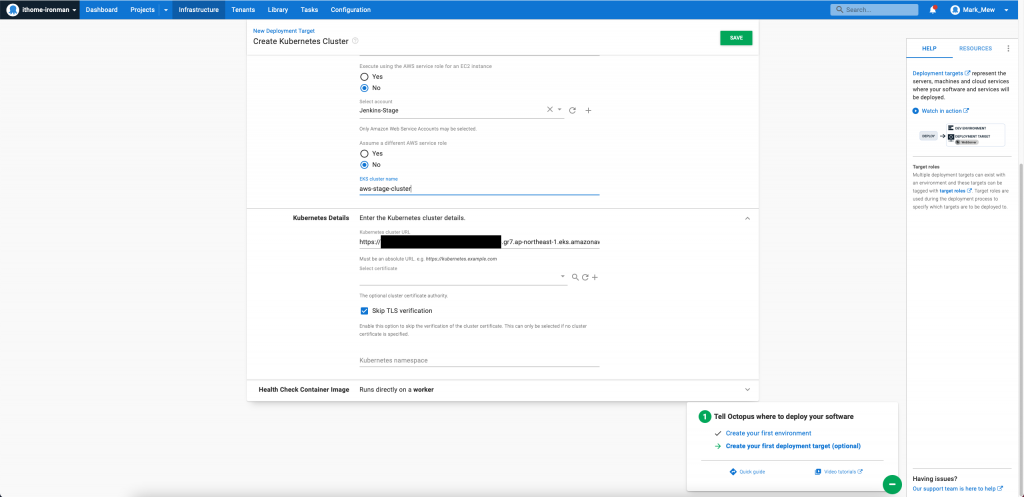
EKS 的网址可以在 aws cloud console 的 eks 页面中找到

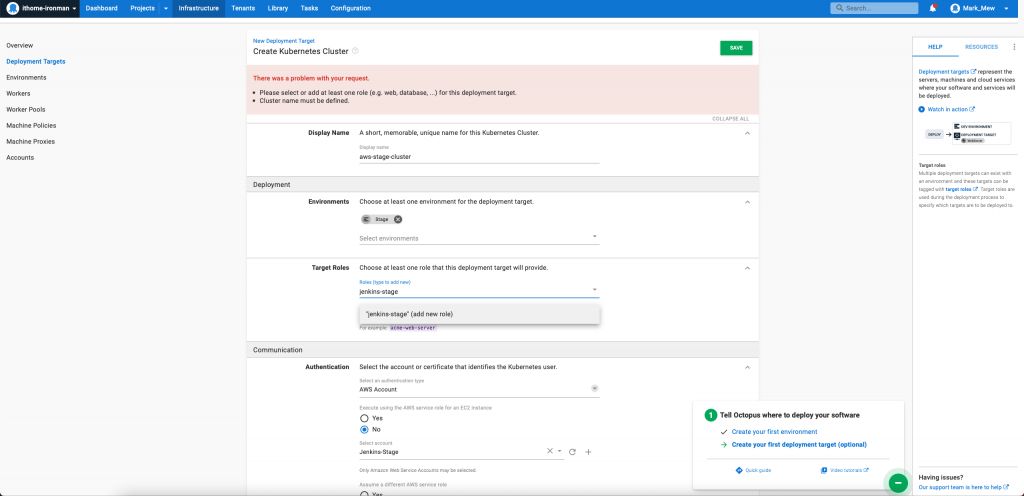
记得 deployment role 和 cluster name 要填写
不然会报错
Octopus Server 设定 kubectl 和 aws-iam-authenticator
远端登入到 Octopus Server
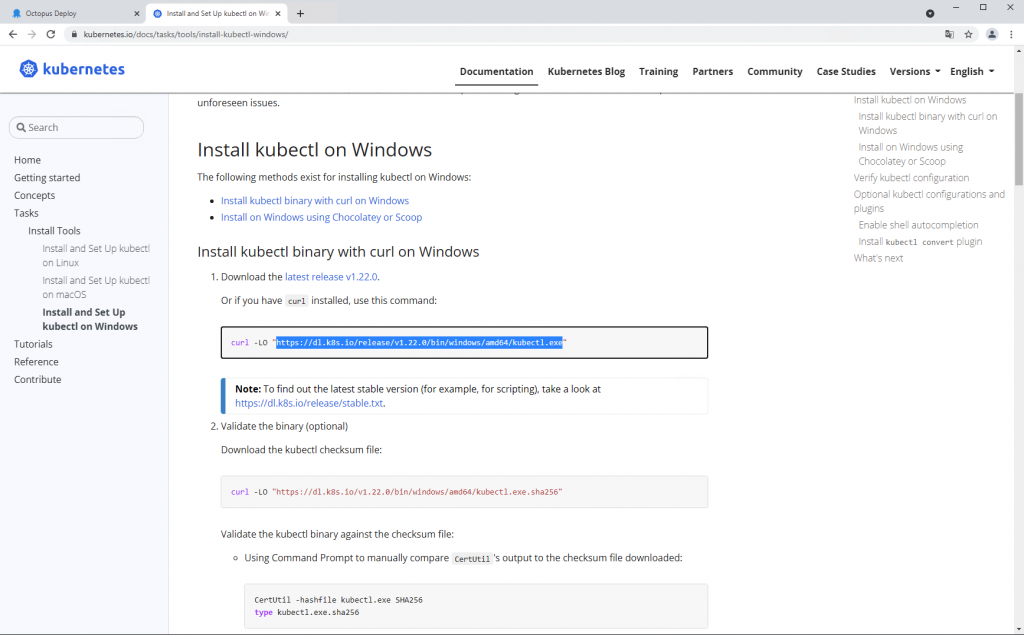
到 Kubernetes 官网下载 kubectl
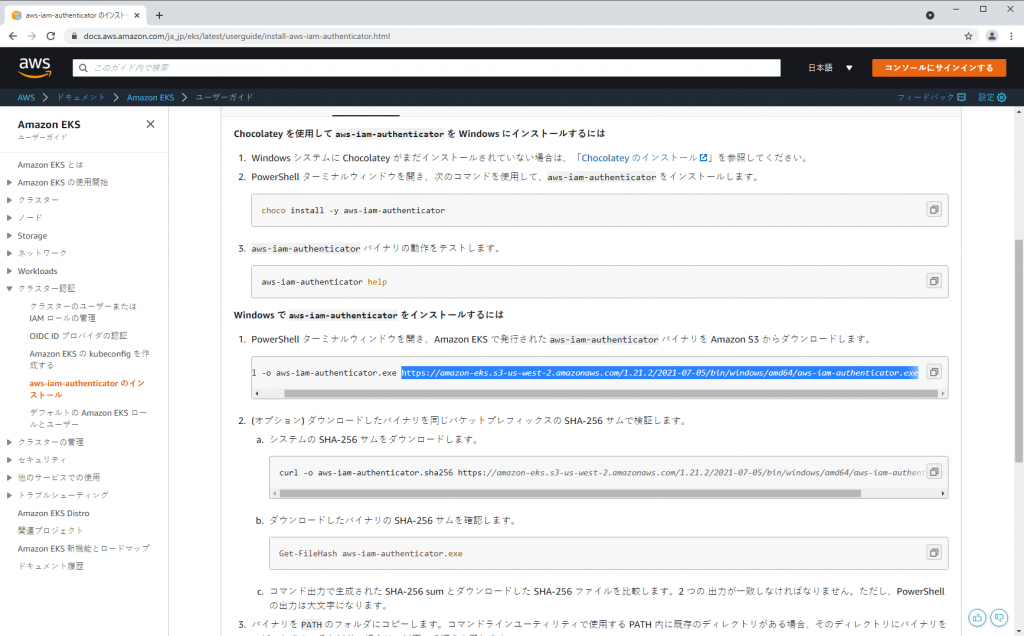
搜寻 aws-iam-authenticator 到 aws 文件页面下载
在 C 槽新增 kubernetes 资料夹
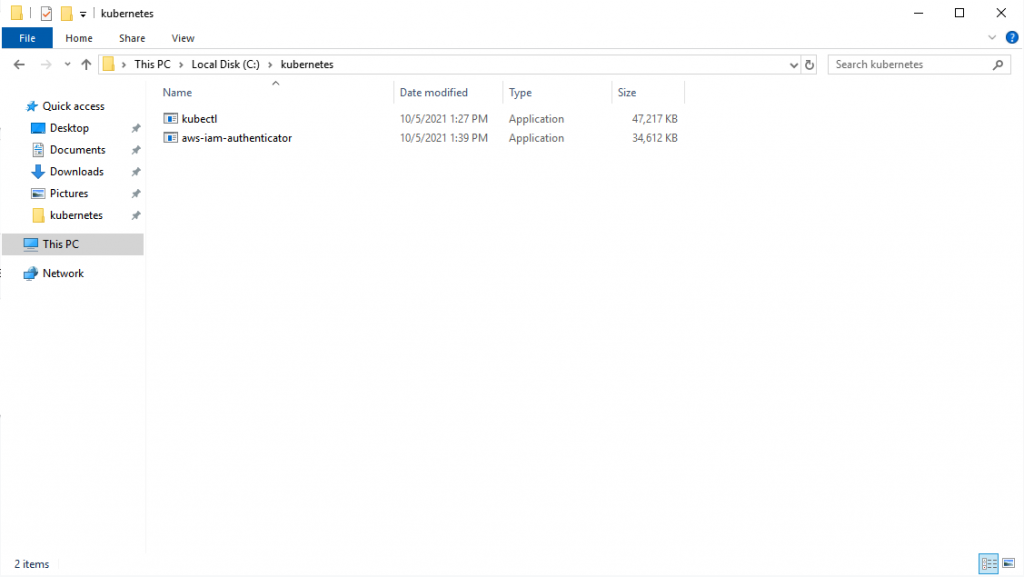
将 C:\kubernetes 加到环境变数中
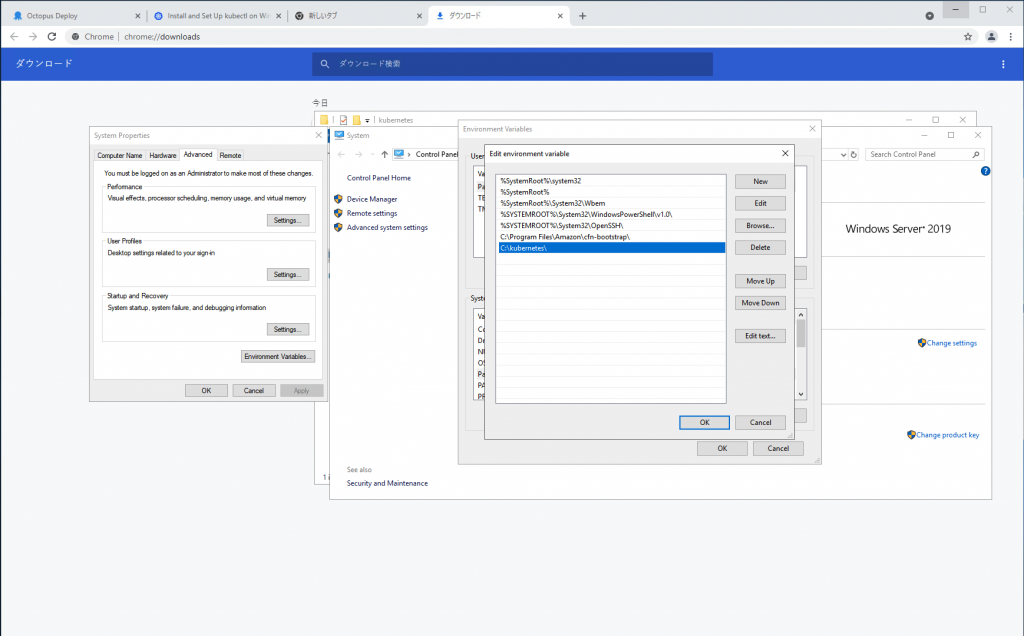
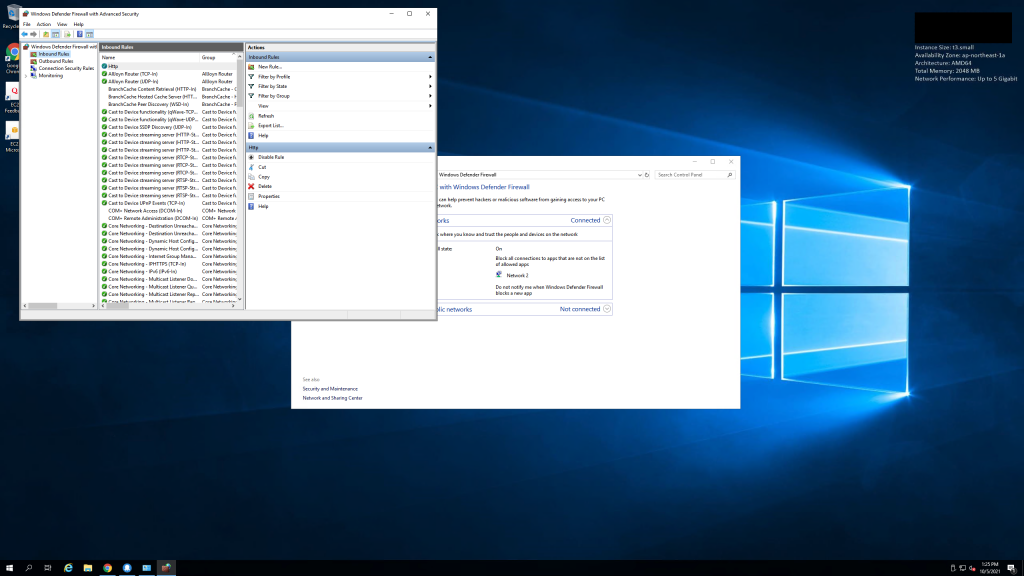
重新启动 Octopus Server

重新检查健康状态


在 Octopus 上设定专案
新增专案
首页上方点选 project
点选右边的 ADD Project
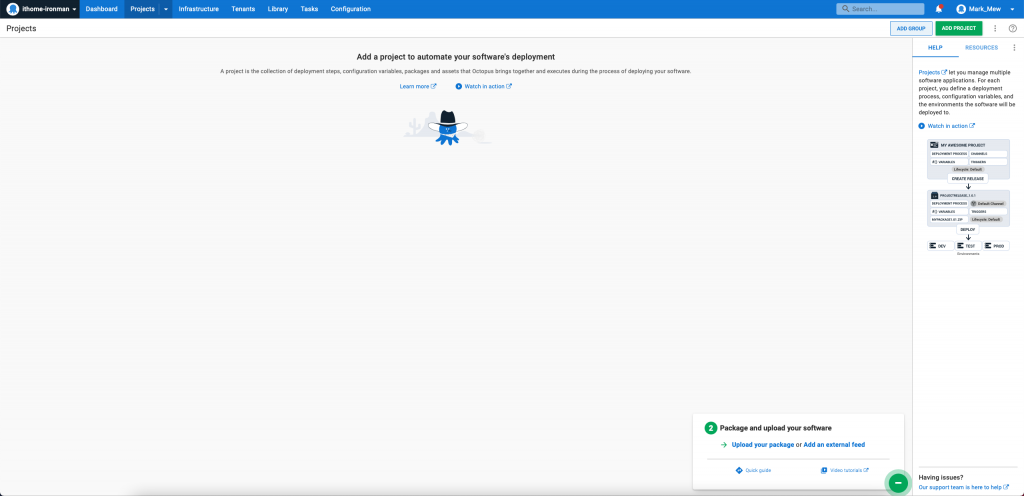
输入 project 名称
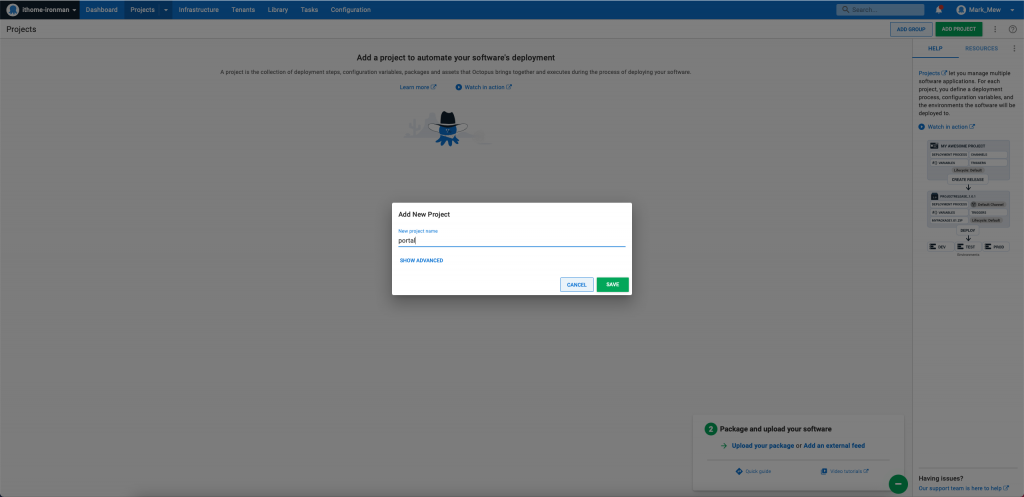
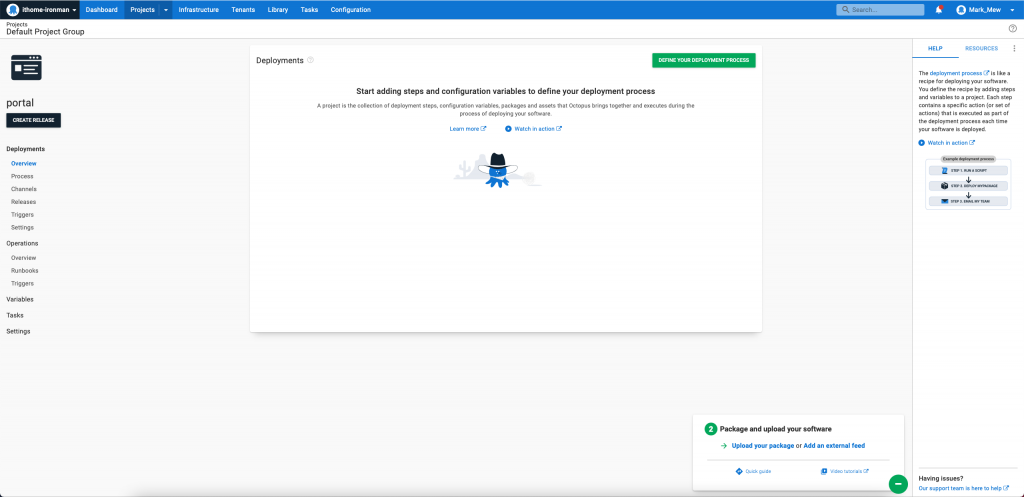
输入完成後就会建好一个专案
新增参数群组
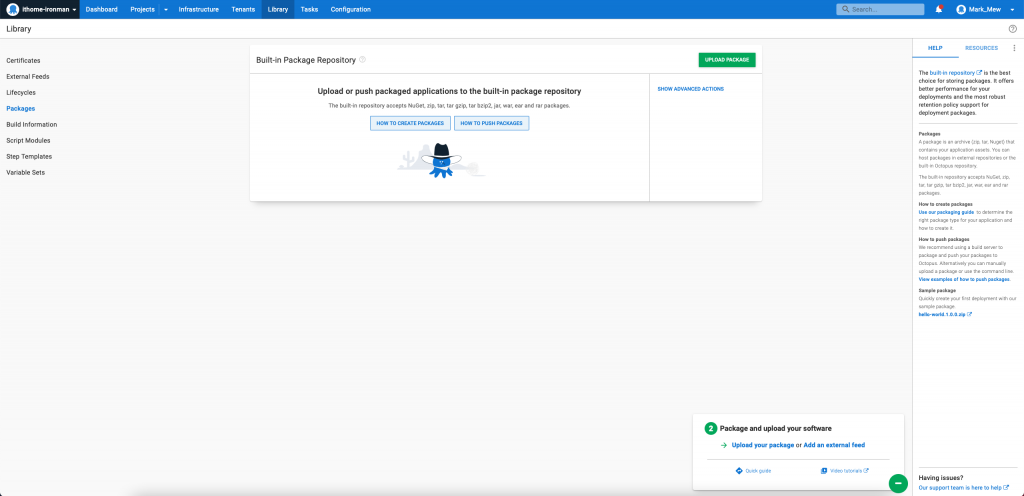
点选上方的 Library
点选左边的 Variables Set
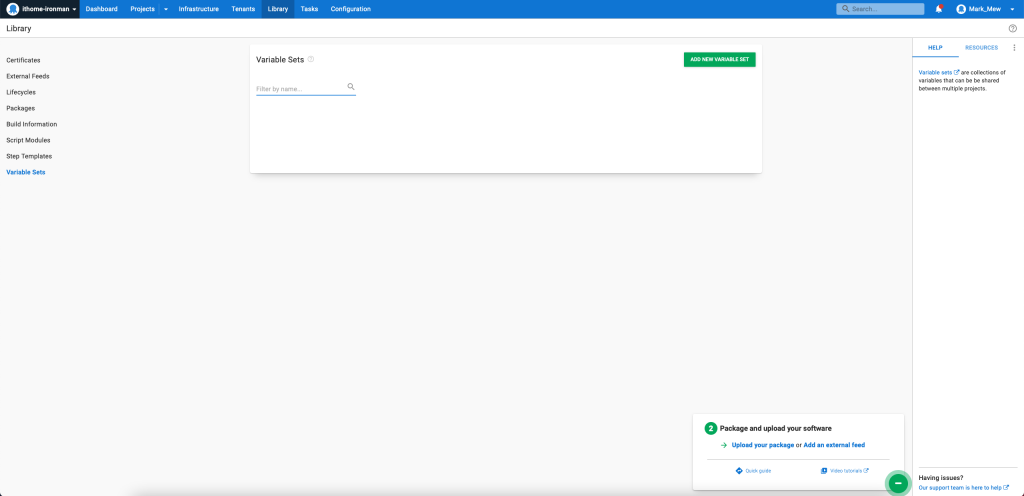
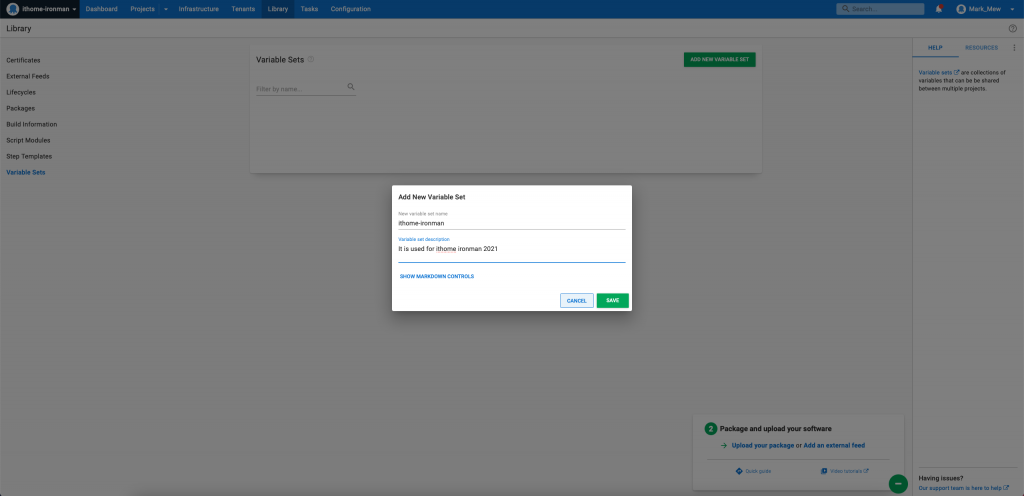
点按中间的 ADD VARIABLE SET 按钮

输入名称并储存
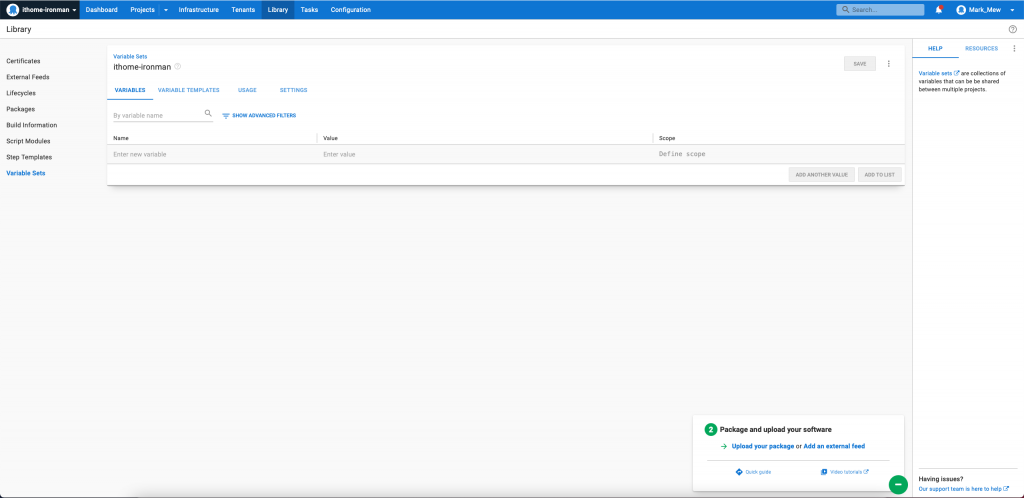
储存後可见空白的 VARIABLE SET
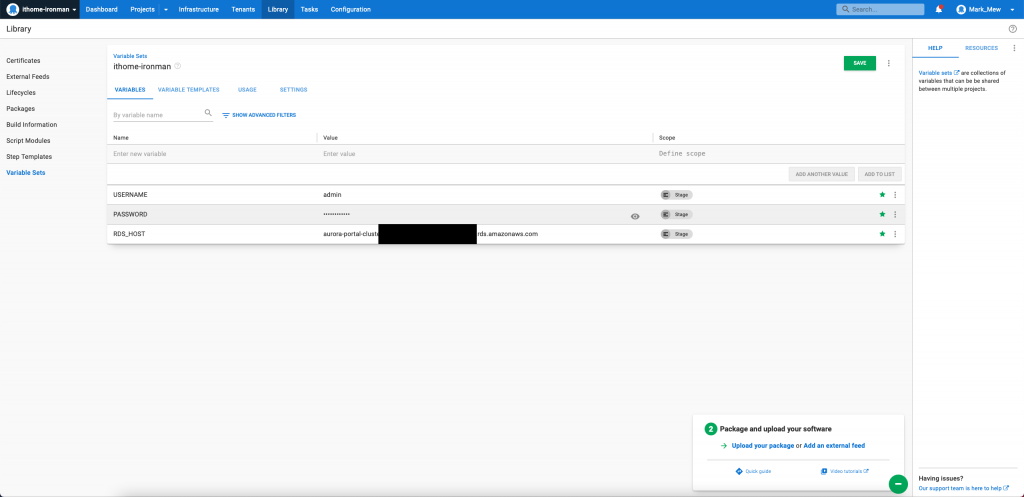
输入资料库的参数
密码类的也可以在 Type 选择 Sensative 做隐藏
Jenkins pipeline
产生 Octopus API Key
点选右上角选择 profile
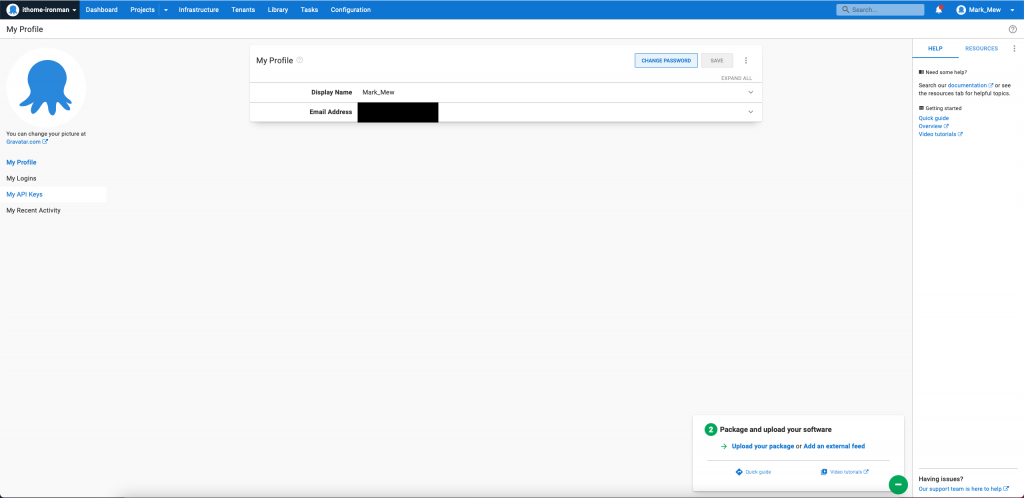
点选左侧 My API Keys
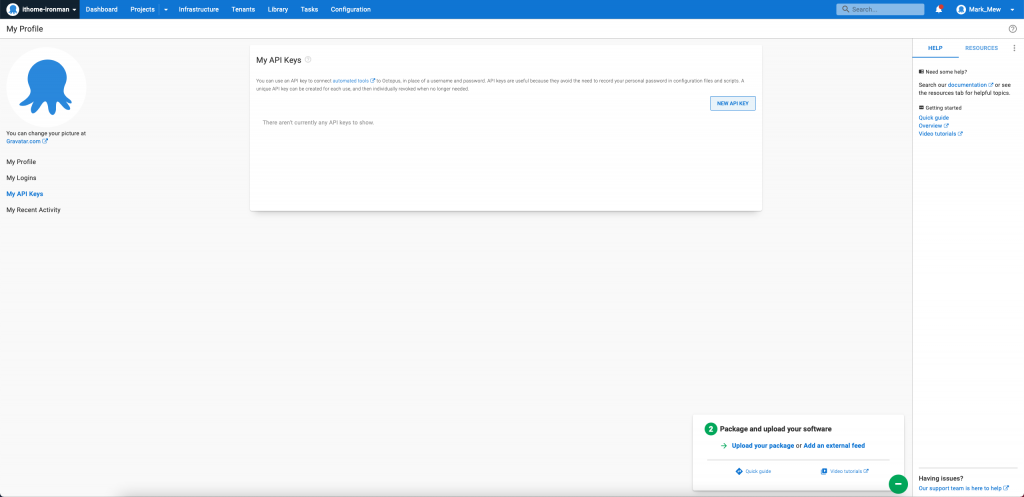
点按 NEW API KEY,并填入所需资讯
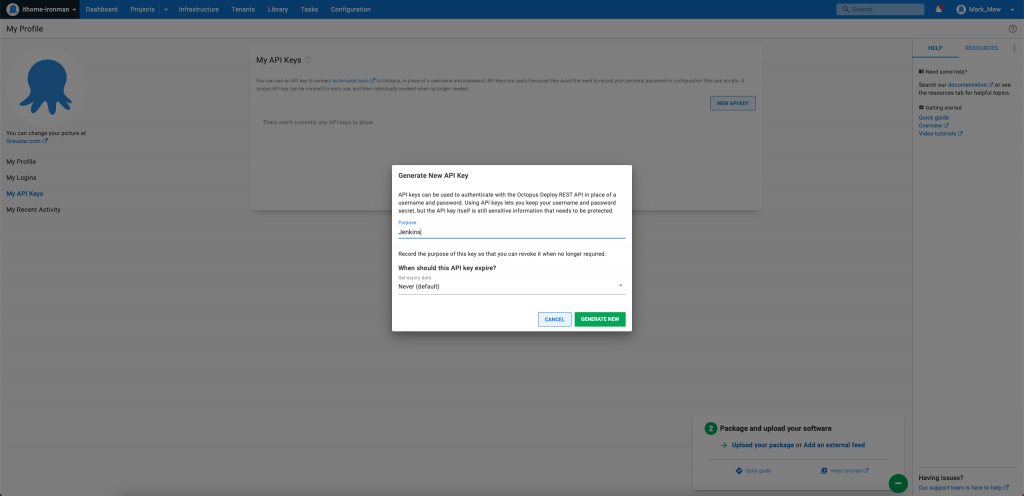
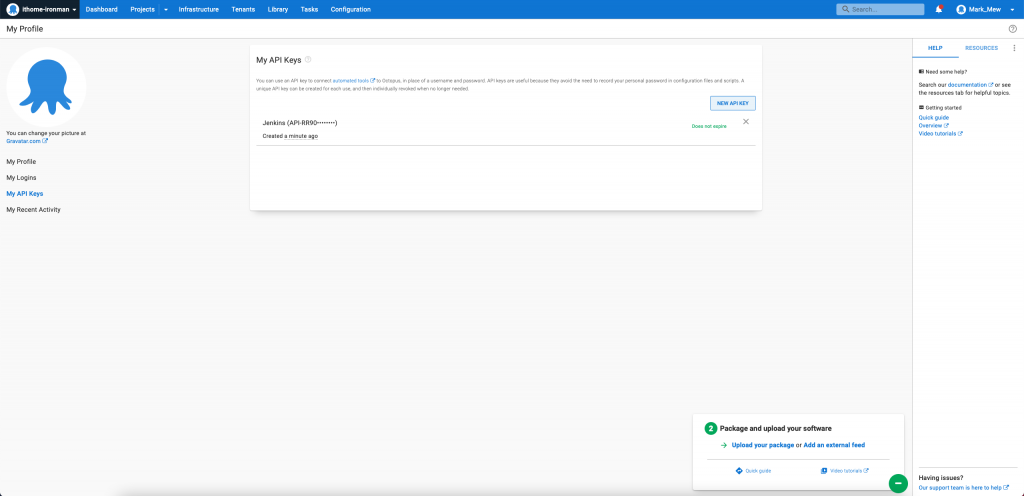
按下 GENERATE NEW,并复制 Key 备用
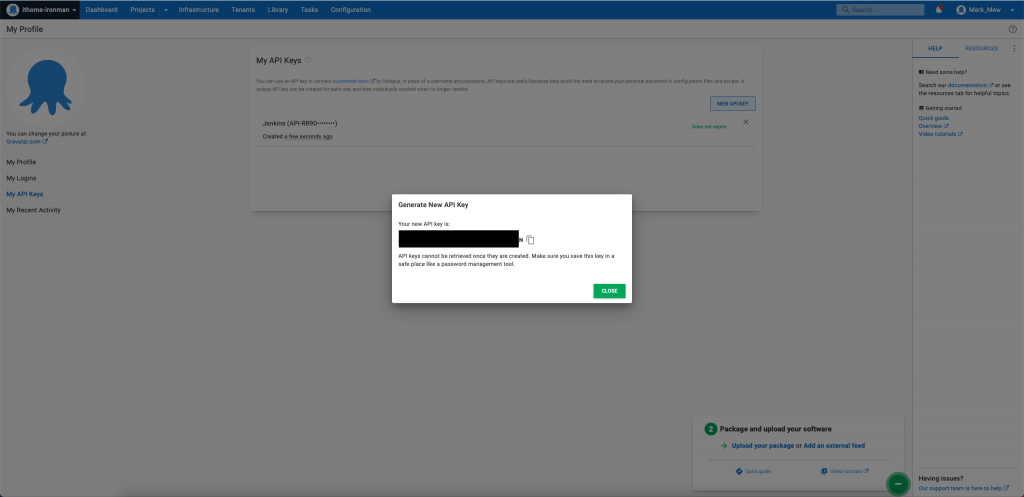
Close
安装 Octopus Deploy 套件
登入 Jenkins
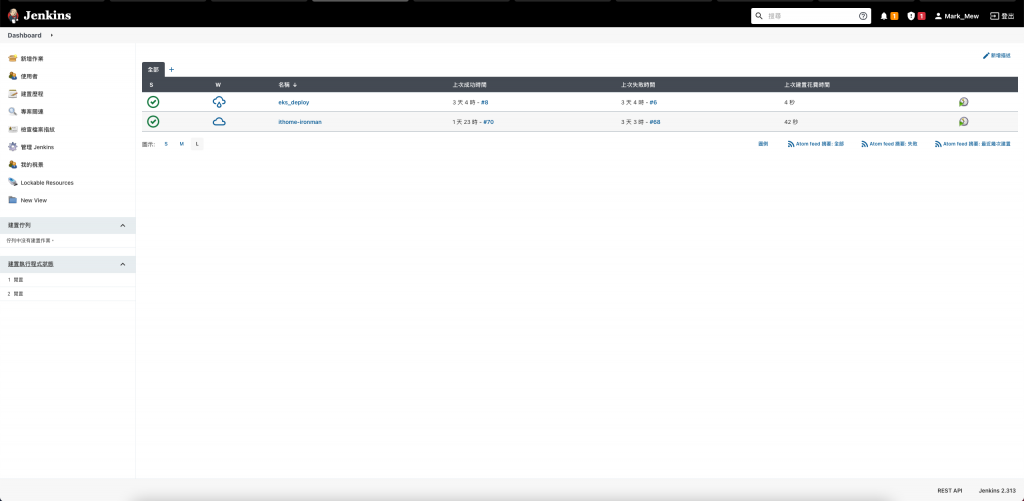
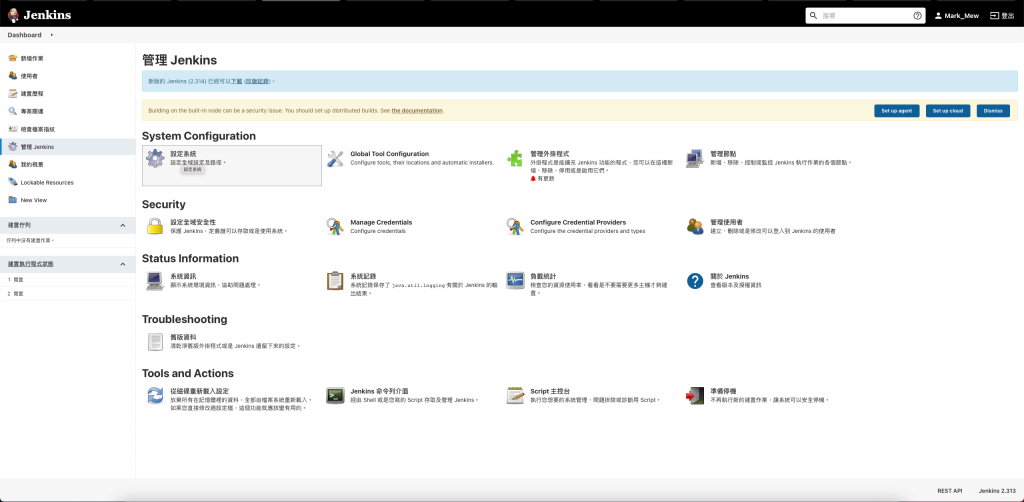
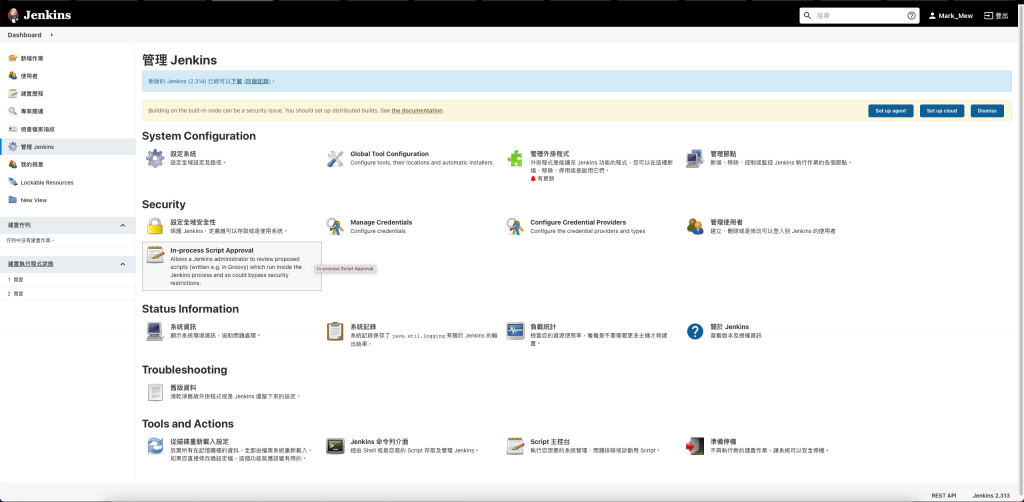
管理 Jenkins
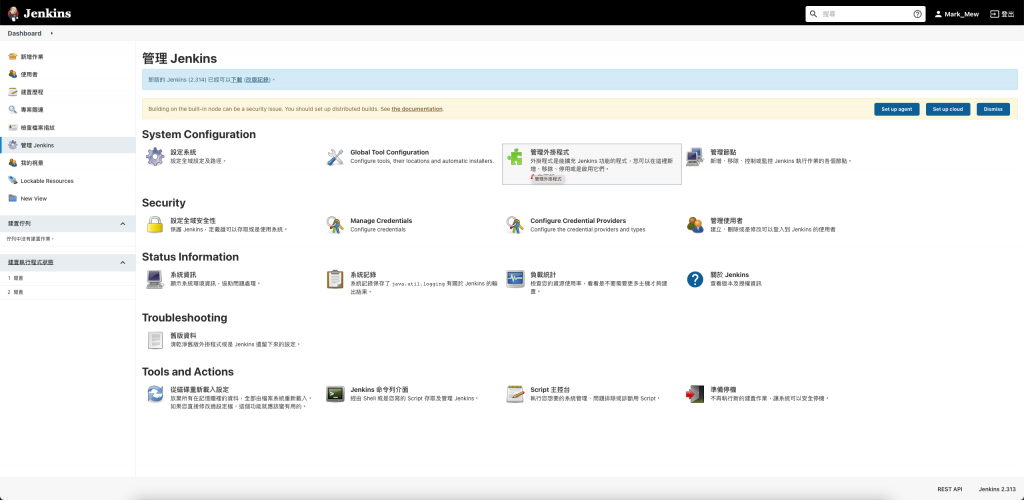
外挂程序管理
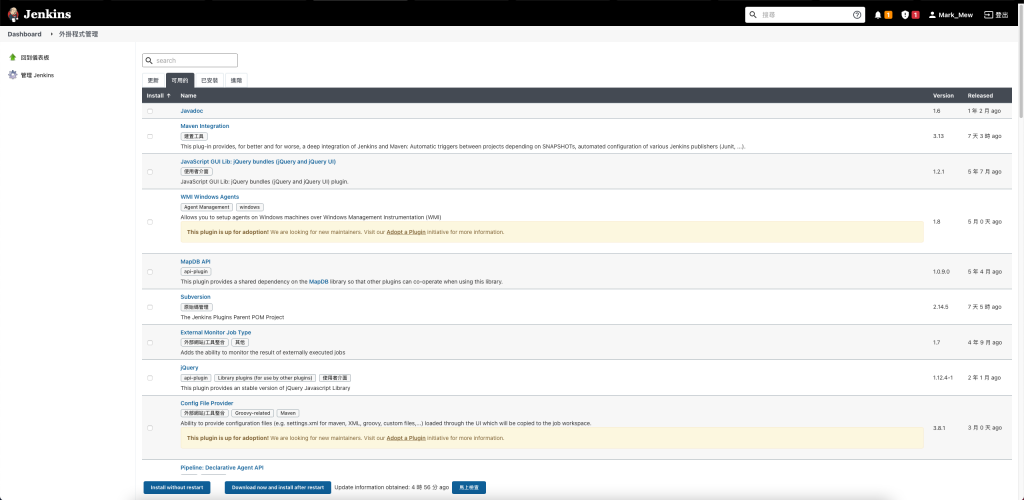
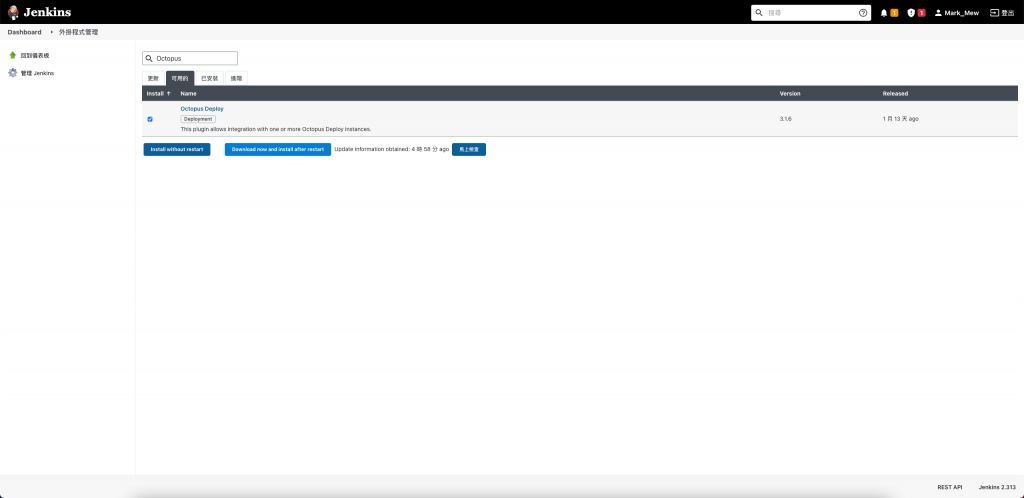
搜寻并安装 Octopus Deploy
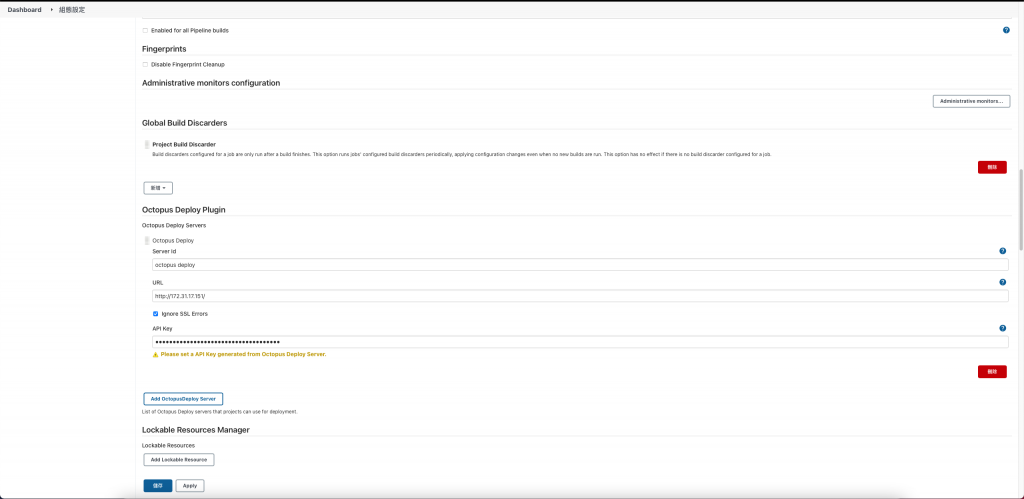
设定 Octopus 系统参数
登入 Jenkins > 管理 Jenkins
在设定系统中间填入 Octopus Server 参数
Jenkins Server 设定 octopus cli
Jenkins Server 在部署上需要透过 octopus 自己开发的 command line
我们之前都是透过 portal 跳板到 Jenkins 上
但是在 Terminate 之後
目前唯一有对外的只剩下 octopus server
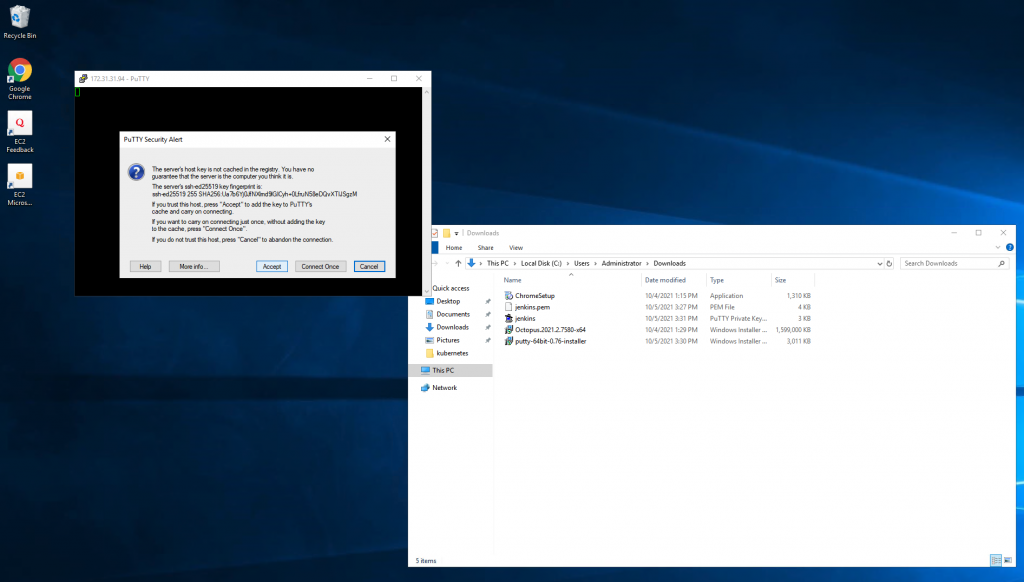
而我们今天也预计远端登入到 octopus server
并把 pem key 传上去後
再透过 octopus server ssh 到 jenkins 去安装 octopus cli
这的确不是个好方法
未来会再修掉
目前就先这样

sudo apt update && sudo apt install --no-install-recommends gnupg curl ca-certificates apt-transport-https && \
curl -sSfL https://apt.octopus.com/public.key | sudo apt-key add - && \
sudo sh -c "echo deb https://apt.octopus.com/ stable main > /etc/apt/sources.list.d/octopus.com.list" && \
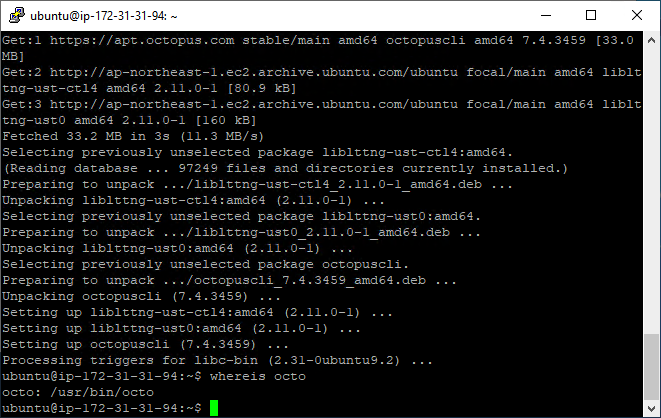
sudo apt update && sudo apt install octopuscli
安装完後,记得再下 whereis octo
查看路径
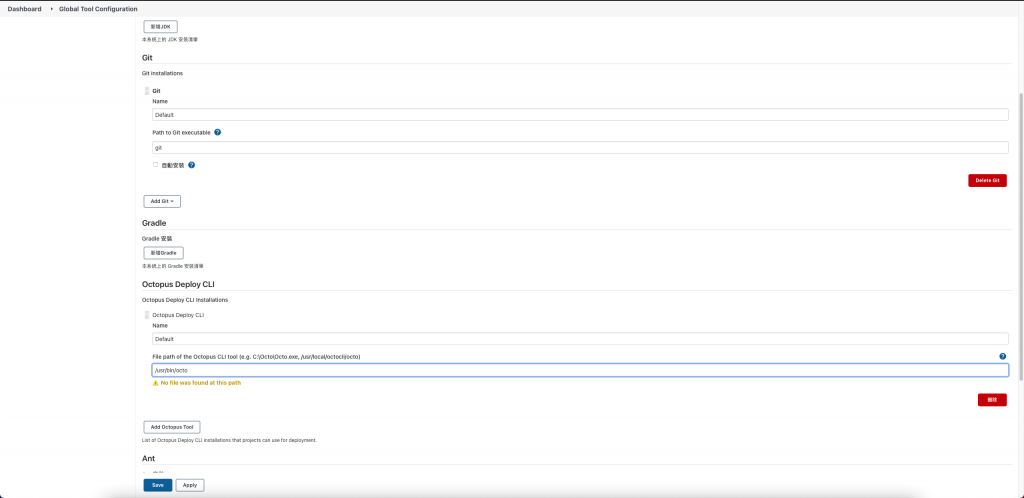
回到 Jenkins Server 网页画面
设定 Jenkins 中点按 Global Tool Configuration
填完路径後按下储存
本来以为今天可以写完,
但是内容实在太多了,
未完待续...
参考资料:
<<: Day 32 | 常见 Livewire 问题:与 Controller 兼容的几种方式
>>: DAY20 - 档案处理 - 利用jszip和file-saver,制作网页下载zip档案
[ Day 18 ] 条件 Render - Conditional Rendering
在前面元件以及生命周期的章节中我们提过 render() 这个方法,而且有特别指出它是在 Clas...
[Day_7]资料储存容器 (1) - tuple
Python的资料储存容器, 可以分为tuple、串列(list)、字典(dict)与集合(set)...
Day18:SwiftUI Picker
前言 SwiftUI Picker 可以让我们自行选择项目, 也可以选择不同的呈现方式, 这篇文章来...
DAY21 - 网页可以操作电脑里的档案?!本地端档案覆写 - The File System Access API
其实也是某天收到这个需求,一开始觉得怎麽可能,网页要存我电脑的档案!什麽情境才会用到这个功能...还...
HTTP Method(HTTP动词/HTTP方法)10/28更新
因为自己常记不住HTTP的几个动词所以自己来这边写一下 因为目前还没做出自己的网出来所以会偏向在IT...