Day12:12 - 商品服务(3) - 後端 & 前端 - 商品详情API
வணக்கம்,我是Charlie!
在Day11当中,我们完成了总商品的API以及分类,而今天我们将完成商品详情的後端API。
================================◉‿◉=================================
首先在urls.py中新增productDetail的URL pattern:
url(r'/detail/(?P<productID>[\w]{1,55})$',views.product),
接着在views.py中,新增productID这个参数:
def product(request,categoryID = None,productID = None):
接着在product view当中新增返回详情的程序码,如果productID不存在的话则返回badRequest:
if request.method == "GET" and productID is not None:
	product = Product.objects.filter(id = productID)
	if not product:
		return R.badRequest("productID does not exist")
	product = product[0]
	return R.ok(product.toJson())
接着使用productID来做测试:
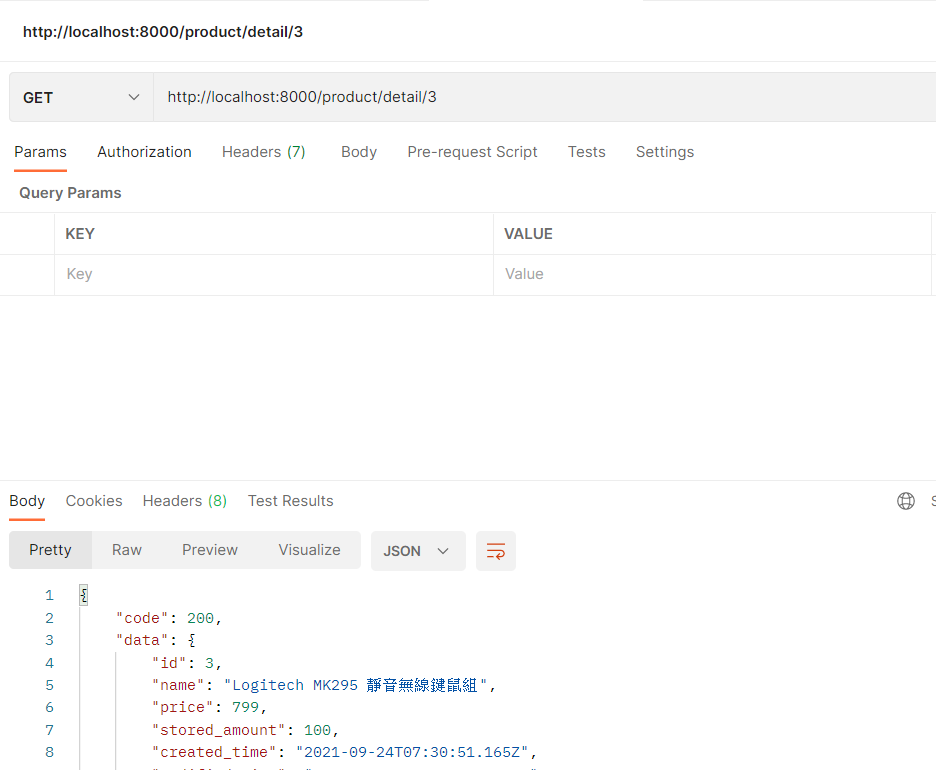
接着是前端的部分,因为我们的toJson中有包含了productID,所以可以用productID去拼接URL。
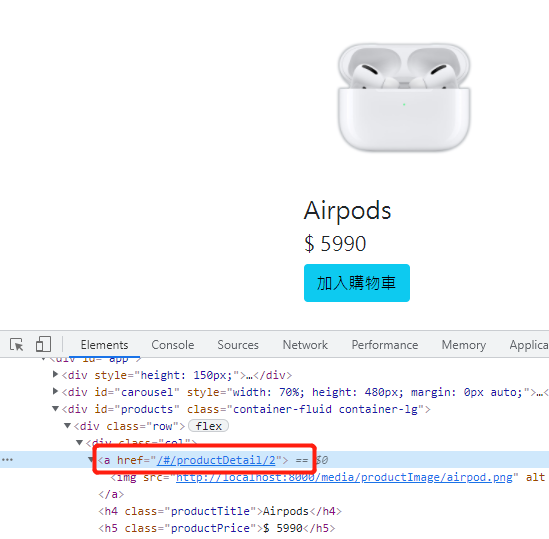
首先在indexPage.vue的地方,把img用a包起来,并使用:href绑定URL:
<a :href="'/#/productDetail/' + product.id"><img :src="'http://localhost:8000' + product.img" alt="" style="width:200px;height: 200px;"></a>
接着在product.js当中,新增getDetail方法:
export function getDetail(pid){
  return axios.get(`http://${host()}:${port()}/product/detail/${pid}`)
}
接着在productDetail当中,新增item model跟created方法:
data(){
  return {
    isLogin:false,
    amount: 1,
    item: {},
  }
},
created(){
  var pid = this.$route.params.pid
  getDetail(pid).then((response) => {
    if(response.data.code == STATUS_OK){
      this.item = response.data.data
    }
    else{
      this.$fire({type:'error',text:response.data.data}).then(() => {
        window.location.href = "/#/index"
        window.location.reload
      })
    }
  })
}
然後在上面的template当中插入资料:
// img
<img :src="'http://localhost:8000' + item.img" alt="" style="width: 200px;height: 200px;">

// productName
<b-row>
	<h2>{{ item.name }}</h2>
</b-row>

// productPrice
<b-row>
	<h3>${{ item.price }}</h3>
</b-row>

// spin
<b-row>
	<b-col cols="3">
		<b-form-spinbutton v-model="amount" min="1" :max="item.stored_amount"></b-form-spinbutton>
	</b-col>
	<b-col cols="3">
		<span style="color:red;">剩余数量: {{ item.stored_amount }}</span>
	</b-col>
</b-row>

// info
<b-row style="padding-left:250px;" v-html="item.info">
</b-row>
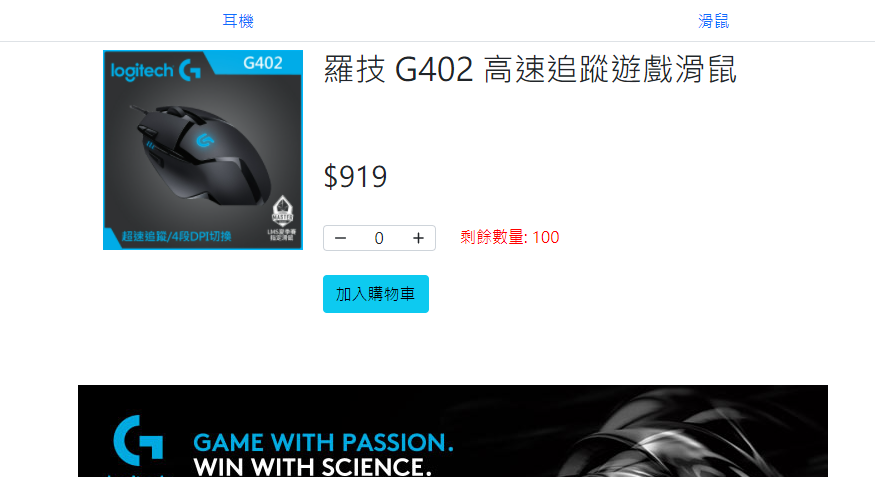
就可以看到商品载入了:
另外还有种类商品页的部分,一样将img用a包覆起来:
<b-col v-for="product in products" :key="product.id">
	<a :href="'/#/productDetail/' + product.id"><img :src="'http://localhost:8000' + product.img" alt="" style="width:200px;height: 200px;"></a>
	<h4 class="productTitle">{{ product.name }}</h4>
	<h5 class="productPrice">$ {{product.price}}</h5>
	<div>
		<b-button variant="info">
			加入购物车
		</b-button>
	</div>
</b-col>
================================◉‿◉=================================
Day12结束了!在今天我们完成了商品详情的显示,而明天我们将完成加入购物车、购物车商品的API,See ya next day!
<<: Day 11:Router 怎麽绕-router-link、router-view
D15 下载功能测试
一样先确认使用者在文件库有哪些文件 确认传送来的文件doc_id是属於使用者 确认文件存在後回传Ht...
DAY30: 最後一天
今天是第三十天!!首先先给我一个拥抱!! 很感谢我自己这麽有毅力的连续发文三十天,其实学习的时间不只...
基础的Git上传方法与指令
1.以下程序码中有中文的,一律要更换成自己要的名字 2.程序码中有许多空格,请务必注意不要漏掉!! ...
[Day29] 部署网站 - 我与 ASP.NET Core 3 的 30天
一般来说,发布ASP.NET Core的应用程序部署到服务器上会经过以下动作 将发布的应用程序部署到...
抓取资料库数据 - SQL基础语法(中)
上次我们已经学会要怎麽从资料库依照各个表取出我们想要的栏位,也可以透过条件筛选的方式过滤我们想要的资...