Day11 SwiftUI 04 - 在SwiftUI 上设计多画面
在SwiftUI 上设计多画面
NavigationView
这边来介绍一下 NavigationView,SwiftUI 利用 NavigationView 管理切换多层页面,它使我们能够轻松推送push和退出pop页面,以清晰,分层的方式展示我们的画面
前面没介绍到,对应 UIKit framework 中的 UINavigationController,运用到 Navigation Controller 来让画面多出页首的 Navigation Bar 来方便我们切换页面
只需要在元件库搜寻并拖拉 NavigationView 或在程序码当中把第一个页面用 NavigationView 包起来就可以了,可以在其 NavigationView 内部添加标题栏、页面内容,以及底部导航栏等等
例如在 NavigationView { } 里的元件 VStack 呼叫navigationTitle()来设定标题,可以通过添加displayMode参数来自定义标题的样式
struct ContentView: View {
    var body: some View {
        NavigationView{
            VStack {
                Text("Hello, world!")
                    .font(.largeTitle)
                    .foregroundColor(Color.blue)
                    .multilineTextAlignment(.center)
                    .padding()
                    .border(Color.black, width: 1)
                Text("Test")
                Button(action: {
                    print("test")
                }) {
                    Text("Test")
                        .font(.system(size: 30))
                        .background(Color.yellow)
                        .foregroundColor(.red)
                }
            }.navigationBarTitle("标题", displayMode: .inline)
        }
    }
}
之後我们来创建第二页的 View:
struct SecondView: View {
    var body: some View {
        Button("返回") {
        }
    }
}
接下来就要透过 NavigationLink 来连结到SecondView
NavigationLink
页面的跳转和传值,用於页面的跳转和传值,透过从元件库新增拖拉或在程序区块中新增NavigationLink,生成的NavigationLink需要我们来自行完成设定,其中参数 destination 代表点选後会前往的页面,label代表 NavigationLink 显示的内容
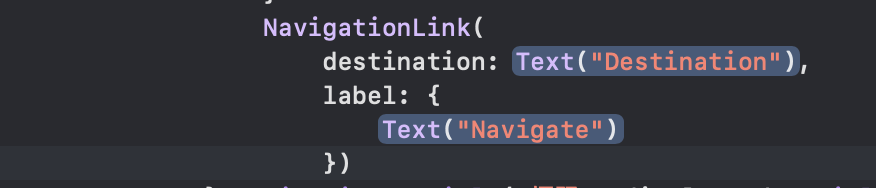
                NavigationLink(
                    destination: SecondView(),
                    label: {
                        Text("Next")
                    })
这样在点击Next 时就会跳转至SecondView页,完成了最基本的换页
页面之间的传值
这边就可以搭配SwiftUI 的数据流来完成页面间的传值
范例:
struct ContentView: View {
    @State var passedData:String = "init value"

    var body: some View {
        NavigationView {
            VStack{
                TextField("input passed data", text: $passedData)
                    .multilineTextAlignment(.center)
                NavigationLink(
                    destination: SecondView(message: $passedData),
                    label: {
                        Text("next")
                    })
            }
        }
    }
}

struct SecondView: View {
    @Binding var message : String

    var body: some View {
        VStack {
            Text(message)
            TextField("input backed data", text: $message).multilineTextAlignment(.center)
        }
    }
}
>>: 铁人赛 Day26 -- 一定要知道的JQuery (二) -- 锚点动画
【Day-26】我们是怎麽开始的?:一间传统软件公司从 0 开始建置的 DevOps 文化(工具篇)- 高品质工作四部法
#前言 昨天我们稍微介绍实际案例是什麽样子,挑战终於进到了尾声,今天我们来介绍一些重要的工具! 00...
[Day13] Hoisting
提升(Hoisting) 在 JavaScript 里指的是在执行代码之前,直译器(interpre...
IOS Swift 还能更精简? Closure的其它用法你一定要知道!!
前言: 屁屁痛了一整晚昨天全程跪着打文章,都这样了你们该进来看一下了吧,顺带一提如果有对Swift其...
离职倒数23天:东京女子图监
开始上班後,没换过工作却换了三个地方住。纪录一下本人版本的东京女子图监。 表参道:个人房间20平米。...
Ruby 实体变数(instance variable)
在 Ruby 里的实体变数是有一个 @ 开头的变数,顾名思义,是活在每个实体里的变数,而且每个实体之...