09. E2E Test x Browser Test x Cypress
cypress 安装步骤
step 1. 安装
npm install cypress --save-dev

step 2. 写测试
安装好後会产生 cypress.json 档和 cypress 资料夹

启动你的 app,并在 cypress.json 设定入口网站
{
    "baseUrl": "http://laravel7_starter.test"
}
在 integration\examples 里写一个不通过的测试
it('works', () => {
    expect(2+2).to.equal(5);
});
step 3. 跑测试
开启 GUI,点刚刚写的 example_spec.js
npx cypress open


Laravel + Cypress Integration
https://github.com/laracasts/cypress
安装
php artisan cypress-boilerplate
设定测试环境(安装这个 package 会自动备份当前环境,并使用 env.cypress 作为测试环境)
DB_CONNECTION=mysql
DB_DATABASE=cypress
https://github.com/guiyomh/cypress-boilerplate
基本操作
语法
describe('a feature', () => {
    describe('a portion', () => {
        it('perform', () => {
        });
    });
});
describe('a portion', () => {
});

context('a portion', () => {
});
sqlite 环境
.env DB 改成 sqlite
DB_CONNECTION=sqlite
DB_DATABASE=/Users/本地某个资料夹/database.sqlite
database/database.sqlite
新增一个 database.sqlite,执行 php artisan migrate,指定 --env=cypress
php artisan migrate --env=cypress
Exercise
describe('Blog', () => {
    it('show all posts', () => {
        cy.create('App\\Post', {
            title: 'My First Post'
        });
       cy.visit('/blog').contains('My First Post');
    });

    it('create a post', () => {
    });
});
foreach
describe('Blog', () => {
    beforeach( () => {
        cy.log('hello world');
    });
});
laravel-commands
cy.refreshdatabase() 刷新 db 指令
describe('Blog', () => {
    beforeach( () => {
        cy.refreshdatabase();
    });
});
failOnSatusCode: false 显示错误
cy.visit('/blog',{
    failOnSatusCode: false
}).contains('My First Post');
cy.php() php 语法
cy.php(`App\\Post::count()`).then( count => { cy.log('post count: + count')});
抱歉本文跟环境突然换了接,因为是全文转录自一年前的文章...
加个 TODO,有空再来改 ^_<
最近因为工作需要做资料视觉化,开始接触 neo4j。
查询的语法跟 SQL 很像,sandbox 里面有个 Movie Project Tutorial for Beginer,有兴趣可以玩玩看。
https://sandbox.neo4j.com/

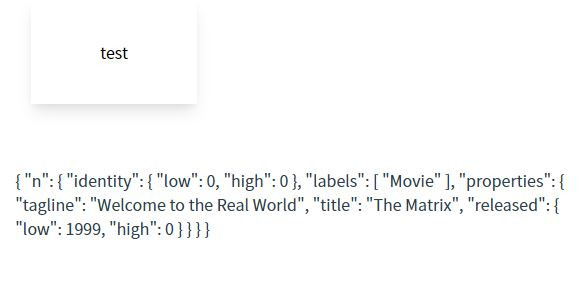
附上 Vue 范例
<script>
import neo4j from 'neo4j-driver'

export default {
    name: 'index',
    data() {
        return {
            uri: '沙盒uri',
            username: 'neo4j',
            password: '沙盒密码',
            data: '',
            session: {}
        }
    },
    mounted() {
        const driver = neo4j.driver(this.uri, neo4j.auth.basic(this.username, this.password))
        this.session = driver.session()
    },
    methods: {
        testQuery() {
            this.session.run('MATCH (n) RETURN n')
                .then(res => {
                    this.data = { n : res.records[0].get('n') };
                })
                .catch( e => {
                    alert(e)
                })
        },
    }
};
</script>
<<: Day 09 : 操作基础篇 6 — 让 Obsidian 变得更好用!分享我的 Obsidian 笔记版面配置
>>: 全端入门Day24_後端程序撰写之多一点点的Node.js
[Aras笔记] 从Excel快速贴上受影响物件并建立变更单
###本文章内容皆由我本人开发撰写与分享 在变更单建立时,经常会花时间编辑受影响物件 经常是为了从E...
Day02 X 为什麽要在前端做效能优化?
大家好!虽然今天是 Day 2,不过严格来说是系列文的第一天。今天要来谈谈「为什麽我们需要在前端做...
29. CSS 水平置中/ 垂直置中的方法
首先,预设范例的层级关系是这样: <!-- HTML --> <div class...
Day 25-reverse terraform: terraformer,从 infrastructure 产生 .tf 内容
本篇介绍 terraformer,除了 import 既有的 remote resource 到 t...
day19: High order function
相信写过 javaScript ES6 的大家一定使用过,high order function, ...