EP07 - Jenkins Pipeline 整合 Gitlab 使用 Webhook
将专案整合 Gitlab 和 Jenkins
产生 Token
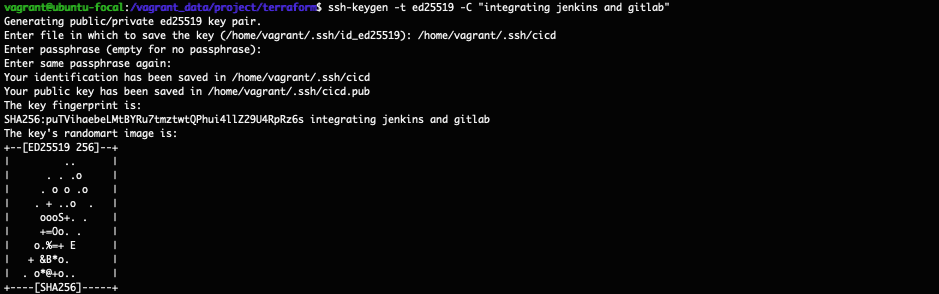
前几天有在虚拟机械中产生金钥
今天也要再来产生一组
不过这次产生的是要在 Jenkins 和 Gitlab 上串接使用的
ssh-keygen -t ed25519 -C "integrating jenkins and gitlab"
这次就产生一组叫做 cicd 的金钥
sudo cat /home/vagrant/.ssh/cicd.pub
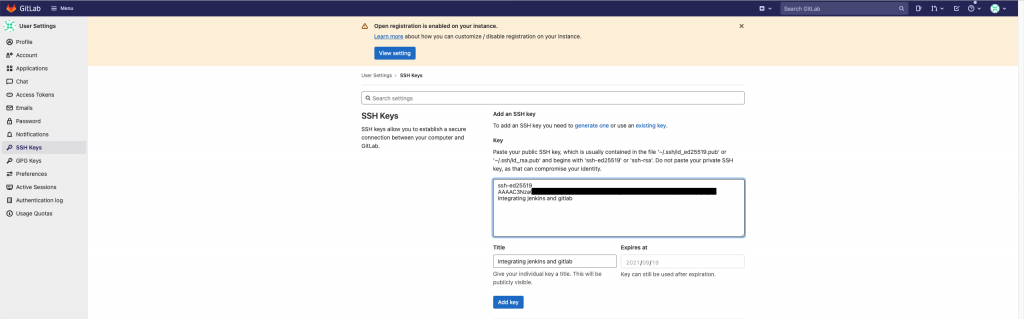
查看产生的 public key 并复制起来

Gitlab 设置 Token
使用浏览器登入 Gitlab
点按图示,选择 Preferrences,再点按 SSH Key 後
将刚刚查到的 public key 贴上

Jenkins 设置 Token
接着要将产生的 private key 贴在 Jenkins 上
步骤至此
可能有人会有疑问
如果我们要透过 webhook 串接
那为什麽还需要设置这个
其实原因是
webhook 是 Gitlab 主动触发 Jenkins 没错
但是我们也有可能从 Jenkins 手动去触发 CI
因此在 Jenkins 端还是要设置才能够去 Gitlab checkout 程序码
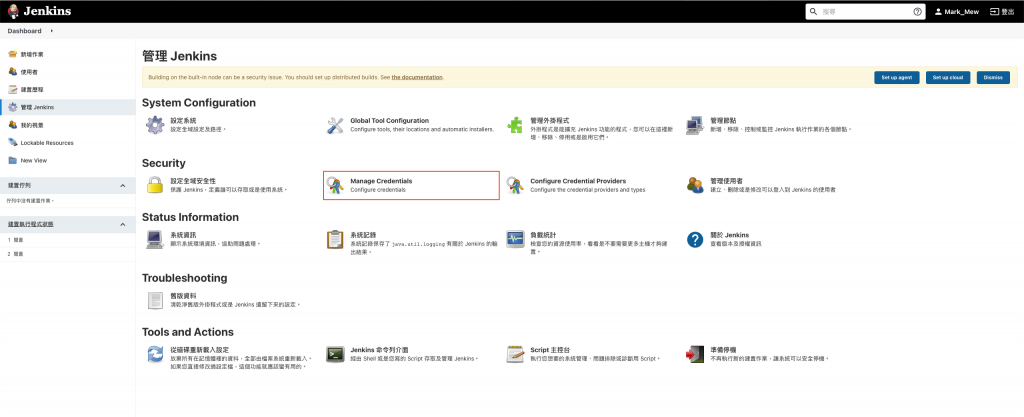
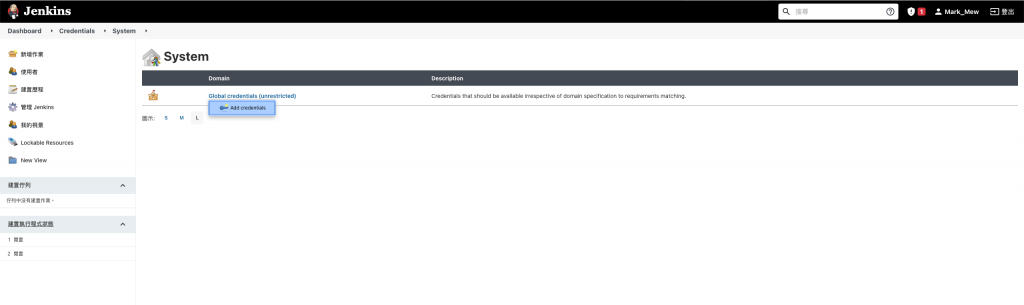
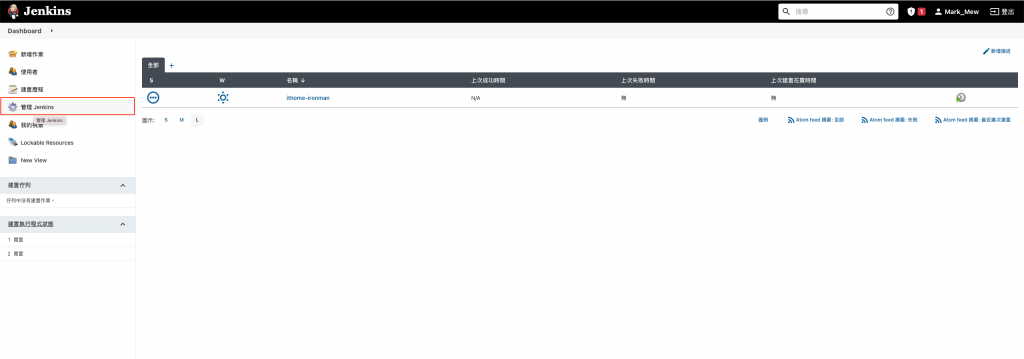
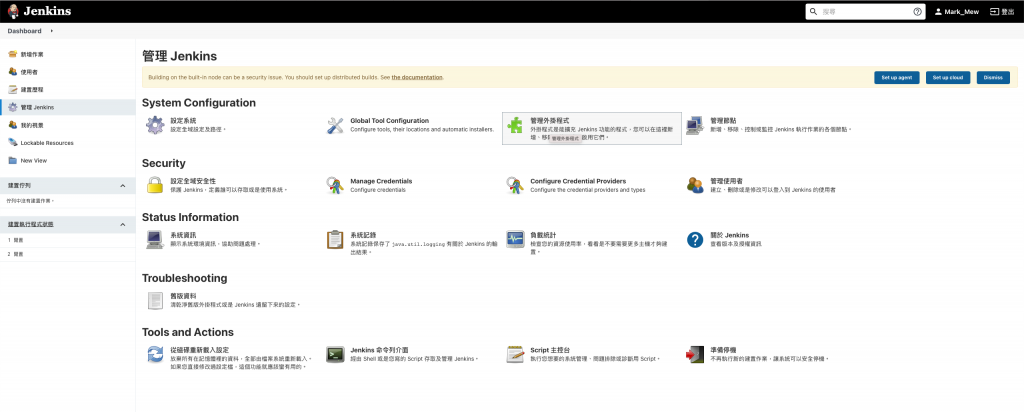
登入後选择管理 Jenkins
选择 Manage Credentials
按下 Jenkins
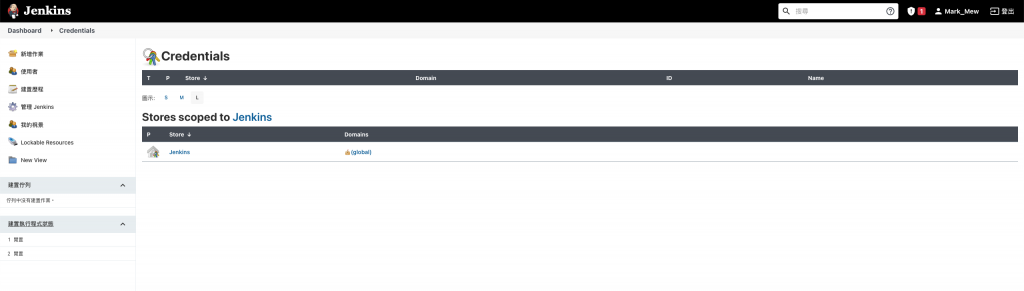
Global credentials (restricts) 按下并选择 add credentials
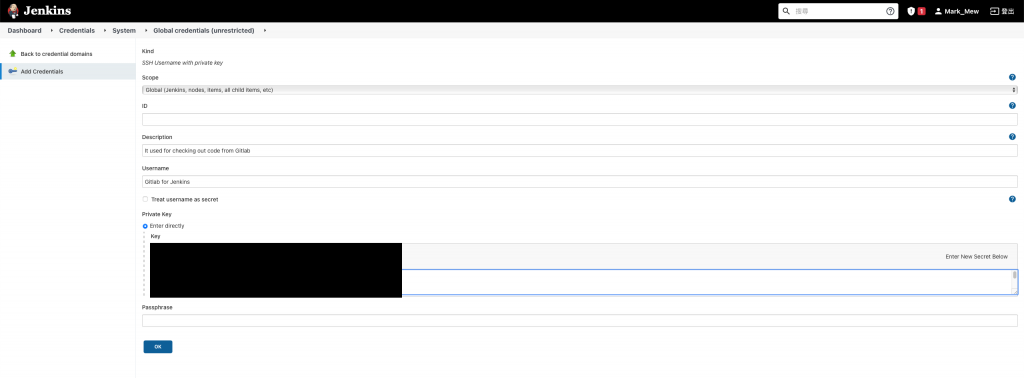
填入需要资讯并储存
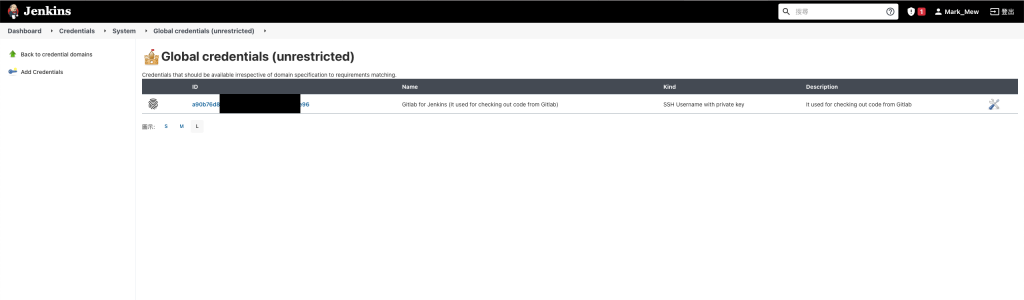
复制 ID
储存後会有一组 ID
将其复制下来
等下在新增作业时会用到
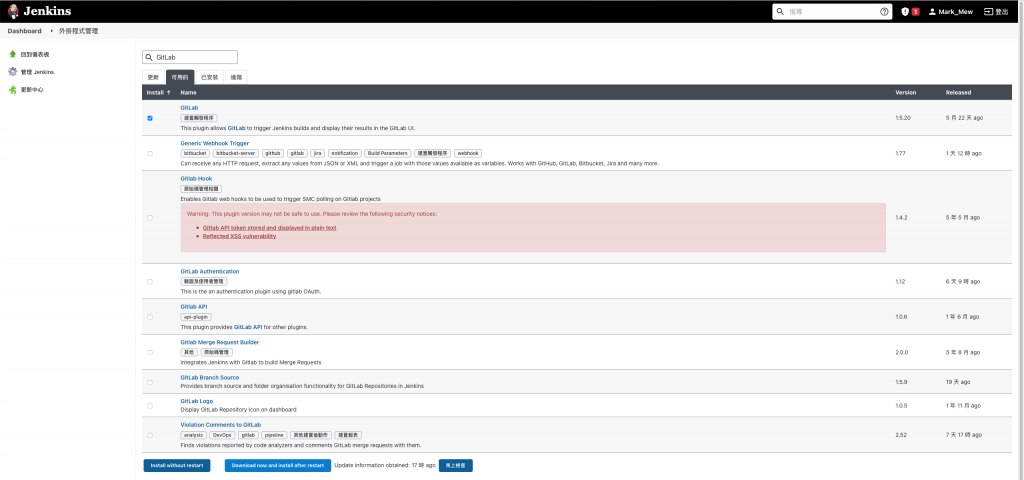
安装套件
管理 Jenkins
管理外挂程序
查询「GitLab」,选择「GitLab」并下载安装
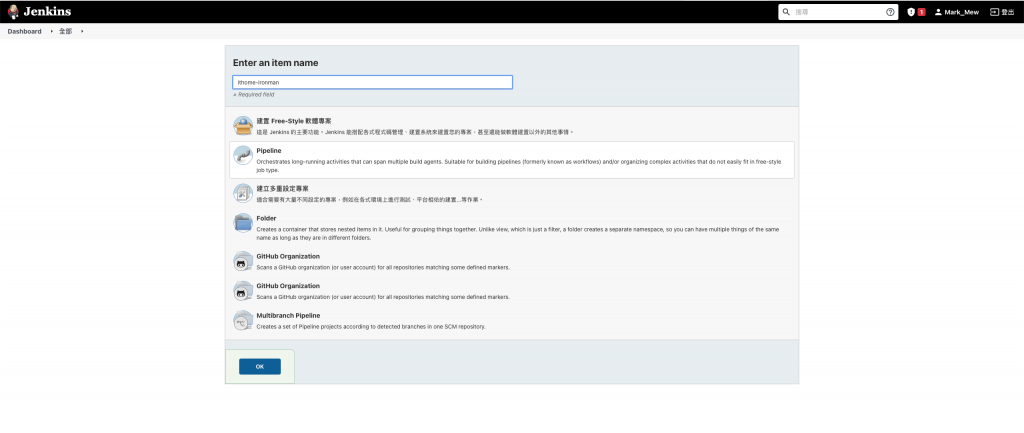
新增作业
终於我们要在 Jenkins 上新增一个作业
但是目前我们 Hello 专案连个影子都没看到
所以今天只会将 Jenkins 和 Gitlab 的路打通
还不会创建一个简单的专案和进行部署
新增作业中选择「pipeline」
作业名称不要使用空白
不然可能在串接时会遇到一些问题
什麽是 pipeline script
Pipeline 是 Jenkins 的一个 Plugin
提供所为的流水线建置功能
来让工作变得容易 Scale up
主要由 Apache Groovy 开发
因为 Groovy 的特性
使得 Pipeline 可以撰写使用自己的 DSL 语法
Jenkins 的作业上
可以在 Jenkins 作业设定上直接写 Pipeline script
也可以在专案中的根目录中新增 Jenkinsfile 的档案
Jenkins 在执行 CI 时
预设会抓取专案根目录中的 Jenkinsfile 来执行
pipeline 语法
大方向来说
可以将全部的 pipeline 理解成 pipeline、stages、stage、steps 几个步骤
agent 是设定整个 pipeline 的执行环境
可以针对整个 pipeline 做设定
也可以个别做设定
再来则是需要写流水线的每个大步骤
这个大步骤就是大家在执行 Jenkins 中看到的每一个区块
语法的撰写上很有趣
都是用大括号还框定作用区域
并在大括号中撰写要执行的步骤
设定 pipeline 语言
我们还没有建立专案
因此 repository url 只能先留白
之後再回来填写
pipeline {
  agent any

  stages {
    stage('Git Checkout') {
      steps {
        sh 'pwd'
        sh 'ls -a'
        retry(3) {
          dir('ithome-ironman') {
            git branch: 'master',
            credentialsId: '',
            url: ''
          }
        }
      }
    }
    stage('Build') {
        steps {
            echo 'Build ...'
        }
    }
    stage('Upload to S3') {
        steps {
            echo 'Upload ...'
        }
    }
    stage('Deploy') {
        steps {
            echo 'Deploy ...'
        }
    }
  }
}
产生 webhook token
勾选 Build when a change is pushed to GitLab. GitLab webhook URL: http:// 你的IP或host /project/ithome-ironman
按下进阶
并在下方按下 Generate 产生 Token
将 上方的网址和Token 复制起来等等在 Gitlab 设定时需要用到
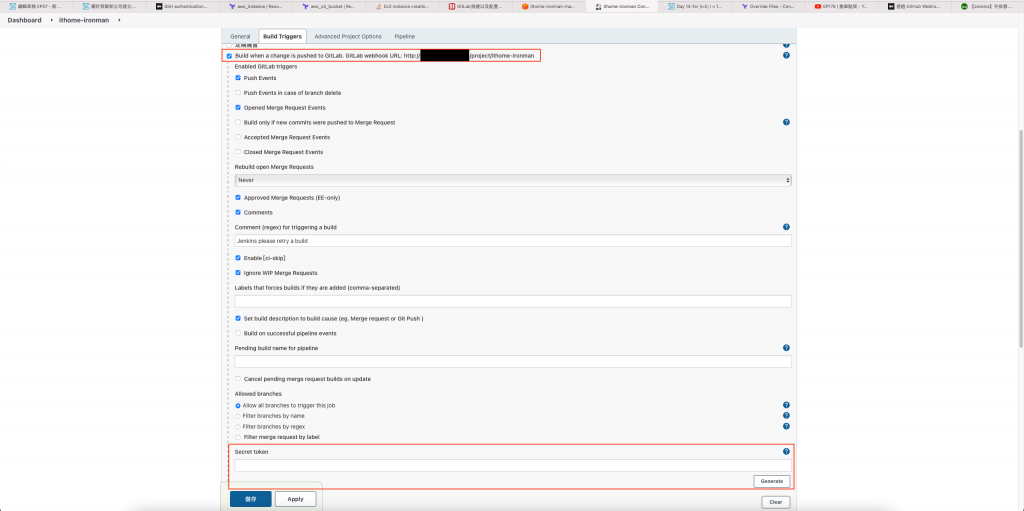
最後记得储存
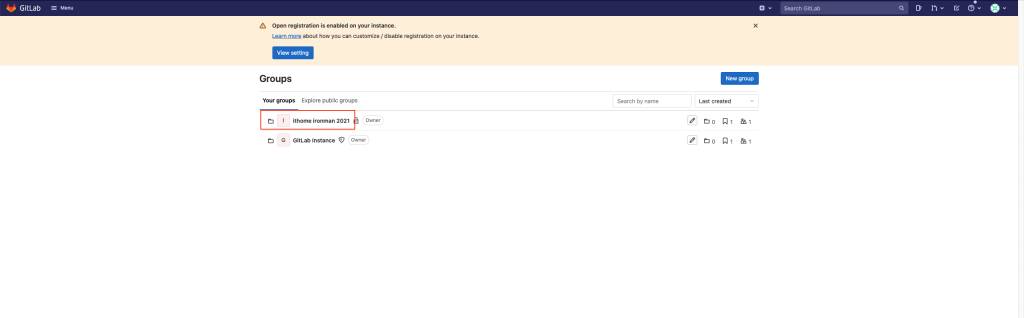
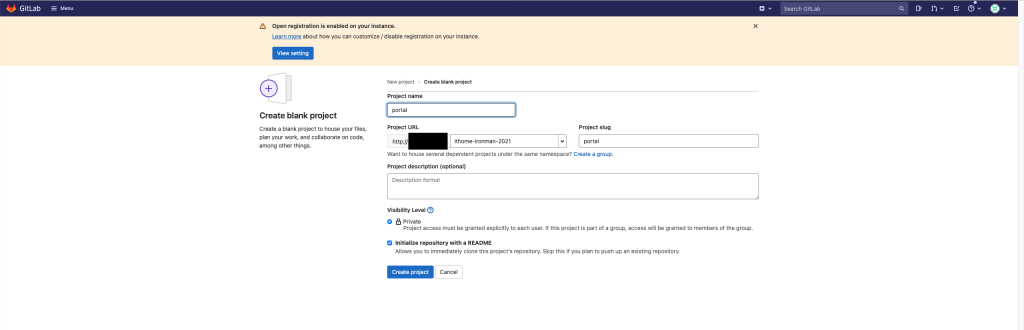
Gitlab 新增另一个专案
在专案的建置上
除非是静态网站
不然鲜少会只用一个 git repository
未来分类或管理方便
建议可以使用部门或专案来设置第一个 Group
专案的 Group 中
再新增 Portal、SQL...等 repository
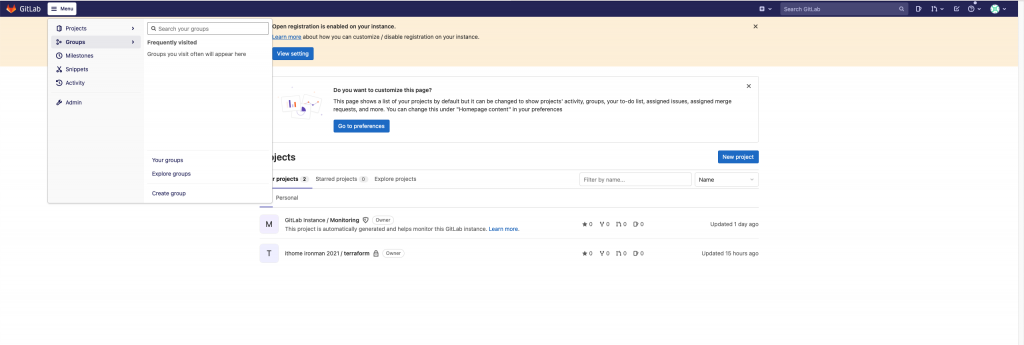
Your Groups
Menu -> Groups -> your Groups
ithome ironman 2021
New Project
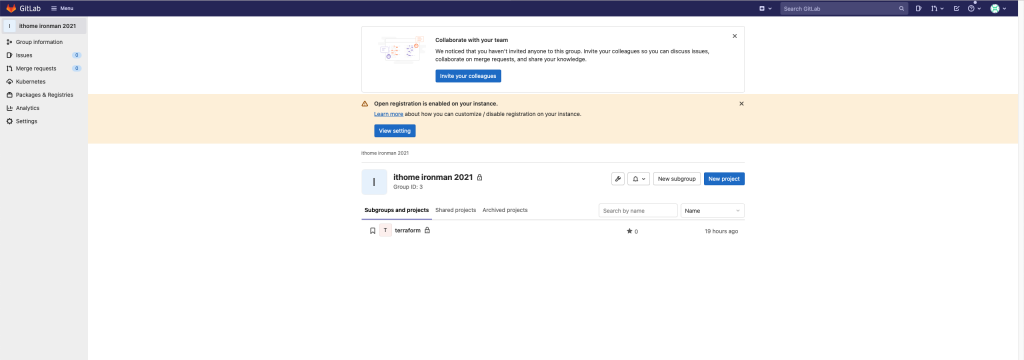
Create blank project
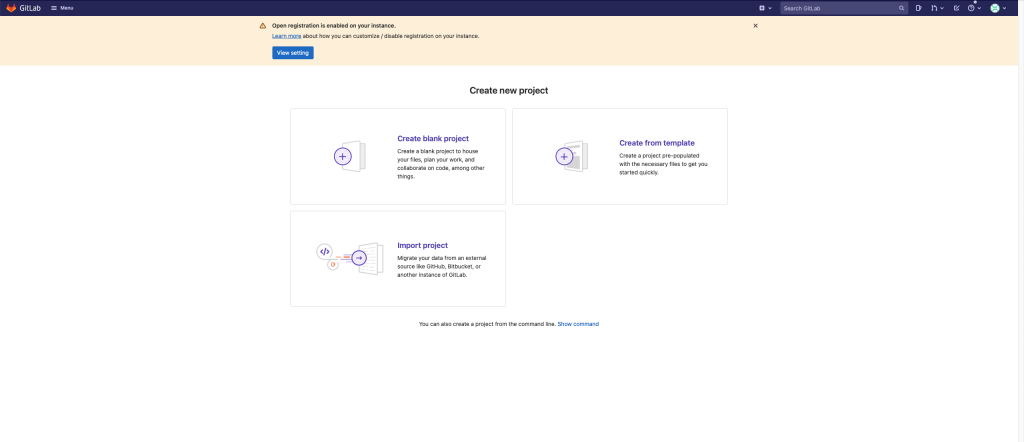
填写相关设定并储存
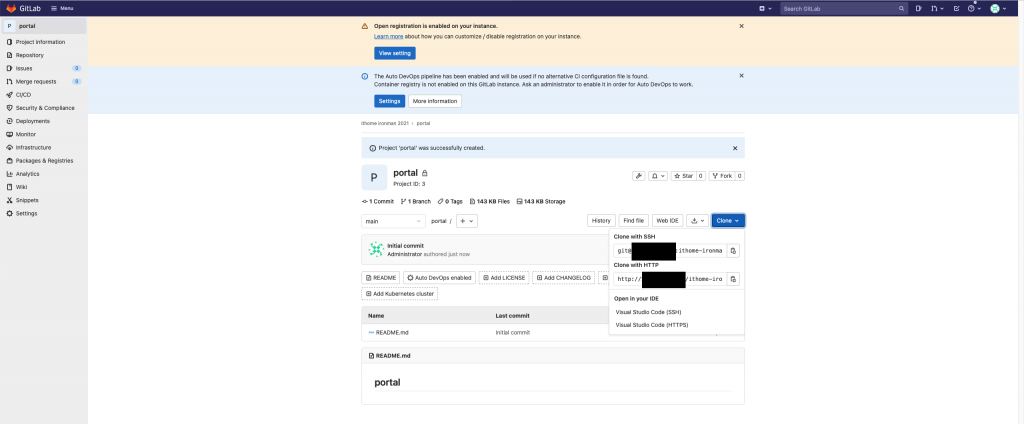
复制 ssh url repository
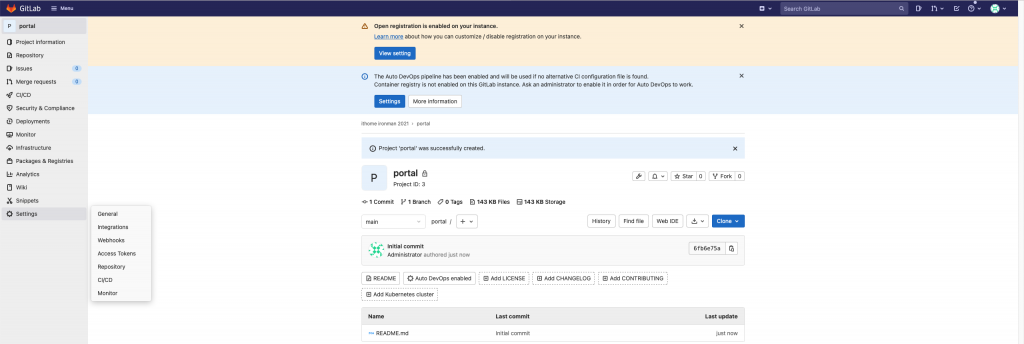
settings -> webhook
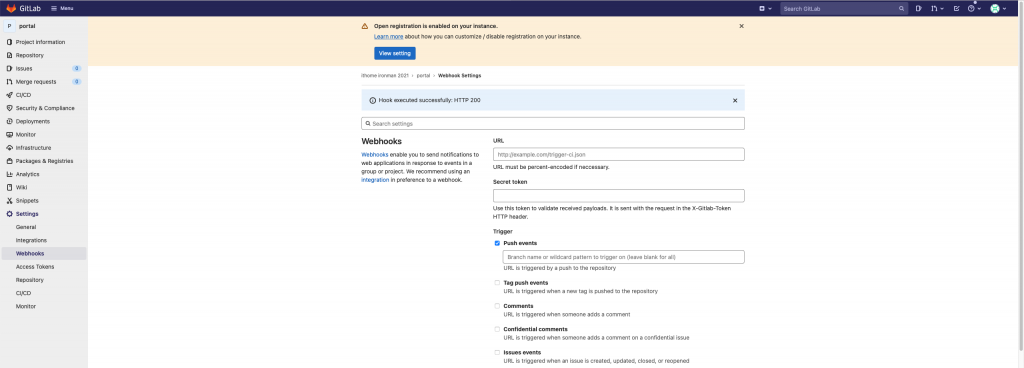
设定 webhook
填入在前一个步骤拿到的网址及产生的 Token
贴上後储存
但...还没完成,别急着按下测试钮

调整 Jenkins Pipeline 设定
回到 Jenkins 中
进入刚刚建立的 ithome-ironman 作业
并调整组态
刚刚我们写的 pipeline
填入刚刚复制的 repository url
设置白名单
一开始的时候
我们只设定只有自己的 IP 可以存取到 Jenkins 和 Gitlab
因此接下来我们需要调整 Jenkins 和 Gitlab 之间的 Security Group Rule
resource "aws_security_group_rule" "gitlab_jenkins_igress_22" {
    type              = "ingress"
    from_port         = 22
    to_port           = 22
    cidr_blocks       = [format("%s/32", aws_instance.jenkins.public_ip),]
    protocol          = "tcp"
    security_group_id = aws_security_group.gitlab.id
}

resource "aws_security_group_rule" "gitlab_jenkins_egress_22" {
    type              = "egress"
    from_port         = 22
    to_port           = 22
    cidr_blocks       = [format("%s/32", aws_instance.jenkins.public_ip),]
    protocol          = "tcp"
    security_group_id = aws_security_group.gitlab.id
}

resource "aws_security_group_rule" "gitlab_jenkins_egress_8080" {
    type              = "egress"
    from_port         = 8080
    to_port           = 8080
    cidr_blocks       = [format("%s/32", aws_instance.jenkins.public_ip),]
    protocol          = "tcp"
    security_group_id = aws_security_group.gitlab.id
}

resource "aws_security_group_rule" "jenkins_gitlab_egress_22" {
    type              = "egress"
    from_port         = 22
    to_port           = 22
    cidr_blocks       = [format("%s/32", aws_instance.gitlab.public_ip),]
    protocol          = "tcp"
    security_group_id = aws_security_group.jenkins.id
}

resource "aws_security_group_rule" "jenkins_gitlab_igress_8080" {
    type              = "ingress"
    from_port         = 8080
    to_port           = 8080
    cidr_blocks       = [format("%s/32", aws_instance.gitlab.public_ip),]
    protocol          = "tcp"
    security_group_id = aws_security_group.jenkins.id
}

resource "aws_security_group_rule" "jenkins_gitlab_egress_8080" {
    type              = "egress"
    from_port         = 8080
    to_port           = 8080
    cidr_blocks       = [format("%s/32", aws_instance.gitlab.public_ip),]
    protocol          = "tcp"
    security_group_id = aws_security_group.jenkins.id
}
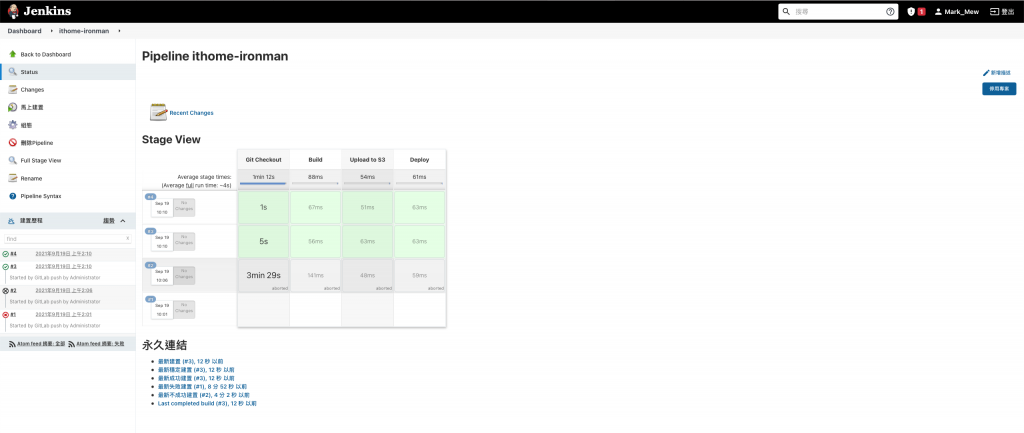
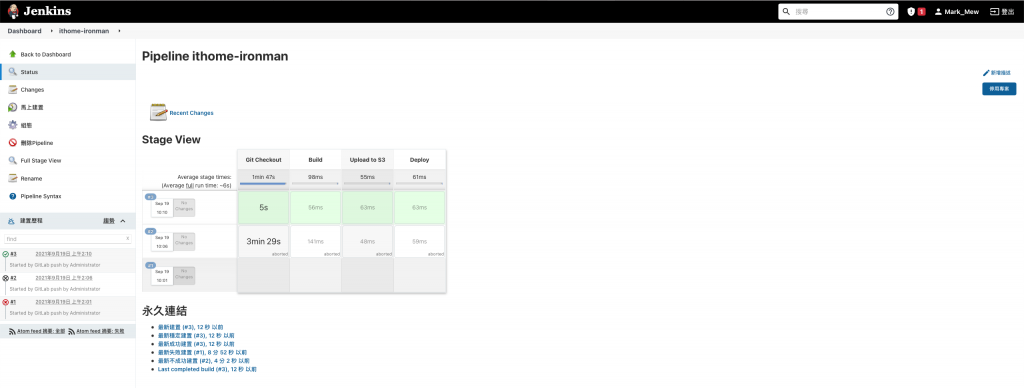
测试
Gitlab Push event
按下 Test -> Push Event
画面上有看到 Hook executed successfully: HTTP 200
表示 Gitlab 到 Jenkins 这边有成功串接起来
Jenkins Manually trigger
按下左边的马上建置
Jenkins 错误盘查
一般来说通常不是语法错误就是网路不通
建议可以先检查 pipeline 的语法是否有写好
stage 中需要包含 steps,即使只是 echo 或是没做事情
再来则是检察网路规则
webhook 的部份我们没有特别调整 Jenkins 的 port
因此是打 8080 port
所以 Gitlab outbound 到 Jenkins 要打开
而 Jenkins 到 Gitlab 的 8080 inbound 和 outbound 都要开
Jenkins 需要到 Gitlab 去 Checkout code
因此 Jenkins 到 Gitlab 的 outbound 22 port 要开
而 Gitlab 到 Jenkins 的 22 port inbound 和 outbound 都要开
我们用了一点时间
终於将 Gitlab 和 Jenkins 串起来
但是目前这系统看来还有很大的问题
除了没有 SSL 凭证以外
一直对外存取总不是办法
而且整个 CI/CD 也只是把整个环境建好
还没真的开始做到 CI/CD 的部分
这点会在未来慢慢带大家做好
参考资料:
>>: [Day6] Face Detection - 使用Google ML Kit (iOS)
不只懂 Vue 语法:试解释嵌套路由与嵌套命名视图的概念?
问题回答 嵌套路由是指在一个 router-view 里包 router-view,像是在一个画框里...
【Day34】[演算法]-费波那契数列Fibonacci Sequence
之前在递回的篇章有介绍过费波那契数列,是使用递回的方式实作,但是从下面递回的树状图来看,会发现有很多...
R语言-视觉化-双y轴图 (two y axis in r.studio)
废话不多说,直接附上code 影片含有程序码详细解说,若有误再烦请告知,谢谢 library(ggp...
[Vue] 判断图片是否存在
在开发Vue专案时,时常会使用binding的技巧,用以动态变更参数的值, 如下 <div c...
Day 17 - 应用程序部署 - 浅谈 Rancher 的应用程序管理
本文将於赛後同步刊登於笔者部落格 有兴趣学习更多 Kubernetes/DevOps/Linux 相...