新新新手阅读 Angular 文件 - ngStyle - Day16
本文内容
本篇内容为阅读官方文件 ngStyle 的笔记内容。
ngStyle 使用时机
昨天 Day15 的文章介绍了使用 [ngClass] 动态地为止定元素增加或删去特定的 className。那 ngStyle 也差不多,就是用来动态的为指定元素增加 css style。
ngStyle 使用方法
它是用一个物件将要加入的 style 写在里面,以此为被绑定元素加入 css 样式。
<p [ngStyle]="{ color: 'red'}">
  Start editing to see some magic happen :)
</p>
以上范例可以看到在 ngStyle 的物件里面,key 值是 css style 的名称,後面跟着的值就是要设定的 css style 内容,所以,上面范例就会为这个 p 段落的文字加上红色的颜色设定。
dash-case 写法的雷
如果,我们扩充一下上面的范例,为它加入 font-size 的 style 设定
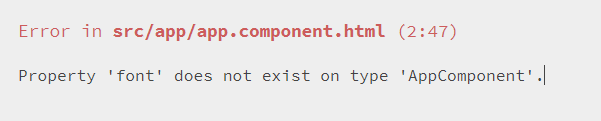
<p [ngStyle]="{ color: 'red', font-size: '30px'}">
  Start editing to see some magic happen :)
</p>
如果,按照上面这样的写法,你的编译器应该会跳出以下的错误
camelCase 写法
它会变成无法辨识 font-size 这个 css 样式。
要改正这个错误的话,我们就必须把它改成驼峰式的写法
<p [ngStyle]="{ color: 'red', fontSize: '30px'}">
  Start editing to see some magic happen :)
</p>
如此,就可以顺利的为这个 p 段落加入 font-size 的样式罗。
字串包起来的写法
或者,我们直接用单引号把 font-size 包起来也可以解决以上的错误
<p [ngStyle]="{ color: 'red', 'font-size': '30px'}">
  Start editing to see some magic happen :)
</p>
style 跟着单位
在官方文件还有说到若 css 样式的设定是有单位的话,我们可以在样式的 key 值後面跟着,你指定的单位。
以上面的 font-size 为例:
<p [ngStyle]="{ color: 'red', 'font-size.px': '30'}">
  Start editing to see some magic happen :)
</p>
可以看到 font-size.px 的写法,会是一样的效果。
Note:
这边要特别注意一下,如果,你是用 camelCase 的写法,你写 fontSize.px = '30' ,是会报错的喔。所以,在 camelCase 的情况下,还是要保持 fontSize: '30px' 的写法喔。
ngStyle 绑定元件物件
我们也是可以让 ngStyle 去绑定我们在其所属元件定义的物件,然後,整包绑定上去
--- app.component.ts ---
export class AppComponent {
  rambleStyle = {
    color: 'red',
    fontSize: '60px',
  };
}

--- app.component.html ---
<p [ngStyle]="rambleStyle">
  Start editing to see some magic happen :)
</p>
以上的范例一样可以为这个 p 段落加上 color: 'red', fontSize: '60px' 这两个 css 样式。
class 和 ngStyle 的优先序
如果,今天有一个元素它的 class 所带的 css style 和 ngStyle 加入的 css style 一模一样的时候,这个时候,Angular 会听谁的呢???
范例如下:
--- app.component.css ---
.first {
  color: red;
}

--- app.component.html ---
<p class="first" [ngStyle]="{ color: 'blue' }">
  Start editing to see some magic happen :)
</p>
答案是 ~~~~~~~~~~~~~~~~~~~~~~~~~~~~ ngStyle 获胜。
没错, ngStyle 的优先序是比 className 还高的,所以,最终会是吃到 ngStlye 的样式设定。不管你的 class 是写在前面,还是, ngStyle 写在前面,都会是以 ngStyle 的 css 样式为主。
万一!!! ngStyle 的 css 样式没有加入任何内容的时候,会怎样呢? 程序码如下
--- app.component.css ---
.first {
  color: red;
}

--- app.component.html ---
<p class="first" [ngStyle]="{ color: '' }">
  Start editing to see some magic happen :)
</p>
结果会是,ngStyle 那边的 color 样式会直接被忽略掉,只看 first 的 css 样式,所以,最终这个 p 段落的文字颜色样式是红色。
backgroundImage:url() 设定
笔者还蛮长使用 ngStyle 来为目标元素加入 backgroundImage:url() 的样式。这边记录一下,不然,每次都会忘记怎麽写 XDD
--- app.component.ts ---
export class AppComponent {
  pictureList = [
    'https://upload.cc/i1/2021/03/29/nXupqk.jpg',
    'https://upload.cc/i1/2021/03/05/whZ7A8.jpg',
    'https://upload.cc/i1/2021/02/05/s3GHBq.jpg'
  ]
}

--- app.component.css --
.picture {
  width: 400px;
  height: 200px;
  background-position: center;
  background-size: cover;
}

--- app.component.html ---
<div
  *ngFor="let pictureUrl of pictureList"
  class="picture"
  [ngStyle]="{'background-image': 'url(' + pictureUrl + ')'}"
>
</div>
以上的范例,如果成功的话可以看到以下的画面
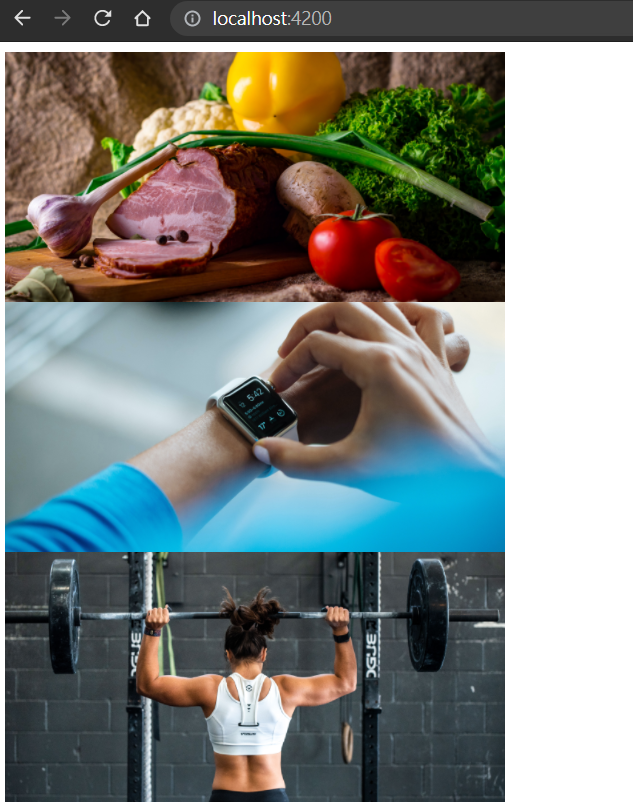
这边要比较注意的是 background-image: url() 把它们拚起来的地方。
Summary
这边做个总结
- 我们可以利用 ngStyle 来为指定元素新增 css 样式。
- 要注意 ngStyle 里的 css 样式的写法,若用 dash-case 的写法,就比需用单引号把 style 的 key 值包起来,不然取而代之的要改为用 camelCase 的写法。
- ngStyle 的 css 样式优先序比 class 加入的 css 样式还高。
- 使用 ngStyle 来为指定元素加入
background-image: url()的样式。
>>: D02 / 怎麽看到我在写什麽? - @Preview
DAY 14:Simple Factory Pattern,把复杂细节隐藏的小工厂
工厂模式主要有三种不同的实作: Simple Factory Pattern Factory Met...
Day7 资料储存 - object storage优缺点及场景
优缺点 优点 方便扩增: 由於Object storage是扁平化架构,只要增加机器就是增加这个大平...
D-12 设定挡 ? configuration ? IOptionsMonitor
设定档 昨日说明关於使用者身分验证以及权限设定的部分加以说明,并且透过第三方插件的方式展现如何在do...
Cobol Picture Clause/cobol field type
常看到,却老搞不清楚,这次很幸运,google到说明与live demo. Cobol Pictur...
[Day 13] 资料产品生命周期管理-加工资料(二)
接续上篇 介绍一下一般开发 ETL 的流程。每只 ETL 都可以看作是独立的程序,有独立的开发流程。...