Day 03 安装python、需要的package以及VS Code等环境建置
环境建置
安装python
至python官网下载并开启python安装档
https://www.python.org/
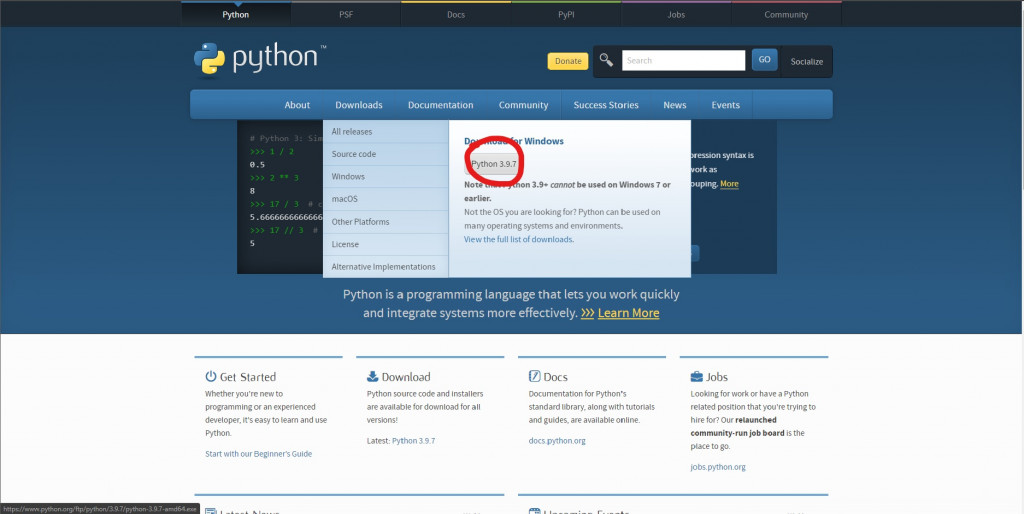
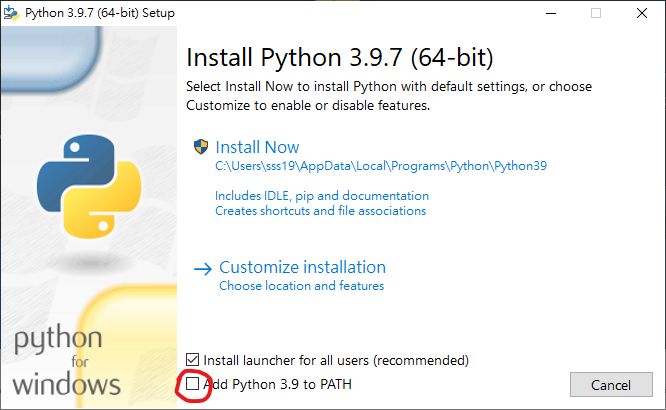
将添加到路径勾选,接着点选Install Now安装
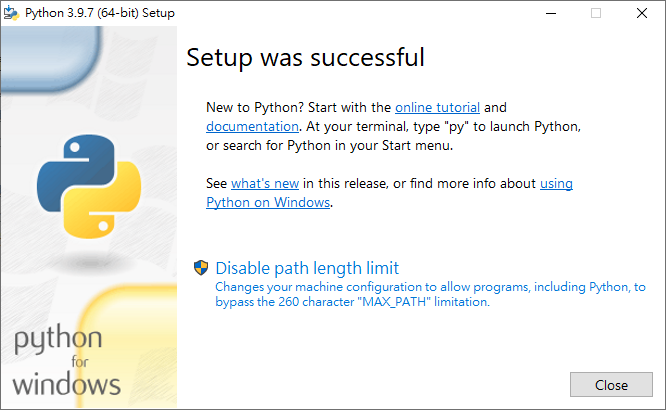
安装完成後close关闭
在要建立专案的位置新增资料夹
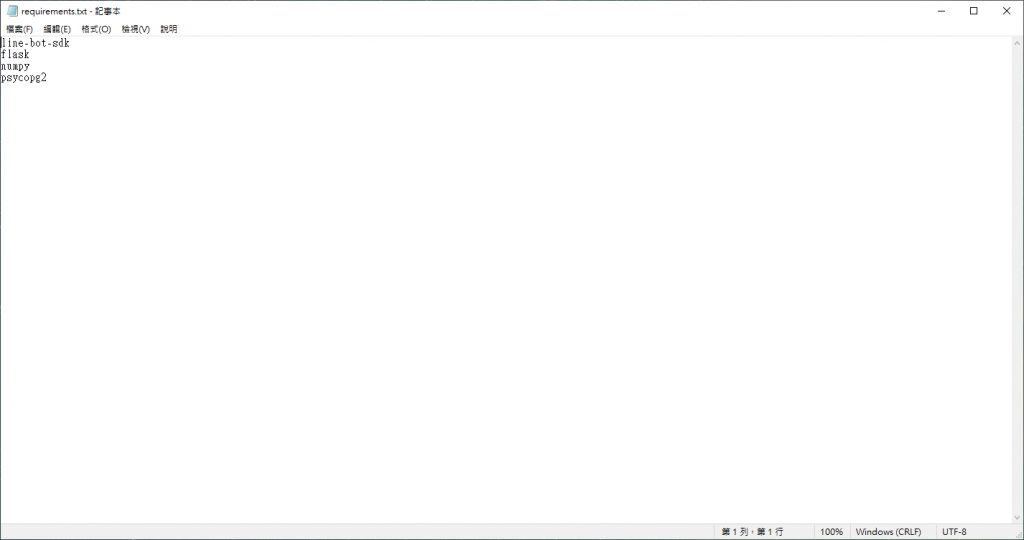
并在里面新增名为requirements.txt的文字文件
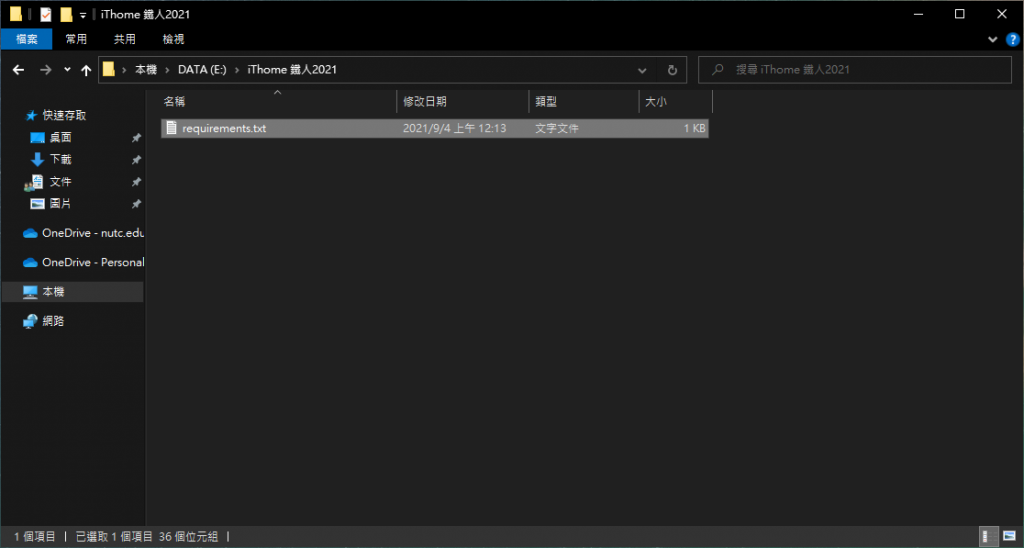
文字文件内输入这边要用到的package
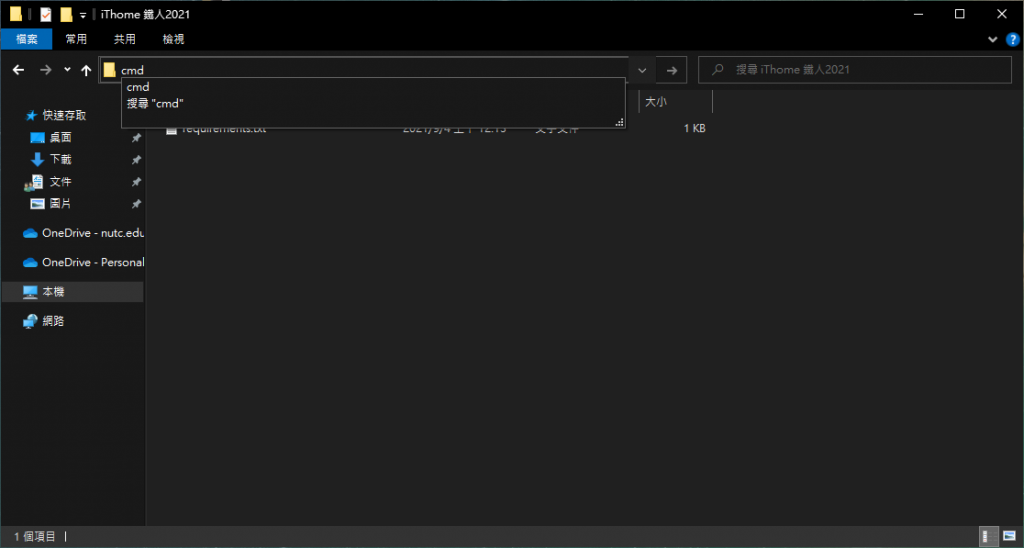
接着在专案资料夹内按下Alt+D
输入cmd按下Enter开启命令提示字元
在命令提示字元中输入,Enter後下载安装
pip install -r requirements.txt


安装ngrok
这个程序可以将你的内网指定位址暂时连接到网际网路,後面会透过这个做本地测试,因为这是暂时的,主要程序会push到heroku上执行
https://ngrok.com/
下载後的档案档不能直接点两下打开,只能透过命令提示字元执行,我这边要把它添加到环境变数方便後面执行
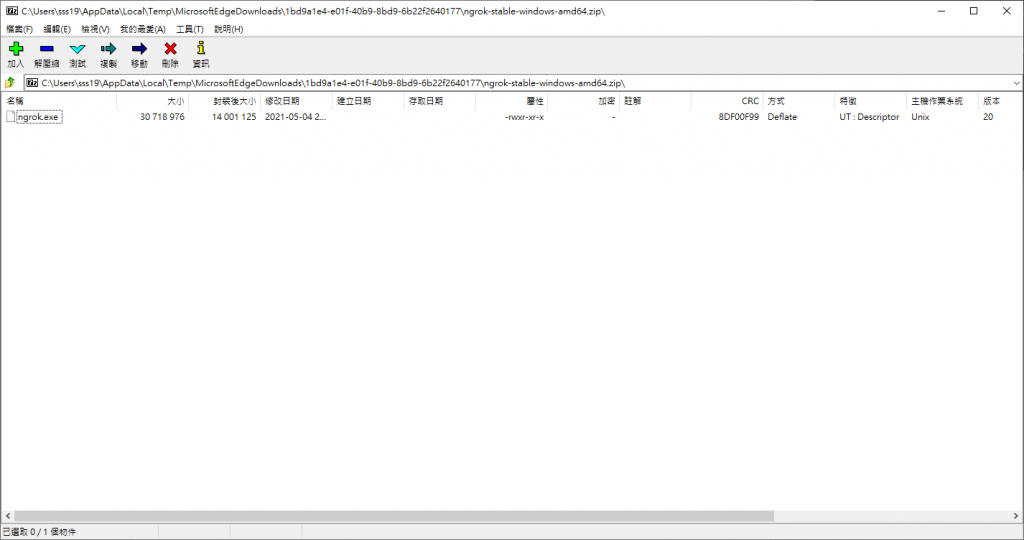
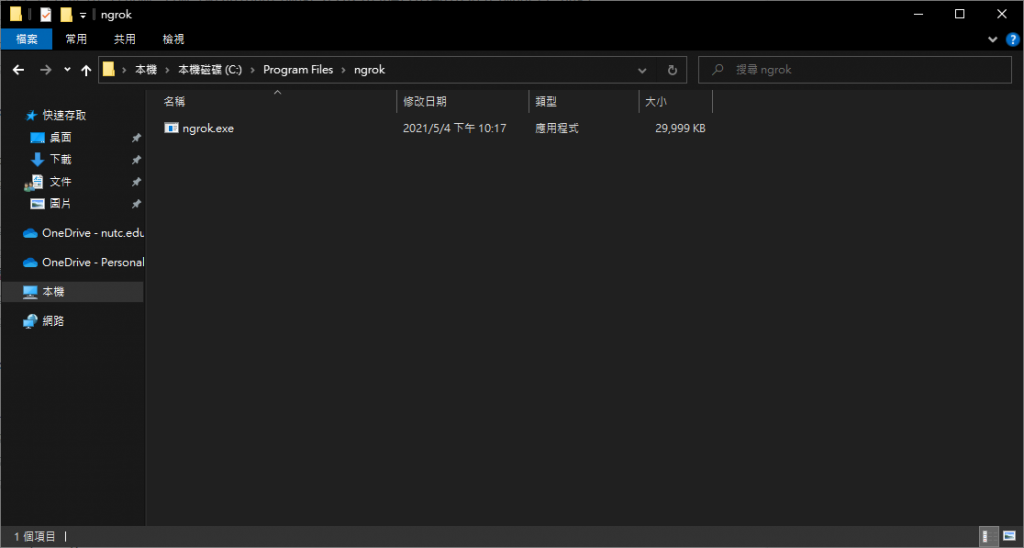
在C:\Program Files内建立ngrok资料夹并将ngrok解压缩到里面
接着在左下搜寻框搜寻环境变数并开启编辑系统环境变数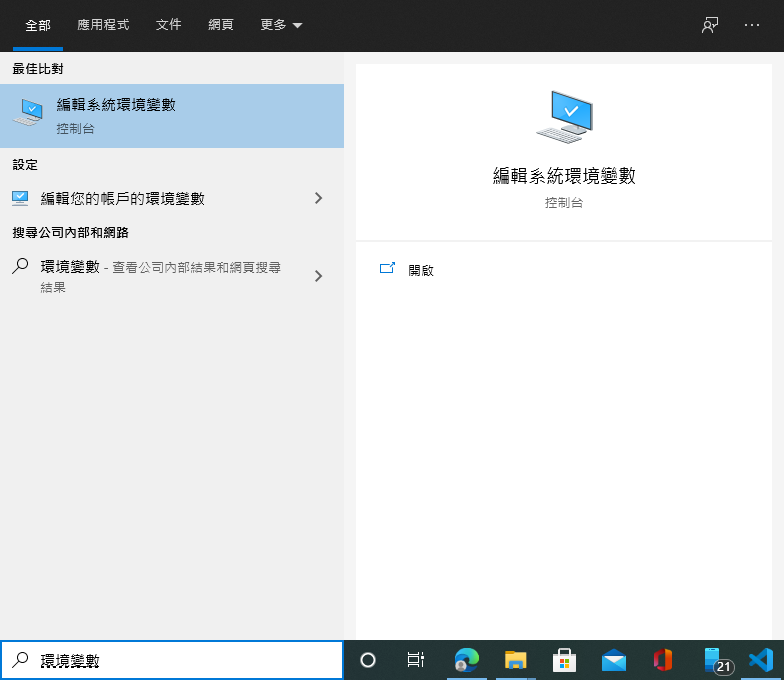
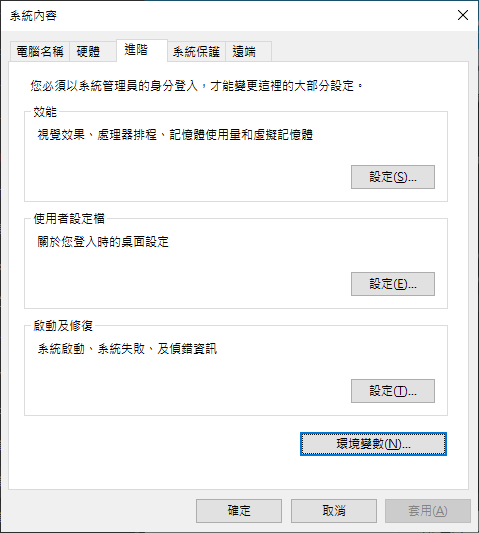
点击环境变数
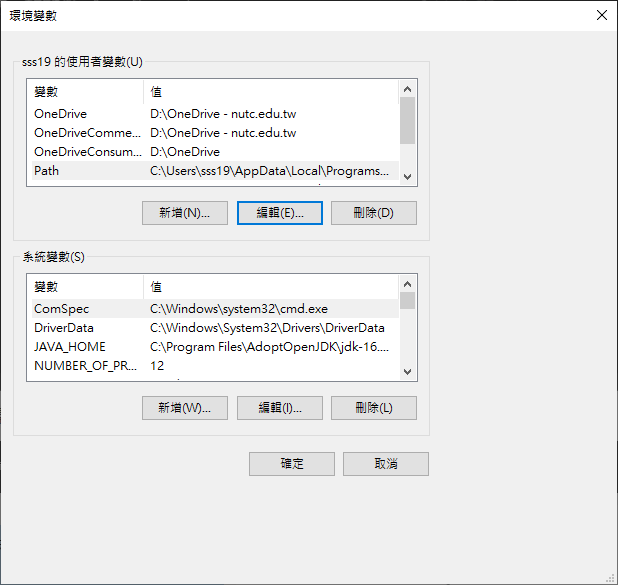
在使用者的环境变数内点Path,然後点编辑
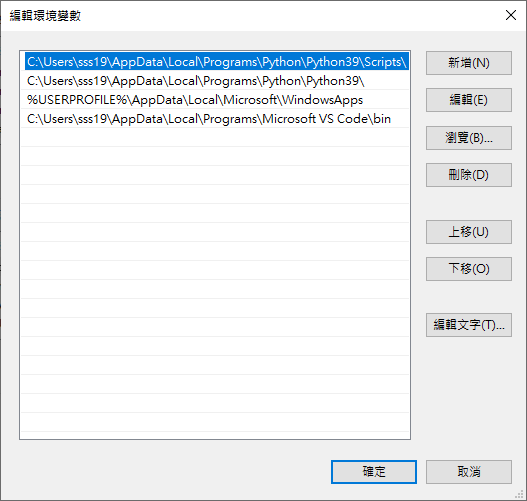
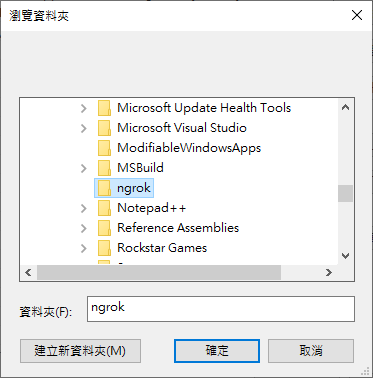
在浏览内找到刚才建的ngrok资料夹,按确认关闭视窗
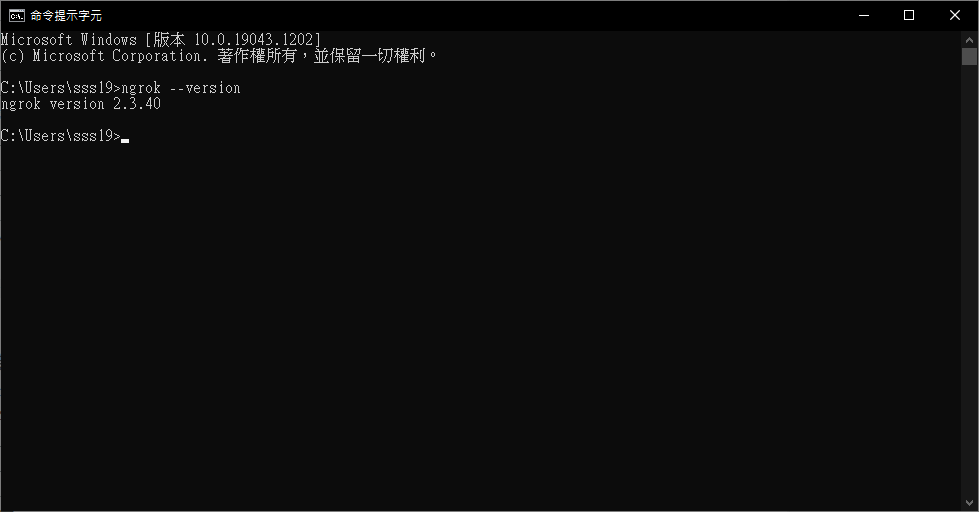
Win+R 输入cmd开启命令提示字元
ngrok --version
显示版本代表环境变数设定成功
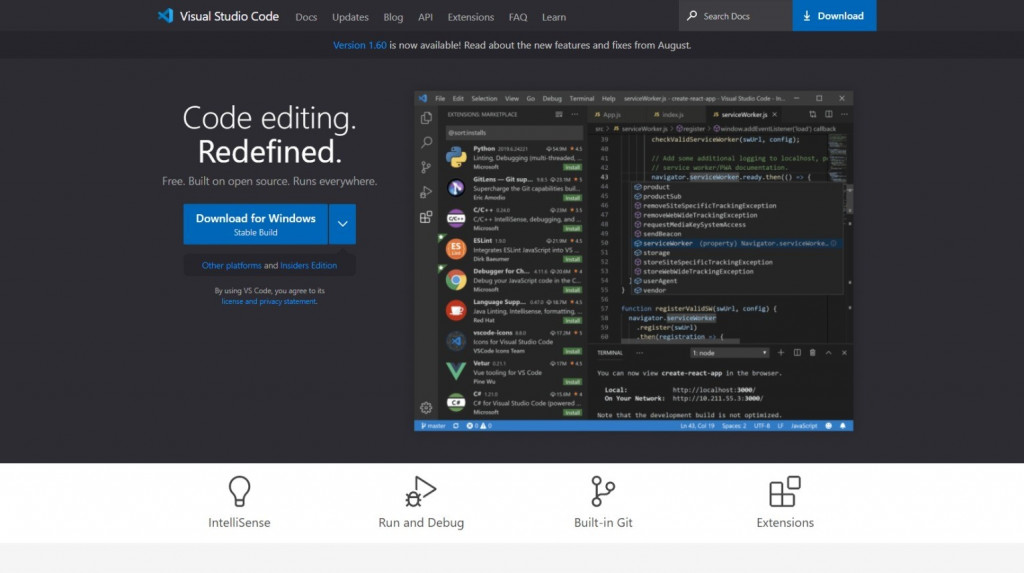
安装Visual Studio Code
会作为之後程序编辑器
至Visual Studio Code官网下载并开启安装档
https://code.visualstudio.com/
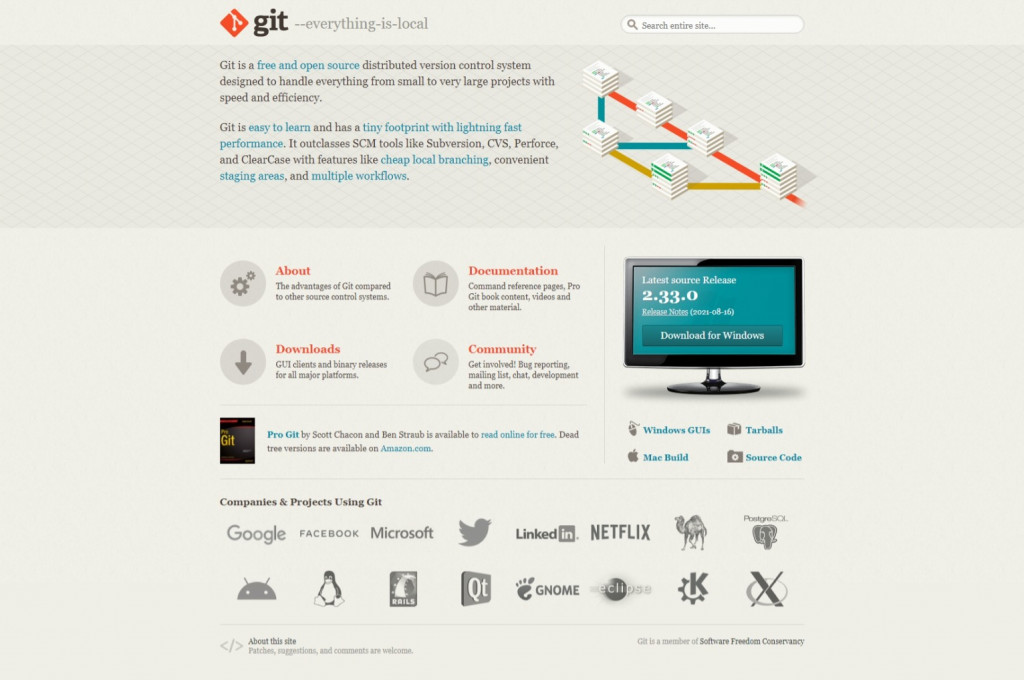
安装Git
会用来将程序推送到heroku
https://git-scm.com/
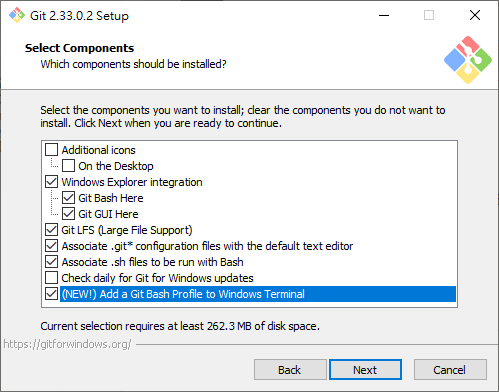
以下除了提到的基本上不需变动,没提到的可以按造自己喜好调整
这里我会将最後一项打勾
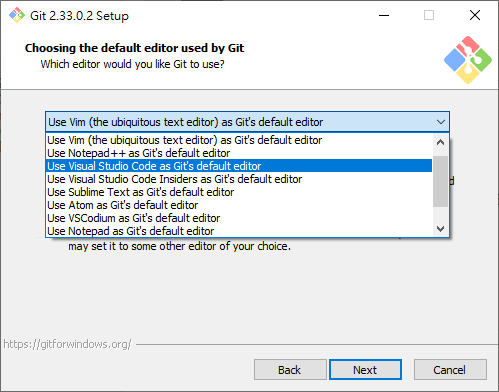
选择VS Code作为预设编辑器
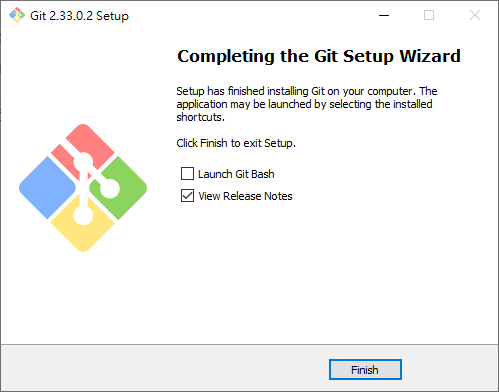
点击Finish完成安装
结语
这边就是安装之後的程序,安装package时有点偷懒,因为requirements.txt会用到这边就用这种方法
>>: Day 15 - Rancher 与 Infrastructure as Code
Day 30. 要别人看不懂,还是让自己看不懂的 - 混淆 Obfuscation
App 混淆再资安保护领域来说,可谓是最复杂的一环,也是最重要的一环 但是资安检测无法有个标准的检...
轻松小单元 - 面对突如起来的资安法
刚开赛就碰到连假,真是太可怕了。先来个轻松小单元压压惊 「突如奇来」说来有点惭愧,毕竟任何法规都会有...
Day 21- To Do List (8) 利用 HTML Template 呈现资料
今天我们一起来实作用 HTML Template 来显示 To-Do-List 的资料吧! 首先我们...
【Day 18】- 像个使用者的爬虫 Selenium
前情提要 前一篇带各位实际使用了汇率爬虫并搭配 openpyxl 这个套件做到执行程序便可读取在 e...
Python - Video to Ascii 影片转 Ascii 套件参考笔记
Python - Video to Ascii 影片转 Ascii 套件参考笔记 参考资料 Gith...