[Day8] Flutter - 显示文字元件 ( Text )
前言
Hi, 我是鱼板伯爵今天要教大家 Text 这个元件,教学内容只会撷取片段程序码,建议大家搭配完整程序码来练习。
Text
Text文字显示元件,可以把想要显示在画面上的文字打在里面。
class DemoText extends StatelessWidget {
const DemoText({Key? key}) : super(key: key);
@override
Widget build(BuildContext context) {
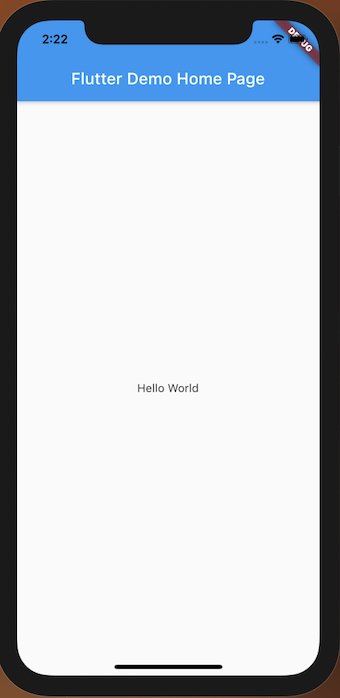
return Container(
child: Text("Hello World"),
);
}
}
如果显示的字串是一个变数的话,必须要用$加变数才行。
class DemoTextValue extends StatelessWidget {
  const DemoTextValue({Key? key}) : super(key: key);

  @override
  Widget build(BuildContext context) {
    final String str = "World";
    return Column(
      children: [
        Text("Hello $str"),
      ],
    );
  }
}
如果字串是Class包起来之类的话那就要用${}包起来否则无法显示喔!
class DemoTextClassValue extends StatelessWidget {
  const DemoTextClassValue({Key? key}) : super(key: key);

  @override
  Widget build(BuildContext context) {
    final word = Word();
    return Column(
      mainAxisAlignment: MainAxisAlignment.center,
      children: [
        Text("Hello ${word.str}"),
      ],
    );
  }
}

class Word {
  final String str = "World";
}
TextStyle
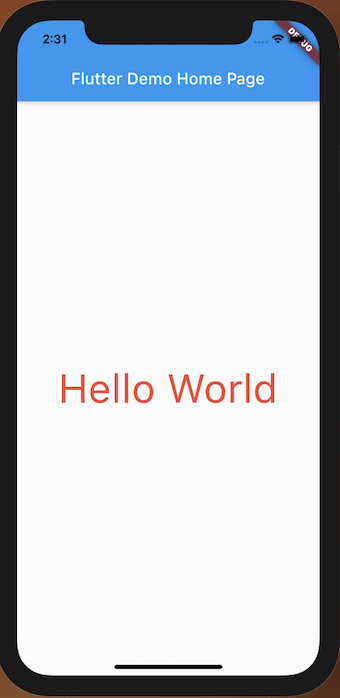
文字的风格、大小和颜色等等都可以在TextStyle中做调整。
class DemoTextStyle extends StatelessWidget {
  const DemoTextStyle({Key? key}) : super(key: key);

  @override
  Widget build(BuildContext context) {
    return Column(
      mainAxisAlignment: MainAxisAlignment.center,
      children: [
        Text(
          "Hello World",
          style: TextStyle(
            color: Colors.red,
            fontSize: 50,
          ),
        ),
      ],
    );
  }
}
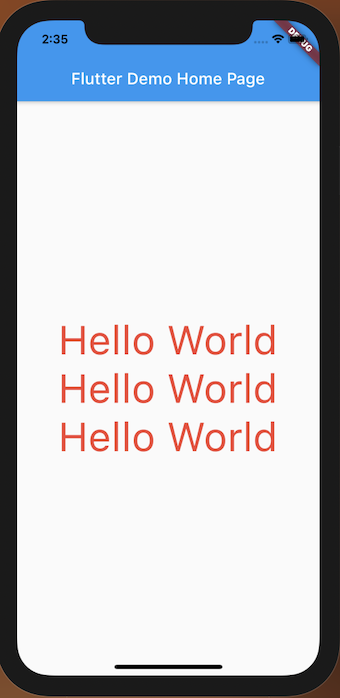
你还可以将你的style打包起来重复使用。
class DemoTextStyle extends StatelessWidget {
  const DemoTextStyle({Key? key}) : super(key: key);

  @override
  Widget build(BuildContext context) {
    return Column(
      mainAxisAlignment: MainAxisAlignment.center,
      children: [
        Text(
          "Hello World",
          style: myStyle(),
        ),
        Text(
          "Hello World",
          style: myStyle(),
        ),
        Text(
          "Hello World",
          style: myStyle(),
        ),
      ],
    );
  }

  TextStyle myStyle() {
    return TextStyle(
      color: Colors.red,
      fontSize: 50,
    );
  }
}
切割字串
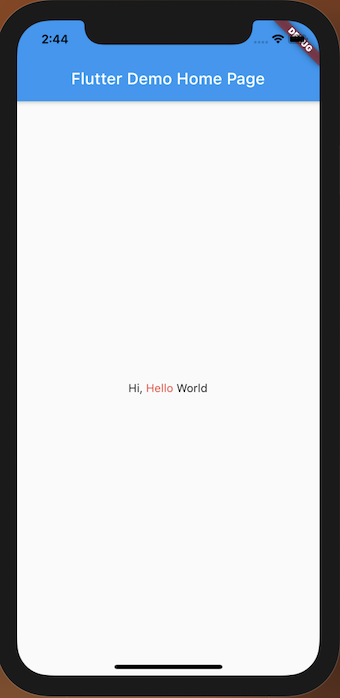
有时候在显示文档的时候会想把重点变成不一样的颜色,你可以考虑使用RichText把多个字串包在一起。
class DemoRichText extends StatelessWidget {
  const DemoRichText({Key? key}) : super(key: key);

  @override
  Widget build(BuildContext context) {
    return Container(
      child: RichText(
        text: TextSpan(
          children: <TextSpan>[
            TextSpan(
              text: 'Hi, ',
              style: TextStyle(
                color: Colors.black,
              ),
            ),
            TextSpan(
              text: 'Hello',
              style: TextStyle(
                color: Colors.red,
              ),
            ),
            TextSpan(
              text: ' World',
              style: TextStyle(
                color: Colors.black,
              ),
            ),
          ],
        ),
      ),
    );
  }
}
Text 字体变更
如果想要使用外部字体的话,需要先到pubspec.yaml最下面的fonts设定字体包的路径,然後重新build app就可以使用设定的字体了。
pubspec.yaml
  fonts:
    - family: asd
      fonts:
        - asset: assets/asd/asd-Regular.ttf
        - asset: assets/asd/asd-Italic.ttf
Widget:
class DemoTextFamily extends StatelessWidget {
  const DemoTextFamily({Key? key}) : super(key: key);

  @override
  Widget build(BuildContext context) {
    return Container(
      child: Text(
        "Hello World",
        style: TextStyle(fontFamily: 'asd'),
      ),
    );
  }
}
>>: Leetcode 挑战 Day 05 [136. Single Number]
[Day 44] 心情随笔後台及前台(六) - 心情随笔前台画面
接下来我们要做的是心情随笔前台的画面, 我们要在 app/Http/Controllers/Home...
Day 11 - Design System x 实作 — Transition
今天要介绍的是网页元件会用到的动画,在 Day 07 已经介绍过过渡动画这边主要就是三大重点要定义...
Day 11 - 密码攻击方式
出於书本 Chapter 7. Passwords 如果只是因为测试的目的要进行密码破解,记得要考虑...
利用网页浏览器执行Raspberry Pi的程序
前面有提到Raspberry pi有网路的功能 既然有网路 就可以将感测器所计算出来的数据 传送到云...
JS 21 - 资料太多看得心很累?用 9 行程序码将资料转换为表格吧!
大家好! 光是复杂的 JSON 资料就要看到眼花了,如果又全部缩成一行,我不敢说了。 我们进入今天的...