[Day 33] 自我介绍後台及前台(二) - 图片上传
自我介绍资料验证
我们昨天完成了自我介绍的画面部分,
那今天就开始做资料的验证,
我们用以下的方式做验证.
app/Http/Controllers/AdminController.php的editUserProcess
//处理自我介绍资料
public function editUserProcess()
{
    $User = $this->GetUserData();
    if(!$User)
    {
        //如果找不到使用者,就回到首页
        return redirect('/');
    }
    $name = 'user';

    //接收输入资料
    $input = request()->all();

    //验证规则
    $rules = [
        //性别
        'sex' => [
            'required',
            'integer',
            'in:'.ESexType::MALE.','.ESexType::FEMALE,
        ],
        //身高
        'height' => [
            'required',
            'numeric',
            'min:1',
        ],
        //体重
        'weight' => [
            'required',
            'numeric',
            'min:1',
        ],
        //兴趣
        'interest' => [
            'required',
            'max:50'
        ],
        //自我介绍
        'introduce' => [
            'required',
            'max:500'
        ],
        //图片
        'file' => [
            'file',
            'image',
            'max:10240', //10 MB
        ],
    ];

    //验证资料
    $validator = Validator::make($input, $rules);

    if($validator->fails())
    {
        $User->sex = $input['sex'];
        $User->height = $input['height'];
        $User->weight = $input['weight'];
        $User->interest = $input['interest'];
        $User->introduce = $input['introduce'];

        $binding = [
            'title' => ShareData::TITLE,
            'page' => $this->page,
            'name' => $name,
            'User' => $User,
        ];
        return view('admin.edituser', $binding)
                ->withErrors($validator);
    }
}
验证的条件是
sex:整数而且必须是男或女, 其实因为用下拉选单, 不大可能会错.
height:数字而且必须大於等於1
weight:数字而且必须大於等於1
interest:最多不超过50个字
introduce:最多不超过500个字
file:必须是档案, 而且必须是图片, 大小不得超过10MB
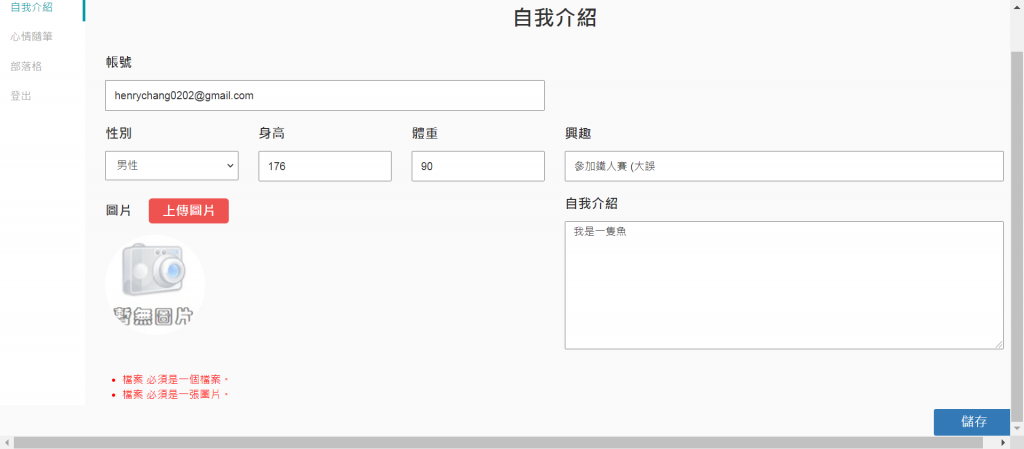
如果没有输入正确的资料,
就会有错误提示
图片上传
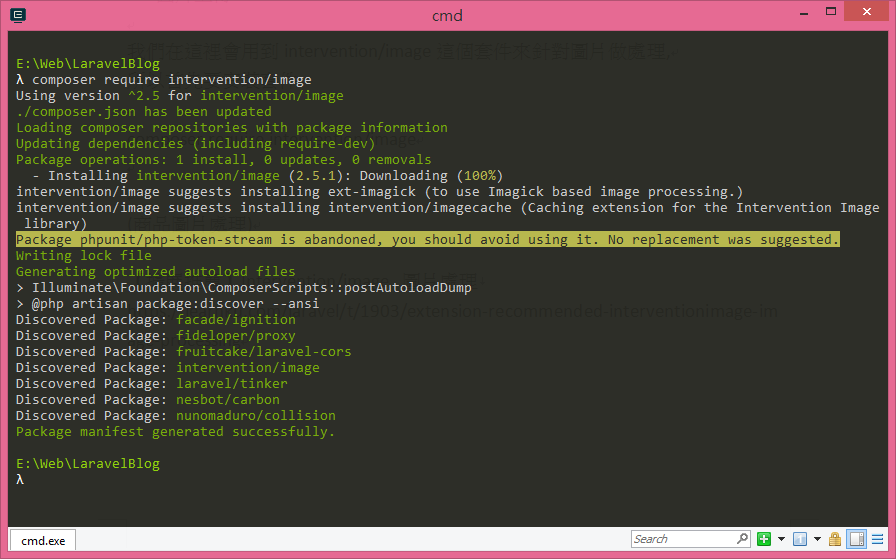
我们在这里会用到intervention/image这个套件来针对图片做处理,
所以首先要安装套件
composer require intervention/image
在安装完成之後,
还要在config/app.php档案中设定图片套件,
设定完成之後,
就可以在Controller上方使用use Image;
就可以使用套件了.
config/app.php
<?php

return [
    //自动载入Service Providers
    'providers' => [
        //图片相关
        Intervention\Image\ImageServiceProvider::class,
    ],

    //类别命名
    'aliases' => [
        //图片相关
        'Image' => Intervention\Image\Facades\Image::class,
    ],
];
然後修改app/Http/Controllers/AdminController.php的editUserProcess如下
//处理自我介绍资料
public function editUserProcess()
{
    $User = $this->GetUserData();
    if(!$User)
    {
        //如果找不到使用者,就回到首页
        return redirect('/');
    }
    $name = 'user';

    //接收输入资料
    $input = request()->all();

    //验证规则
    $rules = [
        //性别
        'sex' => [
            'required',
            'integer',
            'in:'.ESexType::MALE.','.ESexType::FEMALE,
        ],
        //身高
        'height' => [
            'required',
            'numeric',
            'min:1',
        ],
        //体重
        'weight' => [
            'required',
            'numeric',
            'min:1',
        ],
        //兴趣
        'interest' => [
            'required',
            'max:50'
        ],
        //自我介绍
        'introduce' => [
            'required',
            'max:500'
        ],
        //图片
        'file' => [
            'file',
            'image',
            'max:10240', //10 MB
        ],
    ];

    //验证资料
    $validator = Validator::make($input, $rules);

    //接收网页资料,不论验证有没有通过都要用到
    $User->sex = $input['sex'];
    $User->height = $input['height'];
    $User->weight = $input['weight'];
    $User->interest = $input['interest'];
    $User->introduce = $input['introduce'];

    Log::notice('file='.print_r($input['file'], true));

    if($validator->fails())
    {
        $binding = [
            'title' => ShareData::TITLE,
            'page' => $this->page,
            'name' => $name,
            'User' => $User,
        ];
        return view('admin.edituser', $binding)
                ->withErrors($validator);
    }

    if(isset($input['file']))
    {
        //取得档案物件
        $picture = $input['file'];
        //档案副档名
        $extension = $picture->getClientOriginalExtension();
        //产生随机档案名称
        $filename = uniqid().'.'.$extension;
        //相对路径
        $relative_path = 'images\\user\\'.$filename;
        //取得public目录下的完整位置
        $fullpath = public_path($relative_path);
        //裁切图片
        $image = Image::make($picture)->fit(300, 300)->save($fullpath);
        //储存图片档案相对位置
        $User->picture = $relative_path;
    }

    //将修改後的资料存入资料库
    $User->save();

    $binding = [
        'title' => ShareData::TITLE,
        'page' => $this->page,
        'name' => $name,
        'User' => $User,
        'result' => 'success',
    ];
    return view('admin.edituser', $binding)
            ->withErrors($validator);
}
修改resources/views/admin/edituser.blade.php
<?PHP use App\Enum\ESexType; ?>
<!-- 指定继承 layout.master 母模板 -->
@extends('layout.master')

<!-- 传送资料到母模板,并指定变数为title -->
@section('title', $title)

<!-- 传送资料到母模板,并指定变数为content -->
@section('content')
<form id="form1" method="post" action="" enctype="multipart/form-data">
<!-- 自动产生 csrf_token 隐藏栏位-->
{!! csrf_field() !!}
<div class="normal_form">
    <div class="form_title">自我介绍</div>
    <div class="col-sm-6">
        <div class="form_label">帐号</div>
        <div class="form_textbox_region">
            <input name="account" class="form_textbox" type="text" value="{{ $User->account }}" readonly="true" placeholder="请输入帐号"/>
        </div>
    </div>
    <div class="div_clear"/>
    <div class="col-sm-2">
        <div class="form_label">性别</div>
        <div class="form_textbox_region">
            <select class="form_select" id="sex" name="sex" placeholder="请选择性别">
                <option value="{{ ESexType::MALE }}"
                @if($User->sex == ESexType::MALE)
                    selected
                @endif
                >男性</option>
                <option value="{{ ESexType::FEMALE }}"
                @if($User->sex == ESexType::FEMALE)
                    selected
                @endif
                >女性</option>
            </select>
        </div>
    </div>
    <div class="col-sm-2">
        <div class="form_label">身高</div>
        <div class="form_textbox_region">
            <input name="height" class="form_textbox" type="number" value="{{ $User->height }}" placeholder="请输入身高"/>
        </div>
    </div>
    <div class="col-sm-2">
        <div class="form_label">体重</div>
        <div class="form_textbox_region">
            <input name="weight" class="form_textbox" type="number" value="{{ $User->weight }}" placeholder="请输入体重"/>
        </div>
    </div>
    <div class="col-sm-6">
        <div class="form_label">兴趣</div>
        <div class="form_textbox_region">
            <input name="interest" class="form_textbox" type="text" value="{{ $User->interest }}" placeholder="请输入兴趣"/>
        </div>
    </div>
    <div class="col-sm-6">
        <div class="form_label">
            图片
            <input type="file" name="file" id="file" class="inputfile" />
            <label for="file">上传图片</label>
        </div>
        <div class="form_textbox_region">
            <img id="file_review" class="upload_img"
            @if($User->picture == "")
                src="/images/nopic.png"
            @else
                src="/{{ $User->picture }}"
            @endif
            />
        </div>
    </div>
    <div class="col-sm-6">
        <div class="form_label">自我介绍</div>
        <div class="form_textbox_region">
            <textarea name="introduce" class="form_textarea" placeholder="请输入自我介绍">{{ $User->introduce }}</textarea>
        </div>
    </div>
    <div class="div_clear"/>
    <div class="form_error">
        <!-- 错误讯息模板元件 -->
        @include('layout.ValidatorError')
    </div>
    <div class="btn_group">
        <button type="submit" class="btn btn-primary btn_form">储存</button>
    </div>
<div>
</form>

<link href="/css/iao-alert.css" rel="stylesheet" type="text/css" />
<script src="/js/iao-alert.jquery.js"></script>

<script>
$( document ).ready(function() {
    <?PHP
        if($result == "success")
        {
            echo('Success("修改资料成功!")');
        }
    ?>
});

//显示吐司讯息
function Success(message)
{
	$.iaoAlert({
        type: "success",
        mode: "dark",
        msg: message,
    })
}

//预览图片
$("#file").change(function(){
      //当档案改变後,做一些事
     readURL(this);   // this代表<input id="file">
});

function readURL(input){
  if(input.files && input.files[0]){
    var reader = new FileReader();
    reader.onload = function (e) {
       $("#file_review").attr('src', e.target.result);
    }
    reader.readAsDataURL(input.files[0]);
  }
}


</script>
@endsection
在图片上传之前我们要手动建立 public/images/user 资料夹,
要有办法正确上传档案.
我们在这里用到了iao-alert套件来显示讯息,
引用了它的css档案和js档案,
关於套件可以参考 Custom Alert Notification Plugin For jQuery - iao-alert
我们编辑自我介绍的表单
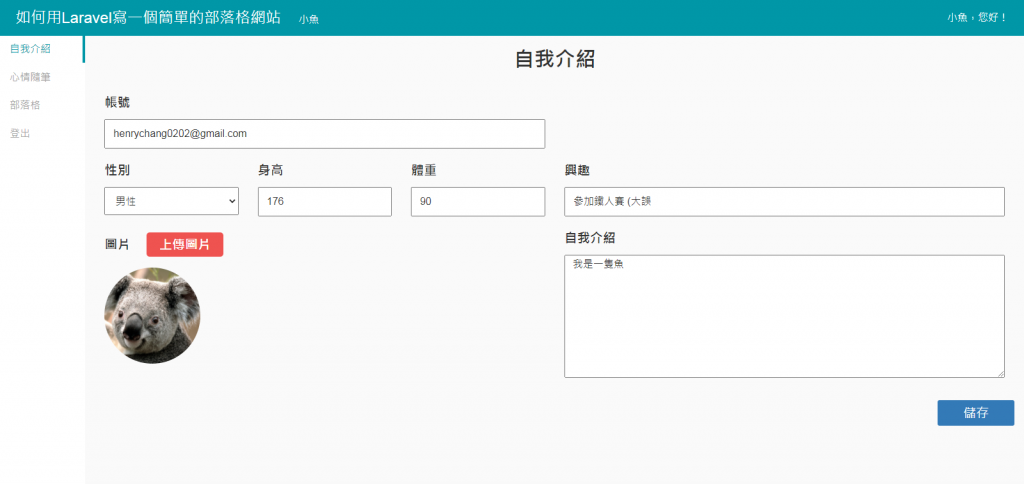
当我们按下按钮之後,
如果修改成功就会显示讯息.
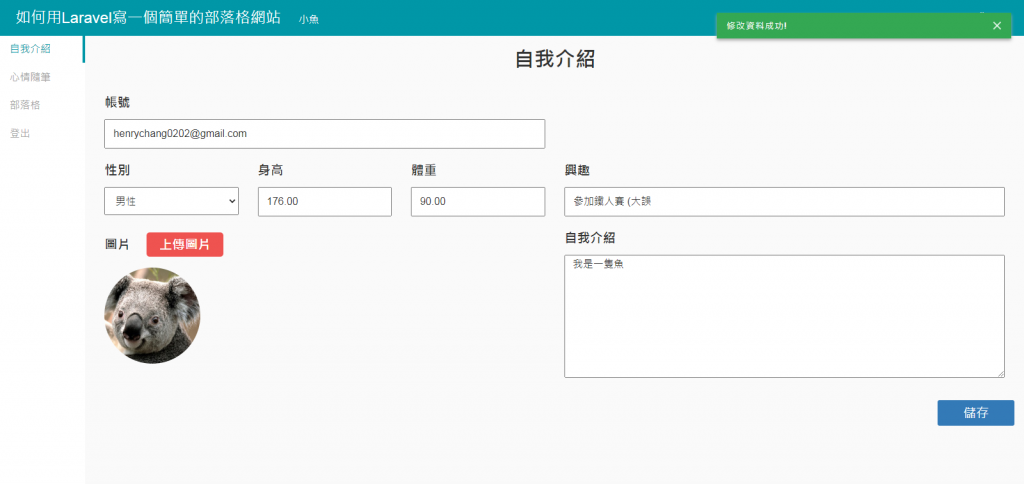
并且会把资料存到资料库当中.

参考资料:
【扩展推荐】Intervention/image 图片处理
<<: [Day 32] 自我介绍後台及前台(一) - 取得使用者资料
Day 4 重新定位与节
主程序系统下载到目标嵌入式系统会有一个程序映像(image),但是可不可以执行,就必须重新定义所有的...
Day19 React-Router(四)Hook获取route资讯
react-router-dom中的适用於function component的hook函式,在上一...
DAY28 - 来试试看 line notify吧
在前一篇把 line message api 缺点和难用的地方写出来後,其实也在找其他的替代品,有...
【把玩Azure DevOps】Day28 设定Pipeline的识别文字格式
不知道各位在前面建立Pipeline执行之後,有没有发现Pipeline执行结果列表的识别文字是像下...
[Day 14] Reverse 小入门
时间飞逝,已到第14天了 明天就一半ㄌ,好感动眼睛流汗 今天我们要干大事!!! 要来解 REVERS...