【设计+切版30天实作】|Day27 - Plans区块 - 怎麽做出背景阴影?原来阴影还可以调数据!
前面完成了「Reviews」区块,今天来完成「Plans」的区块。
数据收集
标题的样式
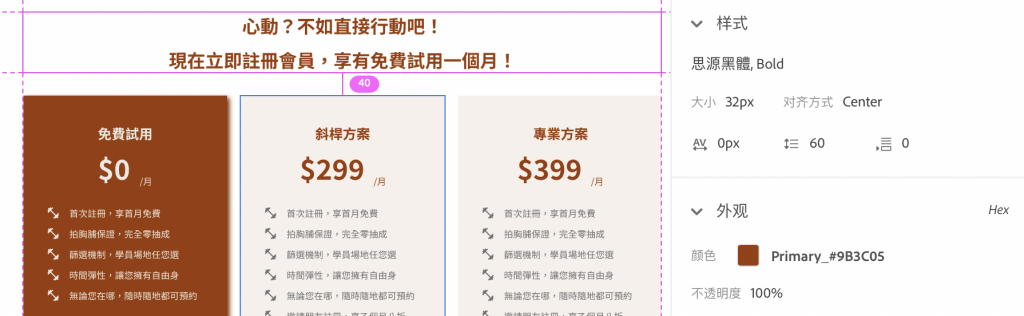
- Font-weight:Bold
- Font-size:32px
- Text-color:$Primary
- Margin-bottom:40px
浅色卡片的样式
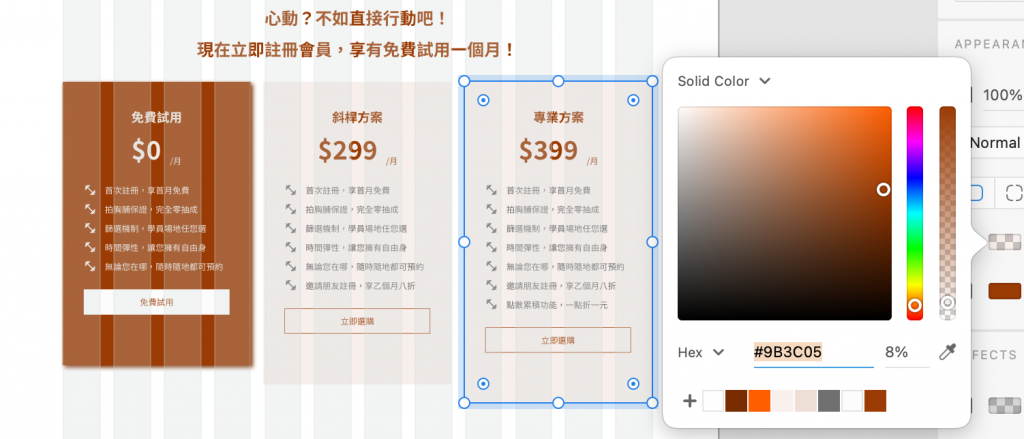
- Background-color:$primary-light($Primary(#9B3C05) 8% )
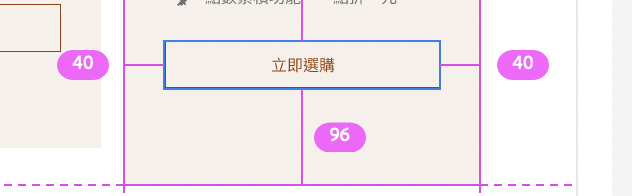
- Padding:48px 40px 96px 40px
浅色卡片的内容样式
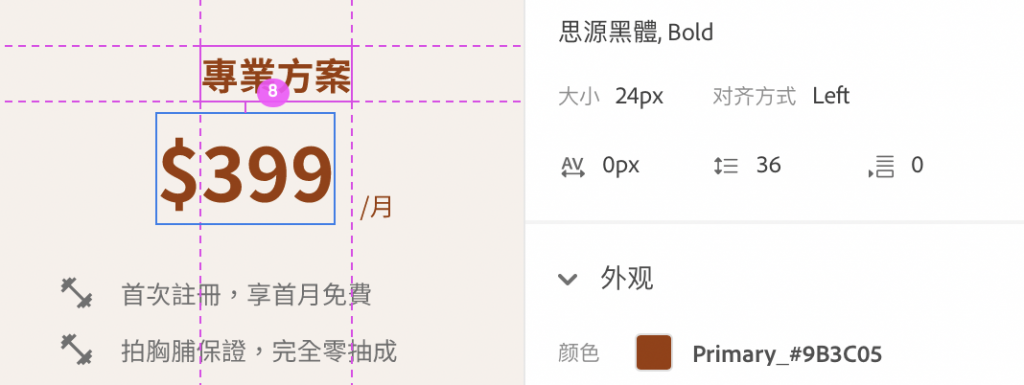
|标题
-
Font-weight:Bold
-
Font-size:24px
-
Text-color:$Primary
-
Margin-bottom:8px
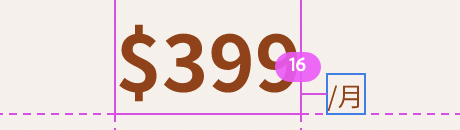
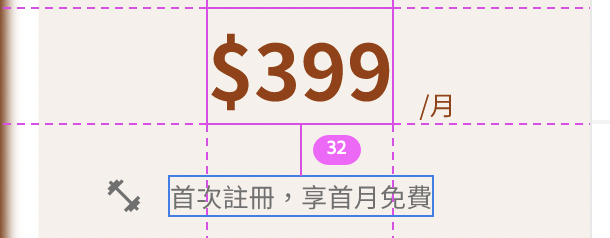
|价格
-
「$399」Font-weight:Bold
-
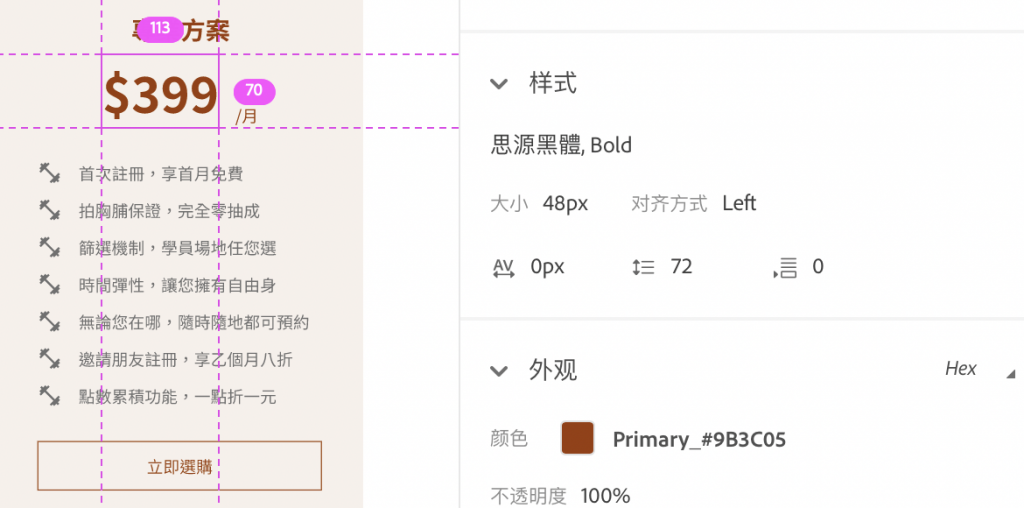
「$399」Font-size:48px
-
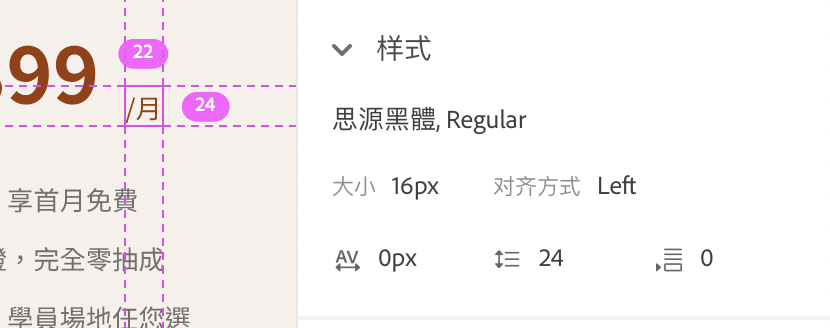
「/月」Font-weight:Regular
-
「/月」Font-size:16px
-
Text-color:$Primary
-
Spacer between「$399」、「/月」:16px
-
Margin-bottom:32px
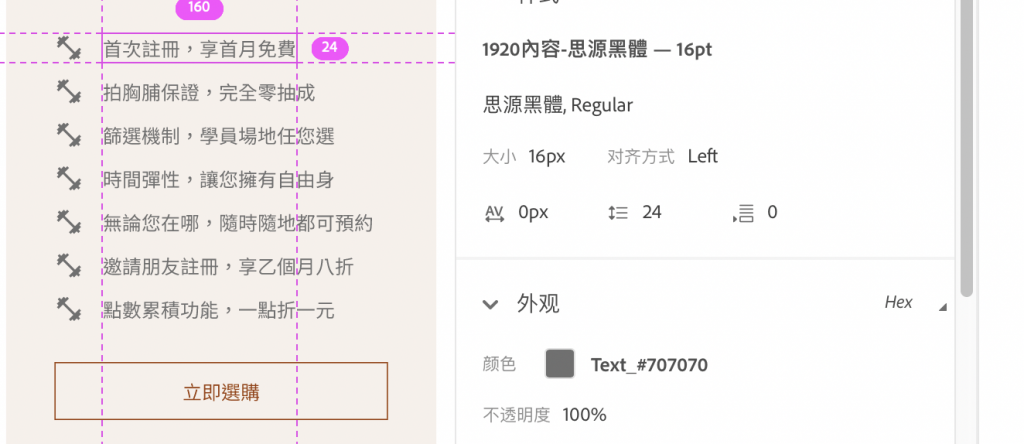
|内容
-
Font-weight:Regular
-
Font-size:16px
-
Text-color:$dark
-
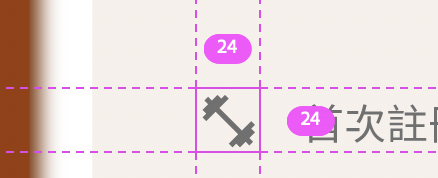
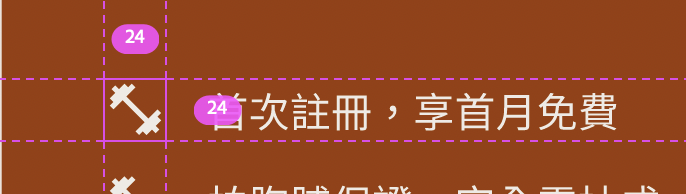
Spacer:16px
-
Icon:24px*24px
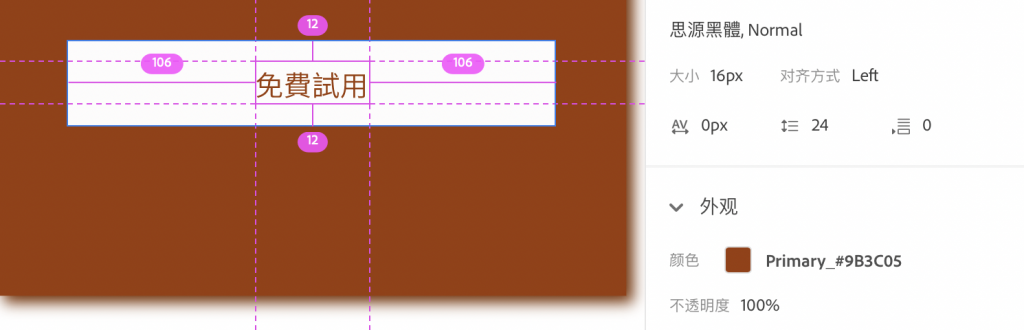
|Button
-
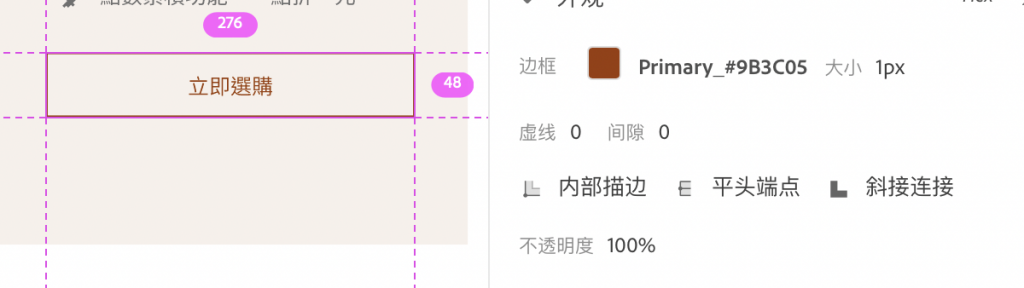
Border:$primary , 1px
-
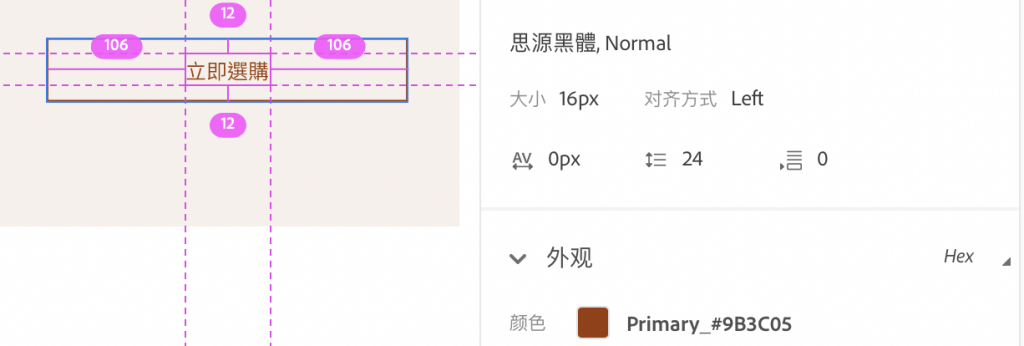
Padding:12px 106px
-
Font-weight:Regular
-
Font-size:16px
-
Text-color:$Primary
深色卡片的样式
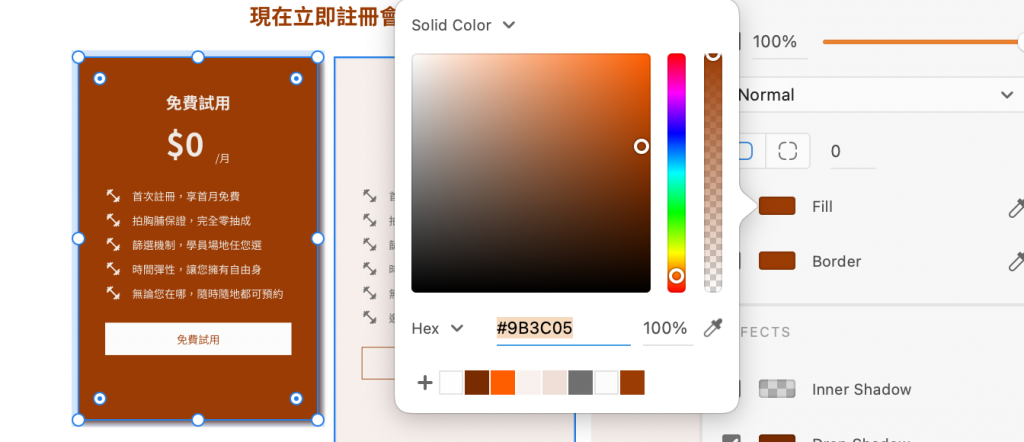

- Background-color:$primary
- 阴影:Drop Shadow:X:4 Y:4 B:8 #792C00
深色卡片的内容样式
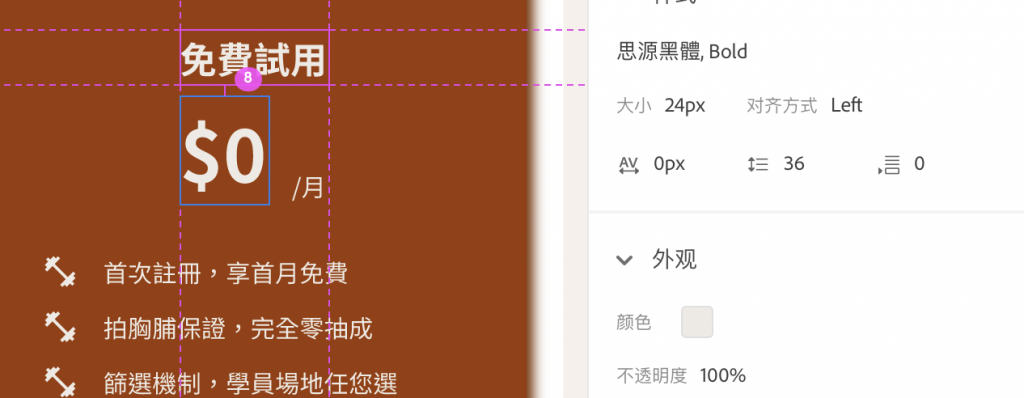
|标题
-
Font-weight:Bold
-
Font-size:24px
-
Text-color:$Primary-light
-
Margin-bottom:8px
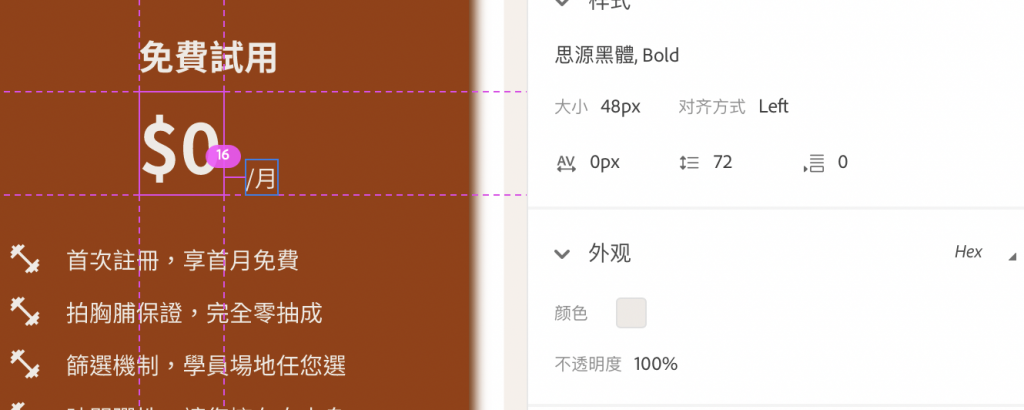
|价格
-
「$0」Font-weight:Bold
-
「$0」Font-size:48px
-
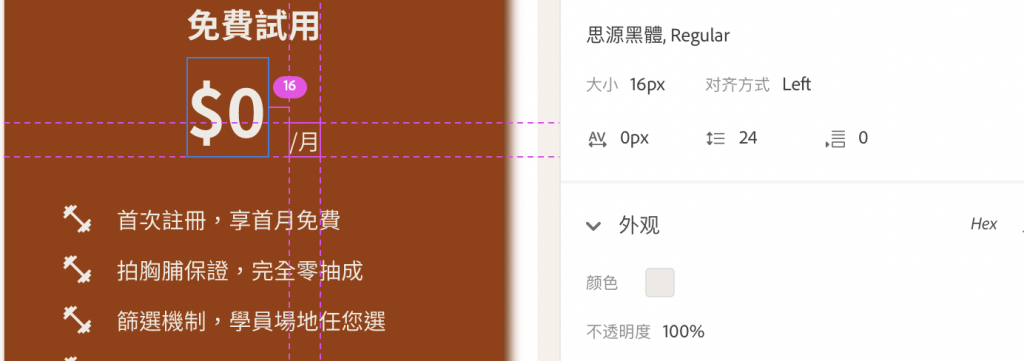
「/月」Font-weight:Regular
-
「/月」Font-size:16px
-
Text-color:$Primary-light
-
Spacer between「$0」、「/月」:16px
-
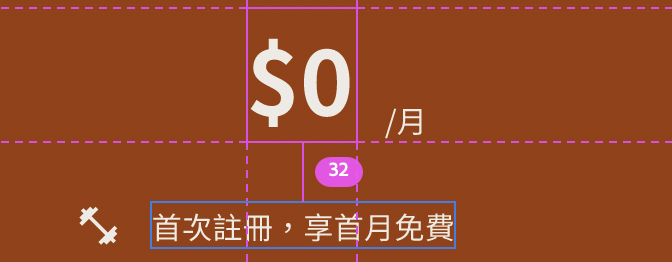
Margin-bottom:32px
|内容

-
Font-weight:Regular
-
Font-size:16px
-
Text-color:$Primary-light
-
Spacer:16px
-
Icon:24px*24px
|Button

-
Background-color:$Secondary
-
Padding:12px 106px
-
Font-weight:Regular
-
Font-size:16px
-
Text-color:$Primary
步骤
先开一个新区块 ,加入container
- 一样先新增
section - Plans这个区块是在container里面,所以一样要新增
container
加入标题
- 新增一个row
- 在里面加入
<h2>和标题内容 - 标题是置中的,所以我们要加入
text-center让它置中 - 加上标题的颜色
text-primary及margin-bottommb-8 - 由於标题有两行,所以加入
<br>让第二句换行
<div class="row">
<div class="col">
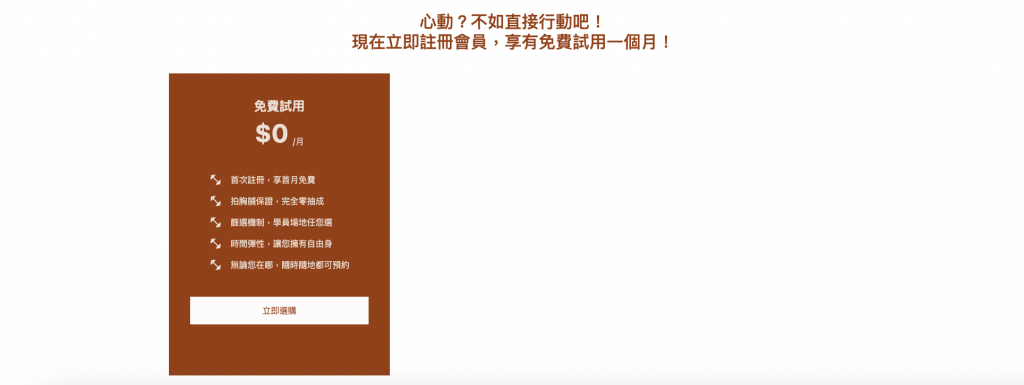
<h2 class="text-center text-primary mb-8">
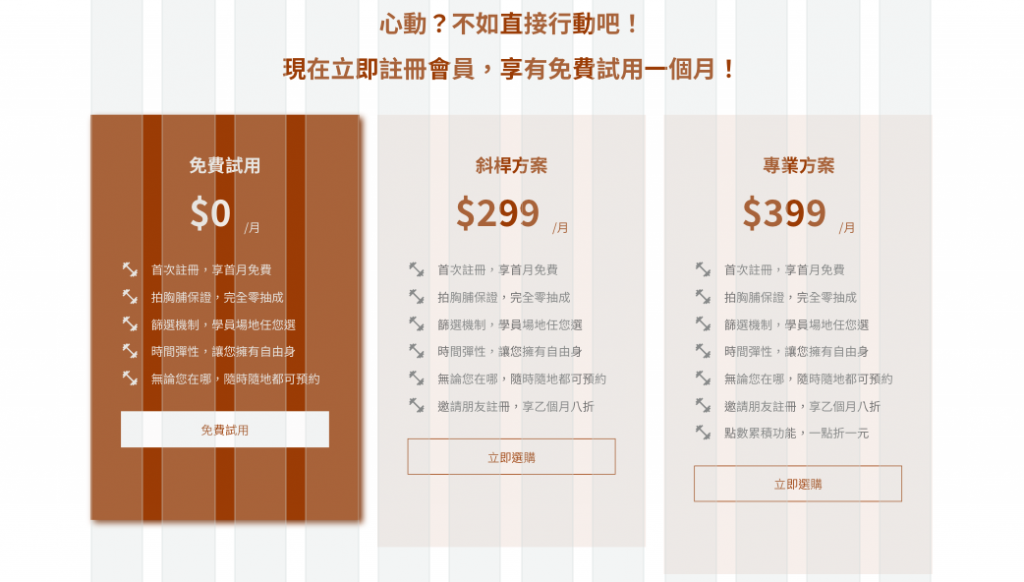
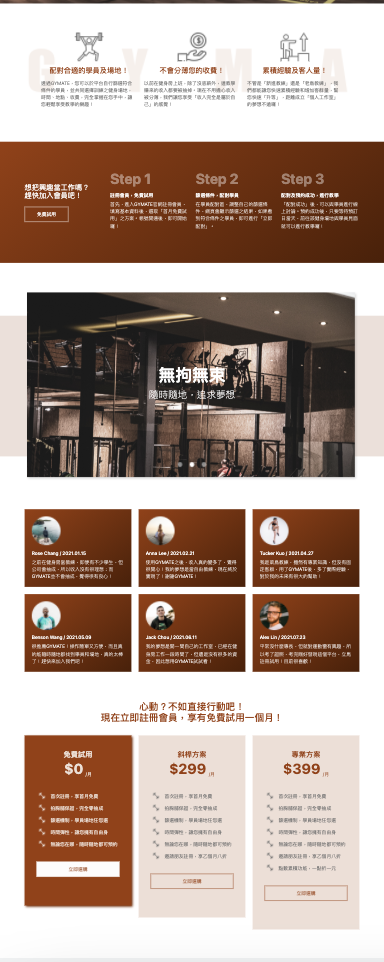
心动?不如直接行动吧!
<br>
现在立即注册会员,享有免费试用一个月!
</h2>
</div>
</div>

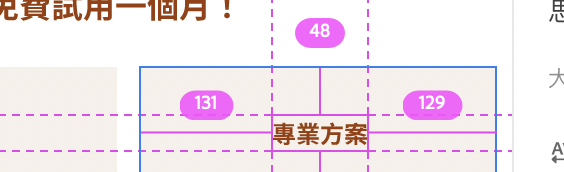
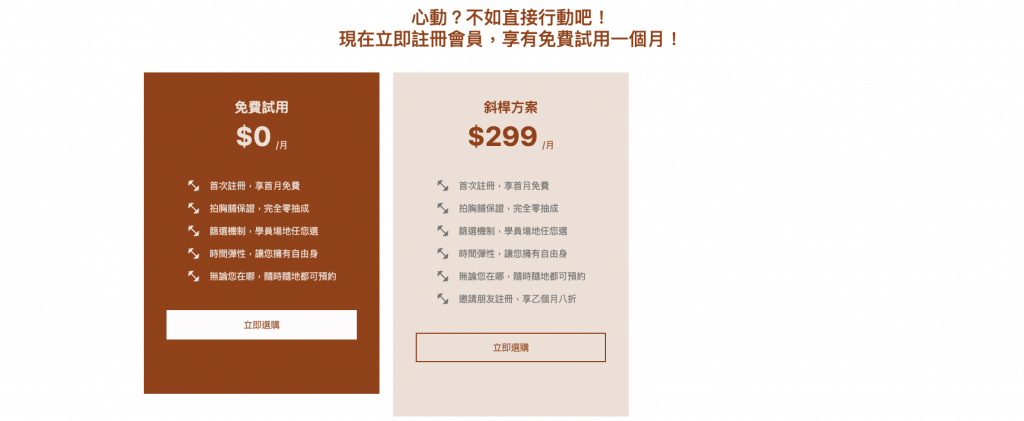
设定每个plans的栏位
- 依照设计稿来看,每个plans各占4栏
- 新增
row和col-4
设定深色plan「免费试用」的样式
-
在
col-4里新增一个div -
在div里加入背景色
bg-primary、flex让里面内容都置中,新增style去加入Paddingpadding:48px 40px 96px 40px -
加入标题
<h4>免费试用</h4>及文字颜色text-primary-light、字重fw-bold、Margin-bottommb-2<div class="row"> <div class="col-4"> <div class="bg-primary d-flex flex-column align-items-center" style="padding:48px 40px 96px 40px"> <h4 class="text-primary-light fw-bold mb-2">免费试用</h4> </div> </div> </div> -
加入副标($0/月),但因为「$0」和「/月」的字体是不同大小,且又是水平的,所以这边帮它们加个div,并在里面加入样式的设定
a. 在div加上d-flex,让里面的东西的变成横的
b. 加上align-items-end让「$0」与「/月」能对齐底部
c. 「$0」是48px,所以这边直接加上display-5去呈现该大小
d. 其它一样是加上它的文字样式和marign```html <div class="d-flex align-items-end"> <p class="display-5 text-primary-light fw-bold me-2">$299</p> <p class="text-primary-light">/月</p> </div> ``` -
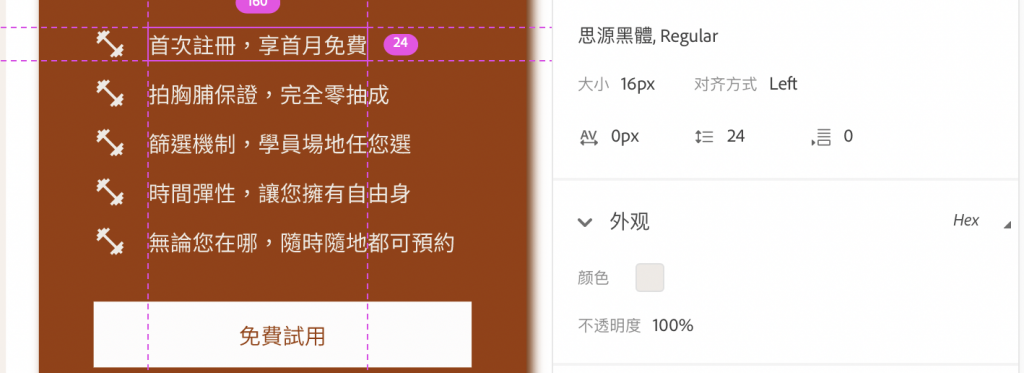
新增plan里面的内容
a. 新增一个只是为了乘载下面内容的外框div,并加入my-7,让上下margin=32px
b. 再新增一个单一行内容的div,并加上d-flex的class```html <div class="my-7"> <div class="d-flex"> </div> </div> ```c. 在里面插入img,并加上
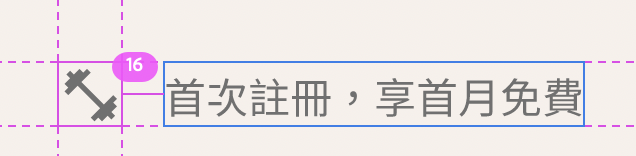
class设定margin、style设定img的大小```html <img src="style/PHOTO/ic_fitness_light.png" class="me-5" style="height: 24px;" alt=""> ```d. 插入文字内容,加上文字颜色
 ```html
 <p class="text-primary-light">首次注册,享首月免费</p>
 ```
e. 复制贴上以上单一行的样式,再修改文字内容
```html <div class="my-7"> <div class="d-flex"> <img src="style/PHOTO/ic_fitness_light.png" class="me-5" style="height: 24px;" alt=""> <p class="text-primary-light">首次注册,享首月免费</p> </div> <div class="d-flex"> <img src="style/PHOTO/ic_fitness_light.png" class="me-5" style="height: 24px;" alt=""> <p class="text-primary-light">拍胸脯保证,完全零抽成</p> </div> <div class="d-flex"> <img src="style/PHOTO/ic_fitness_light.png" class="me-5" style="height: 24px;" alt=""> <p class="text-primary-light">筛选机制,学员场地任您选</p> </div> <div class="d-flex"> <img src="style/PHOTO/ic_fitness_light.png" class="me-5" style="height: 24px;" alt=""> <p class="text-primary-light">时间弹性,让您拥有自由身</p> </div> <div class="d-flex"> <img src="style/PHOTO/ic_fitness_light.png" class="me-5" style="height: 24px;" alt=""> <p class="text-primary-light">无论您在哪,随时随地都可预约</p> </div> <div class="d-flex"> <img src="style/PHOTO/ic_fitness_light.png" class="me-5" style="height: 24px;" alt=""> <p class="text-primary-light">邀请朋友注册,享乙个月八折</p> </div> </div> ``` -
加上btn
a. 加入btn,设定成btn-secondary,并加入text-primary
b. 加上w-100,让btn呈现100%的宽度 -
成果会像下面一样
设定浅色plans的样式
-
在
col-4里新增一个div -
在div里加入背景色
bg-primary-light、flex让里面内容都置中,新增style去加入Paddingpadding:48px 40px 96px 40px -
加入标题
<h4>斜杆方案</h4>及文字颜色text-primary、字重fw-bold、Margin-bottommb-2<div class="row"> <div class="col-4"> <div class="bg-primary-light d-flex flex-column align-items-center" style="padding:48px 40px 96px 40px"> <h4 class="text-primary fw-bold mb-2">斜杆方案</h4> </div> </div> </div> -
加入副标($299/月),但因为「$299」和「/月」的字体是不同大小,且又是水平的,所以这边帮它们加个div,并在里面加入样式的设定
a. 在div加上d-flex,让里面的东西的变成横的
b. 加上align-items-end让「$299」与「/月」能对齐底部
c. 「$299」是48px,所以这边直接加上display-5去呈现该大小
d. 其它一样是加上它的文字样式和marign```html <div class="d-flex align-items-end"> <p class="display-5 text-primary fw-bold me-2">$299</p> <p class="text-primary">/月</p> </div> ``` -
新增plan里面的内容
a. 新增一个只是为了乘载下面内容的外框div,并加入my-7,让上下margin=32px
b. 再新增一个单一行内容的div,并加上d-flex的class```html <div class="my-7"> <div class="d-flex"> </div> </div> ```c. 在里面插入img,并加上
class设定margin、style设定img的大小```html <img src="style/PHOTO/ic_fitness_dark.png" class="me-5" style="height: 24px;" alt=""> ```d. 插入文字内容,加上文字颜色
 ```html
 <p class="text-dark">首次注册,享首月免费</p>
 ```
e. 复制贴上以上单一行的样式,再修改文字内容?
```html <div class="my-7"> <div class="d-flex"> <img src="style/PHOTO/ic_fitness_dark.png" class="me-5" style="height: 24px;" alt=""> <p class="text-dark">首次注册,享首月免费</p> </div> <div class="d-flex"> <img src="style/PHOTO/ic_fitness_dark.png" class="me-5" style="height: 24px;" alt=""> <p class="text-dark">拍胸脯保证,完全零抽成</p> </div> <div class="d-flex"> <img src="style/PHOTO/ic_fitness_dark.png" class="me-5" style="height: 24px;" alt=""> <p class="text-dark">筛选机制,学员场地任您选</p> </div> <div class="d-flex"> <img src="style/PHOTO/ic_fitness_dark.png" class="me-5" style="height: 24px;" alt=""> <p class="text-dark">时间弹性,让您拥有自由身</p> </div> <div class="d-flex"> <img src="style/PHOTO/ic_fitness_dark.png" class="me-5" style="height: 24px;" alt=""> <p class="text-dark">无论您在哪,随时随地都可预约</p> </div> <div class="d-flex"> <img src="style/PHOTO/ic_fitness_dark.png" class="me-5" style="height: 24px;" alt=""> <p class="text-dark">邀请朋友注册,享乙个月八折</p> </div> </div> ``` -
加上btn
a. 加入btn,并设定成btn-outline-primary
b. 加上w-100,让btn呈现100%的宽度 -
成果会呈现下面的样子!
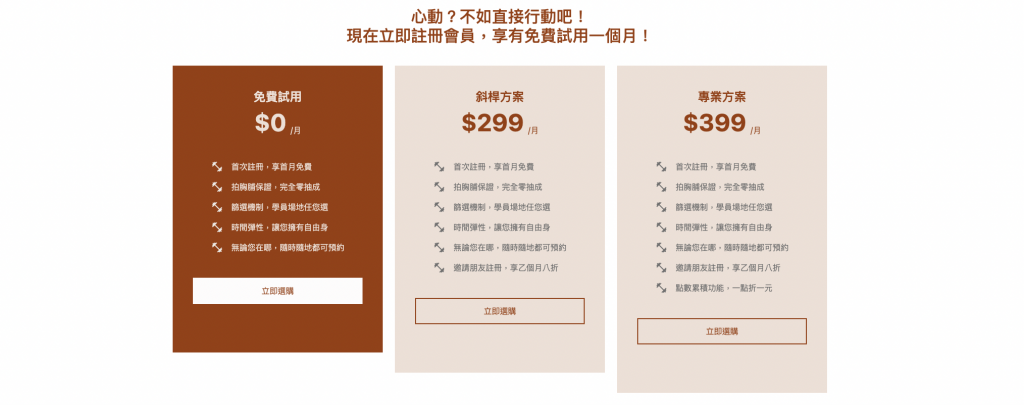
把剩下最後一个专业方案,也一样复制「斜杆方案」,另外加上内容就可以了!
把「免费试用」方案的背景加上阴影
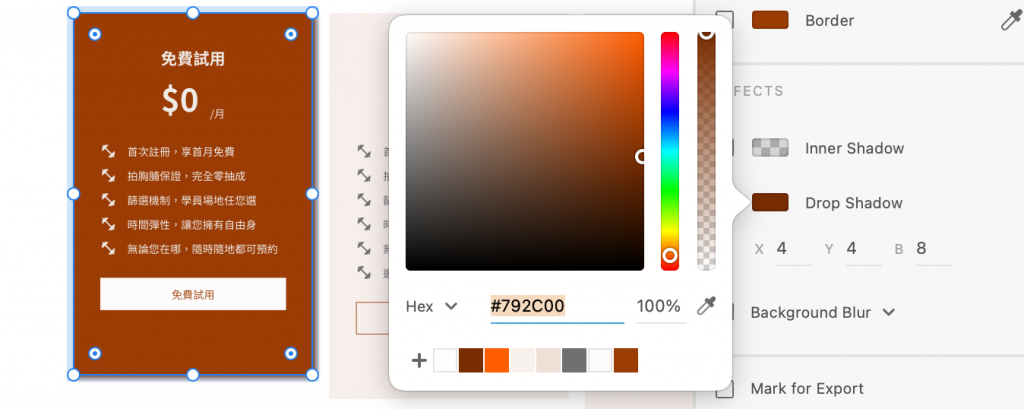
-
Drop Shadow:X:4 Y:4 B:8 #792C00
-
记得公式 → box-shadow: Xpx Ypx Bpx COLOR;
-
在「免费试用」的div里,加上
style=" box-shadow:4px 4px 8px #792C00;"<div style="box-shadow:4px 4px 8px #792C00;padding:48px 40px 96px 40px; "class="bg-primary d-flex flex-column align-items-center" ></div>

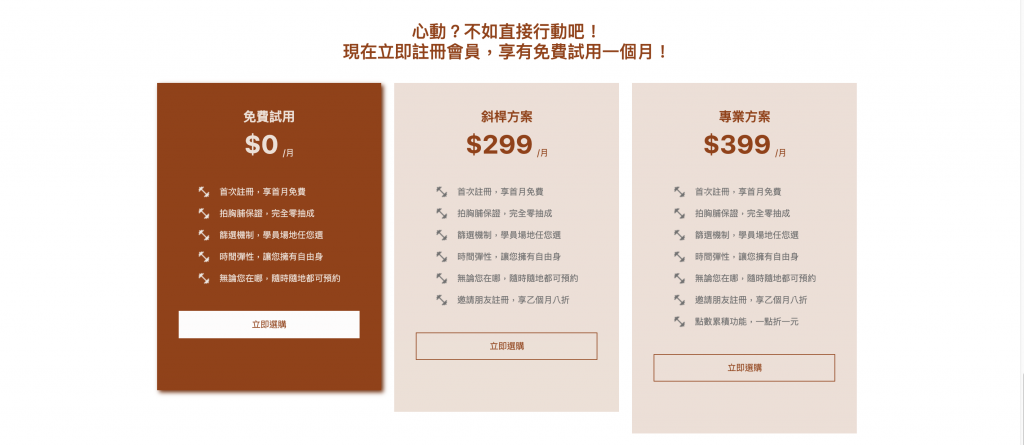
登登登登,Plans的区块就完成啦!明天继续来切下一个区块吧 (๑´ㅂ`๑)
【把玩Azure DevOps】Day21 建立自管的Azure DevOps Agent(Windows Container agent)
前一篇提到了在Windows VM中安装Azure DevOps Agent,步骤非常的简单,不过A...
从零开始的ASP.Net Core 学习
万事起头难 平常的学习方式都是遇到问题才去学、上哪门课学什麽、对哪个主题有兴趣才去学,现在想要有组织...
只有留存下来的人事物才是你所拥有
留存 使用者在浏览网页时,Web Server会产生Log,当网页挂掉时,势必需要去查看Log作分析...
Day 17 Azure Cosmos DB API for MongoDB- 找个地方放资料
Azure Cosmos DB API for MongoDB- 找个地方放资料 MongoDB是一...
【在厨房想30天的演算法】Day 20 演算法 : 最小生成树 MST Kruskal、Prim
Aloha!又是我少女人妻 Uerica!终於来到第 20 天了 (欢呼),已经过了三分之二了~人说...