Angular Stock登入(四)(Day25)
透过昨天我们提到的路由,今天我们要实现登入後将token存入sessionStorage後转导到首页
首先我们先建立一个物件是可以与API回传物件进行相互对应的
新增一个model资料夹,在里面新增一个APIReturnObject.class
model.APIReturnObject
export class APIReturnObject{
  message: string;
  data: Map<string, object> ;
  constructor(message: string , data: Map<string, object> ){
    this.message = message;
    this.data = data ;
  }
}
接着我们改造一下HttpService的方法
import { Injectable } from '@angular/core';
import { HttpClient } from '@angular/common/http';
import { APIReturnObject } from '../model/APIReturnObject';

import { HttpHeaders } from '@angular/common/http';
@Injectable({
  providedIn: 'root'
})
export class HttpService {
  private url = 'http://localhost:8080/user/login';
  constructor(private http: HttpClient) { }

  getPosts(account: string, password: string) {
    let headers = new HttpHeaders({
      'Content-Type': 'application/json',
      responseType: 'json'
    });
    let options = {
      headers
    };
    let params = {
      'account': account,
      'password': password
    }


    return this.http.post<APIReturnObject>(this.url, params, options); #新增回传物件设定
  }
}
再来是在login.component.ts里面判断登入逻辑
import { Component, OnInit } from '@angular/core';
import { FormControl, Validators } from '@angular/forms';
import { HttpService } from '../service/http.service';
import { Router} from '@angular/router';

@Component({
  selector: 'app-login',
  templateUrl: './login.component.html',
  styleUrls: ['./login.component.css']
})
export class LoginComponent implements OnInit {
  title = '登入';
  account = new FormControl('', [Validators.required, Validators.maxLength(10)]); // 验证字数须大於10个字
  password = new FormControl('', [Validators.required, Validators.minLength(3)]); // 验证字数须不少於3个字
  posts: any;
  constructor(
    private httpService: HttpService,
    private router: Router,
) {

  }

  ngOnInit(): void {

  }

  doLogin() {
    this.httpService.getPosts(this.account.value, this.password.value).subscribe(
      (response) => {
        this.posts = response;
        const data = new Map(Object.entries(response.data)); #response.data取出的物件是object属性,所以要转换成map
        if (data.get('token')) {
          sessionStorage.setItem('token', data.get('token'));.setItem('token', data.get('token')); #储存在html5提供的localStorage
          this.router.navigate(['index']); #转页到index
        }
      },
      (error) => { console.log(error); });
  }
}
sessionStorage:
1.可以储存资料的空间(约5MB)
2.储存方式为key-value键值对
3.页面清除或关闭後消失
router.navigate方法:
可以将页面传导向指定路径,也可以传递参数。
接着我们实际操作一下
输入帐号密码
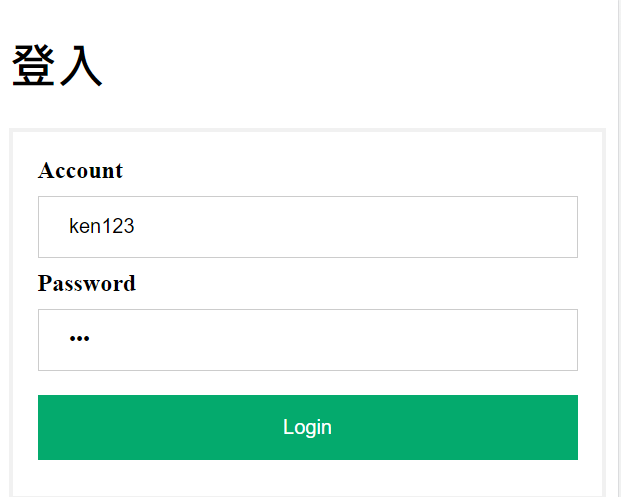
登入後发现被传导到index.html

打开F12→左侧Storage →Session Storage→点 http://localhost:4200
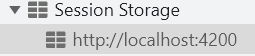
就可以看到

今天就做到这里~ 我们明天见啦
“使用属於公共领域的专利算法(Use of a patented algorithm that belongs to the public domain)“是最不受许可要求的约束
公共领域(Public Domain) 公共领域包括所有不适用专有知识产权的创造性作品。这些权利可能...
Day06 WebRTC 中的 Signaling Server
Signaling server 在 WebRTC 中扮演什麽角色 前面说到 WebRTC 使用 S...
认识 .NET
干古 微软开发的一个跨平台开源的开发框架, 以前叫 .NET Core, 也继承 .Net Fram...
[Day 25] BDD - godog image封装
封装 由於之後我打算将godog在CI/CD工具上定期跑BDD测试,所以我想要将godog封装在im...
完结心得
第三年参加铁人赛,心态上比起前两年稳定许多。即使如此,过程中仍然有些遗憾,可以写得更好但没有达成。 ...