Django - Websocket 网站实时线上人数
这次要藉由websocket做出网站实时的线上人数,关於django的websocket设定就不赘述了,网路上已经有相当多的资源,就写一些重点当笔记 ~
一、template
一开始最重要的就是要了解WebSocket支援的四个讯息:onopen,onmessage,onclose和onerror,然後根据你的需求去调用:
- onopen:当浏览器跟websocket连线成功就可以在console看到"open"讯息,反之,连线失败则适用於onerror。

- onmessage:接收处理後端传来的资料,在这个案例指的是实时的线上人数,如上图所示目前上线人数为2人{'message':2}。
<body>
    <h1 id="app">{{ text }}</h1>
    <script>
        var socket = new WebSocket('ws://' + window.location.host + '/ws/online_number/');
        socket.onopen = function(e){
              console.log ("open", e);
            }
        socket.onerror = function(e){
          console.log ("error", e)
        }
        socket.onmessage = function(e){
            var data = JSON.parse(e.data);
            var message = data['message'];
            console.log("message",e);
            document.querySelector('#app').innerText = message;
        }
    </script>
</body>
二、consumers.py
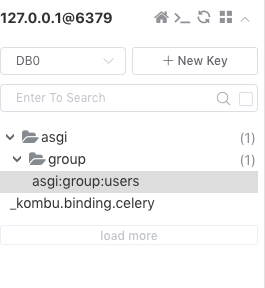
我的想法很简单,只要使用者一进入网站就都放在同一个group里面,如下图的灰底部分,反之使用者一离开网站,他的资料就不会再存在於redis,然後只要再去抓取redis里的数目就会知道实时的人数了,
-
那要怎麽实时的在网站显示线上使用人数呢?这边有个重点就是channel_layer.group_send,首先要知道传送到哪个group(这边room_group_name是users),再来就是要传送到前端的资料(这边一定要写成字典的形式),type为指定讯息处理的函式(number),这边就是处理成传个json,message为从redis得出的人数。
-
用redis_connect.zcard得出在group里的数量即代表线上人数。
小结:connect跟disconnect时都要做差不多的操作来反映出实时的人数。
class NumberOfOnline(AsyncWebsocketConsumer):
    db = Redis(host='127.0.0.1', port=8000, db=0)

    async def connect(self):
        await self.accept()
        self.room_group_name = 'users'
        await self.channel_layer.group_add(self.room_group_name, self.channel_name)
        redis_connect = get_redis_connection('default')
        online_number = str(redis_connect.zcard("asgi:group:users"))
        print('线上人数', online_number)
        await self.channel_layer.group_send(self.room_group_name,{'type':'number', 'message':online_number})

    async def disconnect(self, close_code):
        await self.channel_layer.group_discard('users', self.channel_name)
        user = self.scope['user']
        redis_connect = get_redis_connection('default')
        online_number = str(redis_connect.zcard("asgi:group:users"))
        print('线上人数', online_number)
        await self.channel_layer.group_send(self.room_group_name,{'type':'number', 'message':online_number})

    async def number(self, event):
        message = event['message']
        await self.send(text_data=json.dumps({
            'message': message
        }))
到目前为止只在本机测试,之後部署的话要开始研究asgi server的部分,django目前有提供daphne、Hypercorn、Uvicorn。可能会先试试daphne,但官方文件提供的资讯就只有下图这样:
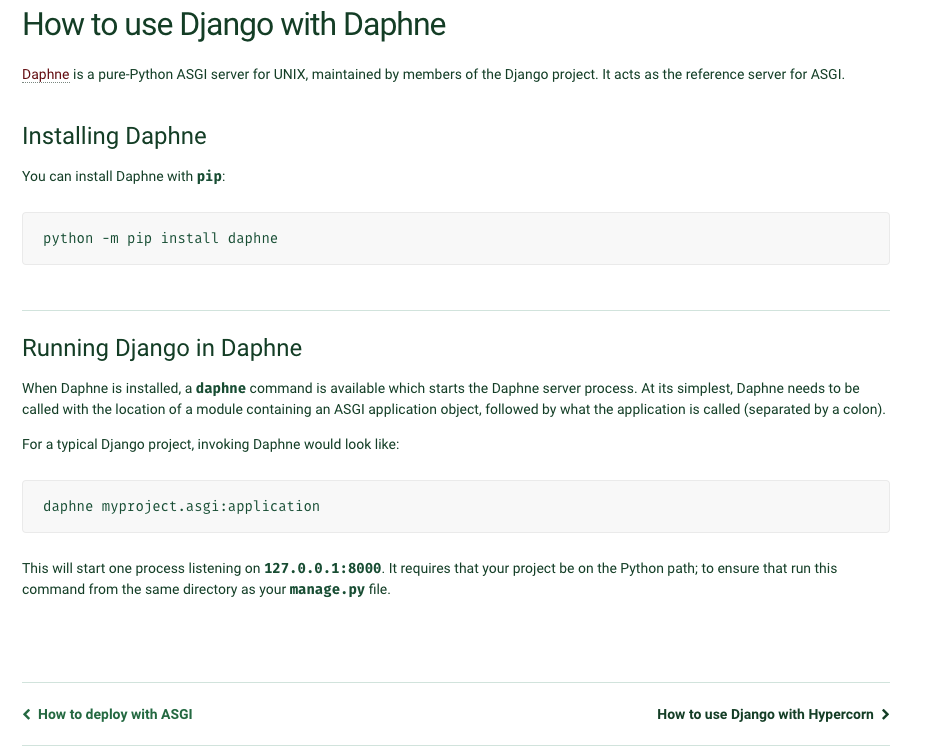
感觉会遇到的坑不少...总之就先来try看看吧 ~
Day19|【Git】开始使用分支 - git branch(基本常用指令)
学习完 git 的基本观念後,我们就来进入下一阶段,创建分支吧! 为什麽会需要分支呢? 分支的好处在...
Golang - debug工具 DELVE
状况 最近的经验是要把公司的程序码翻新 但由於旧有的程序码技术债实在太过庞大,没办法像以前以往接手到...
作业系统L4-执行绪
Process VS Thread 行程: 适合一次最多一个工作(unix shell) 优点: 缺...
未来狂想:国防军事
人的科技文明发展始终来自於人性 奠基於各国的工业发展水准发达及科技发展的技术发达,在这两大的基石之上...
Day 29 : 撰写LineBot,利用短短三天认识自动化机器人(下)
今天来继续接着昨天的LineBot。我们昨天讲到,我们可以使用ngrok来让程序连上公开网路,也就是...