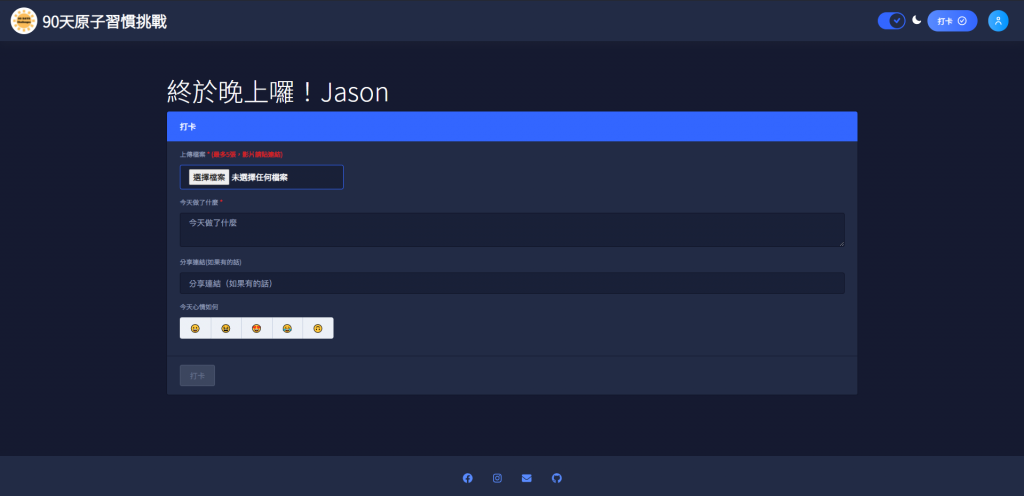
DAY17-前後端合体 建立打卡页面-前端服务篇1
上一篇处理完页面的样式後,这一篇要来处理资料与逻辑,并且如何透过angular fire 将资料送到firebase 储存起来
设计服务
先回忆一下...
在上一篇,按下打卡的按钮之後,会将表单的内容传送到 checkinService 让服务去处理核心逻辑,并且透过 angular fire 去与 firebase 沟通
 checkin(): void {
    this.toastrService.warning('上传中', '请等待图片上传完成,请勿关闭视窗');
    this.isLoading = true;
    this.checkinService.addCheckin(this.checkinForm.value).subscribe((e) => {
      this.toastrService.success('成功', '恭喜,又完成一天罗');
      this.isLoading = false;
      this.resetFrom();
    });
  }
所以这一边就要来设计服务 - checkinServicec 处理核心逻辑并且将资料送到 firestore 上面记录起来。
完整程序码
import { Injectable } from '@angular/core';
import { HttpClient } from '@angular/common/http';
import { forkJoin, from, Observable } from 'rxjs';
import { AngularFireStorage } from '@angular/fire/storage';
import {
  AngularFirestore,
  AngularFirestoreCollection,
} from '@angular/fire/firestore';
import { finalize, switchMap } from 'rxjs/operators';
import { UserService } from './user.service';

import { CheckinObj } from '@challenge90days/api-interfaces';
import firebase from 'firebase/app';

@Injectable({
  providedIn: 'root',
})
export class CheckinService {
  checkinCollection: AngularFirestoreCollection<any>;
  userInfo;
  apiUrl = 'https://challenge-90-days.herokuapp.com/api';

  // date
  constructor(
    private http: HttpClient,
    private firestore: AngularFirestore,
    private storage: AngularFireStorage,
    private userService: UserService
  ) {
    this.checkinCollection = firestore.collection<any>('checkin');
    this.userService.userInfo$.subscribe((e) => {
      this.userInfo = e;
    });
  }

  // 开始打卡
  addCheckin(checkinObj: CheckinObj): Observable<any> {
    const data = {
      content: checkinObj.message,
      postUser: this.userInfo.name,
      url: checkinObj.url,
      imgFile: [],
      time: new Date(),
      userId: this.userService.userId$.value,
      emoji: checkinObj.emoji,
      docPath: '',
    };
    const addDoc$ = from(this.checkinCollection.add(data));
    return addDoc$.pipe(
      switchMap((res) =>
        this.uploadFile(
          checkinObj.imgFile,
          res.id,
          res.path,
          checkinObj.message,
          this.userInfo.name
        )
      )
    );
  }

  uploadFile(
    imageFiles: File[],
    filePath: string,
    docPath: string,
    message: string,
    name: string
  ): Observable<any> {
    const nowTimestamp = +new Date();
    const fullFilePath = `checkin/${filePath}`;
    let fileArray$ = [];
    for (const [i, imageFile] of Object.entries(imageFiles)) {
      const task = this.storage.upload(
        `${fullFilePath}${nowTimestamp}${i}`,
        imageFile
      );
      fileArray$.push(task);
    }
    return forkJoin(fileArray$).pipe(
      finalize(() => {
        fileArray$.forEach((e, i) => {
          const fileRef = this.storage.ref(
            `${fullFilePath}${nowTimestamp}${i}`
          );
          const downloadURL$ = fileRef.getDownloadURL();
          downloadURL$.subscribe((imageUrl) => {
            if (Number(i) === 0) {
              this.sendMessageToLineChatbot(message, name, imageUrl, filePath);
            }
            this.firestore.doc(docPath).update({
              imgFile: firebase.firestore.FieldValue.arrayUnion(imageUrl),
              docPath: filePath,
            });
          });
        });
      })
    );
  }

  sendMessageToLineChatbot(
    message: string,
    name: string,
    imageUrl: string,
    docPath: string
  ): void {
    const url = `${this.apiUrl}/snedMessageToLineChannel`;
    this.http
      .post(url, {
        message,
        name,
        imageUrl,
        docPath,
      })
      .subscribe();
  }
}
此服务核心功能只有三个部分:
- addCheckin: 将打卡内容透过angular fire新增到 firestore
- uploadFile: 将证明打卡的图片上传到 storage 後,得到URL,再透过 ID 更新图片网址上去
- sendMessageToLineChatbot: 将打卡的内容透过 line chatbot 推送到 line 的频道里面,让大家知道某人打卡了,增加互动的感觉。这个部分之後会详细说明。
建构式
 constructor(
    private http: HttpClient,
    private firestore: AngularFirestore,
    private storage: AngularFireStorage,
    private userService: UserService,
  ) {
    this.checkinCollection = firestore.collection<any>('checkin');
    this.userService.userInfo$.subscribe((e) => {
      this.userInfo = e;
    });
  }
在建构式的时候,注入许多必要的服务,像是处理各种请求的 httpClient 、与 forestore 沟通的 angularFirestore 、之後要上传图片的地方的 angularFireStorage 、取得在authentication 上面注册资讯的 userService 。
在一开始的时候指定集合的位置,要上传到 checkin 路径之下,并且透过userService 取得使用者的资讯
实作打卡功能
  addCheckin(checkinObj: CheckinObj): Observable<any> {
    const data = {
      content: checkinObj.message,
      postUser: this.userInfo.name,
      url: checkinObj.url,
      imgFile: [],
      time: new Date(),
      userId: this.userService.userId$.value,
      emoji: checkinObj.emoji,
      docPath: '',
    };
    const addDoc$ = from(this.checkinCollection.add(data));
    return addDoc$.pipe(
      switchMap((res) =>
        this.uploadFile(
          checkinObj.imgFile,
          res.id,
          res.path,
          checkinObj.message,
          this.userInfo.name
        )
      )
    );
  }
再来就是将打卡资料上传到firestore的功能了,首先先将表单传送过来的资料转换一下,转换成要送到资料库的格式,并且新增取多必要的资料,像是使用者的名称、使用者的ID、上船的时间等等的必要资讯
准备後之後,就透过angular fire 将资料上传上去。
可以看到在上传之前做了一件事情
const addDoc$ = from(this.checkinCollection.add(data));
将新增的功能,使用 from 包了起来,原因是这是一个 promise ,但是因为我要处理一连串资料流的事件,所以将 promise 转换成 observable 可被观察对象,这样可以使用 rxjs 一气呵成处理
 return addDoc$.pipe(
      switchMap((res) =>
        this.uploadFile(
          checkinObj.imgFile,
          res.id,
          res.path,
          checkinObj.message,
          this.userInfo.name
        )
      )
    );
所以最後在上传的过程,上传到firestore 完成後,会透过 switchMap 的运算子,将得到的资料再转换成下一个observable 继续去处理上传图片的动作,完成之後,也会传回 observable 告诉元件是否完成了。
一连串非同步的动作,就可以很简单又很优雅地去处理,完全不用理会什麽时间差或是等待的问题,这样就完成了!
至於如何上传图片後再更新原本的资料的流程,就留到下一篇再介绍
<<: Re-architect - Domain Layer (二)
>>: nestJS-MicroService-gRpc 处理更新null情况
android studio 30天学习笔记 -day 22-Dagger 前言
Dependency Injection Dependency Injection中文翻译为依赖注入...
Day30 laravel Log 纪录request,response
Day30 laravel Log 纪录request,response 历经千辛万苦终於来到铁人赛...
Day08 - Gem-sidekiq-grouping 允许单个 sidekiq 处理多个相似(一样)的 jobs
前言 Allows identical sidekiq jobs to be processed w...
Day 9 - 解密 Order API 回传的 Message 字串
图 9-1: 测试建立订单 接续 Day 8 使用 Order API 建立测试订单後,返回结果是...
[Day 26] 交叉验证 K-Fold Cross-Validation
今日学习目标 了解 K-Fold 各种不同变形 K-Fold Cross-Validation Ne...