DAY15 - 利用 firebase 的 Authentication 建立会员系统与页面串接
什麽是 firebase 的 Authentication
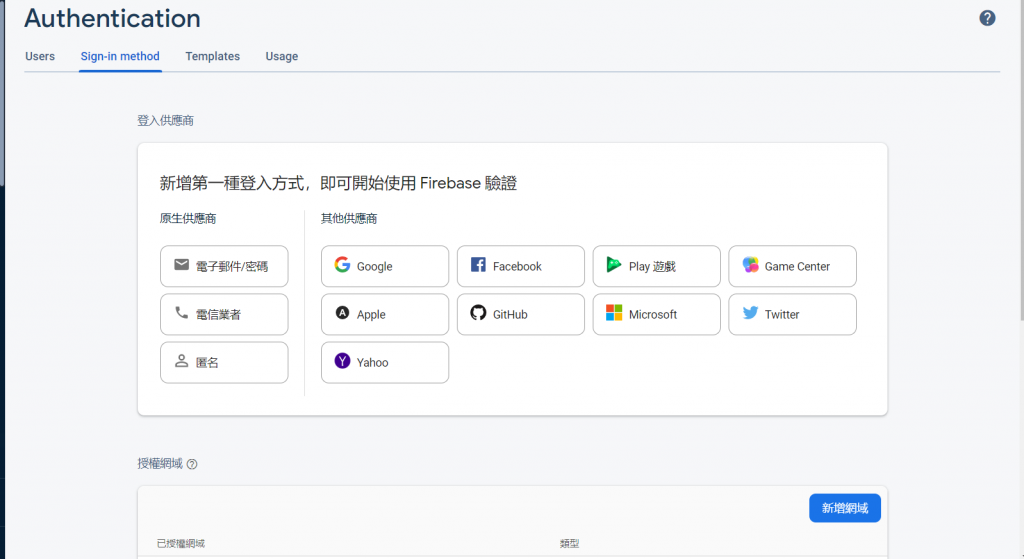
firebase 还有一项强大的服务是 Authentication ,可以利用各种方式建立自己的会员系统,像是 利用 google、脸书、苹果等帐号,一件注册就可以建立会员,使用方式也很简单,只要引入程序码之後就可以使用。
但是这次不使用这些第三方登入的方法,而是要来使用电子邮件的方式注册登入,因此在 firebase 上面启用电子邮件登入的服务
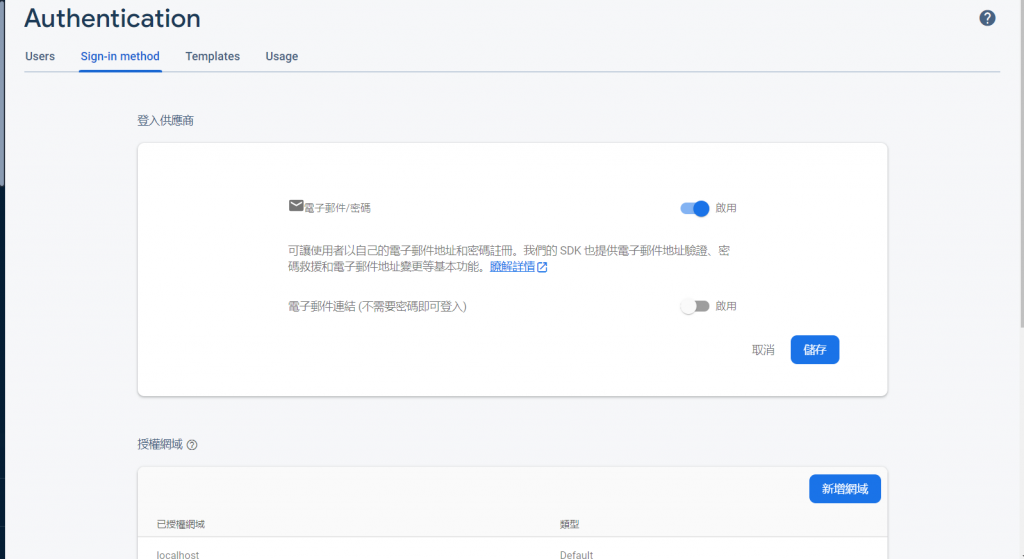
按下储存,就建立起使用电子邮件作为会员的认证方式,这样就没了!就是如此简单又快乐,复杂的部分别人都帮你处理好罗!
前端串接会员系统
後端准备完毕之後,再重新回到前端,建立注册与登入页面,与firebase 串接,建立完整的会员系统。
使用 nebular 建立会员系统
当初选择使用 nebular 作为UI 框架的一个主要原因之一,就是它已经帮你整合好会员系统会用到的页面,并且与firebase 的串接也已经搞定,基本上就是输入一些设定值之後,就可以快乐又无脑的使用罗
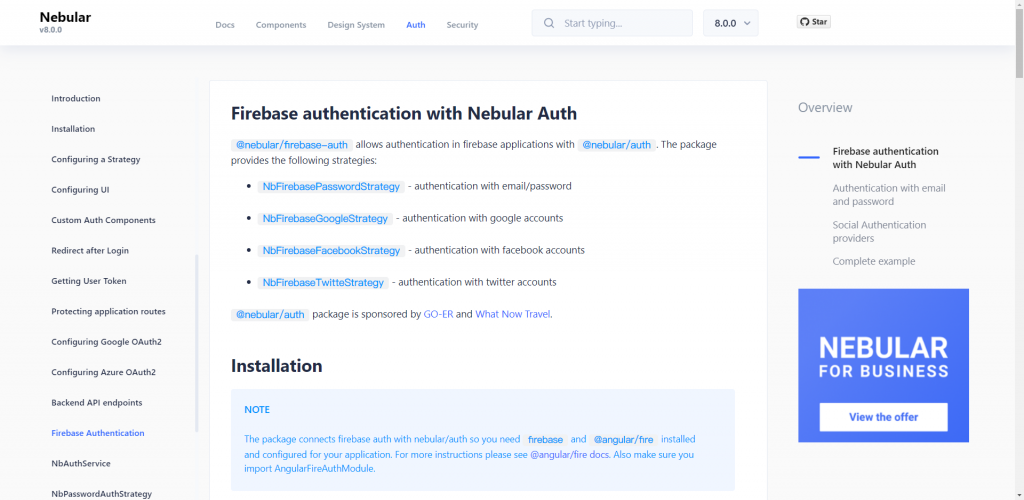
首先先安装 Nebular Auth 和 Nebular Firebase Auth 套件
npm i @nebular/auth @nebular/firebase-auth
再来在 app.module.ts 加入一些常规的验证设定,相信看到程序码就会懂了,也就是登入、注册表单的验证规则。验证的策略要使用 google 的firebase,验证成功之後要如何导页,验证失败要做什麽等等
import { NbAuthModule } from '@nebular/auth';
import { NbFirebasePasswordStrategy } from '@nebular/firebase-auth';

@NgModule({
  imports: [
    NbFirebaseAuthModule,
    NbAuthModule.forRoot({
      forms: {
        login: {
          strategy: 'password',
          rememberMe: false,
          socialLinks: [],
        },
        register: {
          redirectDelay: 500,
          strategy: 'password',
          showMessages: {
            success: true,
            error: true,
          },
          terms: false,
          socialLinks: [],
        },
        validation: {
          password: {
            required: true,
            minLength: 6,
            maxLength: 50,
          },
          email: {
            required: true,
          },
        },
      },
      strategies: [
        NbFirebasePasswordStrategy.setup({
          name: 'password',
          login: {
            redirect: {
              success: '/',
              failure: null,
            },
          },
          register: {
            redirect: {
              success: '/',
              failure: null,
            },
          },
        }),
        NbFirebaseGoogleStrategy.setup({
          name: 'google',
        }),
      ],
    }),
  ],
});
再来到 app.routing.module.ts 建立验证模组路由,处理登入与注册的事情
import { NgModule } from '@angular/core';

import { Routes, RouterModule } from '@angular/router';

const routes: Routes = [
  // 启用nebular 预设的验证模组
  {
    path: 'auth',
    loadChildren: () => import('./auth/auth.module').then((m) => m.AuthModule),
  },
  {
    path: '',
    loadChildren: () =>
      import('./pages/pages.module').then((m) => m.PagesModule),
  },
  {
    path: '**',
    redirectTo: '',
  },
];

@NgModule({
  imports: [RouterModule.forRoot(routes)],
  exports: [RouterModule],
})
export class AppRoutingModule {}
在 auth.module.ts 要做的事情也很简单,把套件写好的登入页面、注册页面的模组引入就好了
import { CommonModule } from '@angular/common';
import { NgModule } from '@angular/core';
import { Routes, RouterModule } from '@angular/router';

import {
  NbAuthComponent,
  NbLoginComponent,
  NbRegisterComponent,
} from '@nebular/auth';

const routes: Routes = [
  {
    path: '',
    component: NbAuthComponent,
    children: [
      {
        path: '',
        component: NbLoginComponent,
      },
      {
        path: 'login',
        component: NbLoginComponent,
      },
      {
        path: 'register',
        component: NbRegisterComponent,
      },
    ],
  },
];

@NgModule({
  imports: [CommonModule, RouterModule, RouterModule.forChild(routes)],
  exports: [RouterModule],
})
export class AuthModule {}
最後再加入路由守卫,阻挡未登入的帐号进入某些页面,这个套件也处理好了,只要引用就好了
import { Injectable } from '@angular/core';
import { CanActivate, CanActivateChild, ActivatedRouteSnapshot, RouterStateSnapshot, UrlTree,Router } from '@angular/router';
import { Observable } from 'rxjs';
import { NbAuthService } from '@nebular/auth';
import { tap } from 'rxjs/operators';
@Injectable({
  providedIn: 'root'
})
export class AuthGuard implements CanActivate, CanActivateChild {
  constructor(private authService: NbAuthService, private router: Router) {
  }
  canActivate(
    route: ActivatedRouteSnapshot,
    state: RouterStateSnapshot): Observable<boolean | UrlTree> | Promise<boolean | UrlTree> | boolean | UrlTree {
      return this.authService.isAuthenticated()
      .pipe(
        tap(authenticated => {
          if (!authenticated) {
            this.router.navigate(['auth/login']);
          }
        }),
      );

  }
  canActivateChild(
    childRoute: ActivatedRouteSnapshot,
    state: RouterStateSnapshot): Observable<boolean | UrlTree> | Promise<boolean | UrlTree> | boolean | UrlTree {
    return true;
  }

}
以上,就是复制贴上的功夫,就轻松完成一个会员系统的前後端建立与串接,接下来测试一下吧
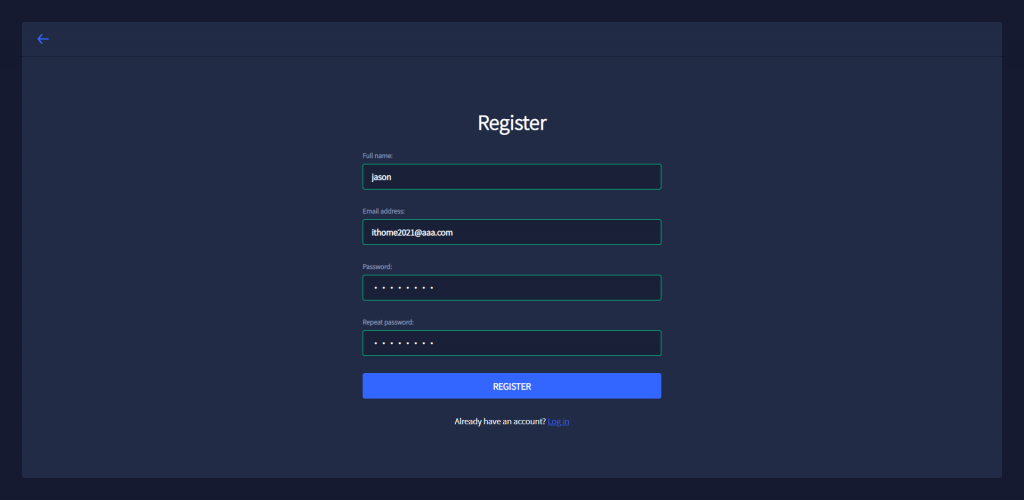
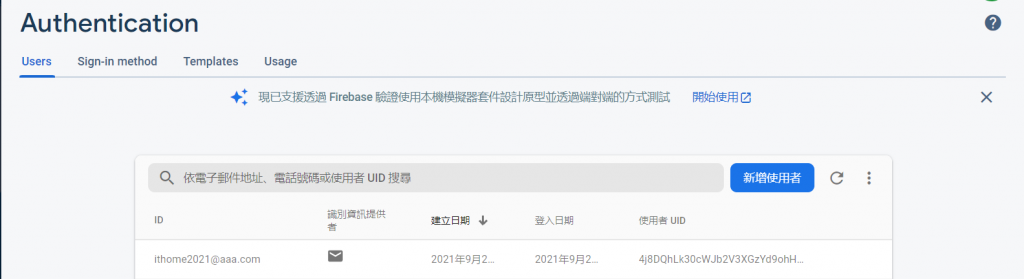
实际按下注册建再到firebase看一下,发现了注册资料
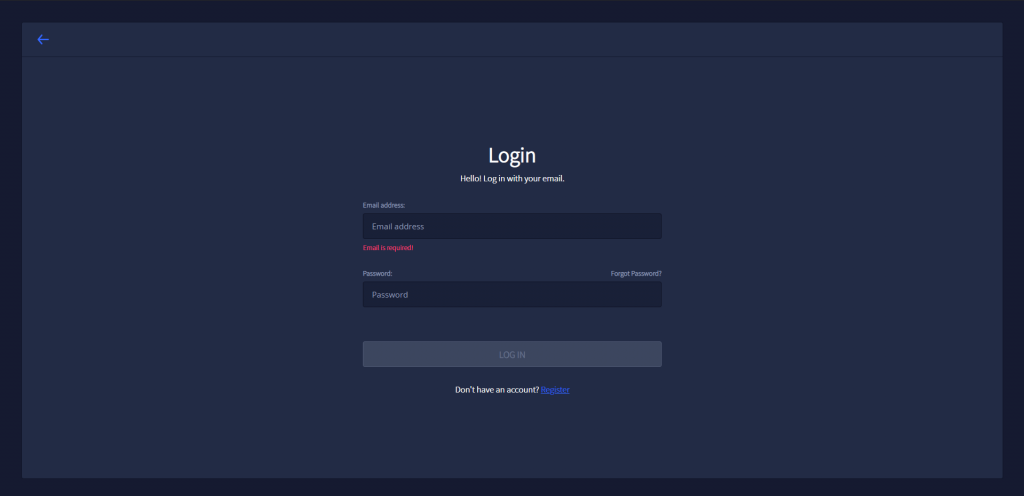
再来测试登入
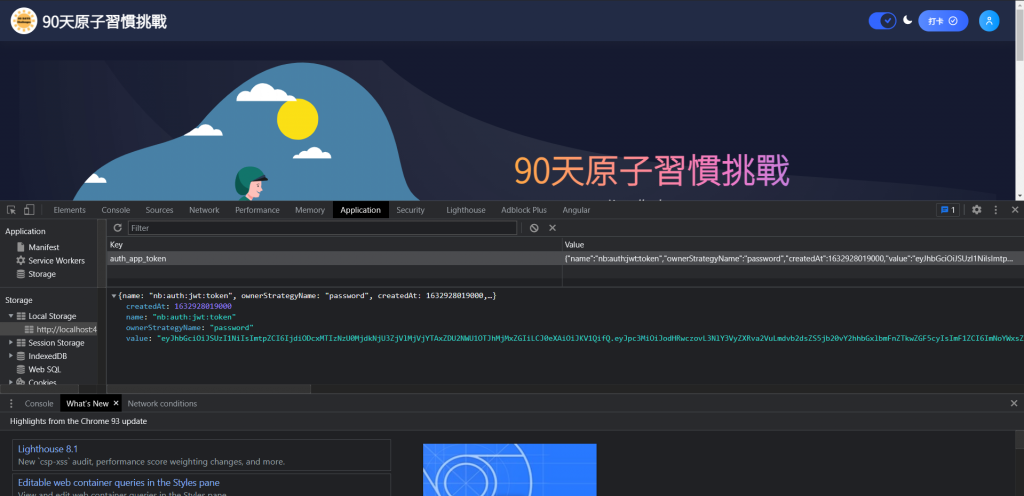
登入成功,打开开发介面,看到token 等资料有模有样,一个会员系统就完成罗
Day18:终於要进去新手村了-Javascript-回圈-for
今天也看了彭彭的影片,要来记录的是for回圈的部分,基本上判断概念跟while回圈一样,需要注意初始...
DAY26 MongoDB 汇入与汇出资料
DAY26 MongoDB 汇入与汇出资料 系统运作时常发生在特定环境才会出错的问题,其他环境又没发...
Jquery/JS 使用Input 输入生日并限制年龄
客户需求如下 不要用datepicker点,说是手机太小不好点+老人不会点 资料库格式为西元年,但一...
Day13 - 动态 新增/删除 Collection 项目(一)
延续上一篇的 ViewModel 结构 现在假设使用者提出要动态 新增/删除 Collection ...
第二十四天:三探 Gradle Plugin
延续昨天的 Plugin 实作,今天来看一下 Extension 及 Task 类别各要怎麽实作? ...