Day29 - 以 NodeJS 留言板走过 GitOps 工作流程
前言
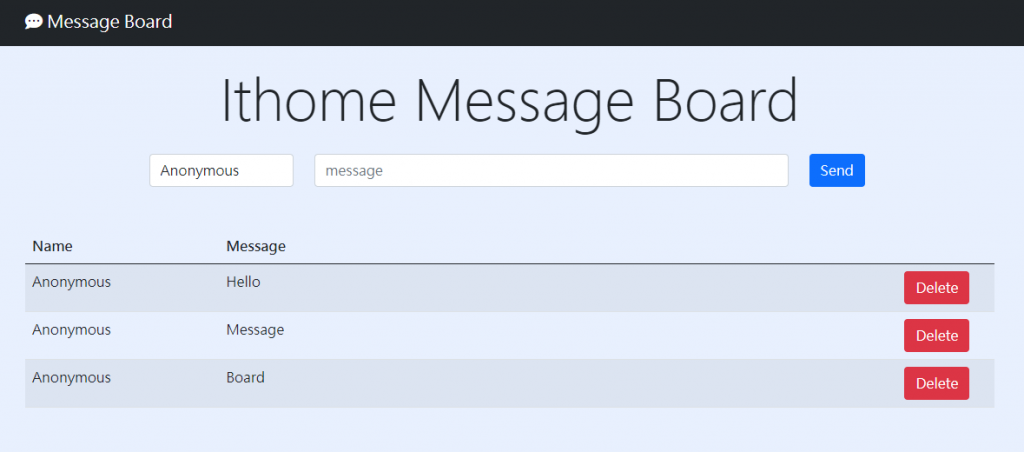
今天我们以开发者的角度,实际走过 GitOps 的工作流程,这次 Lab 准备了 NodeJS 留言板应用。
建立 NodeJS 留言板专案
-
进入 Cloud Shell 网站
-
建立所需档案
cd ~/project
mkdir models views
touch models/message.js views/index.js
- 安装所需套件
npm install express path mongoose method-override dotenv ejs
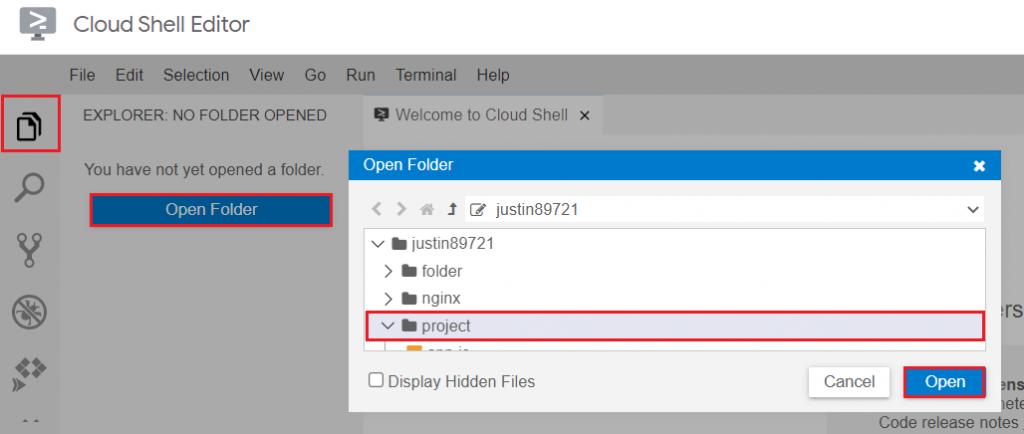
- 点击
左上 Explorer -> Open Folder -> 选择 project 资料夹 -> Open
- 在各档案贴上以下内容
- app.js
const express = require('express')
const path = require('path');
const mongoose = require('mongoose');
const methodOverride = require('method-override');
const Message = require('./models/message');
const app = express();
const port = 8080
require('dotenv').config()

const DATABASEURL= `mongodb://${process.env.MONGO_INITDB_ROOT_USERNAME}:${process.env.MONGO_INITDB_ROOT_PASSWORD}@${process.env.MONGO_HOST}:27017/message?authSource=admin`;

mongoose.connect(DATABASEURL,{
    useNewUrlParser: true,
    useUnifiedTopology: true
})
    .then(() => console.log('CONNECTION SUCCESS!!'))
    .catch(err => console.log(err));

app.set('views', path.join(__dirname, 'views'));
app.set('view engine', 'ejs');
app.use(express.urlencoded({ extended: true }));
app.use(methodOverride('_method'));


app.get('/', async (req, res) => {
    const messages = await Message.find({});
    res.render("index",{ messages });
})

app.post('/message', async (req, res) => {
    const message =  new Message(req.body.message);
    await message.save();
    res.redirect('/');
});

app.delete('/message/:id' , async (req,res) =>{
    const { id } = req.params;
    await Message.findByIdAndDelete(id);
    res.redirect('/');
});

app.listen(port, () => {
  console.log('Example app listening at port %s', port)
})
- models/message.js
const mongoose = require("mongoose");

const messageSchema = new mongoose.Schema({
    name: {
        type: String,
        required: true
    },
    content: {
        type: String,
        required: true
    }
});

const Message = mongoose.model("Message", messageSchema);
module.exports = Message;
- views/index.ejs
<!DOCTYPE html>
<html lang="en">
<head>
    <meta charset="UTF-8">
    <meta name="viewport" content="width=device-width, initial-scale=1.0">
    <title>IT-Home Project</title>
    <link href="https://cdn.jsdelivr.net/npm/[email protected]/dist/css/bootstrap.min.css" rel="stylesheet" integrity="sha384-EVSTQN3/azprG1Anm3QDgpJLIm9Nao0Yz1ztcQTwFspd3yD65VohhpuuCOmLASjC" crossorigin="anonymous">
    <link rel="stylesheet" href="https://use.fontawesome.com/releases/v5.4.1/css/all.css" integrity="sha384-5sAR7xN1Nv6T6+dT2mhtzEpVJvfS3NScPQTrOxhwjIuvcA67KV2R5Jz6kr4abQsz"
        crossorigin="anonymous">
</head>
<body style="background-color: #E8F0FE">
    <nav class="navbar bg-dark navbar-dark">
        <div class="container">
            <a href="#" class="navbar-brand"><i class="fas fa-comment-dots"></i> Message Board</a>
        </div>
    </nav>
    <section id="header" class="jumbotron text-center mt-4">
        <h1 class="display-3"> Ithome Message Board</h1>
    </section>
    <div class="container mt-4">
        <form action="/message" method="POST">
            <div class="row justify-content-md-center">
                    <div class="col-2 offset-1">
                        <input type="text" name="message[name]" class="form-control" placeholder="user" value="Anonymous" required>
                    </div>
                    <div class="col-6">
                        <input type="text" name="message[content]" class="form-control" placeholder="message" required>
                    </div>
                    <div class="col-2">
                        <button class="btn btn-primary">Send</button>
                    </div>
            </div>
        </form>
    </div>
    <div class="container mt-5">
        <table class="table table-striped">
            <thead>
                <tr>
                    <th scope="col" width="20%">Name</th>
                    <th scope="col" width="70%">Message</th>
                    <th scope="col" width="10%"></th>
                </tr>
            </thead>
            <tbody id="teacherTable">
                <% for(let message of messages) { %>
                <tr>
                    <td><%= message.name %></td>
                    <td><%= message.content %></td>
                    <td>
                        <form class="d-inline" action="/message/<%= message.id %>?_method=DELETE" method="POST">
                            <button class="btn btn-danger">Delete</button>
                        </form>
                    </td>
                </tr>
                <% }%>
            </tbody>
        </table>
    </div>
    <script src="https://cdn.jsdelivr.net/npm/@popperjs/[email protected]/dist/umd/popper.min.js" integrity="sha384-IQsoLXl5PILFhosVNubq5LC7Qb9DXgDA9i+tQ8Zj3iwWAwPtgFTxbJ8NT4GN1R8p" crossorigin="anonymous"></script>
    <script src="https://cdn.jsdelivr.net/npm/[email protected]/dist/js/bootstrap.min.js" integrity="sha384-cVKIPhGWiC2Al4u+LWgxfKTRIcfu0JTxR+EQDz/bgldoEyl4H0zUF0QKbrJ0EcQF" crossorigin="anonymous"></script>
</body>
</html>
完整的程序码可以到 WebApp 查看。
专案建立完成後,可以在 dev 环境建立 MongoDB 测试应用。
- 使用 Docker 建立 MongoDB 容器
docker run -d -p 27017:27017 --name mongo \
    -e MONGO_INITDB_ROOT_USERNAME=localuser \
    -e MONGO_INITDB_ROOT_PASSWORD=localpasswd \
    mongo
- 执行
app.js
node app.js
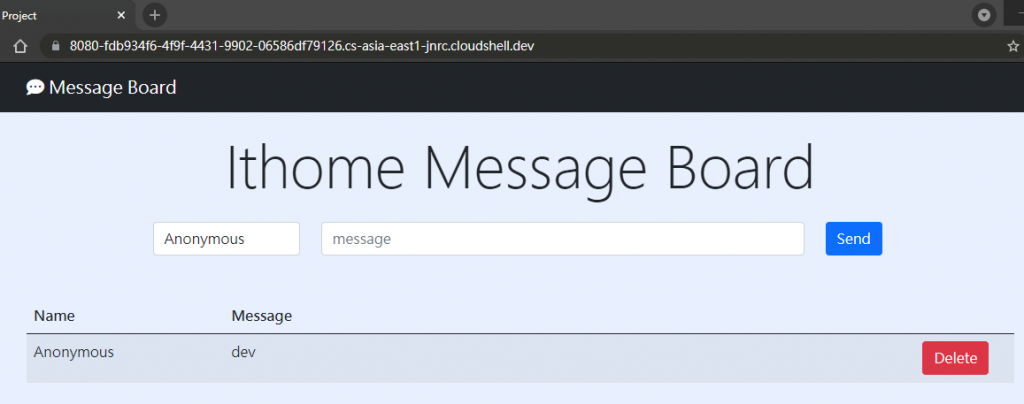
- 在cloud shell点击
网页预览->透过以下通讯预览 : 8080

在 Cloud Shell 测试专案可以成功运行。
上传到 Git 完成测试与部属
当专案完成准备进入部属环境,开发者就可以上传到 Git Repo ,并建立 Merge Request 来触发 CI/CD Pipeline 。
- 建立 Commit 并 Push 到 Git Repo
git checkout dev
git add .
git commit -m "add message board"
git push origin dev
- 在 GitLab 上建立
Merge Request,等待测试 Pipeline 完成後按下Merge
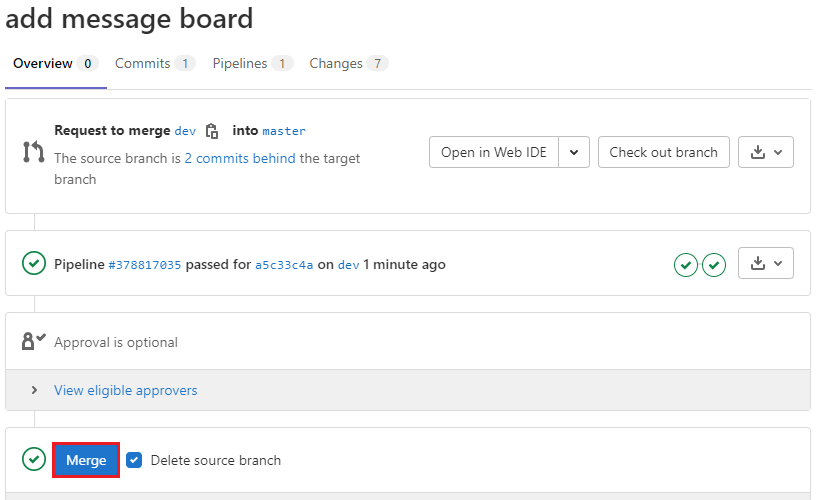
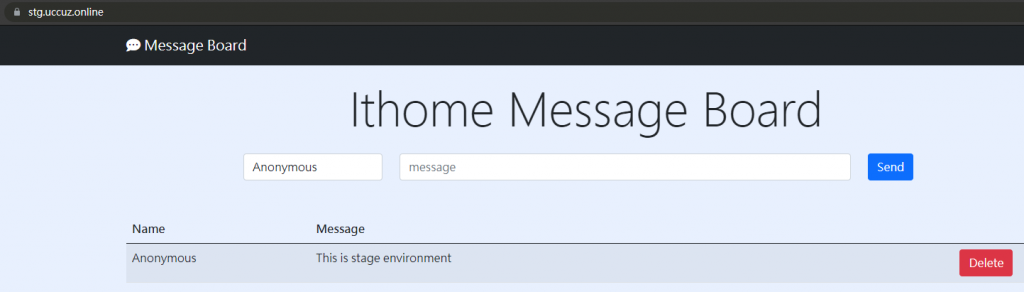
- 等待 Pipeline 完成後, ArgoCD 就会将专案部属到 Stage 环境

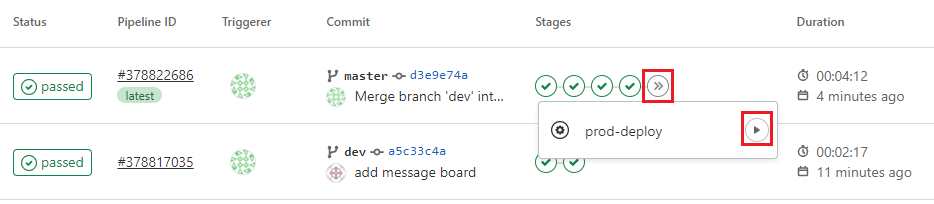
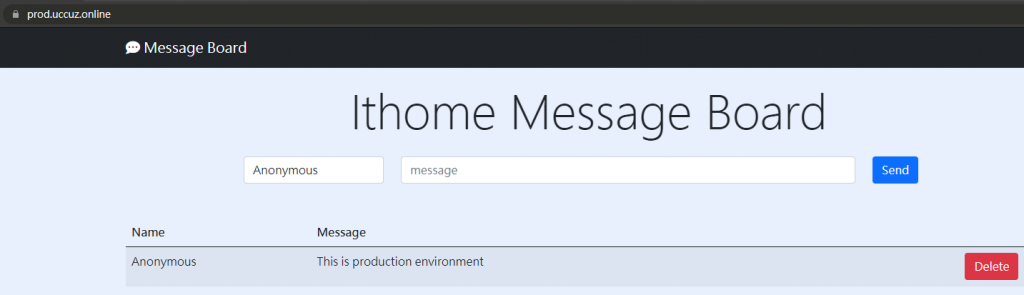
- Stage 环境测试完成後,就可以在 Pipeline 触发 prod-deploy ,专案就会部属到 Prod 环境。
总结
DevOps 的核心目标是让开发完成到部属的交付时间变得更迅速,透过 CI/CD Pipeline 将部属工作自动化,开发者只需要将程序码上传,就能迅速完成部属工作。
<<: DAY14 - firestore 使用条件来进阶查询
>>: Day 17 - 成长曲线N+1 : AIGO教练培训
[Day24] 第一个 Angular App
好的,今天开始我们就要用牛刀来杀鸡。首先第一件事当然就是先准备牛刀,不过这个牛刀整支都在 npm 上...
[Day02] 变数
变数 变数是用来储存资料和进行基本运算的基本单位;在宣告时给资料一个名称,名称像一个盒子把资料装起来...
30 天 React 学习之路 (Day1)
React 的网路资源很多,这个系列只忠实纪录 30 天阅读 React 官方文件, 消化吸後的所知...
成员 15 人:大猫喜欢打架,就像小孩一样
如何让同事奋勇向前,又不会伤及彼此? 「同事关系,等同婚姻关系; 没有一件事,会是理所当然。」 如...
[ Day 22 ] React 中的 State 管理 - Redux
今天进入到全新的篇章 Redux 了! Redux 是 React.js 中很常拿来作为状态管理使...