Day 27 - [实战练习] Pricing Sections
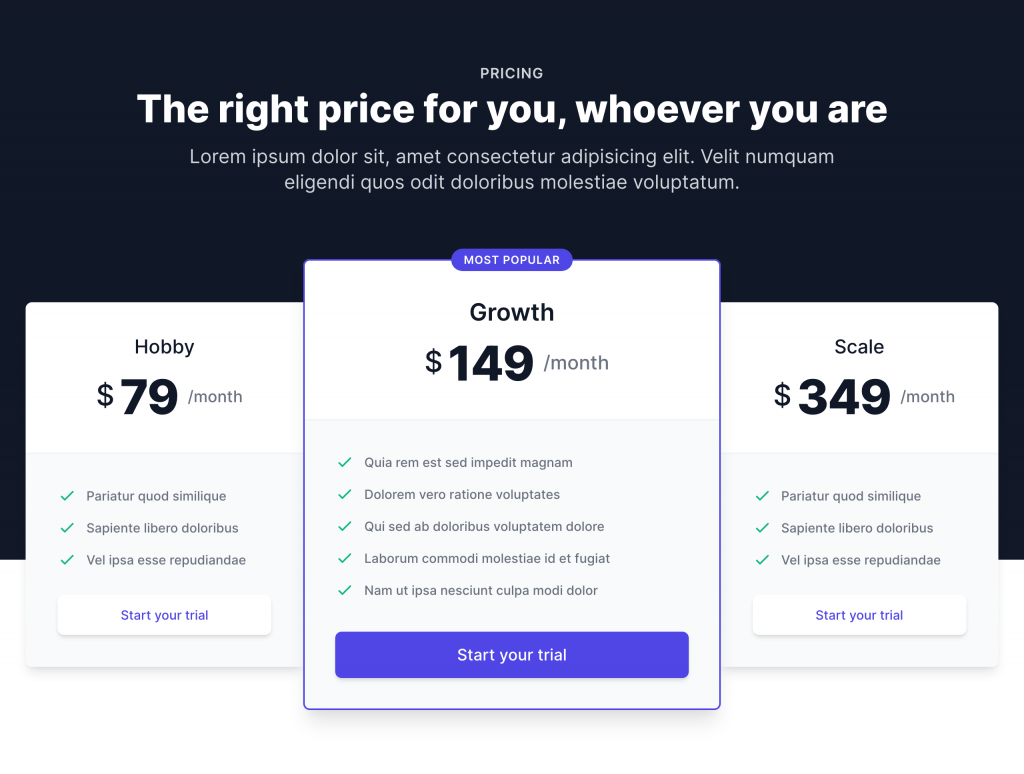
在产品网站上,常常会见到付费价格的页面,其实 Tailwind 也是有像 Bootstrap 一样,有自己的 Tailwind UI 提供给大家使用,只不过绝大多数都是要付费,威尔猪在 Tailwind UI 找了一张图,今天咱们就来实作一下价格页面。
初始化
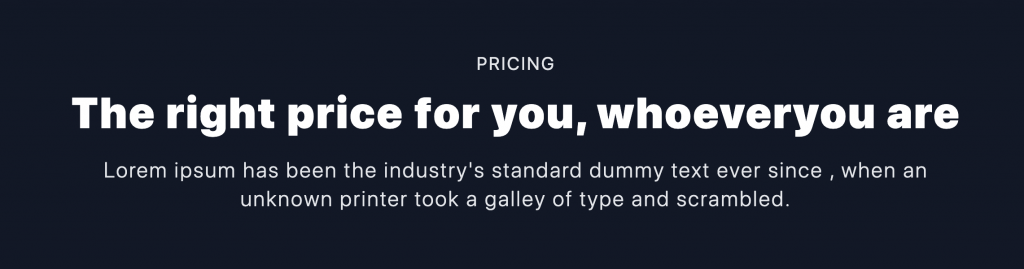
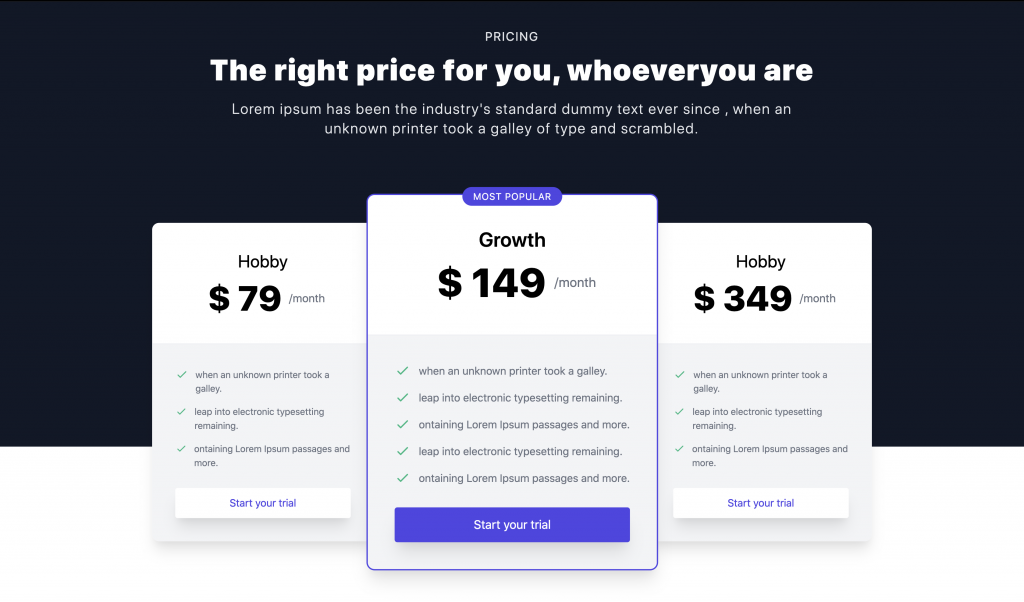
我们先写一个满版深色背景,设定最大宽度为 max-w-7xl,并打上上方的文字,设定文字的大小、间距、颜色等样式,使用 mx-auto 让文字置中。
<div class="bg-gray-900">
  <div class="max-w-7xl min-h-screen mx-auto p-10 lg:py-20">
    <div class="max-w-5xl mx-auto text-center text-white tracking-widest pb-10 lg:pb-20">
      <p class="pb-4 text-xl text-gray-200">PRICING</p>
      <h1 class="text-5xl font-black">The right price for you, whoeveryou are</h1>
      <p class="text-2xl font-light text-gray-200 px-10 py-6">Lorem ipsum has been the industry's standard dummy text ever since , when an unknown printer took a galley of type and scrambled.</p>
    </div>
  </div>
</div>
建立基础价格
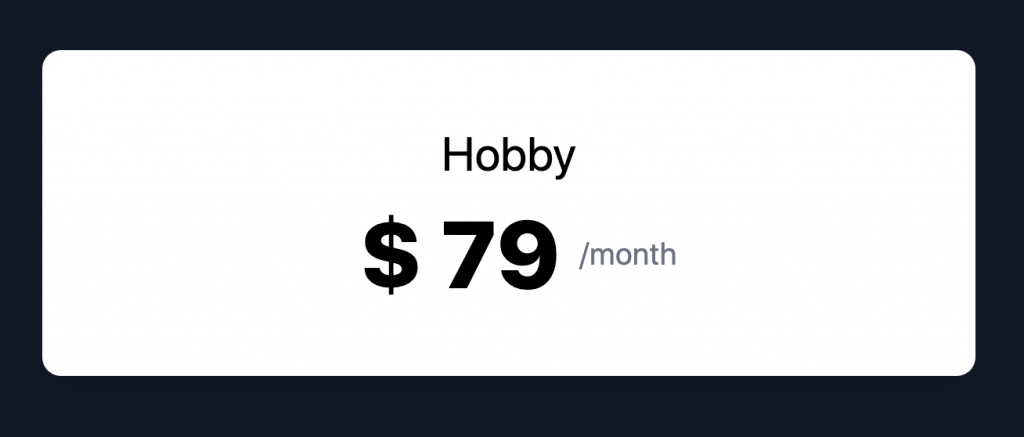
我们先做出一个价格表的样式,宽度先设为 w-full,并给它背景白色、圆角、阴影,并切分成 2 个区块,上区块建立文字大小、粗细、间距等,价格使用 Flex 让其水平对齐。
<div class="w-full bg-white rounded-xl shadow-xl">
  <div class="text-center p-12">
    <p class="text-3xl lg:text-2xl xl:text-3xl pb-4">Hobby</p>
    <div class="flex justify justify-center items-center">
      <span class="font-extrabold text-6xl lg:text-4xl xl:text-6xl align-text-middle px-3">$ 79</span>
      <span class="font-normal text-xl text-gray-500 inline-block align-text-middle">/month</span>
    </div>
  </div>
</div>
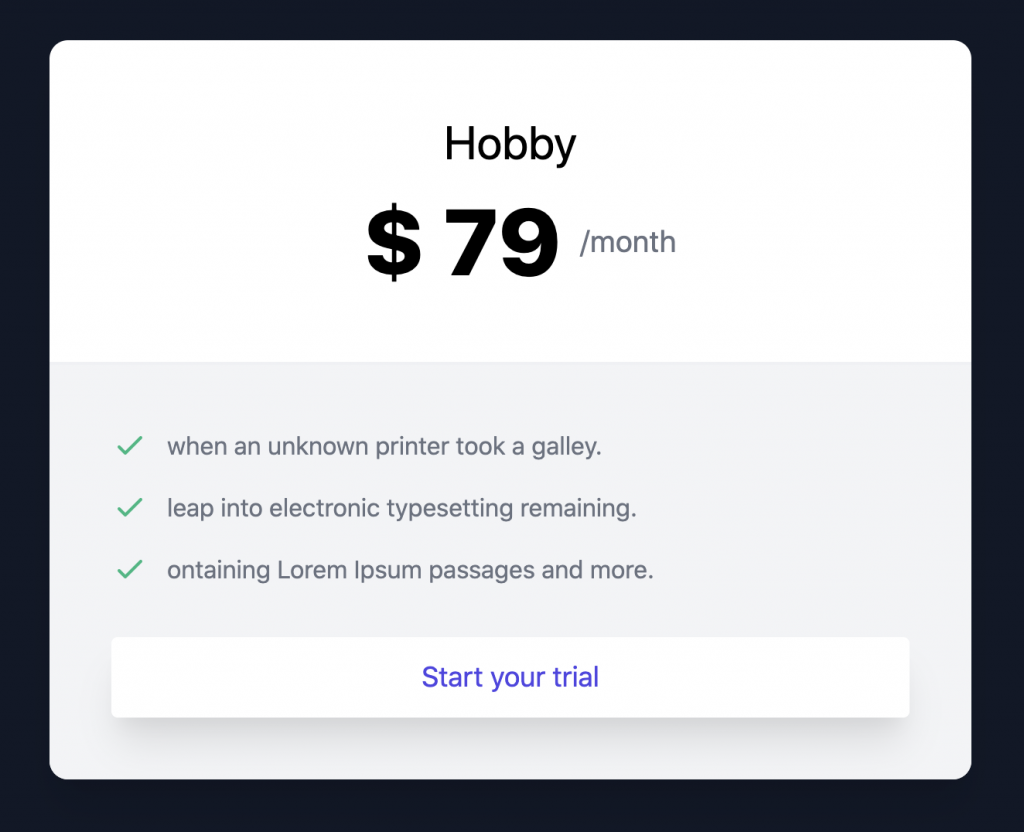
下区块我们设定背景为浅灰色,用 ul > li 建立文字讯息,并使用 Heroicons,使用 text-green-500 使 SVG 变绿色,加入按钮圆角、间距、阴影、文字颜色,威尔猪这边也有做 Hover 效果,并使用 Transition 让效果平滑。
<div class="w-full bg-white rounded-xl shadow-xl">
  ...
  <div class="bg-gray-100 rounded-b-xl border-t-2 border-gray-200/20 p-10">
    <ul class="space-y-4">
      <li class="flex">
        <svg xmlns="http://www.w3.org/2000/svg" class="h-6 w-6 mr-3 text-green-500" fill="none" viewBox="0 0 24 24" stroke="currentColor">
          <path stroke-linecap="round" stroke-linejoin="round" stroke-width="2" d="M5 13l4 4L19 7" />
        </svg>
        <span class="text-gray-500">when an unknown printer took a galley.</span>
      </li>
      ...
    </ul>
    <button type="button" class="w-full text-center bg-white text-lg text-indigo-600 mt-8 p-3 rounded shadow-xl transition hover:text-white hover:bg-indigo-600">Start your trial</button>
  </div>
</div>
加入其它价格
这边注意中间价格区块的 border 和按钮颜色不同,并且上方还有一个小标签,建立好剩余的价格区块後,我们使用 flex 让价格水平置中排列,并让中间区块 z-index 权重高於两侧,不过在手机版时,威尔猪希望画面是垂直排列而不是水平,所以必须修改为 flex-col。
<div class="flex flex-col lg:flex-row justify-center items-center gap-8 lg:gap-0 lg:mt-4">
  <div class="w-full bg-white rounded-xl shadow-xl">...</div>
  <div class="relative w-full bg-white rounded-xl shadow-xl border-2 border-indigo-600 z-10">...</div>
  <div class="w-full bg-white rounded-xl shadow-xl">...</div>
</div>
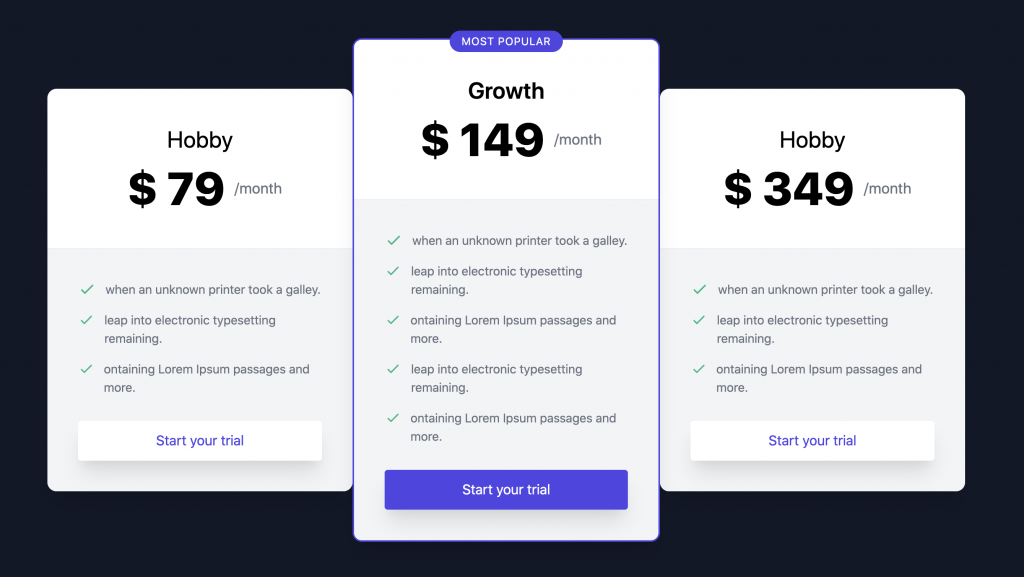
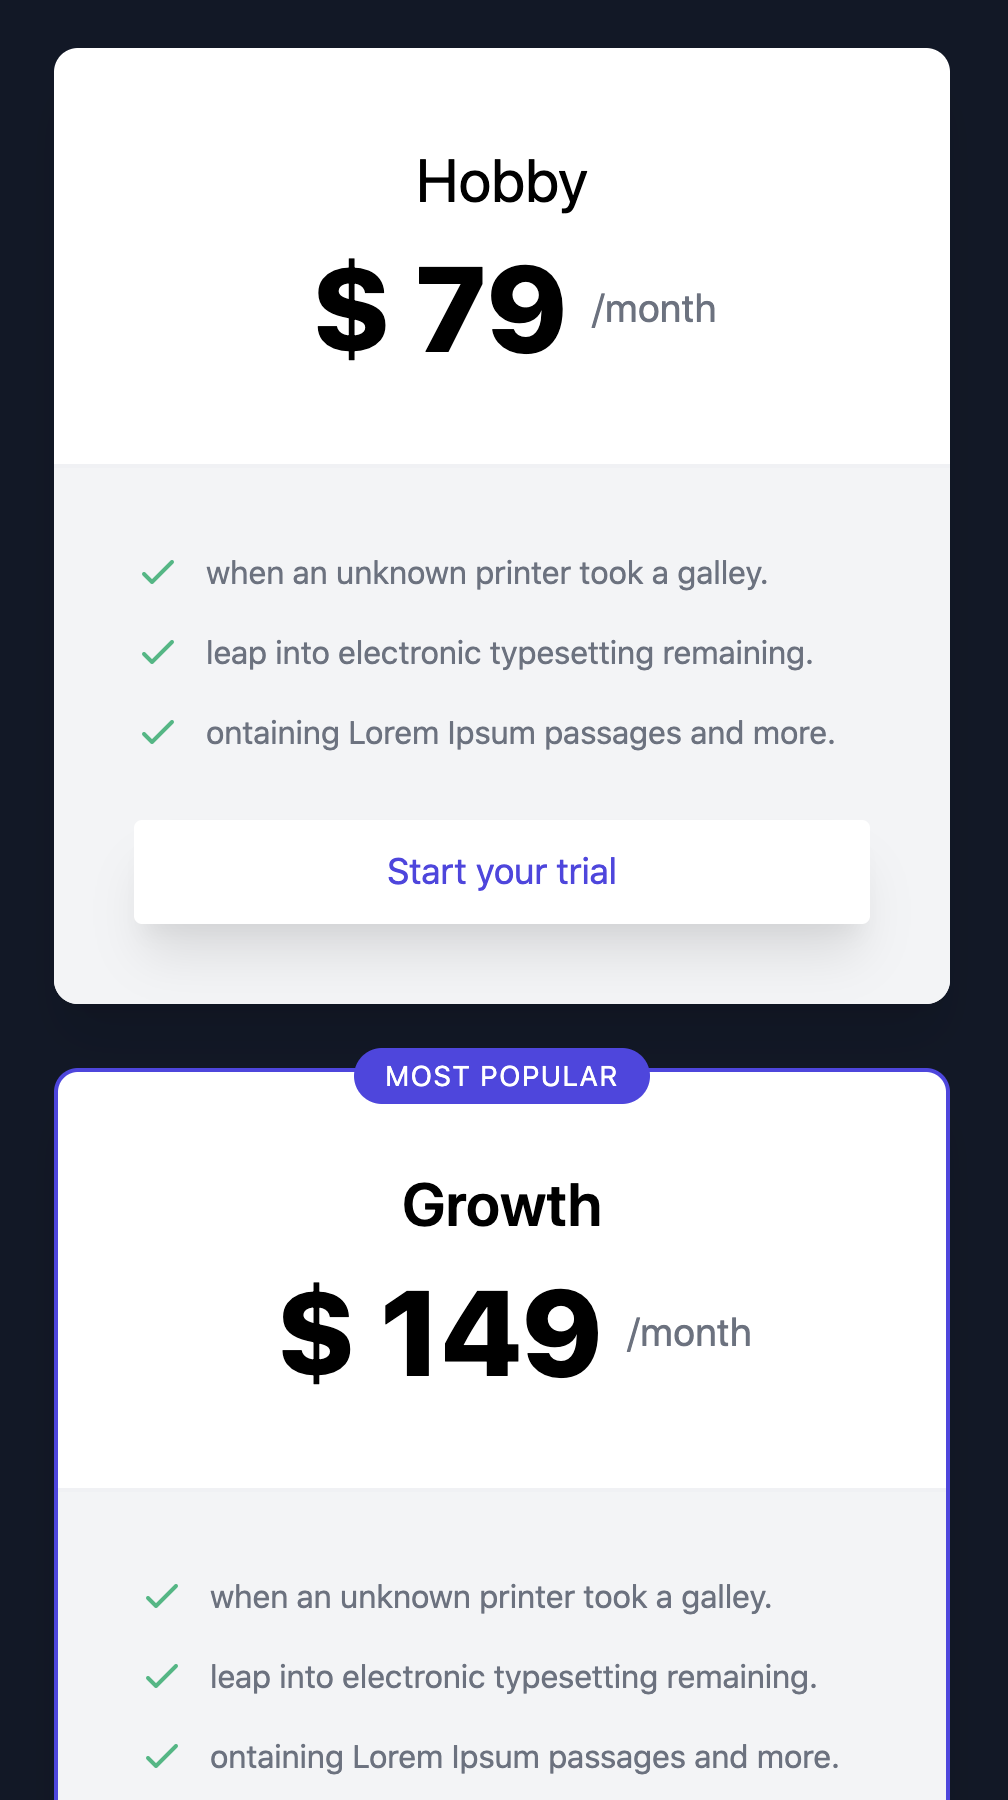
嗯~手机、桌机版看起来大致上没啥问题了。
放大价格区块
基本上手机版已经完成了,不过我们仔细看图,桌机版时中间的区块明显要宽一点,两侧小一点且靠近中间的边边没有圆角,现在我们感觉是 3 个一样大,所以我们让两侧固定一样大小,并缩小为 95%,中间区块就让它符合最大内容宽度,并放大为 110%。
<div class="flex flex-col lg:flex-row justify-center items-center gap-8 lg:gap-0 lg:mt-4">
  <div class="w-full flex-1 lg:scale-95 ...">...</div>
  <div class="relative w-full lg:max-w-max lg:scale-110">...</div>
  <div class="w-full flex-1 lg:scale-95 ...">...</div>
</div>
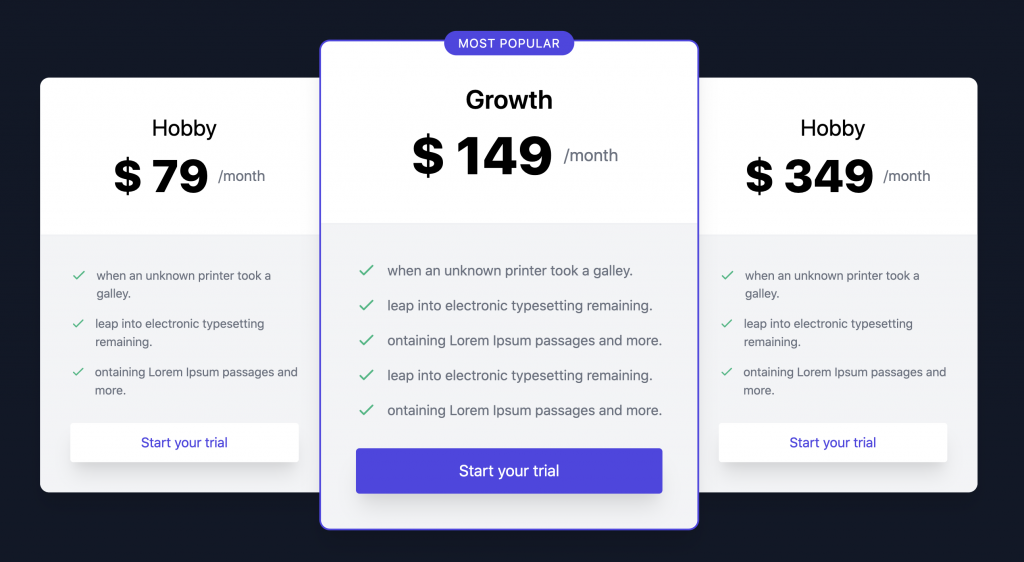
当当~我们不知不觉就完成了,撒花。不过我们背景现在是全深色,那该如何让背景露出白色部分,方法有很多种,就看同学们怎们安排了,威尔猪有做好 DEMO,有兴趣的可以去瞧瞧 (应该有 97% 像吧)。
以上就是今天威尔猪的实战内容,如果觉得做这些很麻烦,也是可以请公司付费支持一下 Tailwind UI Pricing ,目前应该是一次性买断,价格也不贵,并且有 500+ components 和未来发布的任何更新,不像 Adobe 是每月或每年支付,价格也不太可爱。不过如果你想像威尔猪一样慢慢手刻,也是很可以的,咱们明天见。
<<: 30天学会 Python: Day 11- 一个萝卜一个坑
>>: [Day 12] Error analysis — 错误中学会成长 (咩噗)
08. Laravel Sail x Xdebug x Coverage
要产出覆盖率报告需要安装 Xdebug。因为我们使用 docker 环境,所以要修改 Dockerf...
Vue CLI安装
前面都使引用CDN的script标签去使用Vue.js,今天要介绍的是用NPM去安装vue-cli ...
[Day 03] 环境建置(二) - gulp、compiling SASS
今天要来安装这次会用到的所有工具套件,并能顺利将SASS编译成CSS~ VS Code 套件 我们这...
DE2_115(DAY1)以niosii去控制板子上的led灯
从学校拿到一块DE2_115,之前修DCLAB的时候只有接触Verilog的部分,现在想要学习板子上...
Day-02 机器学习的介绍
昨天我们已经聊过了整个机器学习的大概念了,也知道深度学习和机器学习之间的关系,因此我们在这里先好好...