Day 13 - 依 COMPANY 前台页面分析拆解後,逐步建立後台功能 - 文字编辑器及相簿应用 - ASP.NET Web Forms C#
=x= 🌵 建立 Company Manager - Content Page 後台页面功能。
COMPANY 前台页面分析 :
📌 原本专案规画此页应该是静态网页,其实不用针对此页面做後台功能,但因为看到 Yachts 页面跟 NEWS 页面太难,不知道怎麽开始,而且部分功能可以在此页先练习,因此就决定先拿这个页面练习会用到的功能,也就是前两天介绍的文字编辑器及相簿管理功能。
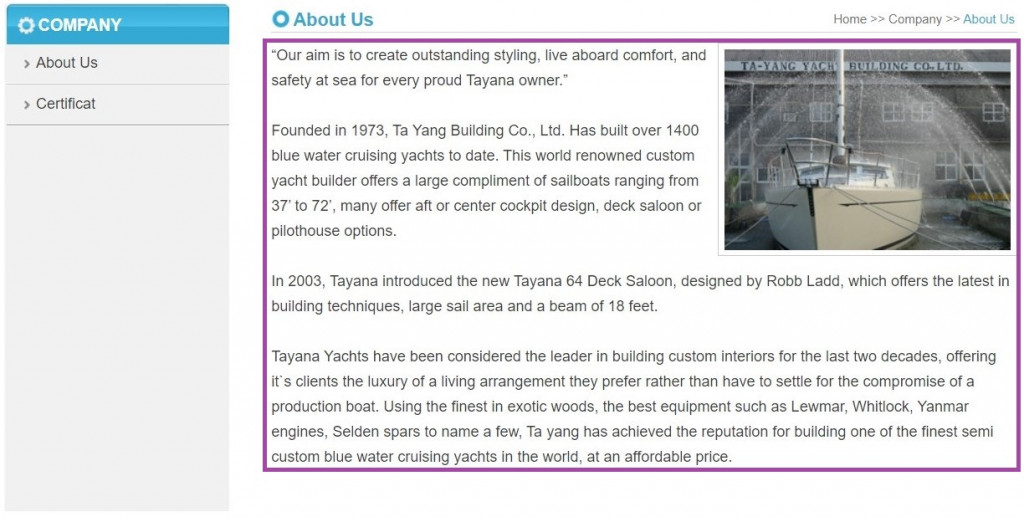
- About Us 页面内容,因为图文为文绕图的效果,无明确区隔。
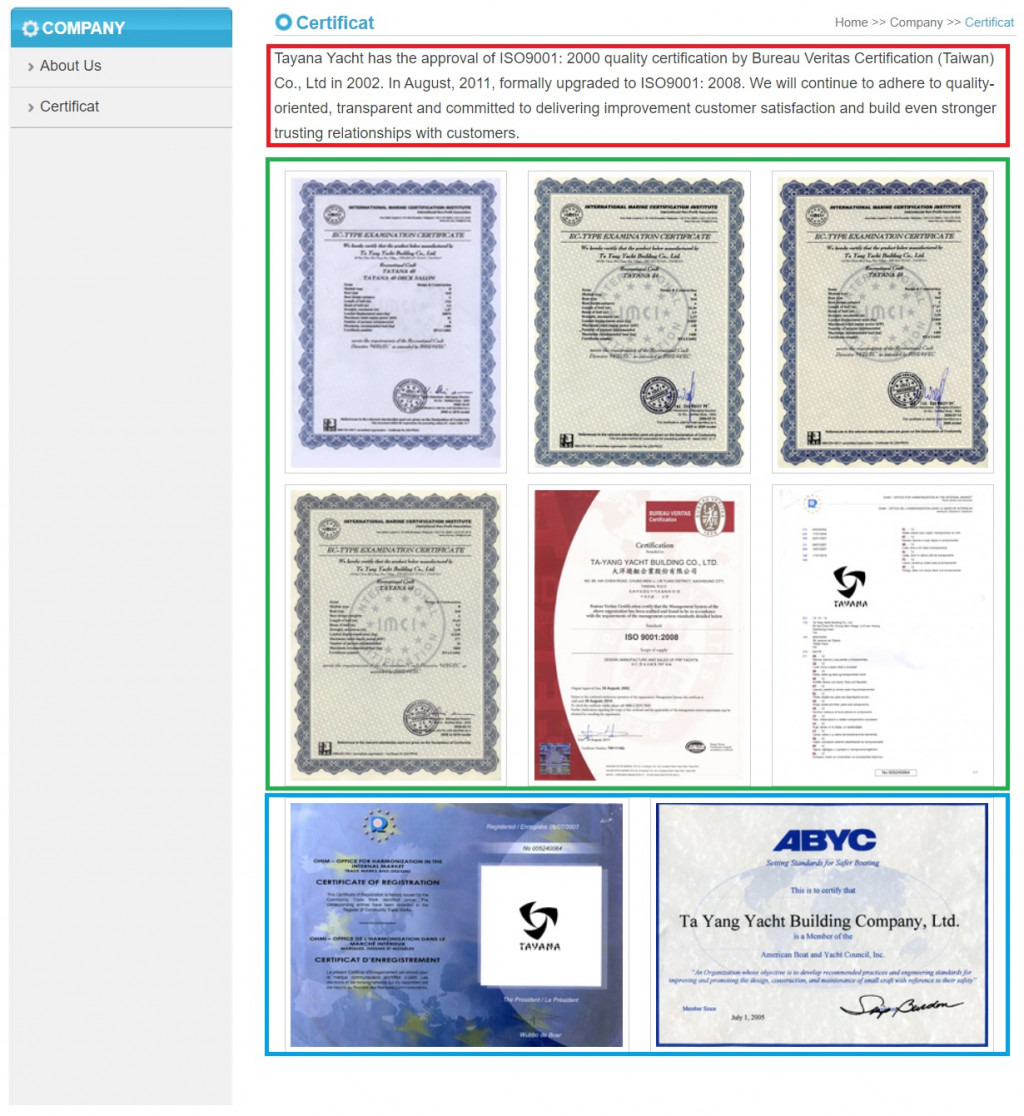
- Certificat 页面内容分为 : 文字区、直式并排图片区、横式并排图片区,有明确区隔。
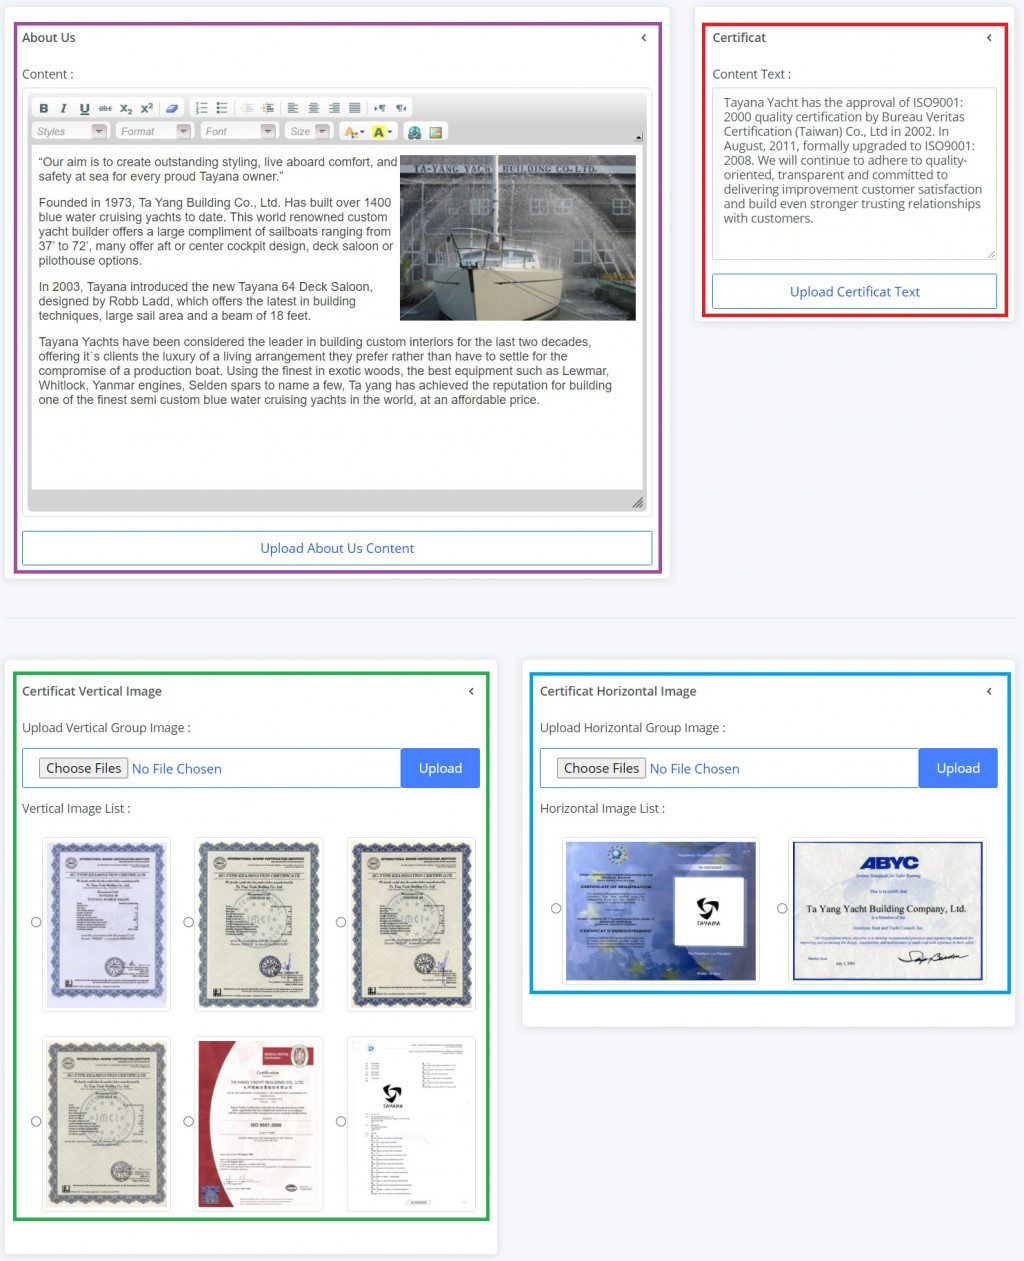
Company Manager - Content Page 後台页面功能介绍 :
- About Us 页面 : 用 Day 10 提到的 WYSIWYG 文字编辑器。
- Certificat 页面 - 文字区 : 用 TextBox 控制项。
- Certificat 页面 - 直式并排图片区 : 用 Day 11 提到的相簿管理方式。
- Certificat 页面 - 横式并排图片区 : 用 Day 11 提到的相簿管理方式。
Company Manager - Content Page 後台页面实作 :
1. 建立 Company Manager 後台页面用资料表如下
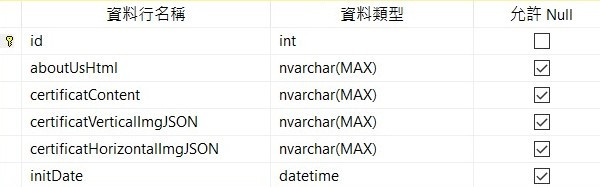
- 👀 两个图片 JSON 资料栏预设值参考 Day 11 文章设为
('[]')。
2. 於 .aspx 页面加入 CKEditorControl 相关控制项,用於 About Us 页面,参考如下
<h6>Content :</h6>
<CKEditor:CKEditorControl ID="CKEditorControl1" runat="server" BasePath="/Scripts/ckeditor/"
    Toolbar="Bold|Italic|Underline|Strike|Subscript|Superscript|-|RemoveFormat
        NumberedList|BulletedList|-|Outdent|Indent|-|JustifyLeft|JustifyCenter|JustifyRight|JustifyBlock|-|BidiLtr|BidiRtl
        /
        Styles|Format|Font|FontSize
        TextColor|BGColor
        Link|Image"
    Height="400px">
</CKEditor:CKEditorControl>
<asp:Label ID="UploadAboutUsLab" runat="server" Visible="False" ForeColor="#009933" class="d-flex justify-content-center"></asp:Label>
<asp:Button ID="UploadAboutUsBtn" runat="server" Text="Upload About Us Content" class="btn btn-outline-primary btn-block mt-3" OnClick="UploadAboutUsBtn_Click"/>
- 👀 请确认上方有无自动引入 Register,参考 Day 10 文章内容。
3. 於 .aspx 页面加入 TextBox 相关控制项,用於 Certificat 页面 - 文字区,参考如下
<h6>Content Text :</h6>
<asp:TextBox ID="certificatTbox" runat="server" type="text" class="form-control" placeholder="Enter certificat text" TextMode="MultiLine" Height="200px"></asp:TextBox>
<asp:Label ID="uploadCertificatLab" runat="server" Visible="False" ForeColor="#009933" class="d-flex justify-content-center"></asp:Label>
<asp:Button ID="uploadCertificatBtn" runat="server" Text="Upload Certificat Text" class="btn btn-outline-primary btn-block mt-3" OnClick="uploadCertificatBtn_Click"/>
4. 於 .aspx 页面加入 FileUpload 相关控制项,用於 Certificat 页面 - 直式并排图片区,参考如下
<h6>Upload Vertical Group Image :</h6>
<div class="input-group my-3">
    <asp:FileUpload ID="imageUploadV" runat="server" class="btn btn-outline-primary btn-block" AllowMultiple="True" />
    <asp:Button ID="UploadVBtn" runat="server" Text="Upload" class="btn btn-primary" OnClick="UploadVBtn_Click" />
</div>
<h6>Vertical Image List :</h6>
<asp:RadioButtonList ID="RadioButtonListV" runat="server" class="my-3 mx-auto" AutoPostBack="True" OnSelectedIndexChanged="RadioButtonListV_SelectedIndexChanged" RepeatDirection="Horizontal" RepeatColumns="3" CellPadding="10"></asp:RadioButtonList>
<asp:Button ID="DelVImageBtn" runat="server" Text="Delete Image" type="button" class="btn btn-danger btn-sm" OnClientClick="return confirm('Are you sure you want to delete?')" Visible="False" OnClick="DelVImageBtn_Click" />
- 👀 参考 Day 11 文章内容。
5. 同上,於 .aspx 页面加入 FileUpload 相关控制项,用於 Certificat 页面 - 横式并排图片区。
6. 於 .aspx.cs 後置程序码的全域及 Page_Load 事件加入以下程序码
//宣告全域 List<T> 可用 Add 依序添加资料
private List<ImageNameV> saveNameListV = new List<ImageNameV>();
private List<ImageNameH> saveNameListH = new List<ImageNameH>();

protected void Page_Load(object sender, EventArgs e)
{
    if (!IsPostBack) {
        ckfinderSetPath();
        loadCkeditorContent();
        loadCertificatContent();
        loadImageVList();
        loadImageHList();
    }
}
-
👀 ckfinderSetPath(); 方法内容请参考 Day 10 文章详解。
-
👀 loadImageVList(); 及 loadImageHList(); 方法内容请参考 Day 11 文章详解。
7. 建立 loadCkeditorContent(); 方法逻辑程序码如下
private void loadCkeditorContent()
{
    //取得 About Us 页面 HTML 资料
    SqlConnection connection = new SqlConnection(WebConfigurationManager.ConnectionStrings["TayanaYachtConnectionString"].ConnectionString);
    string sql = "SELECT aboutUsHtml FROM Company WHERE id = 1";
    SqlCommand command = new SqlCommand(sql, connection);
    connection.Open();
    SqlDataReader reader = command.ExecuteReader();
    if (reader.Read()) {
                //渲染画面
        CKEditorControl1.Text = HttpUtility.HtmlDecode(reader["aboutUsHtml"].ToString());
    }
    connection.Close();
}
8. 建立 Upload About Us Content 事件逻辑程序码如下
protected void UploadAboutUsBtn_Click(object sender, EventArgs e)
{
    //取得 CKEditorControl 的 HTML 内容
    string aboutUsHtmlStr = HttpUtility.HtmlEncode(CKEditorControl1.Text);
    //更新 About Us 页面 HTML 资料
    SqlConnection connection = new SqlConnection(WebConfigurationManager.ConnectionStrings["TayanaYachtConnectionString"].ConnectionString);
    string sql = "UPDATE Company SET aboutUsHtml = @aboutUsHtml WHERE id = 1";
    SqlCommand command = new SqlCommand(sql, connection);
    command.Parameters.AddWithValue("@aboutUsHtml", aboutUsHtmlStr);
    connection.Open();
    command.ExecuteNonQuery();
    connection.Close();

    //渲染画面提示
    DateTime nowtime = DateTime.Now;
    UploadAboutUsLab.Visible = true;
    UploadAboutUsLab.Text = "*Upload Success! - " + nowtime.ToString("G");
}
- 👺 使用 .HtmlEncode() 来避免错误或恶意使用。
9. 建立 loadCertificatContent(); 方法逻辑程序码如下
private void loadCertificatContent()
{
    //取得 Certificat 页文字说明资料
    SqlConnection connection = new SqlConnection(WebConfigurationManager.ConnectionStrings["TayanaYachtConnectionString"].ConnectionString);
    string sql = "SELECT certificatContent FROM Company WHERE id = 1";
    SqlCommand command = new SqlCommand(sql, connection);
    connection.Open();
    SqlDataReader reader = command.ExecuteReader();
    if (reader.Read()) {
        //渲染画面
        certificatTbox.Text = reader["certificatContent"].ToString();
    }
    connection.Close();
}
10. 建立 Upload About Us Content 事件逻辑程序码如下
protected void uploadCertificatBtn_Click(object sender, EventArgs e)
{
    //更新 Certificat 页文字说明资料
    SqlConnection connection = new SqlConnection(WebConfigurationManager.ConnectionStrings["TayanaYachtConnectionString"].ConnectionString);
    string sql = "UPDATE Company SET certificatContent = @certificatContent WHERE id = 1";
    SqlCommand command = new SqlCommand(sql, connection);
    command.Parameters.AddWithValue("@certificatContent", certificatTbox.Text);
    connection.Open();
    command.ExecuteNonQuery();
    connection.Close();

    //渲染画面提示
    DateTime nowtime = DateTime.Now;
    uploadCertificatLab.Visible = true;
    uploadCertificatLab.Text = "*Upload Success! - " + nowtime.ToString("G");
}
11. 参考 Day 11 建立 Certificat 页面 - 直式并排图片区 逻辑程序码。
12. 参考 Day 11 建立 Certificat 页面 - 横式并排图片区 逻辑程序码。
13. 模拟并测试功能是否正常,完成~
本日总结 :
📢 由於前两日已练习过此页要做到的功能,所以今天实作上相对轻松,可以注意到文字编辑器输入的资料在 HTML 编码的转换,因为资料库不接受不安全的文字内容,要特别做转换才可以存入,所以取出时也要转回来才能用,另外新增上传时提示文字会增加上传时间,用来提醒使用者重覆编修时要记得上传。
- 明日将介绍制作 COMPANY - About Us 前台页面後端相关细节。
Vue 2 & 3 正确使用 TinyMCE (Self Hosted)
前言 由於 CKEditor 的客制化需要仰赖 Webpack,无法在 Vite 的专案上使用 因此...
[DAY 23] Visualize
前言 成长的过程中,有高峰有低潮,会有峰回路转的此起彼落,但也有柳暗花明的落泪感动。曾经我们也是那懵...
[Day29]今天想来分享一些网路上的学习资源~以及学习历程
没有错,最近发生了一些事情,让我想要跟我的读者讲讲这些事情,这些我觉得很重要的事情XD((虽然好像...
Day4 Jsx
前言 今天会讲一下jsx,基本上写React就是遵循这个规则走,就好像如果游戏规则都不太了解的话,就...
[Day5] Process
一个渗透测试的流程,可以简略的分成两大阶段,资讯蒐集与漏洞利用。而资讯蒐集阶段则又可以分为侦查与扫描...