Day07 UIKit 06 - 在 Storyboard 上设计多页面
记得前面讲过,Storyboard 里面可以放置多个页面(ViewController),页面之间的跳转关系也可以在storyboard 里面定义,接下来我们就来介绍如何在 Storyboard 上设计多页面
使用 Storyboard 时,我们先来对场景(scene)以及 Segues 来做介绍,在 Storyboard 中,一个场景对应一个在画面上的内容(如一个ViewController),Segue 则是位於两个场景间,表示从一个场景转场至另一个场景
以下就让我们来做一个多页面的范例:
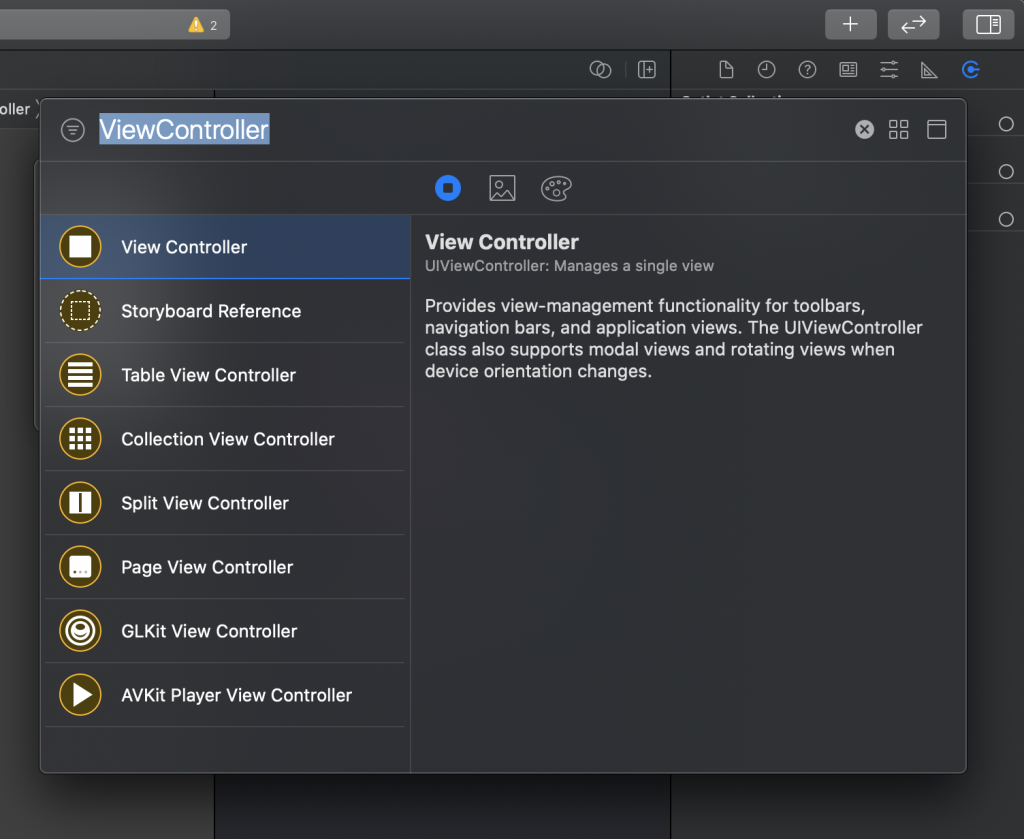
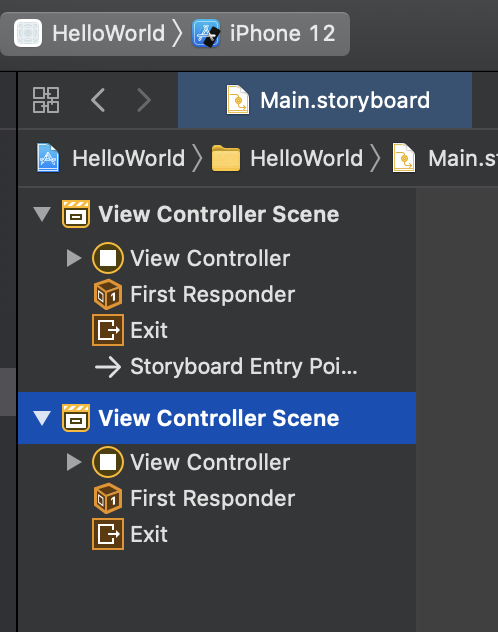
首先点选在Xcode 右上角的元件库(+)按钮来显示元件库,搜寻ViewController 并将其拉入 storyboard 里面
此时我们需要建立一个UIViewController档,来给我们新建立的ViewController 连结,像是Storyboard 上预设的 ViewController 便已经预设与建专案时产生的ViewController.swift连结,方便我们之後能对其画面做处理
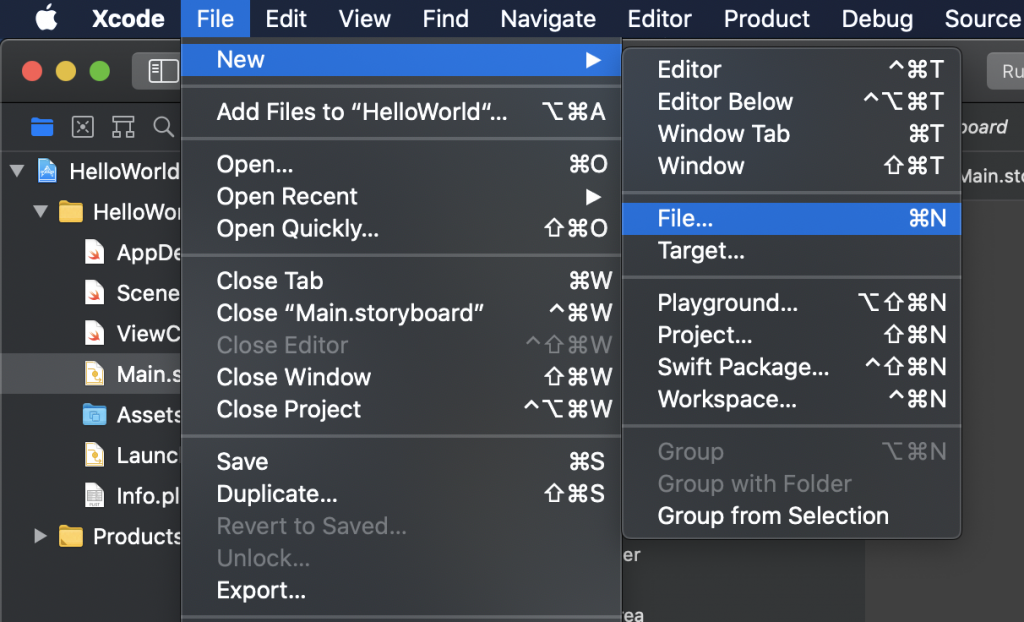
点击Xcode 上的 File → New → File...
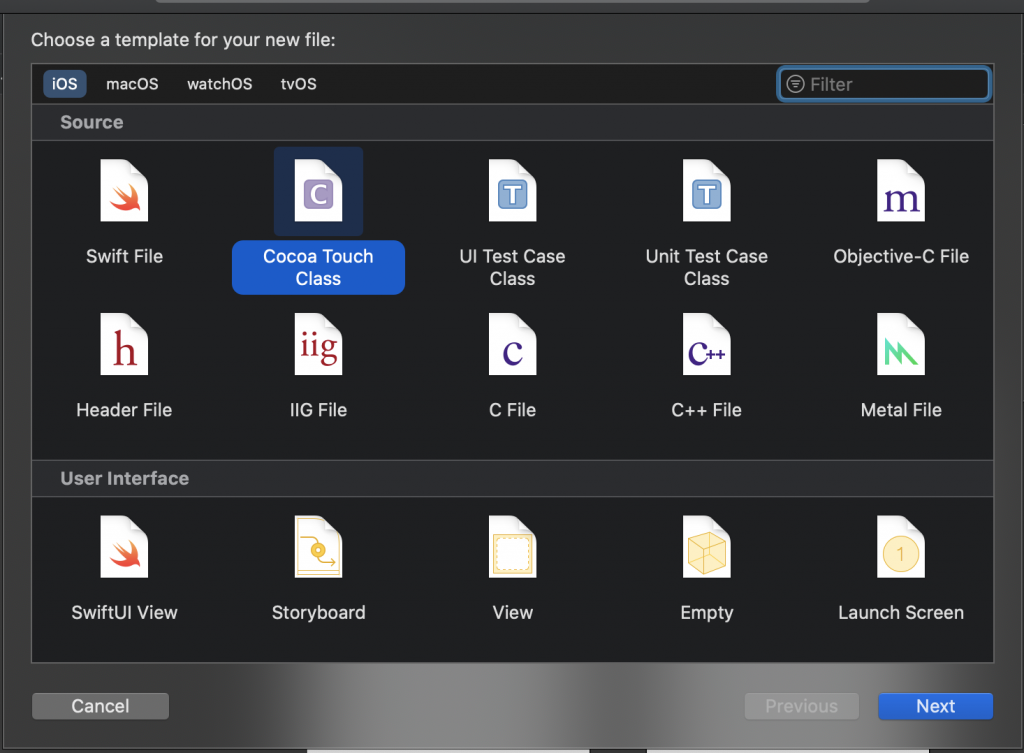
选择 Cocoa Touch Class 再点 Next
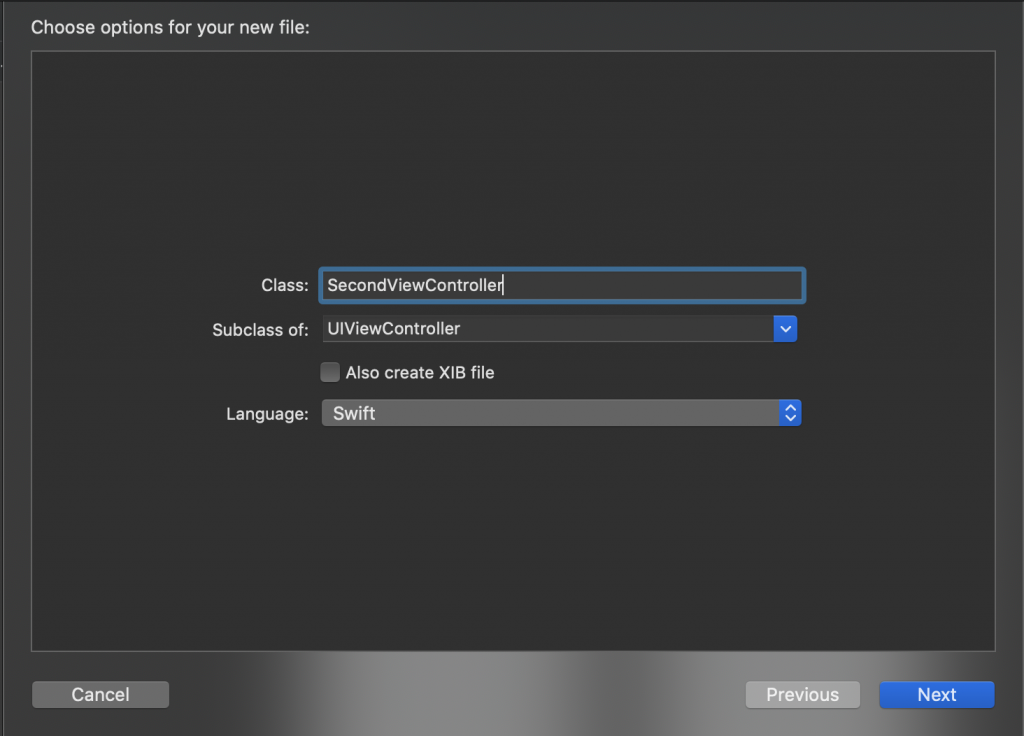
设定类别名字後选择UIViewController 作为父类别再按 Next
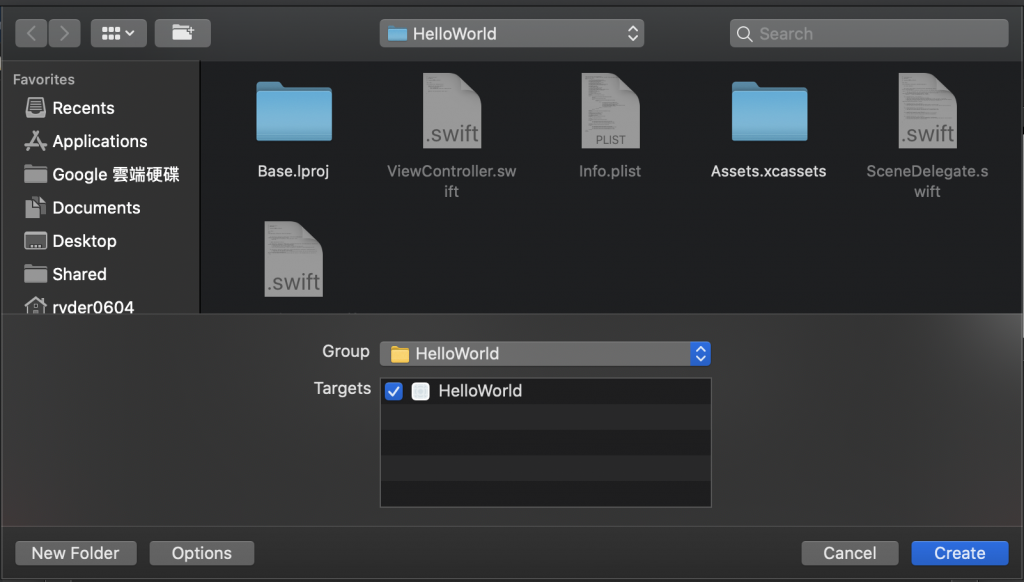
然後在检查欲建立的路径後按 Create,就建立ViewController成功了
最後我们需要把刚建立的SecondViewController.swift,与之前在 StoryBoard 上建立的ViewController 做连结,让我们点击 Main.StoryBoard,并选取之前建立的ViewController
然後在Xcode 工具区( Utility Area )下点选 Identity Inspector,并在Class 栏位选择我们刚刚建立的的SecondViewController.swift就完成连结了

接下来我们可以对SecondViewController.swift设计UI,并透过之前介绍的 Assistant Editor 直接产生介面元件所需的程序码
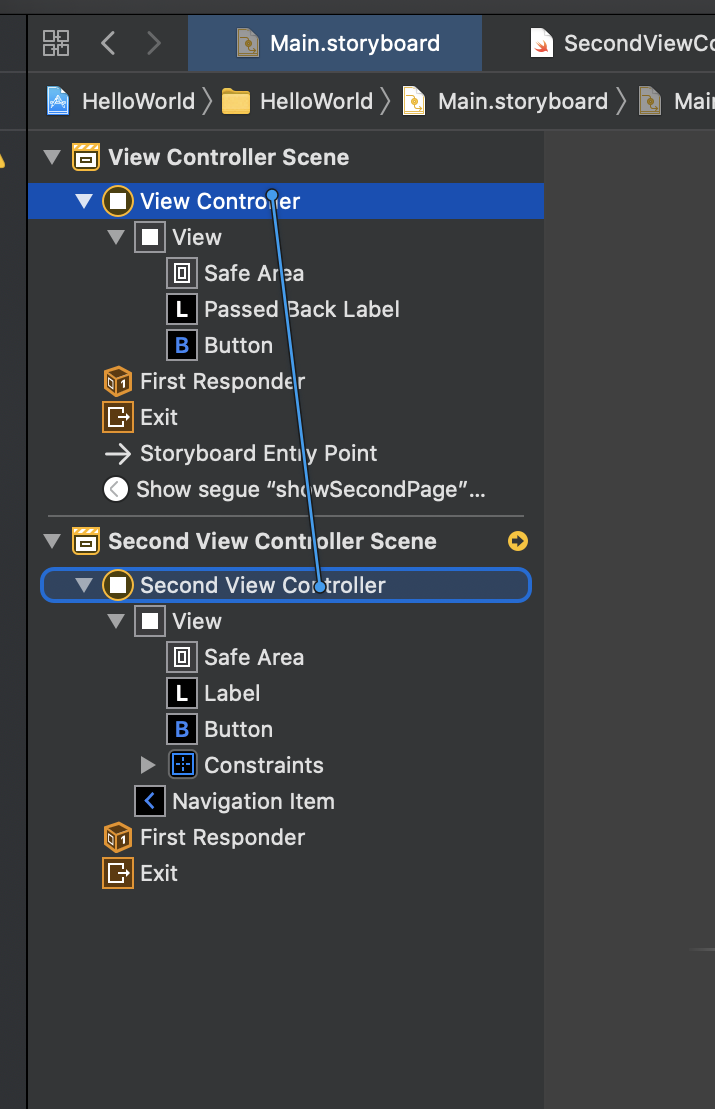
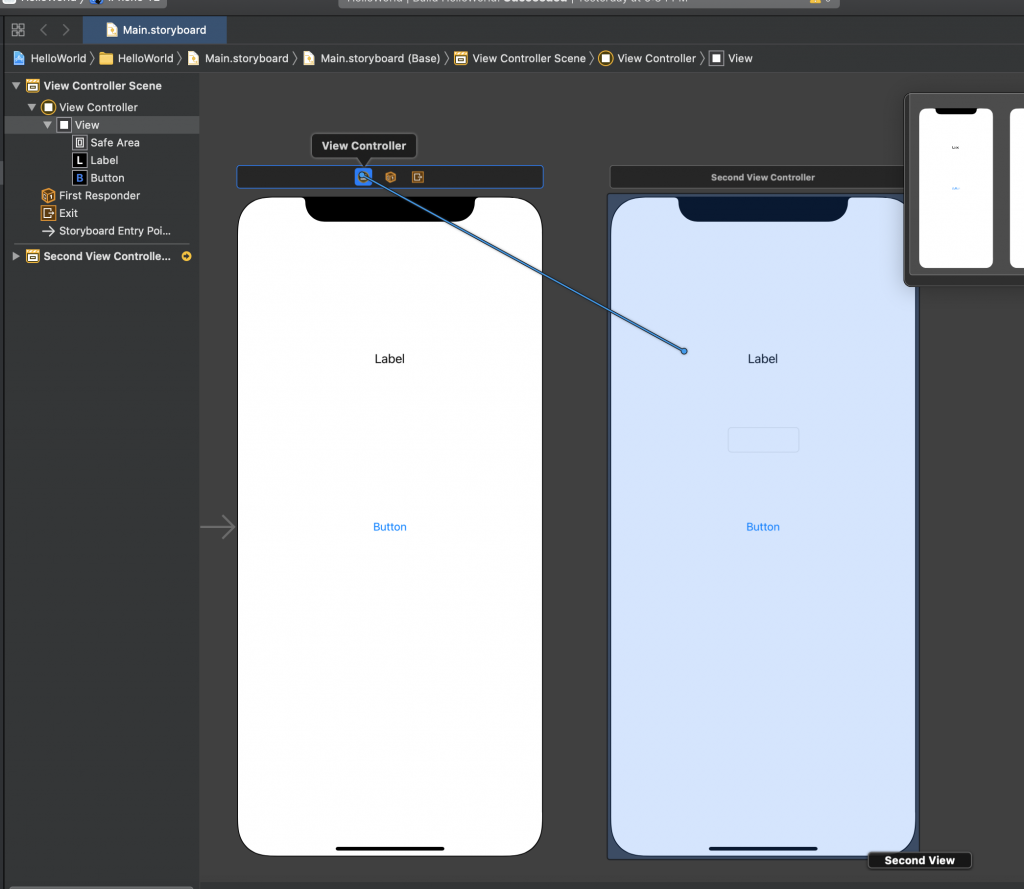
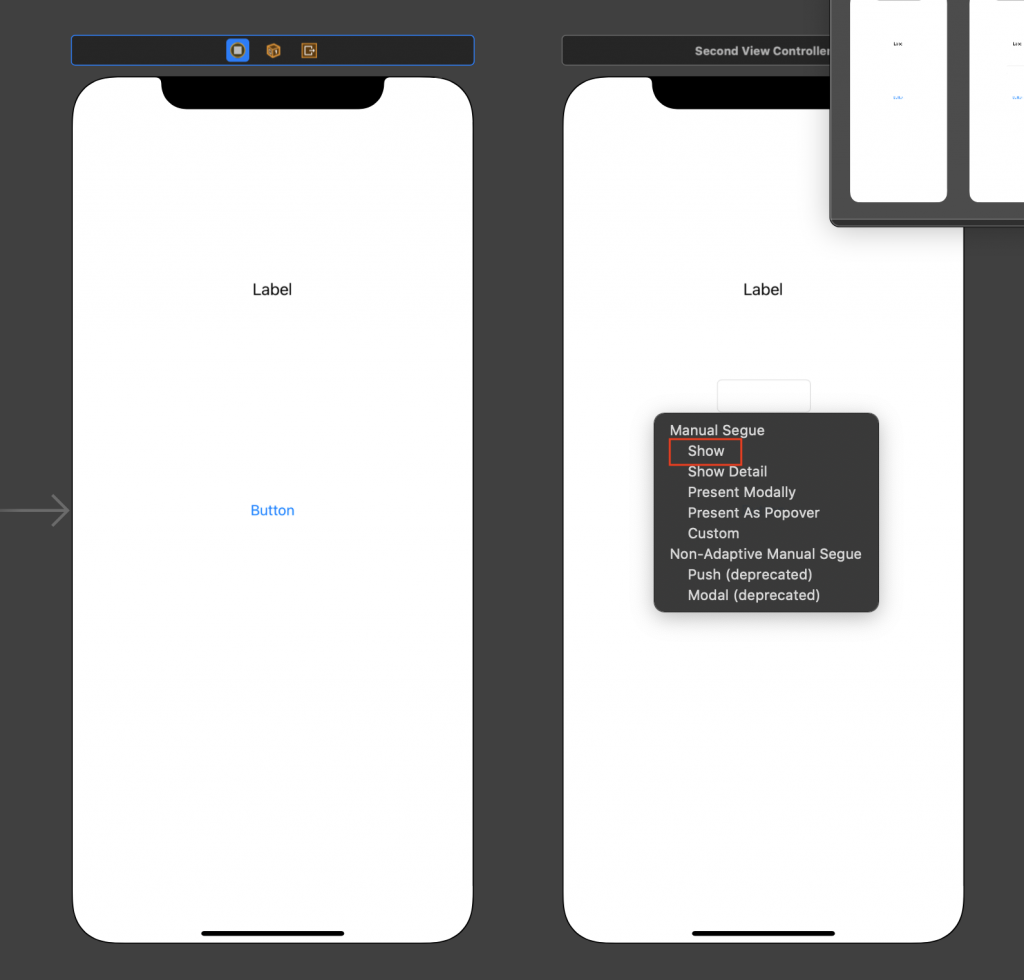
接下来我们要在 Storyboard 建立Segue,我们对着第一个 ViewController 按下control + 滑鼠左键或是滑鼠右键後拖曳到SecondViewController(在 Storyboard 上直接进行操作 或 在 Storyboard 项目工作区操作皆可,且可互相操作,如下)

然後在出现的选单里选择Show
补充:
Segue可以由不同的地方做触发,等专案之後变更复杂时,不同 ViewController 之间的Segue将不只有一个而已,因此,我们要为Segue个别加上唯一的识别码identifier,而这个识别码在程序中就是与其他的Segue做区分用的字串之後有需求时,会在不同的 ViewController 使用
Segue进行资料的传递,Segue管理 ViewController 间的转场,以及在转场间所包含的 ViewController。而当Segue被触发後,ViewController 转场发生前,Storyboard 在执行期间会透过呼叫其prepare(for:sender:)方法来通知此 ViewController,预设的prepare(for:sender:)方法不会执行任何事,不过我们可以透过覆写此方法来将原本页面 ViewController 的资料传递至新的页面 ViewController
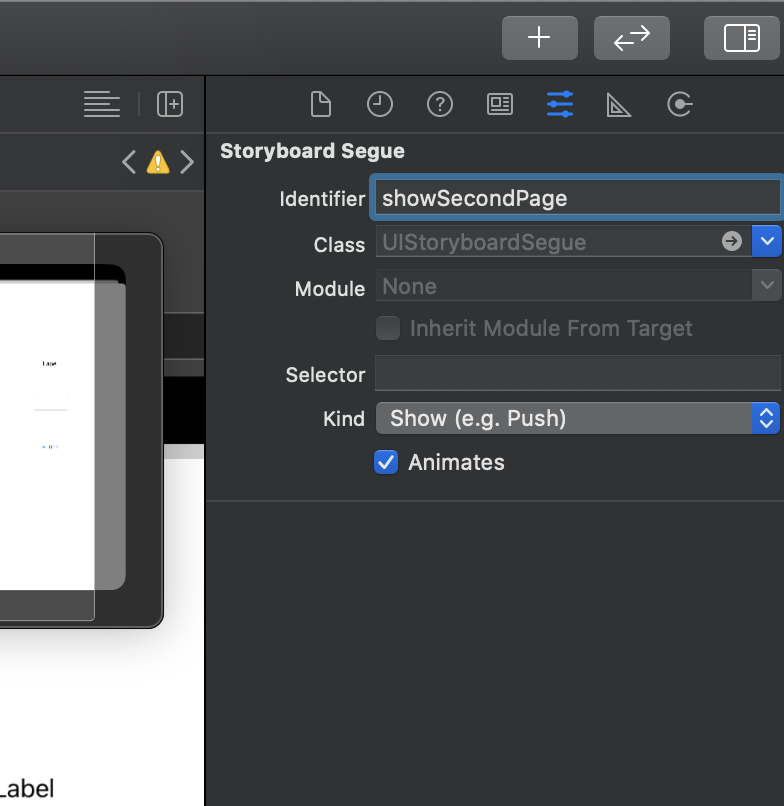
接下来如上面补充所说的,我们要帮Segue设定识别码,先在 Storyboard 上选取刚刚建立的Segue(如下图,可直接点选 ViewController 间的Segue或是在第一个ViewController 场景里的Segue)
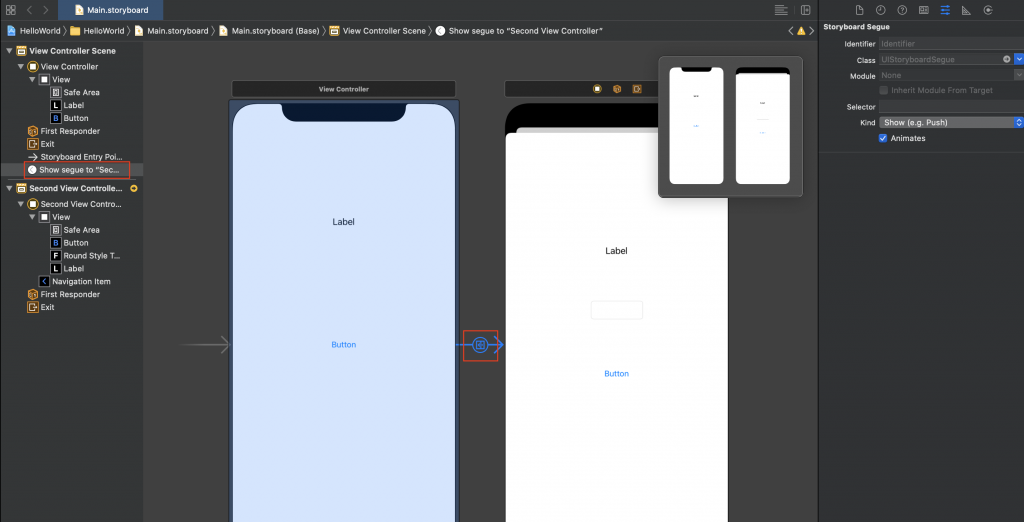
然後在工具区( Utility Area )下点选属性检阅器( Attributes Inspector ),并在 identifier 栏位为 Segue 设名字
接下来我们将对第一个 ViewController 做跳转到 SecondViewController 的程序编写,我们在之前建立的按钮点击事件上,新增以下程序码,让我们按下按钮时,会去执行我们刚刚设定的Segue来跳转到 SecondViewController 页
    @IBAction func buttonPressed(_ sender: Any) {
        self.performSegue(withIdentifier: "showSecondPage", sender: self)
    }
接着如果有要传递资讯至 SecondViewController 的话,我们先在 SecondViewController 设一个变数去接传来的值,并让的SecondViewController 的 Label 文字更换为传来的字串
class SecondViewController: UIViewController {

    @IBOutlet weak var label: UILabel!
    var textForLabel = ""

    override func viewDidLoad() {
        super.viewDidLoad()
        label.text = textForLabel
    }

}
最後当Segue被触发後,第一个 ViewController 转场发生前,其prepare(for:sender:)方法将会被呼叫,而我们要透过覆写此方法来将第一个 ViewController 的资料传递至 SecondViewController
    override func prepare(for segue: UIStoryboardSegue, sender: Any?) {
        if segue.identifier == "showSecondPage" {
            if let secondViewController = segue.destination as? SecondViewController {
                secondViewController.textForLabel = "Hello world"
            }
        }
    }
这样我们就成功完成页面间传递资料了
至於要如何返回上一页呢?
我们前面是透过在第一个 ViewController 建立一个Segue来实现跳转去 SecondViewController,那麽要返回至第一个 ViewController 的话,我们就要在第一个 ViewController 上解除UnwindSegue来回到第一个 ViewController
在 SecondViewController 先定义一个要传回去的值
var dataPassed = "Pass something back"
在第一个 ViewController 下定义 Unwind Segue 要连结的方法 unwindToThisView(segue:)。
    @IBAction func unwindToThisView(sender: UIStoryboardSegue) {
        if let sourceViewController = sender.source as? SecondViewController {
        // 收到传回来的值後要做的动作
            passedBackLabel.text = sourceViewController.dataPassed
        }
    }
之後要在 Storyboard 上选取 SecondViewController 来与 Unwind Segue (即刚刚的unwindToThisView)连结,这边在 SecondViewController 上透过按钮来操作(如下图,连结方式同之前 建立Segue,进行拖曳,只是改拖曳至 Exit )
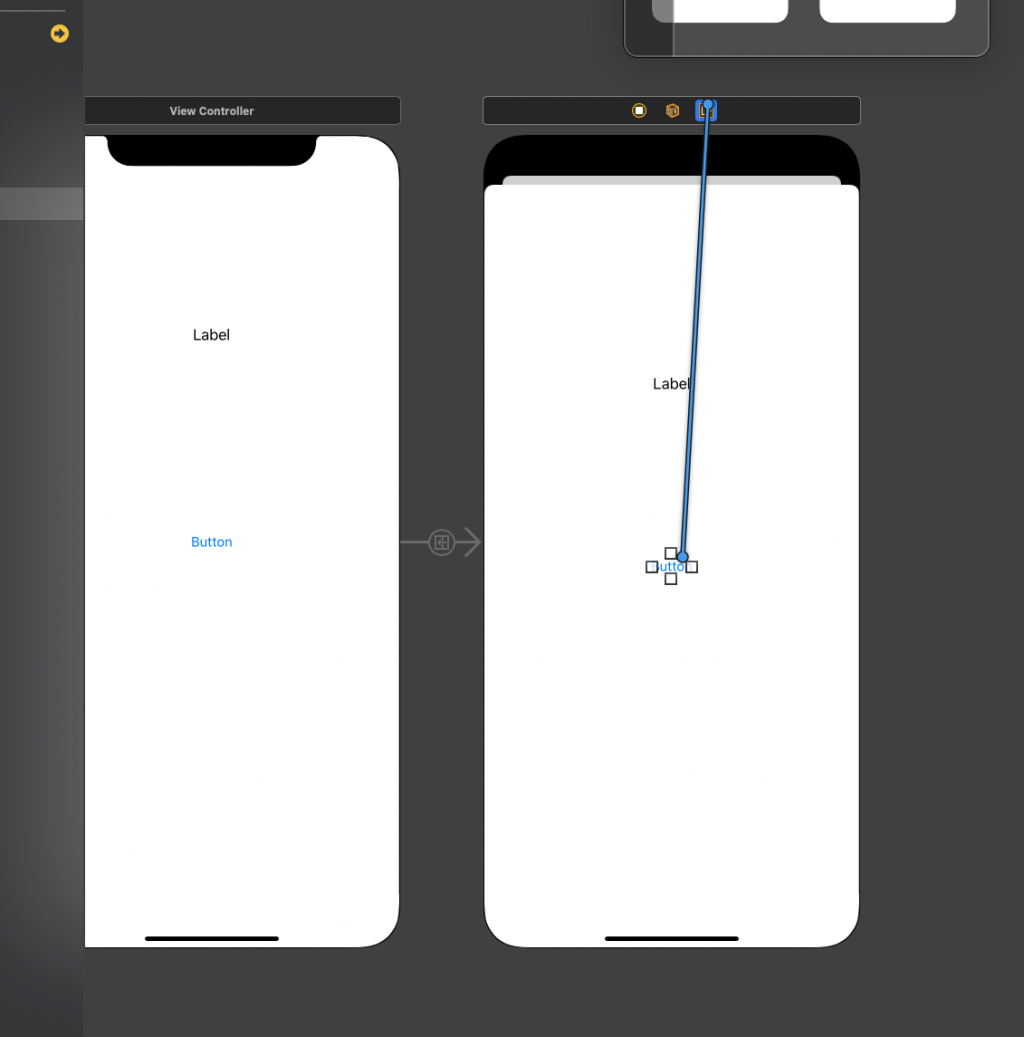
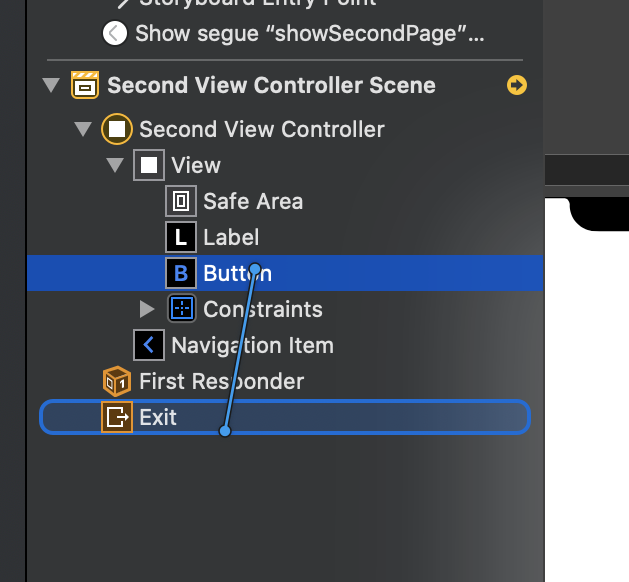
然後在跳出来的选择清单选我们刚刚建立的 Unwind Segue 方法
这样我们就完成多页面的设计以及之间的互动了
<<: Spring Framework X Kotlin Day 17 Reactive
如何免费写出好的 App description
关於如何写 App 的 description,我目前有两个小技巧可以分享: 关键字优化 用Deep...
DAY 29 第二十九章 风险类别-财务风险-感知层:8.4 实体攻击、8.5 维护设备成本、 8.6 设备失窃
本章是最後一个章节,进入财务风险的感知层了,明天就是完赛日了,笔者会做个汇整给大家参考,谢谢大家。 ...
(Hard) 30. Substring with Concatenation of All Words
You are given a string s and an array of strings w...
CMoney工程师战斗营weekly2
在现实世界与抽象空间游走的一周 匆匆忙忙行军式的步伐迈向抽象类别的世界,老实说真的有点挫折,跟不太上...
食谱搜寻系统_Node.js测试~~
由於Node.js的下载过程其实非常简单,没有什麽需要特别注意的,所以Icebear直接进入测试环节...