[NestJS 带你飞!] DAY04 - Controller (下)
主体资料 (Body)
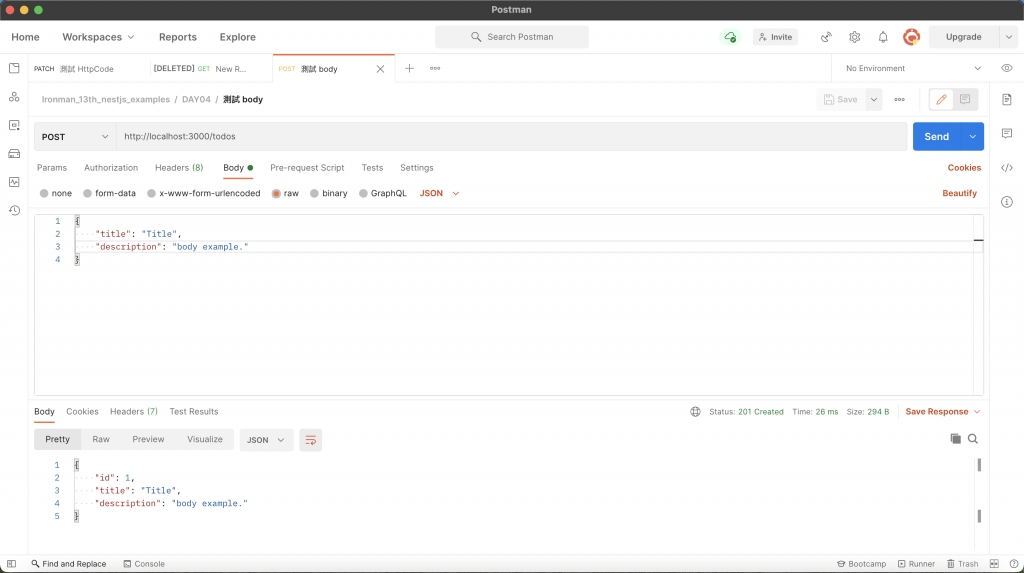
在传输资料时经常会使用到主体资料,比如说:POST、PUT、PATCH等操作,Nest 有提供 @Body 装饰器来取得主体资料。范例程序码如下:
import { Body, Controller, Post } from '@nestjs/common';

@Controller('todos')
export class TodoController {
  @Post()
  create(@Body() data: { title: string, description?: string }) {
    const id = 1;
    return { id, ...data };
  }
}
也可以透过指定参数名称来取得特定参数:
import { Body, Controller, Post } from '@nestjs/common';

@Controller('todos')
export class TodoController {
  @Post()
  create(
    @Body('title') title: string,
    @Body('description') description?: string
  ) {
    const id = 1;
    return { id, title, description };
  }
}
透过 Postman 查看结果:
使用 DTO
什麽是 DTO?它的全名是 资料传输物件 (Data Transfer Object),其用途广泛,通常用於过滤、格式化资料,它只负责存放要传递的资讯,故 只有唯读属性,没有任何方法。定义 DTO 之後,就不必一直翻文件查到底参数格式为何,可以很清楚了解传入 / 传出的参数内容,在 Nest 的世界里,甚至可以基於 DTO 的格式来设置验证器,进而大幅降低维护成本。
既然是定义格式,那麽就有两种选择:
- TypeScript 的
interface - 标准 JavaScript 支援的
class
基本上会建议大家采用 class 的形式来建立 DTO,原因是 interface 在编译成 JavaScript 就会被删除,而 class 会保留,这对部分功能是有影响的,所以 官方也推荐大家采用 class。
那麽就来建立一个范例的 DTO 吧,在要调整的 Controller 目录下,新增一个名为 dto 的资料夹,并建立 create-<CONTROLLER_NAME>.dto.ts,我这边的档案名称为 create-todo.dto.ts:
export class CreateTodoDto {
  public readonly title: string;
  public readonly description?: string;
}
建立完毕後,在 Controller 中使用,将带有 @Body 装饰器之参数的型别指定为该 DTO:
import { Body, Controller, Post } from '@nestjs/common';
import { CreateTodoDto } from './dto/create-todo.dto';

@Controller('todos')
export class TodoController {
  @Post()
  create(@Body() dto: CreateTodoDto) {
    const id = 1;
    return { id, ...dto };
  }
}
标头 (Headers)
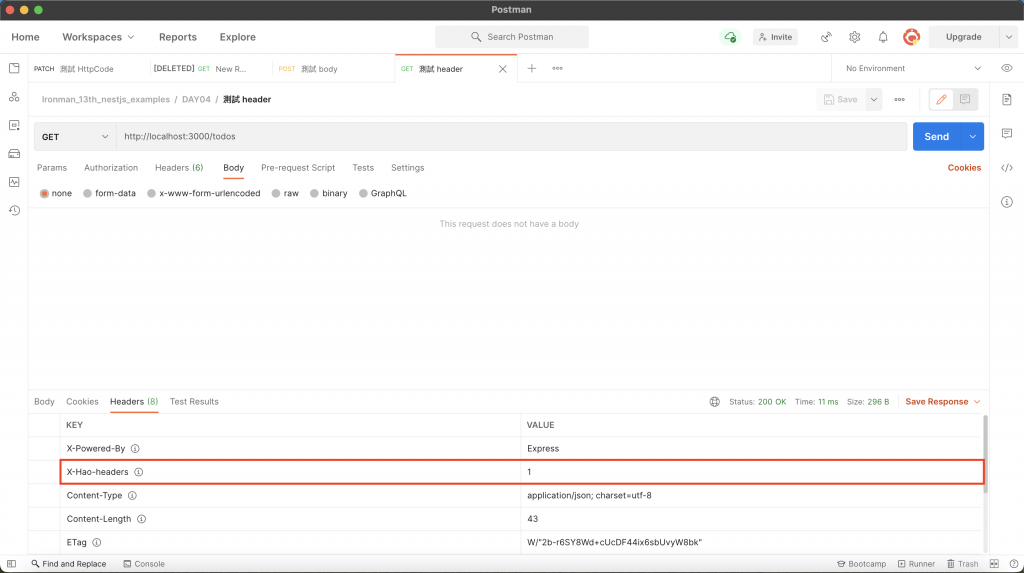
有时候可能需要设置标头来回传给用户端,这时候就可以用 @Header 装饰器来配置:
import { Controller, Get, Header } from '@nestjs/common';

@Controller('todos')
export class TodoController {
  @Get()
  @Header('X-Hao-headers', '1')
  getAll() {
    return {
      id: 1,
      title: 'Title 1',
      description: ''
    };
  }
}
透过 Postman 查看结果:
参数装饰器
前面有提过 Nest 是以 Express 或 Fastify 作为底层基础进行整合的框架,在很多地方都是对底层平台进行包装的,其中的参数正是包装出来的,透过特定的参数装饰器来取得不同的资讯,除了前面提及的几项以外,还有提供许多参数装饰器来提供开发人员取得更多资讯:
-
@Request():请求的装饰器,带有此装饰器的参数会赋予底层框架的 请求物件 (Request Object),该装饰器有别称@Req(),通常将参数名称取为req。 -
@Response():回应的装饰器,带有此装饰器的参数会赋予底层框架的 回应物件 (Response Object),该装饰器有别称@Res(),通常将参数名称取为res。 -
@Next():Next 函式的装饰器,带有此装饰器的参数会赋予底层框架的 Next 函式,用途为呼叫下一个 中介软件 (Middleware),详细说明可以参考我先前写的 Express 基本结构与路由。 -
@Param(key?: string):路由参数的装饰器,相当於req.params或req.params[key]。 -
@Query(key?: string):查询参数的装饰器,相当於req.query或req.query[key]。 -
@Body(key?: string):主体资料的装饰器,相当於req.body或req.body[key]。 -
@Headers(name?: string):请求标头的装饰器,相当於req.headers或req.headers[name]。 -
@Session():session 的装饰器,相当於req.session。 -
@Ip():IP 的装饰器,相当於req.ip。 -
@HostParam():host 的装饰器,相当於req.hosts。
处理回应的方式
前面我们使用的范例都是透过 return 的方式来处理回应资料的,事实上 Nest 提供了两种方式来处理回应:
标准模式
透过 return 资料的方式让 Nest 来处理回应的动作,也是 官方最推荐 的方式。范例程序码如下:
import { Controller, Get } from '@nestjs/common';

@Controller('todos')
export class TodoController {
  @Get()
  getAll() {
    return [];
  }
}
非同步
在後端领域中,几乎都会使用到非同步操作,这时候用 ES7 的 async/await 再好不过,而标准模式也支援此方式:
import { Controller, Get } from '@nestjs/common';

@Controller('todos')
export class TodoController {
  @Get()
  async getAll() {
    return new Promise((resolve, reject) => setTimeout(() => resolve([]), 1000));
  }
}
RxJS
RxJS 也是近年来十分热门的函式库,在 Angular 中可以经常看到它的身影,而受到 Angular 启发的 Nest 也跟进使用了 RxJS。Nest 会自动订阅 / 取消订阅对象,无须手动取消订阅,下方为范例程序码:
import { Controller, Get } from '@nestjs/common';
import { of } from 'rxjs';

@Controller('todos')
export class TodoController {
  @Get()
  getAll() {
    return of([]);
  }
}
函式库模式
这个模式是使用底层框架的回应物件来处理回应,不透过 return 的方式让 Nest 处理,相当於每个方法都是 void。下方为范例程序码:
import { Controller, Get, Res } from '@nestjs/common';
import { Response } from 'express';

@Controller('todos')
export class TodoController {
  @Get()
  getAll(@Res() res: Response) {
    res.send([]);
  }
}
注意:须依照使用的底层框架来决定
res的型别,范例中使用 Express 作为底层,故用其Response型别。
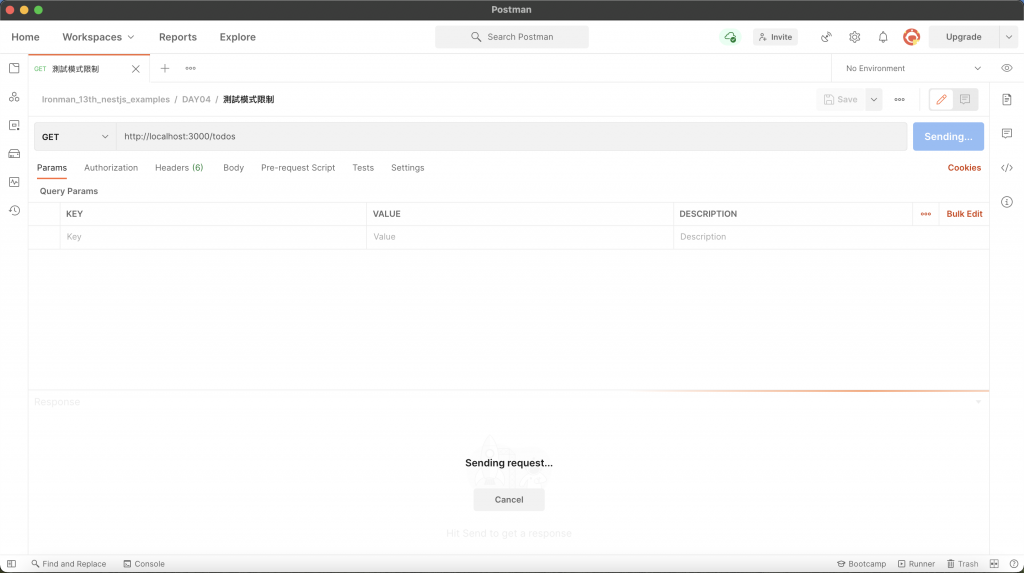
模式的限制
Nest 会去侦测是否有带 @Res、@Response、@Next 装饰器的参数,如果有的话,该资源就会启用函式库模式,而标准模式会被关闭,这是什麽意思呢?简单来说 return 值的方式会失去作用。下方为范例程序码:
import { Controller, Get, Res } from '@nestjs/common';
import { Response } from 'express';

@Controller('todos')
export class TodoController {
  @Get()
  getAll(@Res() res: Response) {
    return [];
  }
}
可以发现按照此段程序码建构的资源无法被存取:
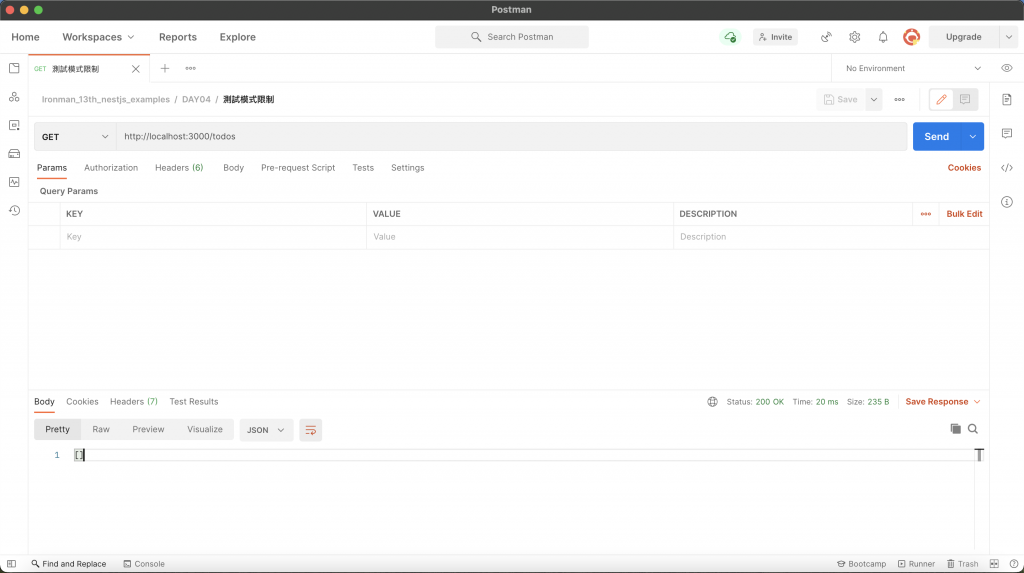
那如果真的要从回应物件中取得资讯,但又想采用标准模式的话,有什麽方法可以突破此限制吗?答案是有的,只需要在装饰器中添加 passthrough: true 即可:
import { Controller, Get, Res } from '@nestjs/common';
import { Response } from 'express';

@Controller('todos')
export class TodoController {
  @Get()
  getAll(@Res({ passthrough: true }) res: Response) {
    return [];
  }
}
透过 Postman 查看结果:
小结
先来懒人包一下今天的内容:
- 透过
@Body取得主体资料。 - 善用 DTO 来定义资料传输格式。
- 透过
@Header配置回应的标头。 - 了解 Nest 提供的参数装饰器个别的功能。
- 用标准模式就是使用
return的方式回传资讯,并支援async/await、RxJS。 - 函式库模式透过底层框架的回应物件来回传资讯。
- 使用
@Response、@Res或@Next会关闭标准模式,若要在标准模式下使用的话需要添加passthrough: true在装饰器中。
Controller 负责处理客户端的请求,可以把它视为 API 的门面,既然是门面,那麽在面对各式各样的请求都要有相对应的应对方式,所以 Controller 的功能这麽多合情合理!
还记得前面说过的 Controller 是某个区块的外场服务生吗?目前的范例是将 Controller 直接挂在根模组下,如果所有的 Controller 都挂在根模组的话,会变成所有的外场服务生都属於同一区,并没有做到良好的动线规划,所以应该要将 Controller 放入对应的 Module。下一篇将会介绍 Nest 中的 Module,那就明天见罗!
<<: [05] [Flask 快速上手笔记] 04. HTTP 方法x静态文件x渲染模板
Day24:【技术篇】设定自己的GitHub Pages
一、前言 网路上有很多创建个人 GitHub Pages 的教学文章,这边就先跳过此环节与相关原...
网路资源
last update:2021/10/05 Yolov4 AlexeyAB (https://gi...
故事二十七:遇到不同情况,都是练习的好机会!
延续昨天的实作,今天继续研究一下大学学生人数的近况。 之前,我们曾经使用 csv 档实...
Day30 X 系列文总结
这是我第三年参加铁人赛,每一次来到第 30 天,都有种如释重负的感觉,不过同时也会感到一些遗憾,因...
DAY27-如何与人协同工作与好好沟通-实习生篇
所有的问题都不简单 在你所有认为很基本的问题,对实习生来说都不简单。想想我之所以会认为理所当然很简单...