【Day3】Firebase连接XBaseFragment建立X服务定位Koin使用
好的,那我们要稍微介绍一下,Firebase,我们可以把它想成一个後端服务。并且它同时支援Android、iOS、网页端,所以可以有效缩减我们App开发的时间。
-authentication:提供给我们办帐号,管理授权相关的地方
-Firebase Database:云端储存资料
-Realtime Database:云端储存资料
-Storage:储存影片/照片等等那我们就开始连接Firebase啦!

一、连接Firebase
1.首先先登入Firebase
注册并登入
https://console.firebase.google.com/u/0/
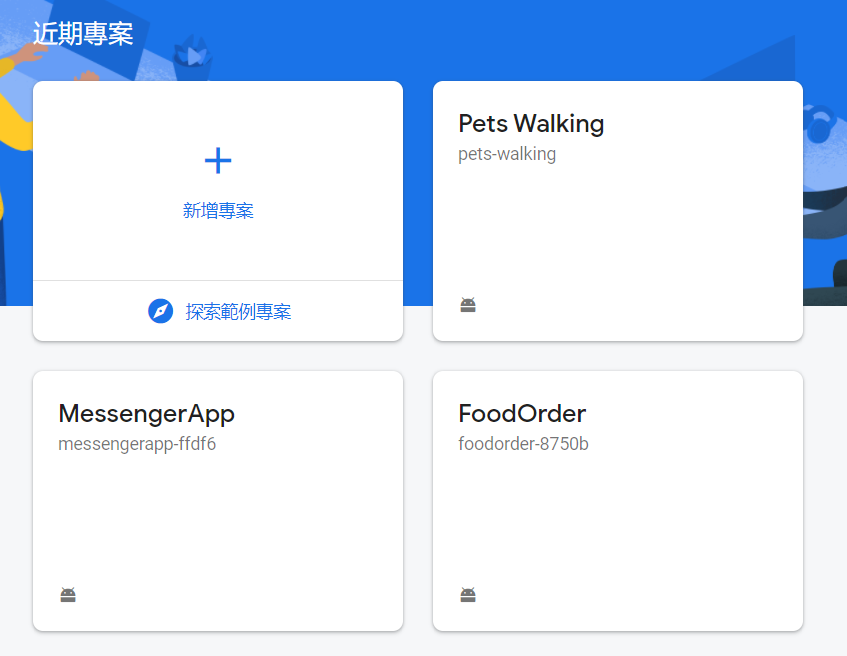
2.新增专案→填写专案名称→Google Analytics(分析)点同意→选取Defalut Account 帐户
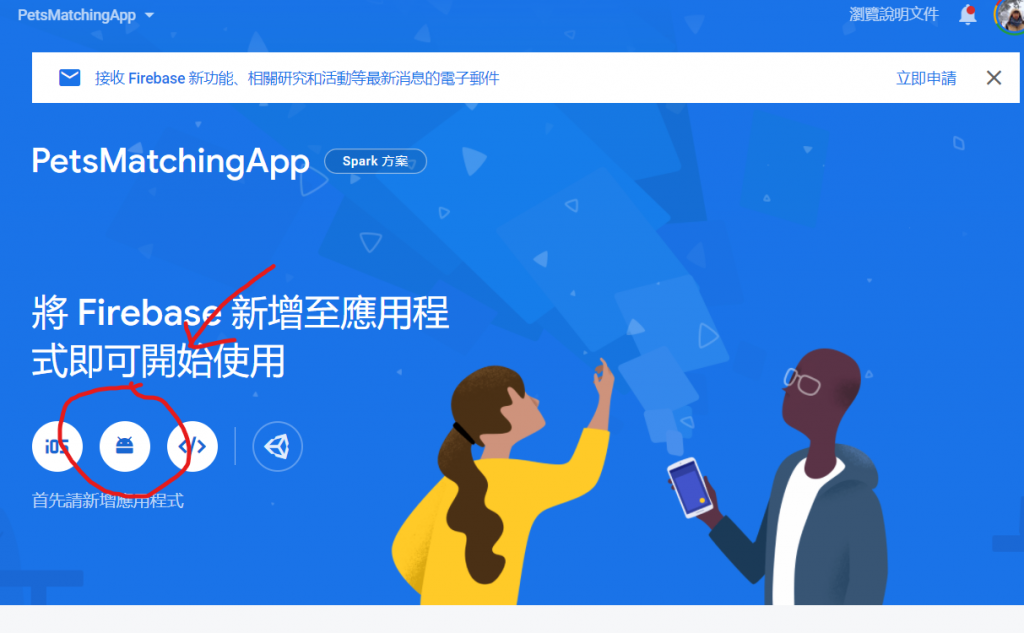
3.选取尊爵不凡- android 专案
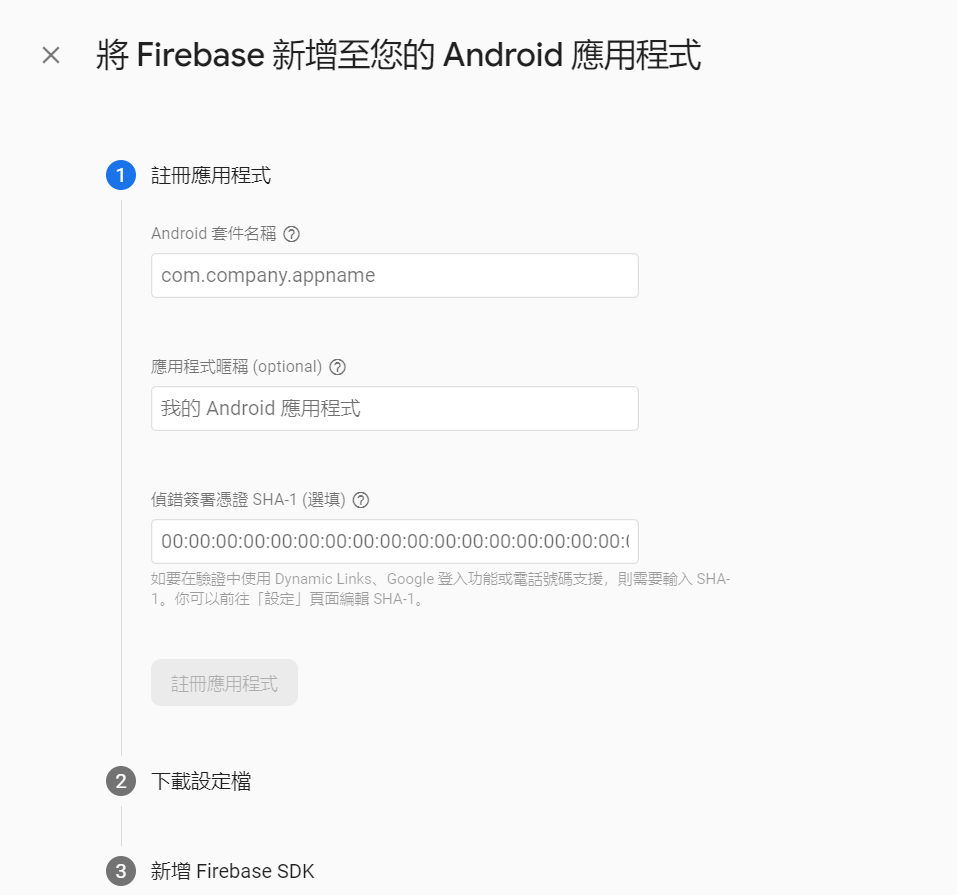
- 注册Android 套件名称:打开Android Studio→manifest的最上面的 package,就把它复制填进去
- 应用程序昵称:自己取
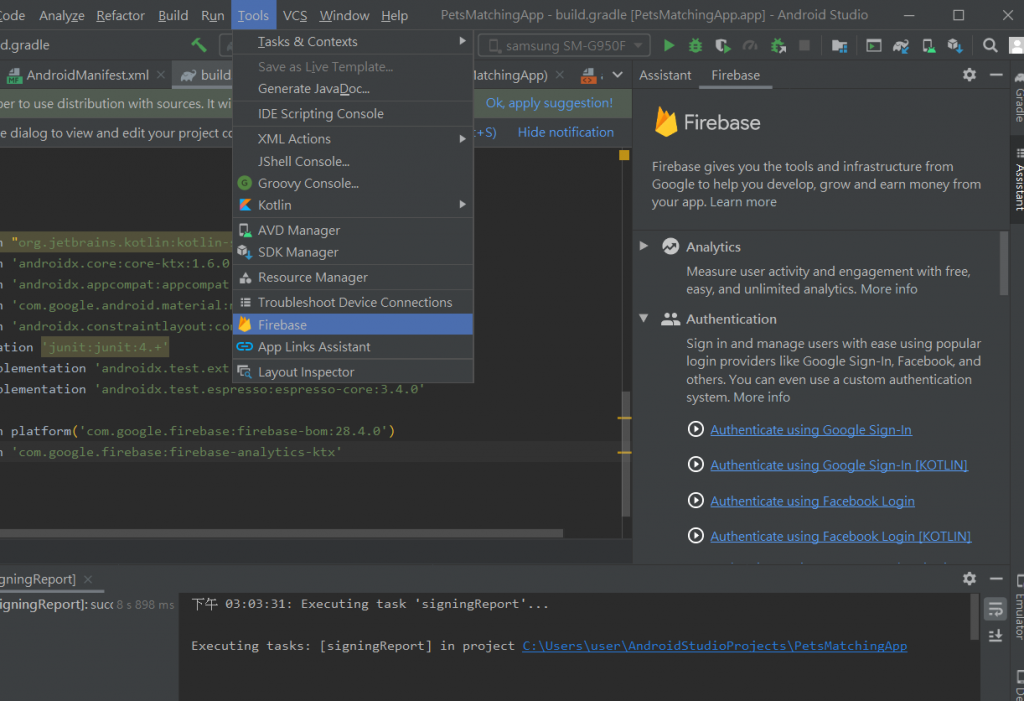
- SHA-1,这个就从 Gradle→android→signingReport 然後就可以在下面看到SHA-1的资讯了

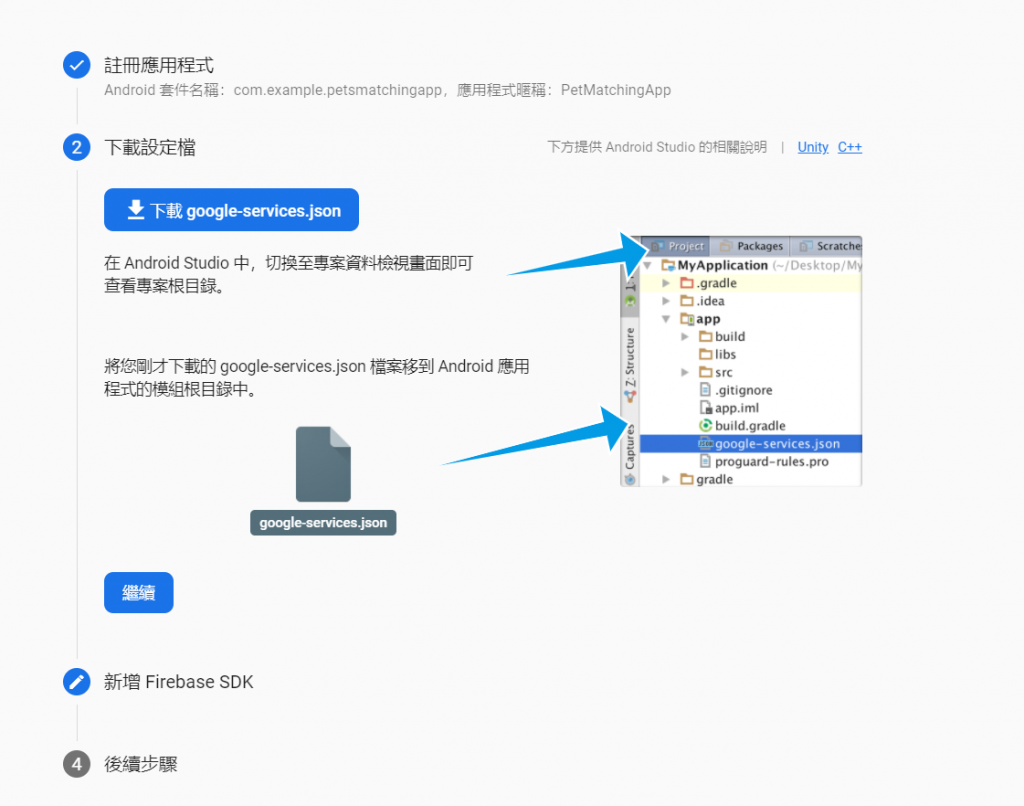
4.按照说明继续往下走,接下来我就不做给大家看罗,大家直接按照说明走下去
5.接下来我们要回到android studio,点选 Tools→ Firebase→Authentication→随机一个→选取第二个-Add firebase authentication SDK
我们这边的目的是要让Android帮我们新增 implementation,同理顺便点选并新增以下的 Clound Firestore implementation。
这样我们就姑且完成连接啦!! 
二、创立BaseFragment
我们建立一个基本的Fragment,让我们可以再以後的Fragment继承,可以达到覆用的好处,而我们这次主要有两个
1.progressBar,俗称进度条
2.snackBar,弹出讯息框,出现在下方,比较不会阻挡使用者的视线
1.首先先在 layout新增一个 dialog_progress,关於排版的Size都可以自行调整,选你喜欢的,Code我就先贴罗
<?xml version="1.0" encoding="utf-8"?>
<androidx.constraintlayout.widget.ConstraintLayout xmlns:android="http://schemas.android.com/apk/res/android"
    android:layout_width="wrap_content"
    android:layout_height="wrap_content"
    xmlns:app="http://schemas.android.com/apk/res-auto"
    android:layout_gravity="center"
    android:orientation="horizontal"
    android:padding="@dimen/progress_dialog_content_padding">


    <ProgressBar
        android:id="@+id/progress"
        android:layout_width="@dimen/progress_dialog_size"
        android:layout_height="@dimen/progress_dialog_size"
        app:layout_constraintBottom_toBottomOf="parent"
        app:layout_constraintTop_toTopOf="parent"
        app:layout_constraintLeft_toLeftOf="parent"
        app:layout_constraintEnd_toStartOf="@+id/tv_progress"/>

    <com.example.petsmatchingapp.utils.JFTextView
        android:id="@+id/tv_progress"
        android:layout_width="wrap_content"
        android:layout_height="wrap_content"
        android:layout_marginStart="@dimen/progress_text_margin_start"
        android:layout_marginLeft="@dimen/progress_text_margin_start"
        android:textSize="@dimen/progress_text_size"
        android:text="@string/please_wait"
        app:layout_constraintBottom_toBottomOf="parent"
        app:layout_constraintStart_toEndOf="@id/progress"
        app:layout_constraintTop_toTopOf="parent"/>


</androidx.constraintlayout.widget.ConstraintLayout>
dimen如下
<dimen name="progress_dialog_content_padding">10dp</dimen>
<dimen name="progress_dialog_size">50dp</dimen>
<dimen name="progress_text_size">16sp</dimen>
<dimen name="progress_text_margin_start">16dp</dimen>
string如下
<string name="please_wait">Please Wait</string>
顺便把等等会用到的 Snackbar颜色一起新增,color如下
<color name="colorSnackBarSuccess">#8BC34A</color>
<color name="colorSnackBarError">#F72400</color>
2.建立BaseFragment
//首先要把class改成 open,这样其他的 Fragment才可以继承

open class BaseFragment : Fragment() {

//先延迟初始化刚刚的 Dialog,方便我们再不同funtion直接呼叫

private lateinit var mProgressDialog: Dialog


    override fun onCreateView(inflater: LayoutInflater, container: ViewGroup?,
                              savedInstanceState: Bundle?): View?{
return inflater.inflate(R.layout.fragment_base, container, false)
    }


//建立Dialog,参数是 text,当我们别的fragment要使用的时候,直接传入 text,就可以呼叫了
fun showDialog(text: String){

mProgressDialog = Dialog(requireActivity())
mProgressDialog.setCancelable(false)
mProgressDialog.setCanceledOnTouchOutside(false)
//把刚刚的Dialog Layout指定进去
mProgressDialog.setContentView(R.layout.dialog_progress)
mProgressDialog.findViewById<TextView>(R.id.tv_progress).text= text
mProgressDialog.show()

    }

//关掉 Dialog
fun hideDialog(){
mProgressDialog.dismiss()
    }


//这个是出现在下方的
fun showSnackBar(message: String, error: Boolean){
val snackBar = Snackbar.make(requireActivity().findViewById(android.R.id.content),message,Snackbar.LENGTH_LONG)
val snackBarView = snackBar.view

//如果是error讯息的话,就显示error颜色,否则success的颜色
if(error){
snackBarView.setBackgroundColor(ContextCompat.getColor(requireContext(),R.color.colorSnackBarError))
        }else{
snackBarView.setBackgroundColor(ContextCompat.getColor(requireContext(),R.color.colorSnackBarSuccess))
        }
snackBar.show()
    }


}
★跟 Toast 不同的是,Snackbar 隶属於显示中的 view,而不是以 context。这确保 Snackbar 只在有 view 显示时才出现。在Activity中可以用findViewById(android.R.id.content) 取得contentView。
★接下来直接在LoginFragment继承BaseFragment即可。并且要把 minSdkVersion 改成21,就可以直接呼叫BaseFragment里面的funtion罗
Koin服务定位使用
我们这次透过Koin来呼叫我们的viewmodel,老实说关於service locator我还没有很什麽研究,只是先用,有兴趣的读者们可以自己去查关於service locator,如果有什麽心得可以跟我分享呦! 或是搞不好做完还有时间? 我再来研究分享给大家
1.先去 gradle project→buildscrpit 新增以下
ext.koin_version = "2.2.1"
2.再去 gradle app→dependencies 新增
implementation"org.koin:koin-core:$koin_version"
implementation"org.koin:koin-androidx-scope:$koin_version"
implementation"org.koin:koin-androidx-viewmodel:$koin_version"
testImplementation"org.koin:koin-test:$koin_version"
3.再来新增一个 class,命名为 MyApp
//继承 Application
class MyApp: Application() {

override fun onCreate() {
super.onCreate()


setupKoin()
    }

private fun setupKoin(){

//Module是代表要填入想要实例化的东西
val viewModelModule =module{
viewModel{AccountViewModel()}
        }

//初始化Koin,启动一个全域性的Koin,并把刚刚的module放进去

startKoin{
this@MyApp
            modules(
viewModelModule
			)
		}
	}
}
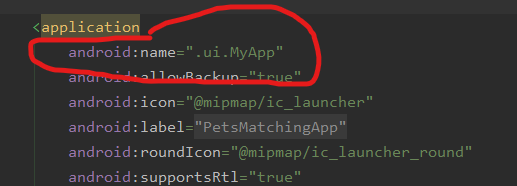
4.要在 manifest的 application里面指定上面定义好的 class名称
5.创立一个class,命名为AccountViewModel,并且继承viewModel()
我们的架构是会拥有两个Activity,一个负责关於登入帐号/注册相关的,另外主要活动内容的Activity,而viewModel也会分成管理帐号相关的AccountViewModel,还有主要的活动ViewModel负责管理其他数据。
6.接下来在只要在想要的class呼叫以下,就可以使用啦
private val accountViewModel: AccountViewModel by sharedViewModel()
那大家今天辛苦啦! 再过来明天就会开始做登入画面罗  へけ
へけ
>>: Day 03 - 行前说明 — 在 MVC & MVVM 的 UI 元件
【Day25】:从struct进化成class的物件导向技巧(上)
本篇与STM32相关性不大 会有这个章节其实是有原因的...有一天我请学长帮我看一下程序的时候,请我...
【D3】建立MySQL资料库
前言 首先把之前做的资料库格式搬家,也就是取得每日的股票之交易资讯进入资料库,首先要做的就是建立资料...
Day24 Modules & Namespaces
今天要来介绍 Module,写 Module 的好处在於,可以把程序码分成不同档案来管理,会比较好维...
【没钱买ps,PyQt自己写】Day 9 - 以 QLineEdit, QTextEdit, QPlainTextEdit 作为文字的输入
看完这篇文章你会得到的成果图 前言 我们接下来的讨论,会基於读者已经先读过我 day5 文章 的架构...
Day 18 储存宝石:【Lab】S3 储存类别 & 生命周期管理 (下)
今天,我们要来示范如何去还原存在 Glacier 里头的档案,并观察整个过程所需的时程。 Glac...