[Day 17] 针对网页的单元测试(三)
先写登入的页面
我们之前是针对类似API的资料在做测试,
那我们现在要开始去测试我们写的网页,
为了要测试,
我们现在要先写一个网页,
这个网页的功能很简单,
就是做登入的功能,
(但是我们这系列文章不会讲到资料库)
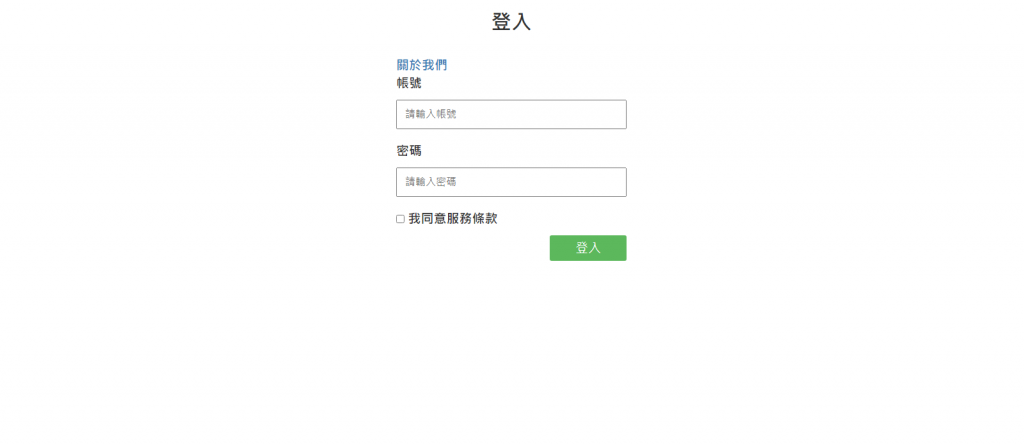
页面上有一个超连结是 关於我们,
然後可以输入帐号跟密码,
以及一个 同意服务条款 的CheckBox,
(但是没有服务条款)
最後有一个登入的按钮。
那我们现在开始来实作,
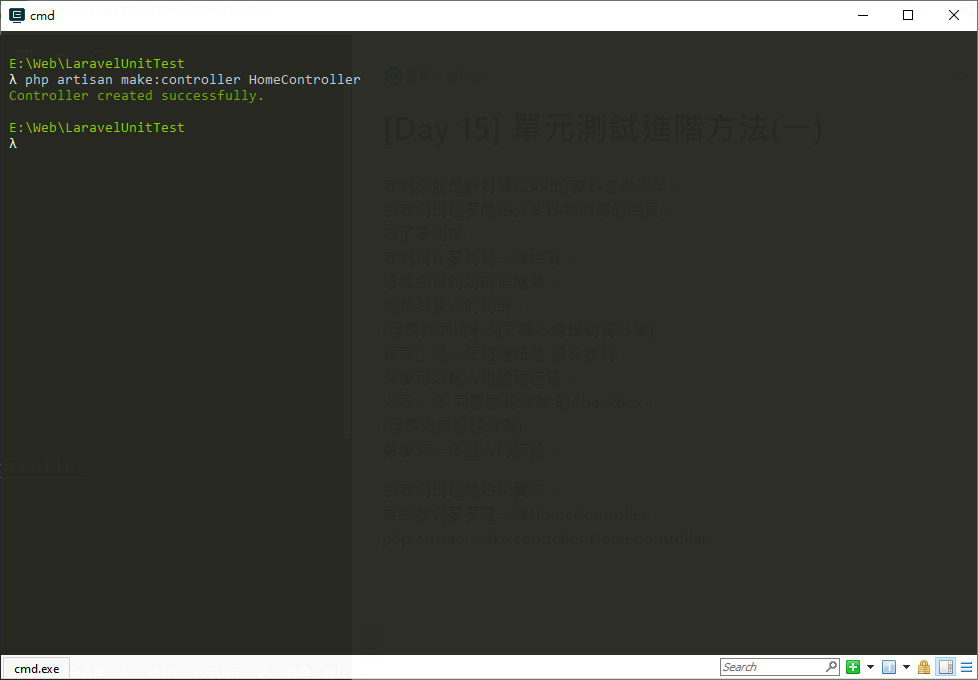
首先我们要要建一个HomeController,
php artisan make:controller HomeController
然後在HomeController新增一个函式
function index()
{
    return view("home.index");
}
新增一个错误讯息的view
resourses/views/layout/ValidatorError.blade.php
@if($errors AND count($errors))
    <ul style='color:red;'>
        @foreach($errors->all() as $err)
            <li> {{ $err }} </li>
        @endforeach
    </ul>
@endif
然後我们新增画面的view
resourses/views/home/index.blade.php
<!DOCTYPE html>

<html>
<head>
	<meta charset="utf-8">
	<title>登入</title>
    <script src="http://cdn.bootcss.com/jquery/1.11.0/jquery.min.js" type="text/javascript"></script>
    <link href="https://maxcdn.bootstrapcdn.com/bootstrap/3.3.5/css/bootstrap.min.css" rel="stylesheet" type="text/css" />
    <link rel="stylesheet" href="/css/app.css">
</head>
<body>

<form id="form1" method="post" action="">
<!-- 自动产生 csrf_token 隐藏栏位-->
{!! csrf_field() !!}
<div class="login_form">
    <div class="login_title">登入</div>
    <a href="/home/about" class="login_label">关於我们</a>
    <div class="login_label">帐号</div>
    <div class="login_textbox">
        <input name="account" class="form_textbox" type="text" value="{{ old('account') }}" placeholder="请输入帐号"/>
    </div>
    <div class="login_label">密码</div>
    <div class="login_textbox">
        <input name="password" class="form_textbox" type="password" value="{{ old('password') }}" placeholder="请输入密码"/>
    </div>
    <div class="login_label">
        <input class="form-check-input" type="checkbox" value="" id="check">
        <span>我同意服务条款</span>
    </div>
    <div class="login_error">
        <!-- 错误讯息模板元件 -->
        @include('layout.ValidatorError')
    </div>
    <div class="btn_group">
        <button type="submit" class="btn btn-success btn_login">登入</button>
    </div>
</div>
</form>

</body>
<html>
接着在web.php加入
use App\Http\Controllers\HomeController;
Route::get('/home/index', [HomeController::class, 'index']);
然後把resources/views/css/app.css
改成resources/views/sass/app.scss
(不知道为什麽预设变成css了,
资料夹也要改喔,
要不然会编译错误)
$textColor: #FFF;

$loginFormWidth: 360px;

$loginTitleFont: 32px;
$formMainFont: 20px;
$formTextBoxTextFont: 16px;
$formTextBoxBorderFont: 40px;

$buttonTopMargin: 10px;

//注册登入表单
.login_form{
    width: $loginFormWidth;
    margin: auto;

    .login_title{
        margin-top: 15px;
        margin-bottom: 30px;
        font-size: $loginTitleFont;
        font-weight: 600;
        text-align: center;
    }

    .login_label{
        font-size: $formMainFont;
        font-weight: 600;
        margin-bottom: 12px;
    }

    .login_textbox{
        font-size: $formTextBoxTextFont;
        line-height: $formTextBoxBorderFont;
        margin-bottom: 20px;
        .form_textbox{
            padding-left: 12px;
            width: 100%;
        }
    }

    .login_error {
        font-size: $formTextBoxTextFont;
    }

    .btn_group{
        margin-top: $buttonTopMargin;
        text-align: right;
        .btn_login{
            font-size: $formMainFont;
            height: 40px;
            width: 120px;
            color: $textColor;
            box-shadow: none;
            border-radius: 3px;
            border-width: 0;
        }
    }
}
webpack.mix.js改成这样
mix.js('resources/js/app.js', 'public/js')
    .sass('resources/sass/app.scss', 'public/css', [
        //
    ]);
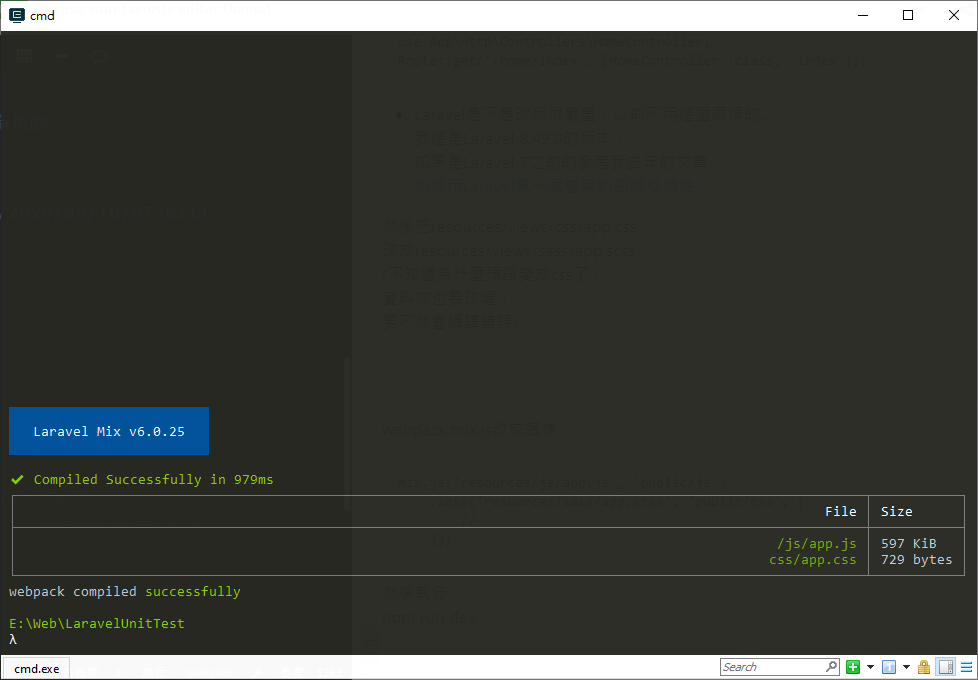
然後执行
npm run dev
然後打开网页
http://localhost:9654/home/index
我们明天开始来实作 关於我们 和 後端判断,
接下来就继续我们的单元测试。
【C++】Encryption and Decryption
在学习Encryption 跟Decryption前~ ASCII电脑编码系统是必须要知道的。 AS...
Day25 Let's ODOO: System Parameters
顾名思义就是系统参数,里面存放着许多系统用的资料,如资料库创立时间、UUID、预设template等...
不只懂 Vue 语法:如何透过路由实现跨页面传递资料?
问题回答 在跳转页面时,可以透过路由物件里 params 或 query 来传递资料,也可以使用各种...
[Day 12] N+1 问题的解决方式:eager loading
前面我们介绍了透过 DAO 取出资料的许多方式,包含了一对多关联,多对多关联,甚至包含到 Paren...
Day 25 - 影像处理篇 - 用Canvas实作在IE上也可运行的模糊滤镜I - 成为Canvas Ninja ~ 理解2D渲染的精髓
在这一篇我们要来讲一些比较进阶的内容。 那就是图像模糊演算法~ 大部分有Debug过IE的人应该都知...