GitHub Action 实作持续交付 - 部署至 Azure App Service
可以 ASP.NET Core 网站部署的环境相当多,包含 IIS, Nginx, App service(Azure), Elastic Beanstalk(AWS), App Engine(GCP)...等等,在本篇文章,我们将介绍如何将上一篇 GitHub Action 实作持续整合 - 以 ASP.NET Core 专案为例 後的成品,部署至 Azure App Service。
透过 GitHub Action 部署至 App Service 方法有两种,我们将逐一介绍:
1. 使用部署中心进行部署
2. 手动设定工作流程
前置工作: 建立 Azure App Services
若你很熟悉这章节,或者想之後再参考,可以略过此前置工作
-
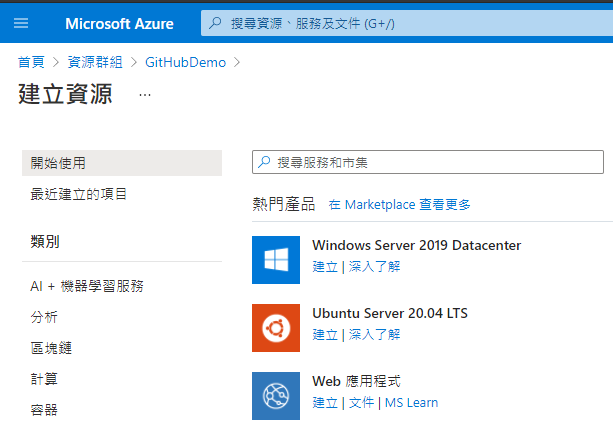
开启 Azure Portal,点选建立资源 > Web 应用程序
-
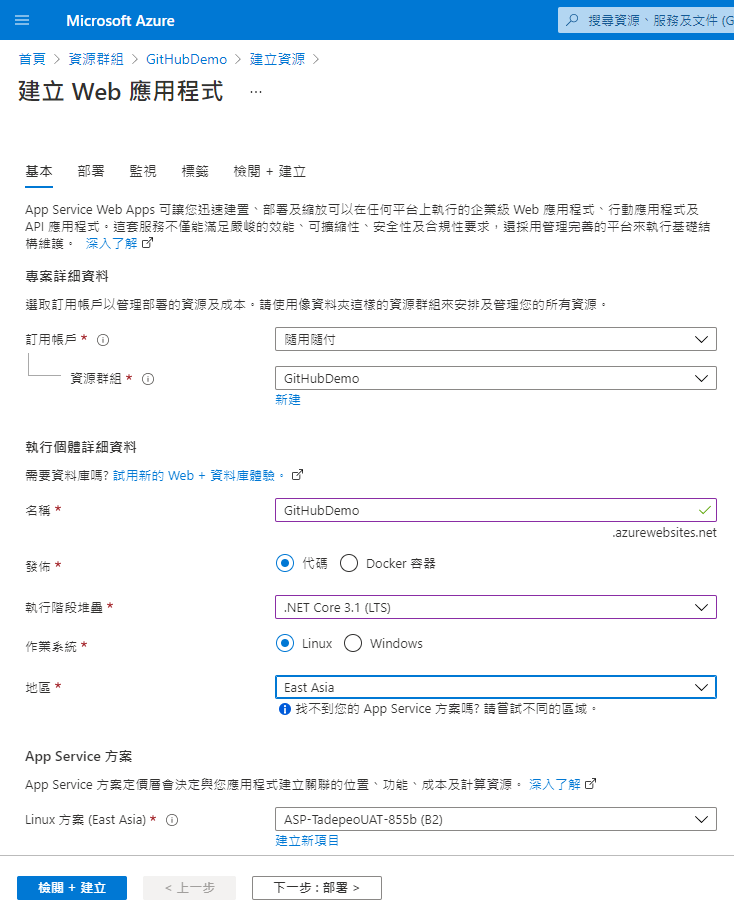
输入相关资讯,包含资源群组、名称...等,比较重要的是作业系统我们选择 Linux
-
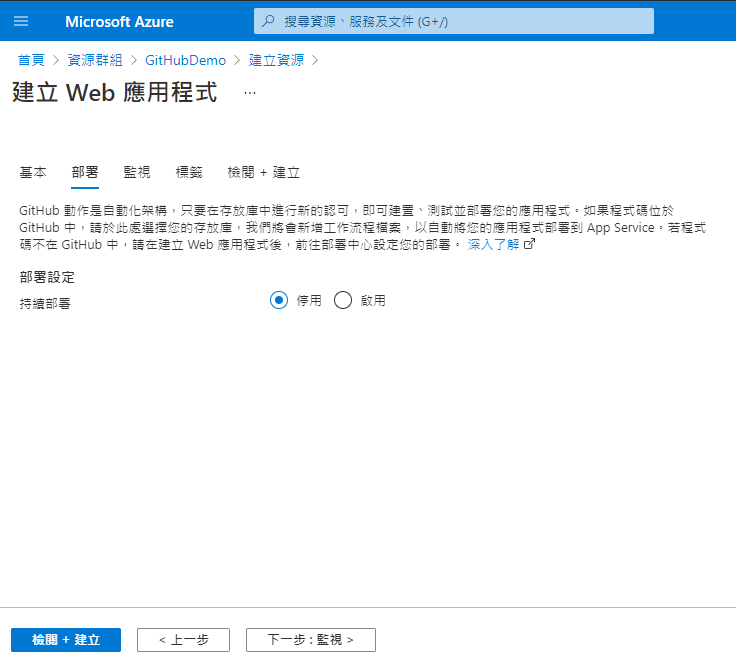
GitHub 部署部分我们先不设定,後续介绍较另外作法
-
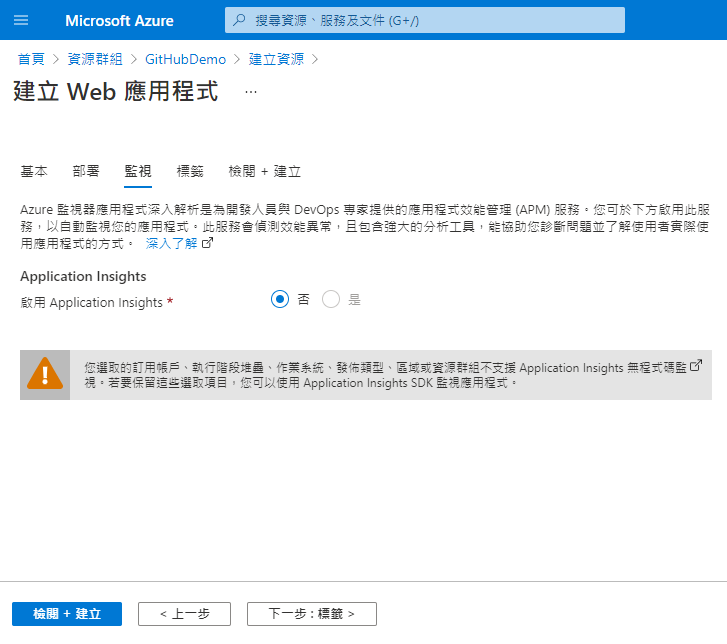
监视部分
-
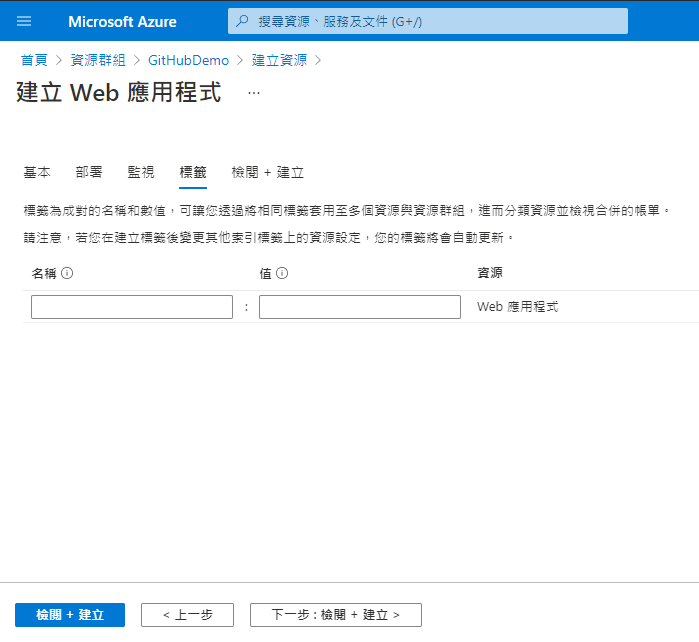
标签部分
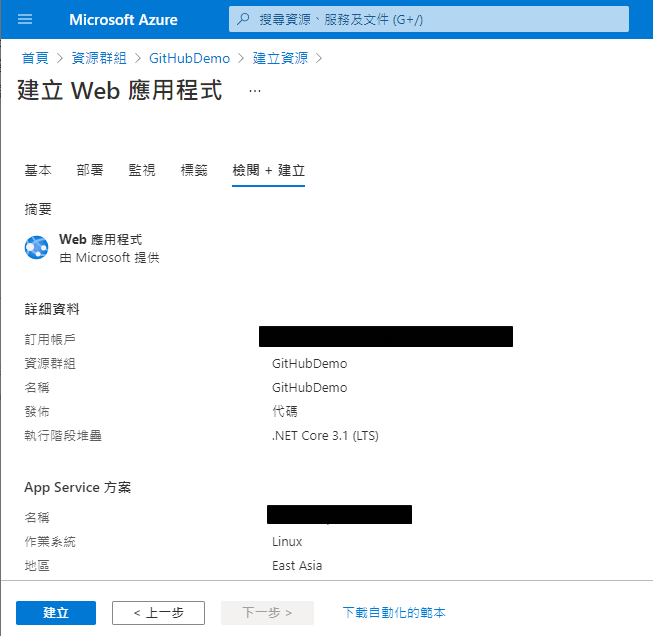
6.检视没问题後,点选建立
方法1: 使用部署中心进行部署
这个方式会需要授权 GitHub 权限,直接帮你建立 workflow
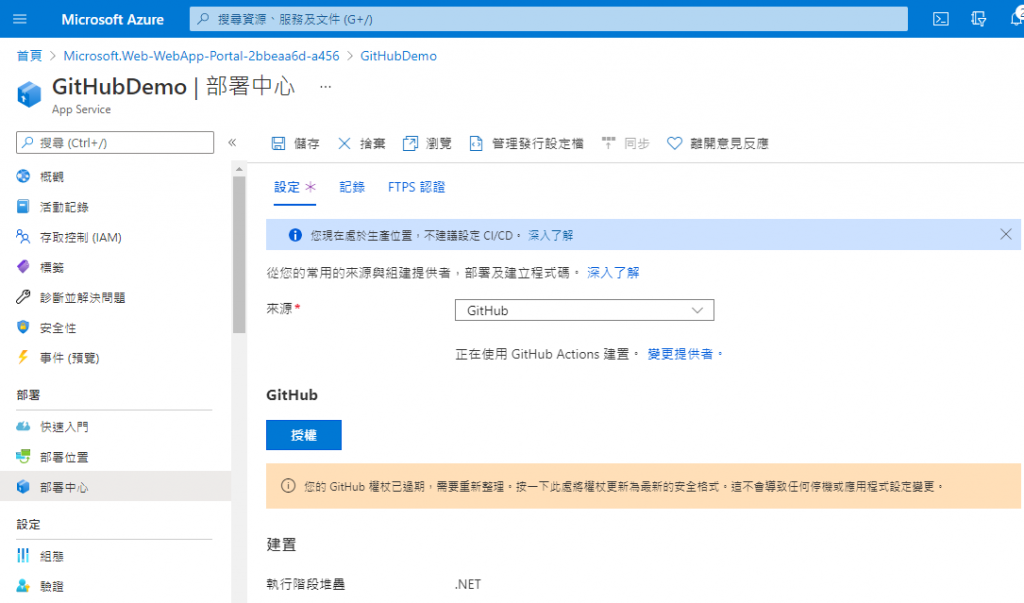
- 在 Web 应用程序左边栏位找到 部署中心,来源选择 GitHub > 授权
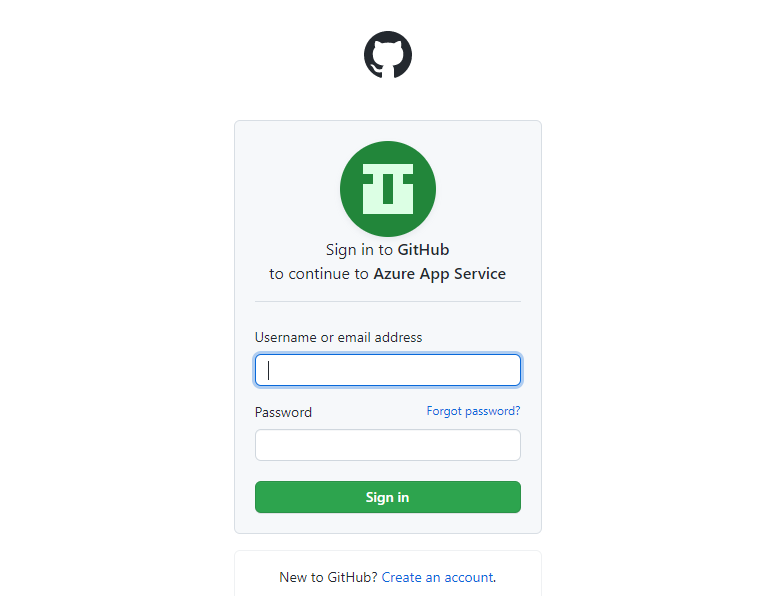
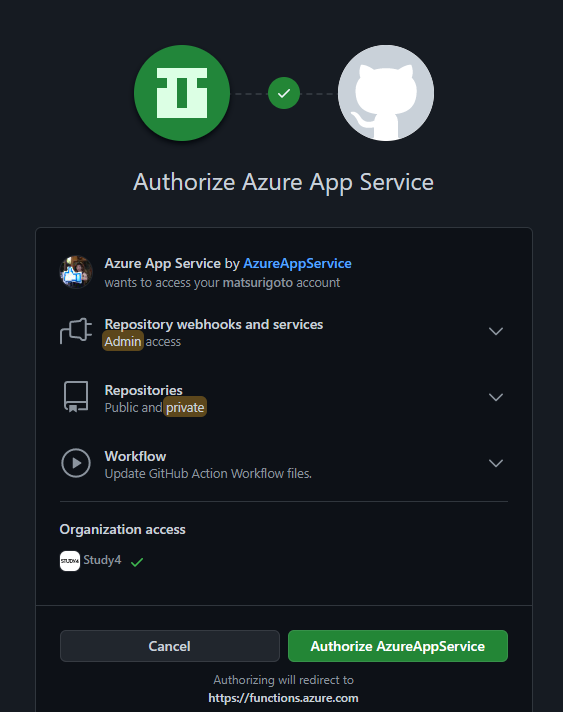
- 登入 GitHub
- 授权使用
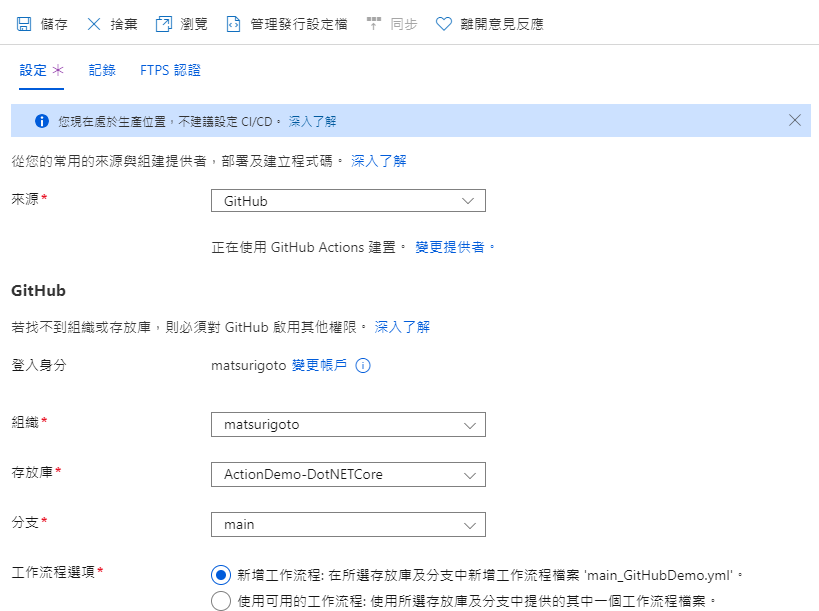
- 回到 部署中心 画面,选择组织、存放库与分支,点选储存
工程流程可以选择既有的 workflow,或者新建一个新的 workflow
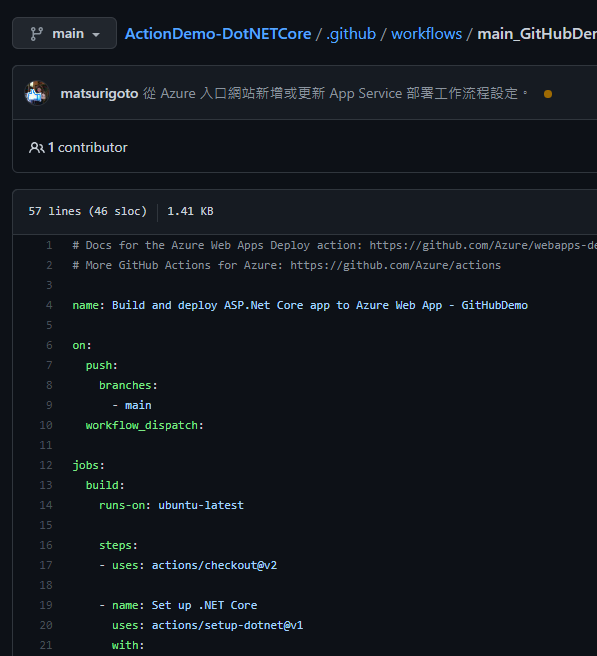
- 在所选的分支中,你可以看到部署中心已经帮你建立好 YAML 档案,当 main 分支有变动时,即会部署程序 (但这次会失败)
- 因为我们专案的架构如下图,有两个专案,一个是单元测试,一个是网站专案,如果直接在 .sln 层执行下 dotnet publish 指令,会将两个专案的内容都发布出来,会导致部署失败

- 所以我们要指定网站专案,找到
- name: dotnet publish
  run: dotnet publish -c Release -o ${{env.DOTNET_ROOT}}/myapp
改成
ActionDemo 是我的专案名,请实际状况调整你的专案名称
- name: dotnet publish
  run: dotnet publish ActionDemo\ActionDemo.csproj -c Release -o ${{env.DOTNET_ROOT}}/myapp
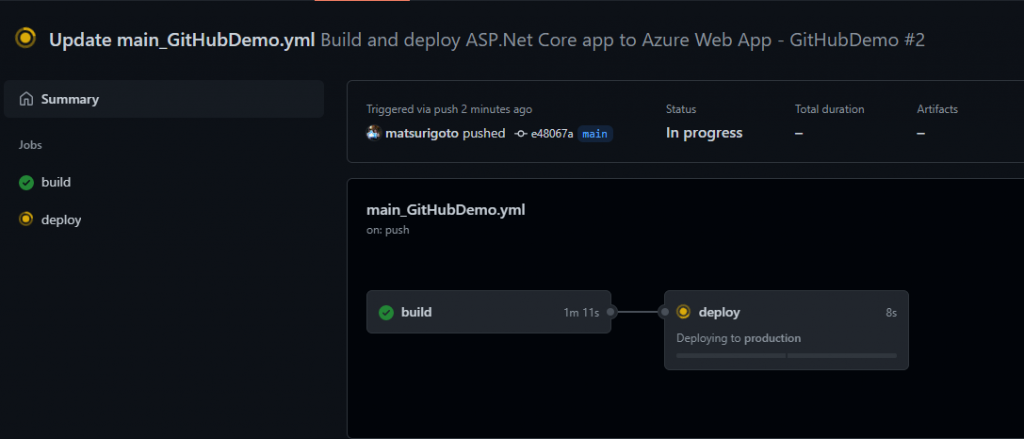
- 储存後会自动触发部署,等待部署完成,开启网页即可

方法2: 手动设定工作流程
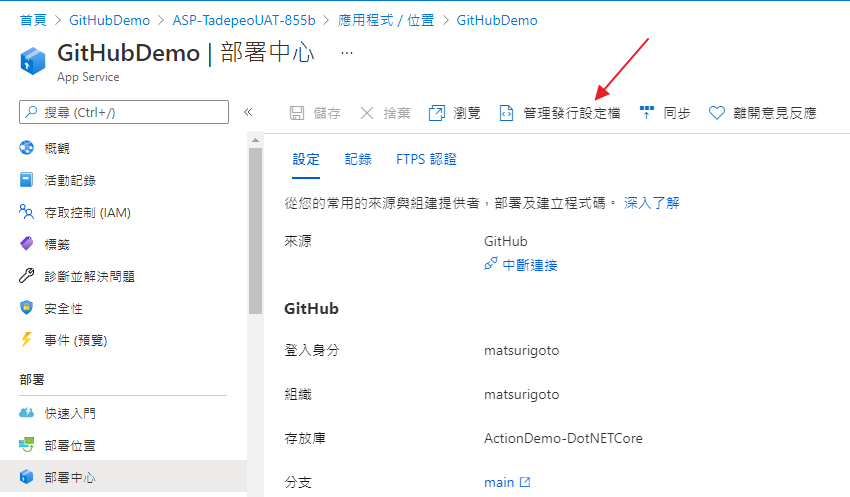
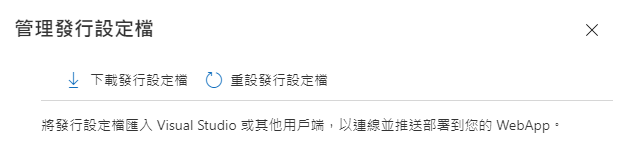
- 在 Web 应用程序左边栏位找到 部署中心,点选上方管理发行设定档
- 下载发行档案
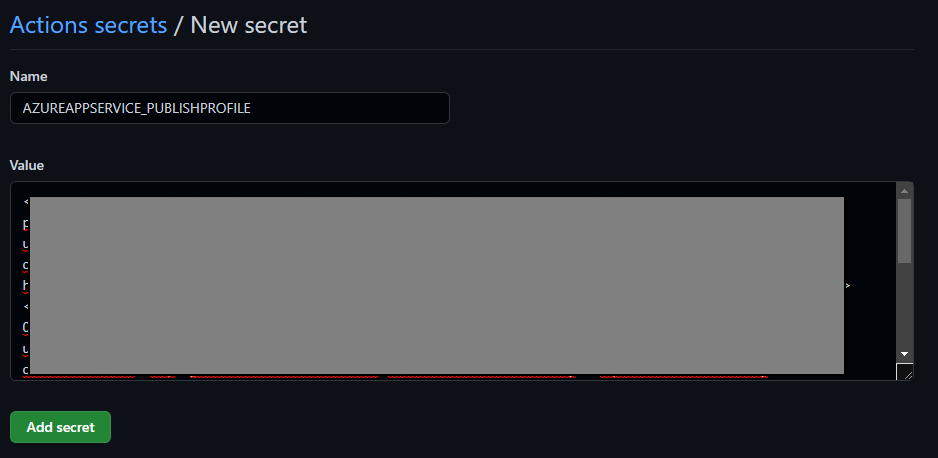
- 回到 GitHub Repo,点选 Setting > Secret
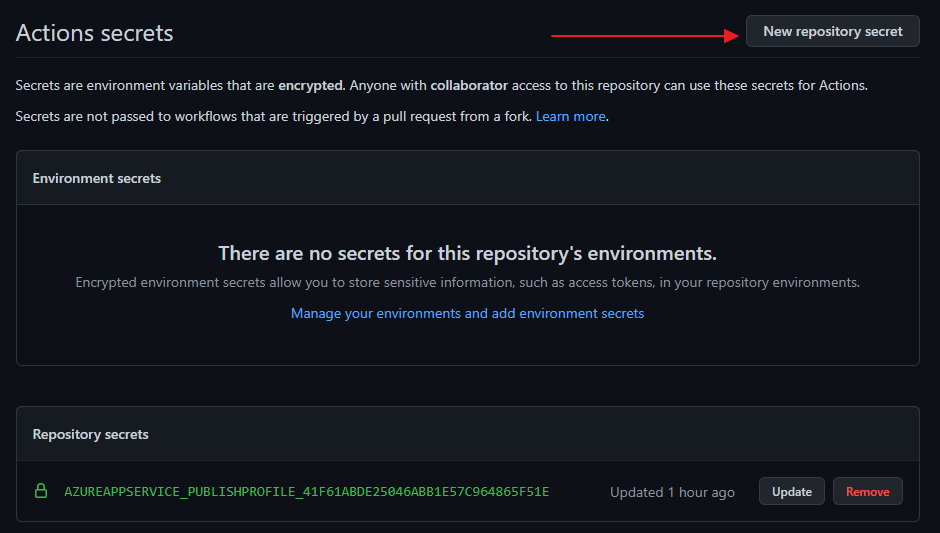
- Name 可自行输入,我们这边使用 AZUREAPPSERVICE_PUBLISHPROFILE;Value 则将发行档案以记事本开启後,接内容复制贴上。
- 更改上一篇文章所产生的 Template,修改内容如下:
name: .NET

on:
  push:
    branches: [ main ]
  pull_request:
    branches: [ main ]

jobs:
  build_and_deploy:

    runs-on: ubuntu-latest

    steps:
    - uses: actions/checkout@v2
    - name: Setup .NET
      uses: actions/setup-dotnet@v1
      with:
        dotnet-version: 3.1.x
    - name: Restore dependencies
      run: dotnet restore
    - name: Build
      run: dotnet build --no-restore
    - name: Test
      run: dotnet test --no-build --verbosity normal

    - name: dotnet build and publish
      run: dotnet publish ActionDemo/ActionDemo.csproj -c Release -o './myapp'

    - name: 'Run Azure webapp deploy action using publish profile credentials'
      uses: azure/webapps-deploy@v2
      with:
        app-name: 'GitHubDemo' # Replace with your app name
        publish-profile: ${{ secrets.AZUREAPPSERVICE_PUBLISHPROFILE  }} # Define secret variable in repository settings as per action documentation
        package: './myapp'
因为我们专案的架构如下图,有两个专案,一个是单元测试,一个是网站专案,如果直接在 .sln 层执行下 dotnet publish 指令,会将两个专案的内容都发布出来,会导致部署失败
所以我们特别在 dotnet publish 指定网站专案路径
- 执行完成,确认网站可以正常运作
阅读完这篇文章,你会了解
- ASP.NET Core CLI 使用
- Azure App Service 建立
- GitHub Action Secret 使用
- Workflow 撰写
接下来,我们会介绍如何部署至 IIS,但在这个之前,我们会先介绍 self-hosted runners。若喜欢我的文章,欢迎点 like, 分享与订阅。
参考资料
https://docs.microsoft.com/zh-tw/azure/app-service/deploy-github-actions?tabs=applevel
<<: Day1:进入新手村前先让我复习一下QQ-CSS-Float浮动效果
认清新创的生老病死
这是由国外的一间新创培训机构 StartupCommons 所提出 关於新创的开始到爆发的不同阶段...
Day-08 你对前端还是後端比较有兴趣?
这题我要直接破梗,因为这是一道陷阱题! 大家要小心也,不要真的去给他选下去啊! 很多人一看到这种二...
28. 移转 Aras PLM大小事 - 额外编码取号(2)
首先资料库结构必须让UI有办法弹性设定 所以设计方式可参考看看 Sequence_TBL 编码规则 ...
【Side Project】 (老板)订单清单UX功能实作
我们接续上一篇完成一些未完成的功能。 完成按钮 & 返回按钮 这两个按钮在整个篇章中,属於比...
[Android Studio] 汇入向量图档 .svg 时出现错误 <text> is not supported 的解决方式
今天因应工作上的需求 在专案中汇入 .svg 的向量图档 却出现了以下错误画面 这才发现原来这张 ....