@Day9 | C# WixToolset + WPF 帅到不行的安装包 [自订动作介接画面-安装後执行]
好啦!
将三天的工给做最後整理
花了几天在讲自订动作与页面这个东西,也该有个结束了!
我们现在将DemoUse.Installer的专案加入昨天的DemoUse.CustomAction
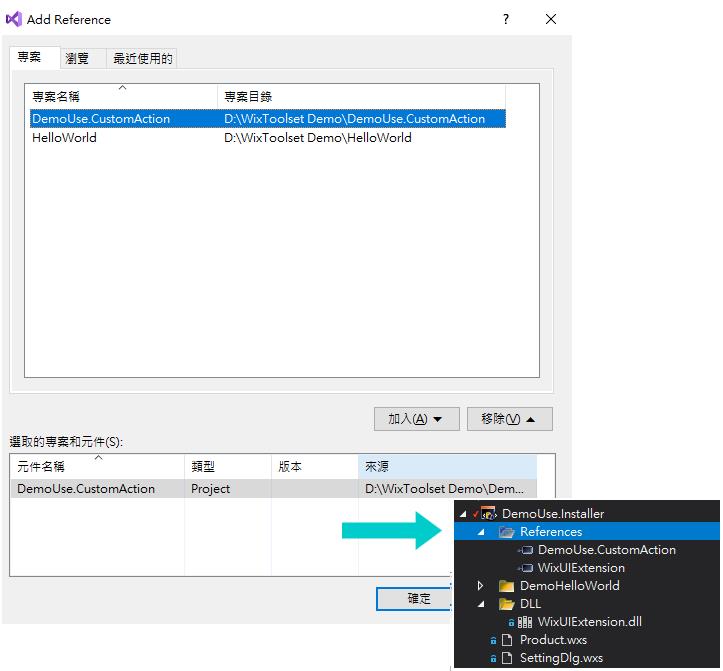
然後引用的部分要使用 DemoUse.CustomAction.CA.dll的dll档,
程序码如下
<Binary Id='SettingCADLL' SourceFile='$(var.DemoUse.CustomAction.TargetDir)/DemoUse.CustomAction.CA.dll' />
<CustomAction Id="SetURL" BinaryKey="SettingCADLL" DllEntry="SetCustomAction" Execute="immediate" Return="check" />
<InstallExecuteSequence>
  <Custom Action="SetURL" After="InstallFinalize" Overridable="yes">NOT Installed</Custom>
</InstallExecuteSequence>
Binary : DemoUse.CustomAction引用CA.dll 专用档
CustomAction : BinaryKey-上面的Id ,
DllEntry : 要进入的Action
InstallExecuteSequence : 安装完成後的动作顺序,
可以参考InstallExecuteSequence 的执行顺序,
https://docs.microsoft.com/zh-tw/windows/win32/msi/suggested-installexecutesequence
我们写After = "InstallFinalize",
也可以用数字顺序表达6601。
<InstallExecuteSequence>
  <Custom Action="SetURL" Sequence="6601" Overridable="yes">NOT Installed</Custom>
</InstallExecuteSequence>
而假设有两个自订动作以上,我们额外一个customaction Id 为 xxx,程序表达
<Binary Id='SettingCADLL' SourceFile='$(var.DemoUse.CustomAction.TargetDir)/DemoUse.CustomAction.CA.dll' />
<CustomAction Id="SetURL" BinaryKey="SettingCADLL" DllEntry="SetCustomAction" Execute="immediate" Return="check" />
<CustomAction Id="xxx" BinaryKey="SettingCADLL" DllEntry="SetCustomAction" Execute="immediate" Return="check" />
<InstallExecuteSequence>
   <Custom Action="SetURL" After="InstallFinalize" Overridable="yes">NOT Installed</Custom>
   <Custom Action="xxx" After="SetURL" Overridable="yes">NOT Installed</Custom>
</InstallExecuteSequence>
使用上 after 跟 squence 是同样的,
但squence 数字如果重复则在建置时会出错误,
after 会自动推算。
建置安装时如果有问题了话,
可以试试看加入资料夹权限
<Component Id="cmpB59C44B238E764B86C6DFC0A8045E3FA" Guid='BDAA4089-F7C0-42E8-928E-B81901938FCD' >
    <CreateFolder Directory="INSTALLFOLDER">
    <Permission User="SYSTEM" GenericAll="yes"/>
    <Permission User="EveryOne" GenericAll="yes"  GenericRead="yes" Read="yes" ReadAttributes="yes"  GenericExecute="yes" TakeOwnership ="yes"  GenericWrite ="yes"    WriteAttributes="yes" ReadPermission ="yes"   ChangePermission="yes" />
    <Permission User="Users" Domain="[LOCAL_MACHINE_NAME]"  GenericRead="yes" Read="yes" ReadAttributes="yes"  GenericExecute="yes" TakeOwnership ="yes"  GenericWrite ="yes"    WriteAttributes="yes" ReadPermission ="yes"   ChangePermission="yes"/>
     </CreateFolder>
</Component>
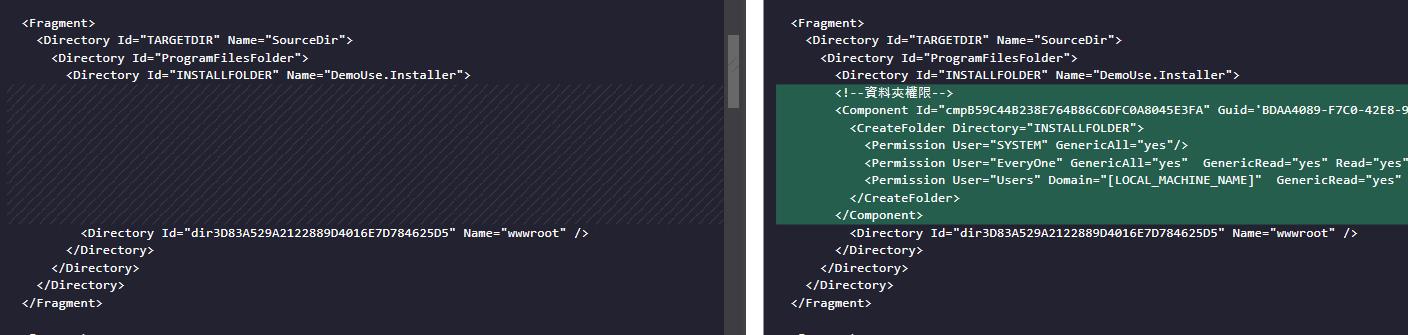
上面注册Component

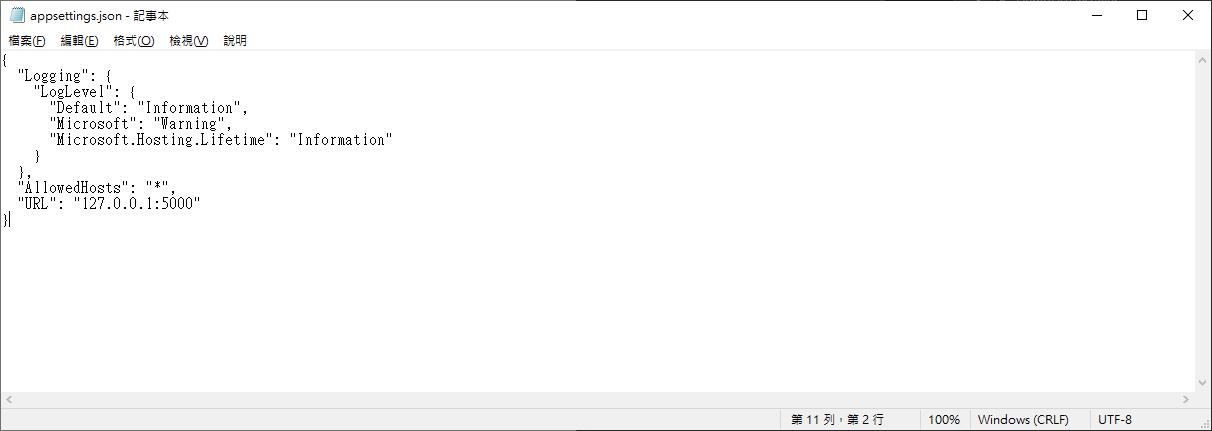
最後安装完後,去资料夹看 appsettings.json

- 後记
我在指定动作的部分,
After = "InstallFinalize",
这个我每一个都去尝试过,
但只有安装完成後再执行是可以成功的,其他都会有问题...
可能还要有其他设定之类der~没多研究。
Day9程序码
https://github.com/Aslan7826/defaultMVC/commits/Day09
>>: 33岁转职者的前端笔记 DAY 9 阵列资料的处理方法
[Day7] Virtual Networks
今天来介绍虚拟网路的部分,既然我们都有各种的虚拟机器、虚拟服务,那想当然,这些服务就是透过虚拟网路进...
[Day 22]第二主餐-aws,始动
好的,经过了前两篇的中场休息後 今天我们要来把我们的code架到服务器上面 也就代表我们要进入第二主...
Day 26:IIO (Part 4) - 帮感应器写驱动程序!以 TCRC5000 为例
这篇将会综合前面的 GPIO 与 IIO 的知识,帮一个常见的红外线感测器 -- TCRC5000 ...
第五天:在 macOS 上安装 Gradle
同为 Unix 系列的 macOS 可以完全相容上一篇使用 SDKMAN 安装 JDK 及 Grad...
解决Windows总是把Typescript文件夹看成影音档
最近用Typescript开发专案,小弟用的是Windows10笔电 遇到一个小烦恼,那就是每次打开...