[WMX3] 4.SetDeviceName and GetAllDevices
主要功能为设定/取得连线到WMX3Engine的设备或者是软件所设定的名称
使用方法
- 设定
//需接续在CreateDevice之後
wmxApi.SetDeviceName(_DeviceName);
- 取得
新增 wmx_DeviceProperty 类别
public class wmx_DeviceProperty
{
    public uint Id { set; get; }
    public string Name { set; get; }

    public wmx_DeviceProperty(uint Id, string Name)
    {
        this.Id = Id;
        this.Name = Name;
    }
}
之後再把需要的资料都放进List中
List<wmx_DeviceProperty> Temp = new List<wmx_DeviceProperty>();
DevicesInfo devicesInfo = new DevicesInfo();
wmxApi.GetAllDevices(ref devicesInfo);
uint _Count = devicesInfo.Count;
for(uint index = 0;index < _Count; index++)
{
    Temp.Add(new wmx_DeviceProperty(devicesInfo.Devices[index].Id,
    devicesInfo.Devices[index].Name));
}
DevicesInfo中也包含着CreateDevice时设定的DeviceType,Time依照需求加入wmx_DeviceProperty中即可
- 结果
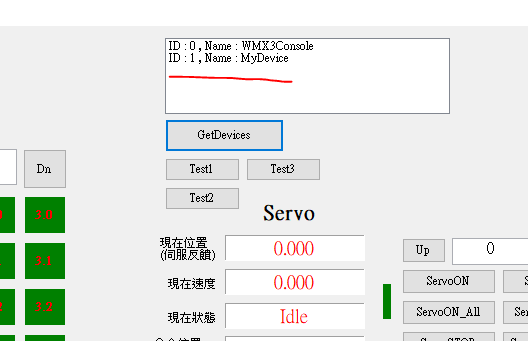
也可以利用WMX3ConsoleApp中选择Help->Devices

<<: Thunkable学习笔记 6 - 使用者登入记录查询
>>: [WMX3] 5.Start/Stop Communication
Day 29 : MinKube 安装
今天来讲一下Kubernetes的基本安装,这次我们选用MiniKube。MiniKube是一个简单...
第十天:在 TeamCity 上完成第一个建置工作
在前一天的练习里,我们虽然只写了一个非常简单的 Hello World 程序,但只要能在 Run 面...
Day 24 : Tkinter-利用Python建立GUI(元件篇)
今天会开始来讲元件的部分~ 通用参数 height : 高度 width : 宽度 fg : 文字颜...
Day 05-选择React & Redux
!前提小补充! UI: User Interface(使用者介面),设计页面,须注意到网页页面使用的...
【Day15】:STM32辗压Arduino的功能—TIM(下)
TIMER+NVIC中断 今天我们来使用Timer的中断功能吧! 设定与昨天大致相同,只是我们现在需...