Day 19 (Xd)
1.制作UI按纽 (影片Xd03 档案Xd02)
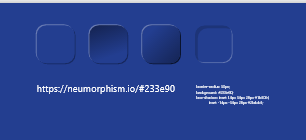
https://neumorphism.io/#233e90
(1)开新档案>开网页底板(Web 1920)
(2)把CSS码复制贴着参考用
(3)制作矩形
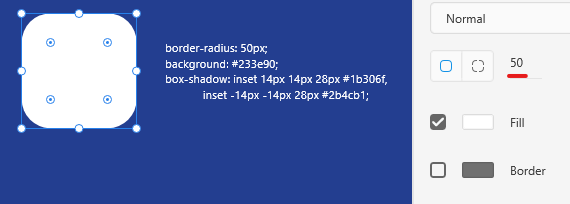
(4)制作凹面阴影
a.Inner Shadow
b.Drop Shadow
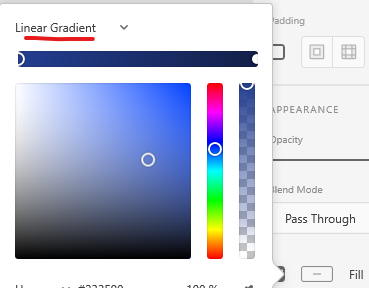
c.Inner Shadow、Drop Shadow颜色、渐层
d.不填色
e.渐层Liner Gradient
EX:
2.
下层
Inner Shadow -6 -6 6 (白色)
Drop Shadow 0
上层
Inner Shadow 6 6 6 (黑色)
Drop Shadow 0
不填色

2.制作左右转换纽 (影片Xd03 档案Xd02)
(1)找ICON
https://fonts.google.com/icons?selected=Material+Icons
(2)File>Import>加入SVG
(3)更改图层顺序,把按钮拉到最上层,并整理图层
a.纽 b.底 c.AVG1 d.AVG2
(4)全选>右键>make Component(Ctrl+K)
让框线变成绿色
(5)COMPONEMT(MAIN)>Toggle State(可来回的状态)
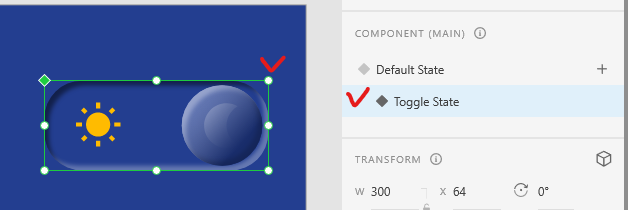
(6)制作钮的拖曳
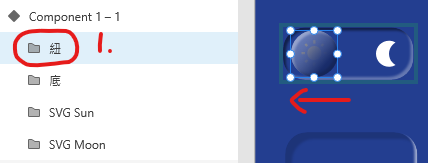
按住Shift才不会偏离轨道
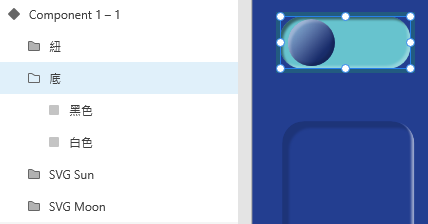
(7)使底图变色
从图层找底图
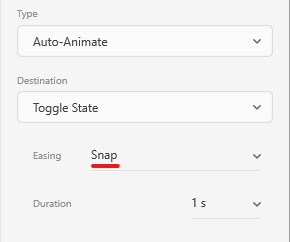
(8)回Prototype
选Snap>效果:会停顿一下
3.爱心渐变 按钮动画 (影片Xd03 档案Xd02)
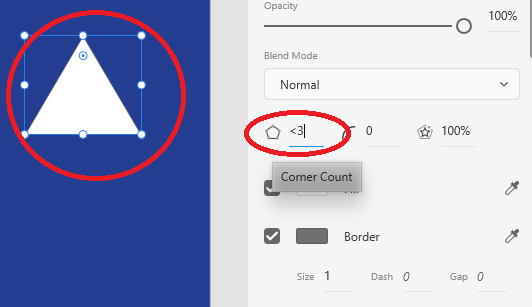
(1)三角形> 输入 < 3
出现爱心形状 XD
(2)矩形>点到变成路径>再点两下边框加锚点>再点两下边框 可拉弧度
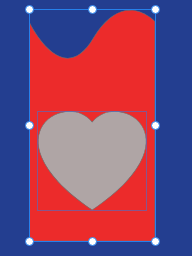
(3)爱心与矩形全选>右键>Make with Shape(遮罩)
(4)选矩形图层>把矩形Shift往下移
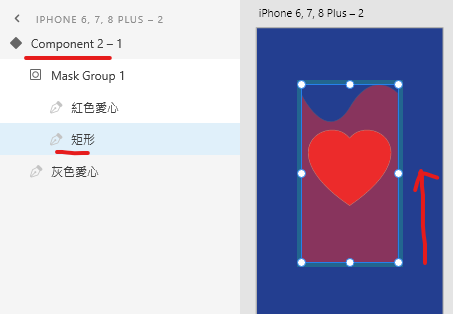
(5)两个爱心重叠>选两爱心图层>右键>make Component
(6)COMPONEMT(MAIN)>Toggle State(可来回的状态)
(7)Toggle State>选遮罩图层>把矩形Shift往上移>制作动画


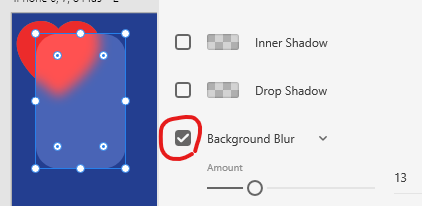
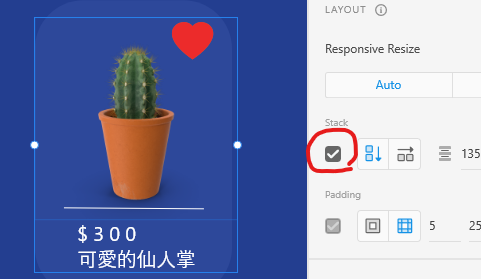
4.制作左右滑动小卡 (影片Xd03 档案Xd02)
(1)制作透明模糊底图:Backgroud Elur
(2)内容群组
(3)Stack
用法:一直点要变动的物件,或是对齐方式
可以让群组内的东西换位置,或是整体调整(排版用)
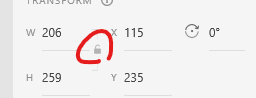
不想动到物件大小要先锁住
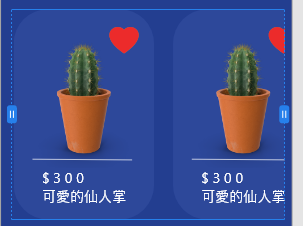
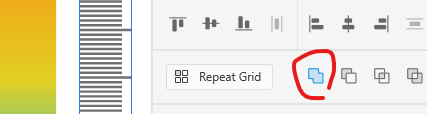
(4)Repeat Grid可以复制很多小卡
(5)全选 >Group>Shift+Alt+H
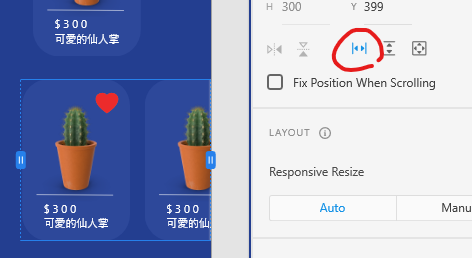
可以左右滑动
5.制作滑动缩小 (影片Xd03 档案Xd02)
(1)从底图边边拉参考线
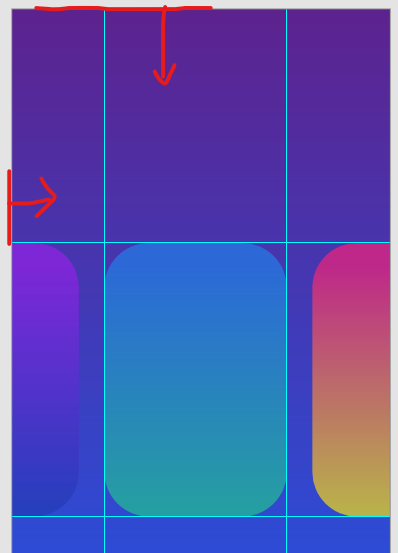
(2)全选 >Group>Stack>变更图片大小>对齐
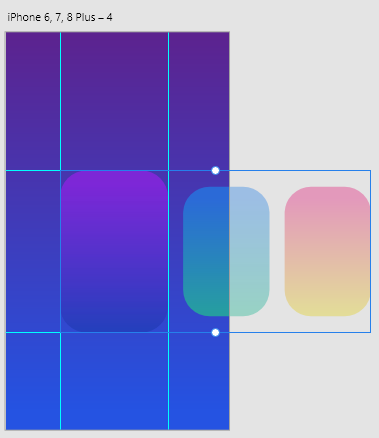
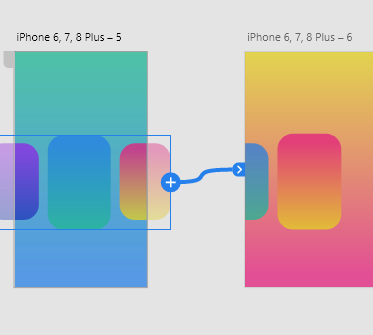
(3)复制 制作另外两个面板
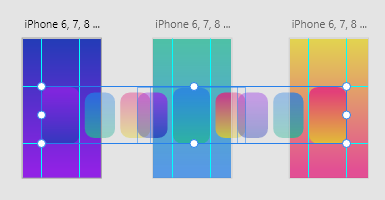
(4)选make Component>把中间的矩形物件>Drag>到另外的物件
6.下载字体 noto思源体 (影片Xd03 档案Xd02)
https://www.google.com/get/noto/
Noto Sans CJK TC ---> 有无衬线
noto Serif CJK TC ---> 无衬线
7.文字扩张成物件 可以变化成渐层色 (影片Xd03 档案Xd02)
Object>Path>Convert to path
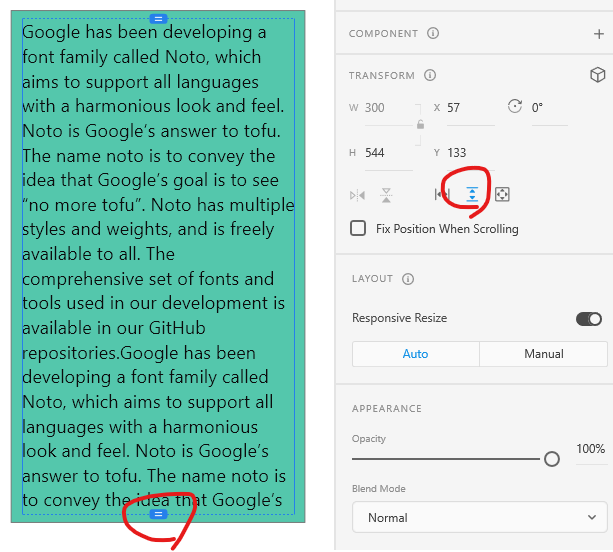
8.文字段落滑动 (影片Xd03 档案Xd02)
(1)复制一大段文字>贴上(不要选文字输入)
(2)Shift+Alt+V
以下开始动画
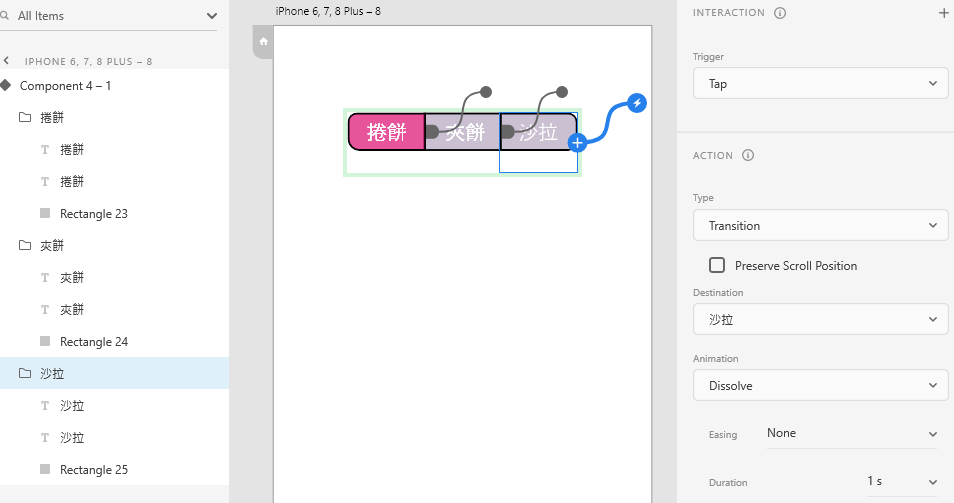
8.按钮换色 (影片Xd04 档案Xd02)
(1)制作图示:Alt 可以只拉一个角 让两边圆角
(2)录制文字>把同种类Group
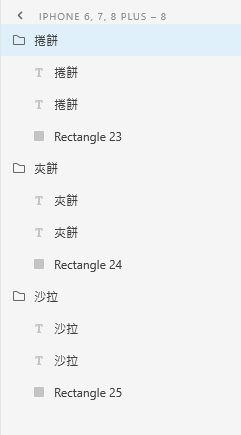
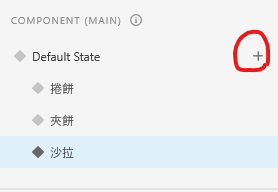
(3)全选>右键>Make Component>Component +
(4)点选第一个Component(卷饼)
(5)到图层>选卷饼Group>Retangle>换色
重复,此步骤要做切换後的效果
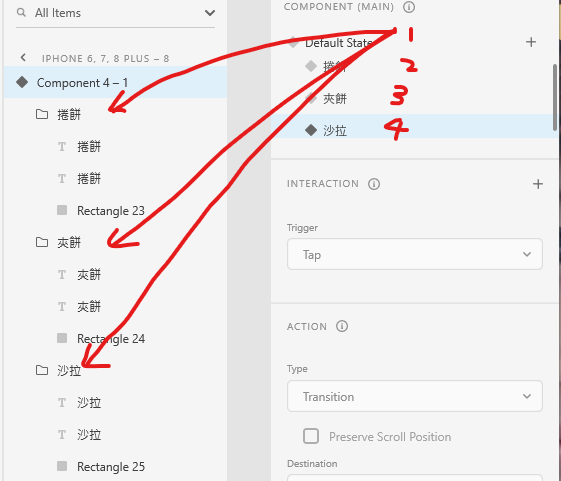
(6)Prototype>Component
(7)Tap>选要去的图层
左边是要被选取的按纽
右边是要做效果的页面
9.数字增减 (影片Xd04 档案Xd02)
(1)制作+>Object>Path>Convert To Path路径
(2)复制>制作-(因为直接做会歪掉 所以用+改)
遮罩
(3)划一个遮罩矩形>半透明(要看到怎麽遮)>选要遮罩的物件>右键>Mask with Shape
(4)全选>置中>右键>Make Component
Shift 下拉至1
(5)群组 - 跟 +
(6)并把数字拉到1(按住 Shift 选 1 2 3 4 5 图层)
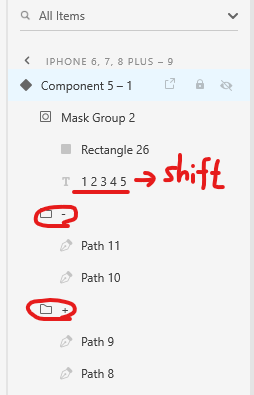
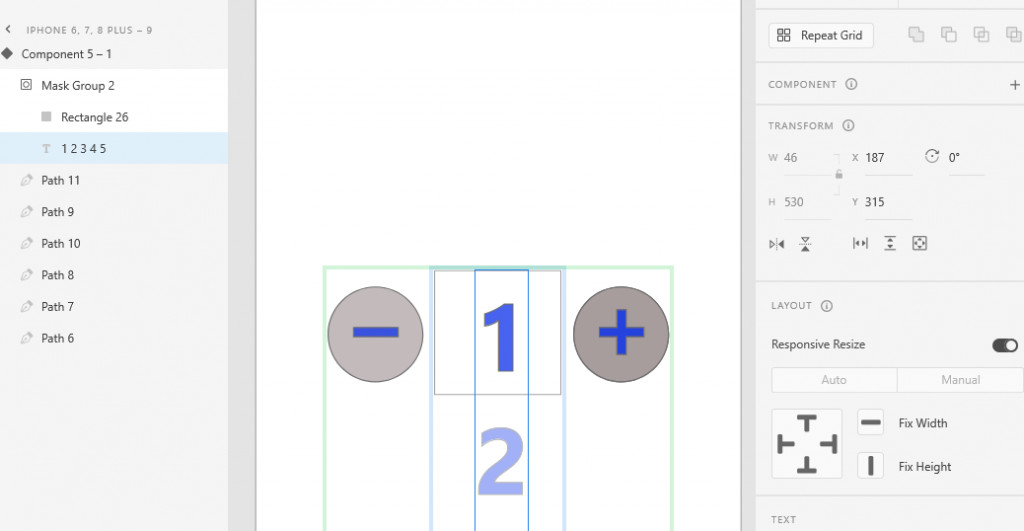
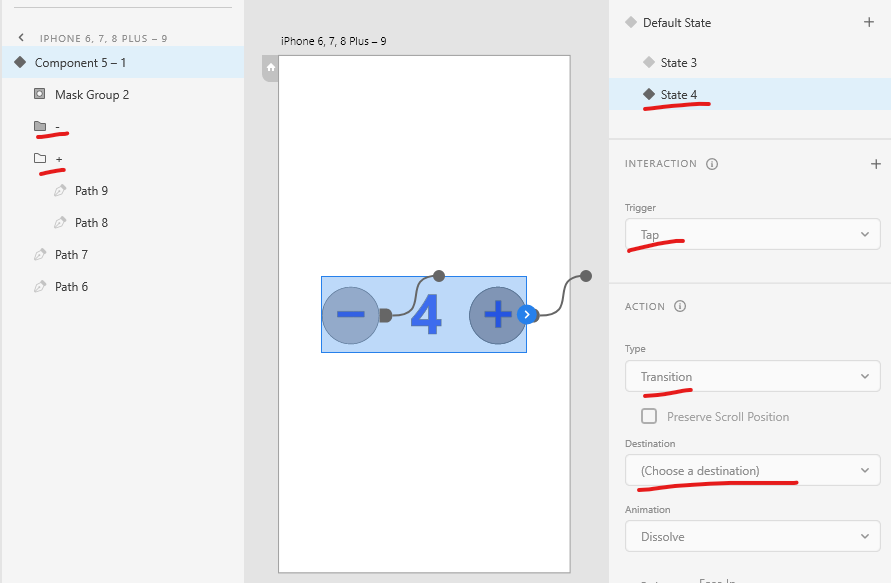
(7)增加Componen
2 3 4 5
(24***************************)
(6)Prototype>Tap>Snap>选要去的图层
左边是要被选取的按纽
右边是要做效果的页面
10.运动手表 (影片Xd04 档案Xd02)
Gap1000
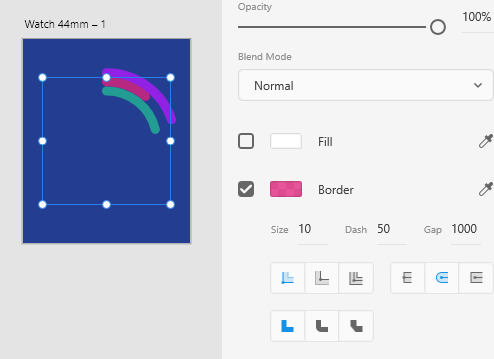
Prototype>Tap>Snap>选要去的图层
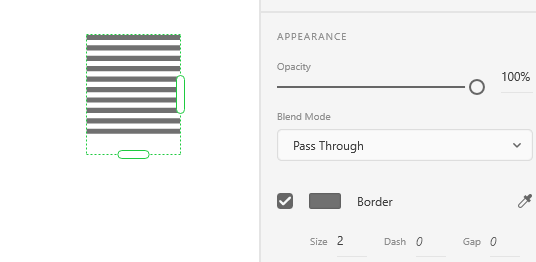
11.Pie图/圆饼图 (影片Xd04 档案Xd02)
(1)150*150的圆
(2)边框148
(3)Dash/Gap

12.智慧型家电介面 (影片Xd04 档案Xd02)
类似:smart home ui
(1)file>Import>汇入照片
(2)制作渐层的温度Bar
(3)刻度制作
a.做一组
b.Repeat Grid
c.Object>Path> Outline Stroke >连集
e.把渐层色码加到资料库
f.填色
(4)制作凹下去的Bar或是其他容器
a.Inner Shadow 6 6 6
b.Inner Shadow -6 -6 -6 fill不填色
(5)遮罩 a.灰色底图 b.渐层Bar c.同渐层Bar的遮色片
c.叠在b.上>全选>右键>Mask with Shape
制作遮罩,要多大的到小,去图层拉遮色片
(6)制作另一张效果成果图
(7)Prototype>Grap>选要去的图层
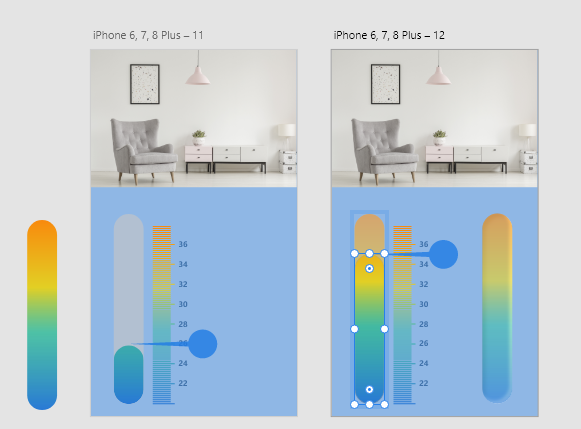
*此处拉了如果动画错误(变成直接跳跃),就用复制的贴到另一边
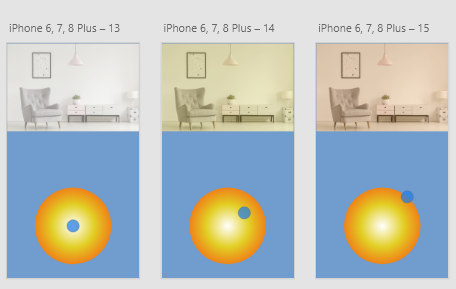
13.色温变更 (影片Xd04 档案Xd02)
(1)把要换色的地方增加透明图层
同一位置堆叠三个
(2)制作 效果完成图
(2)Prototype>Grap>选要去的图层
<<: Python 演算法 Day 2 - 理论基础 线性代数
右键卡卡转圈圈…Delphi执行外部程序 ShellExec API习作
右键卡卡转圈圈…Delphi执行外部程序 ShellExec API习作 前言动机: 电脑内软件愈灌...
NEC SV9100 小总机WEBPRO设定问题
请问大神: NEC SV9100 小总机进线会到语音宣告,但按1会跑到特定分机(例711),目前分机...
Day 15 - Spring Boot 注册与登入
前面几篇已经完成了资料库的基本操作跟使用Thymeleaf 呈现页面,接下来才真正要踏入Spring...
面试题:什麽是 SQL injection?如何预防?
什麽是 SQL injection 透过网页 input 或 url,在送资料的时候带 SQL qu...
Day 2 python简易语法
在开始学习机器学习之前,我们得先准备好环境,我们使用python来当我们的程序语言,稍微介绍一下py...