EP24 - 持续部署使用 Octopus Deploy 四部曲,整合 Jenkins 自动部署到 EKS
今天终於将实作做完了,
前几天我们都在调整系统底层的设定,
为的就是在 UI 上面可以直接连接,
今天我们终於可以继续在 UI 上,
直接设定专案,
并把整条部署流水线建起来。
设定 Octopus 专案 Process
添加 ECR Repository
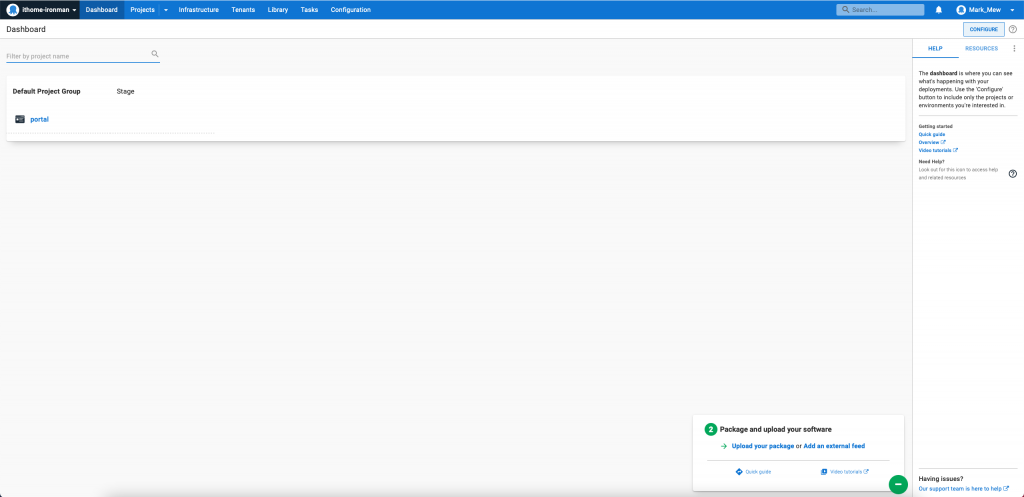
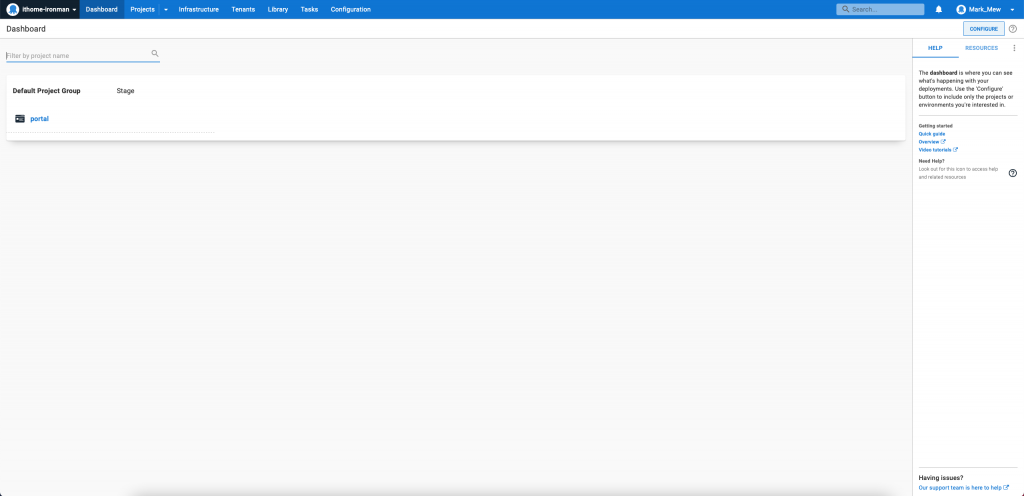
登入 Octopus
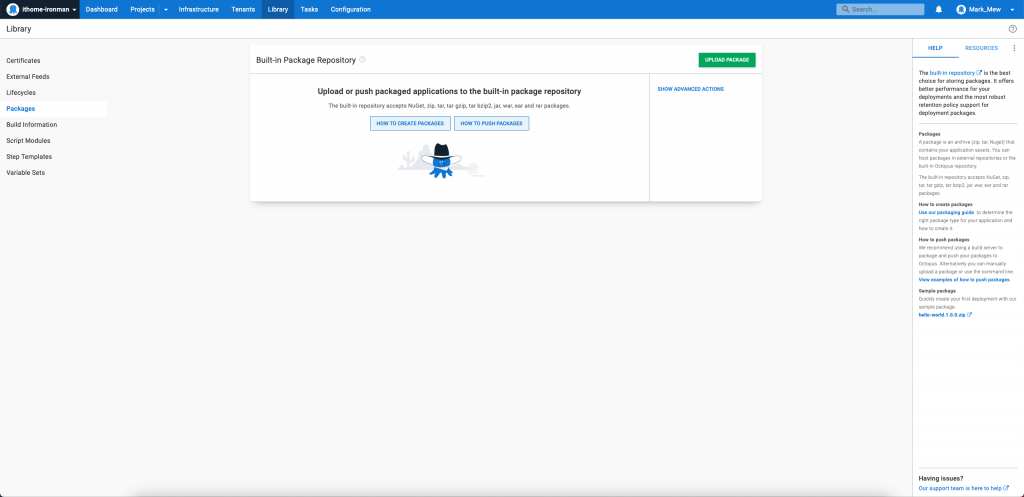
点选上方 Library
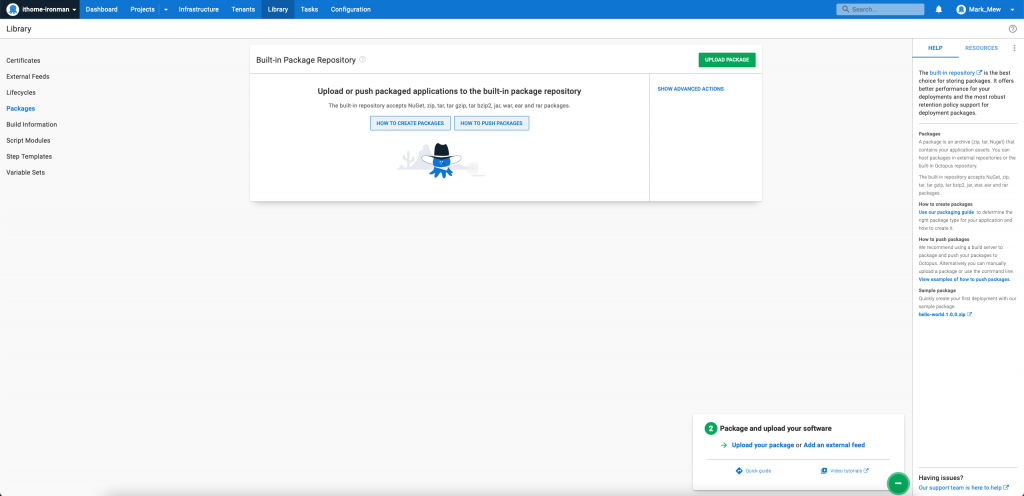
点选左侧的 External Feeds

按下 ADD Feed,添加 Repostiroy
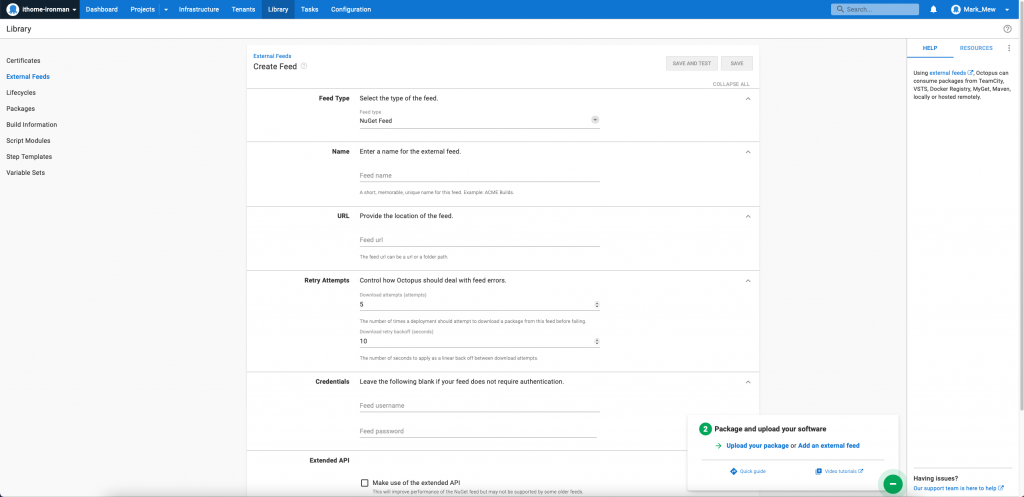
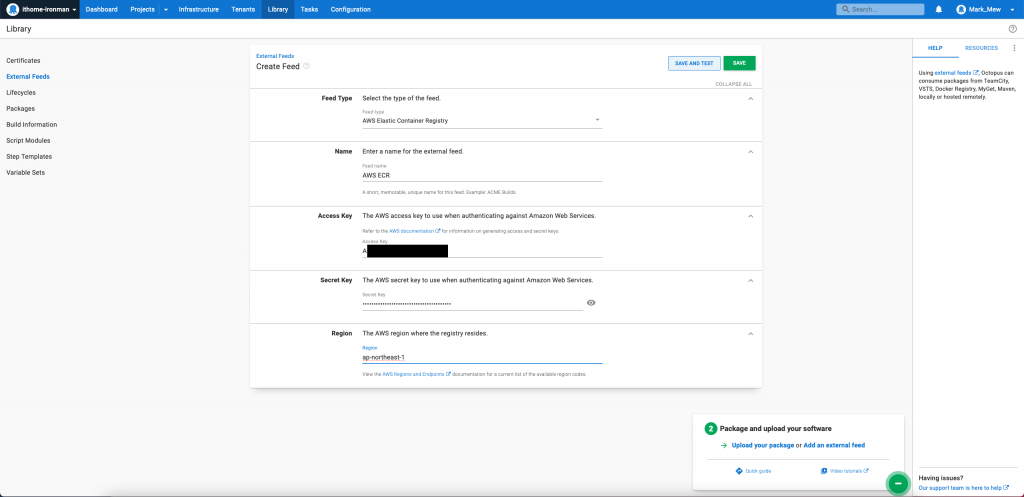
填写所需资料,并按下 SAVE AND TEST
TOKEN 和 SECRETS 一样使用 Jenkins 那组
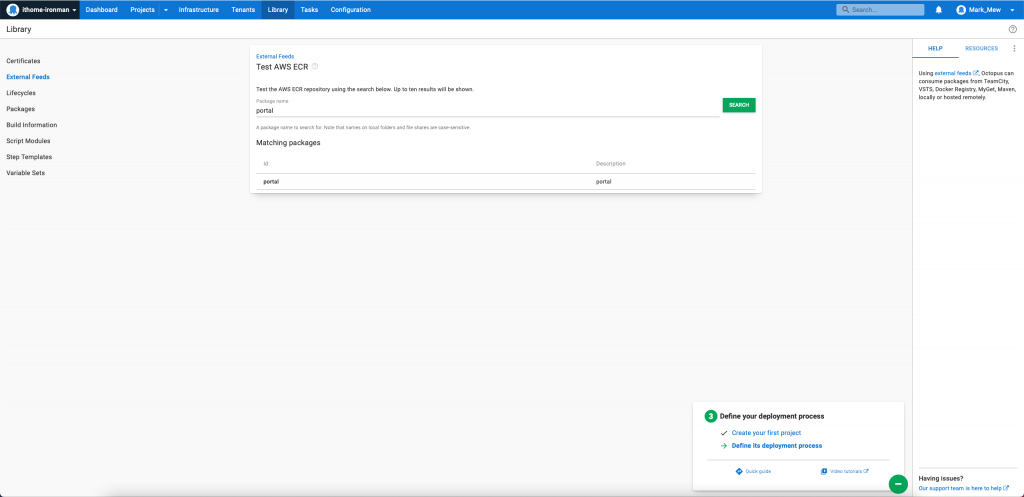
输入 repostiory 的名称
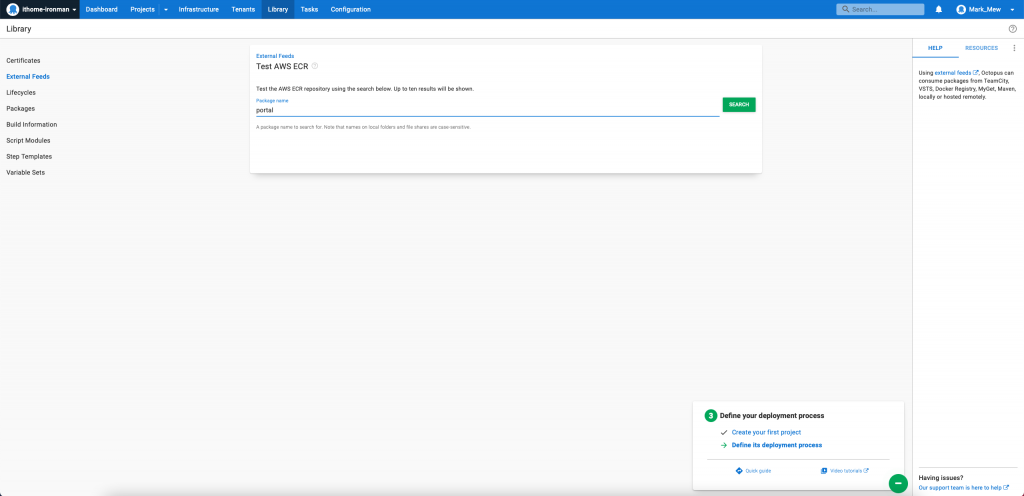
如果有找到,表示设定成功
为专案添加参数组
这步骤是为了把所有系统需要的参数做管理
并且可以根据不同环境 assign 不同变数
如果专案中有细项需要修改
则可以将共用的放在 Library Sets 中
并在专案内部设定自己需要的参数
进入专案页
点按左侧 Variable

选择 Library Sets
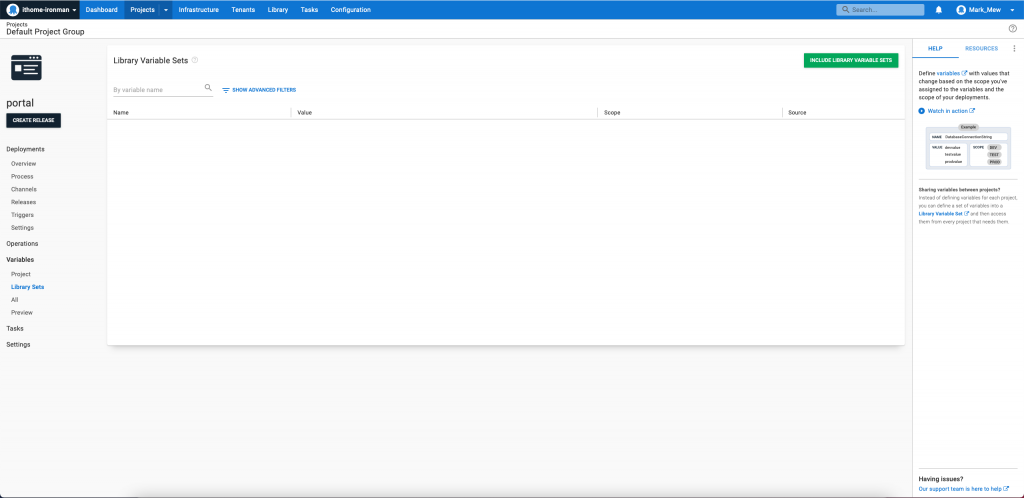
点按 INCLUDE LIBRARY VARIABLE SETS
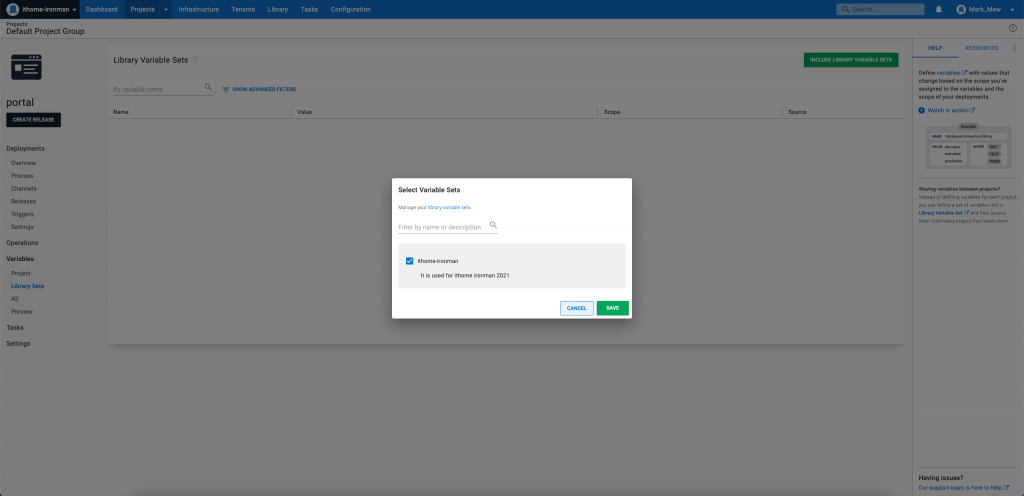
添加完成

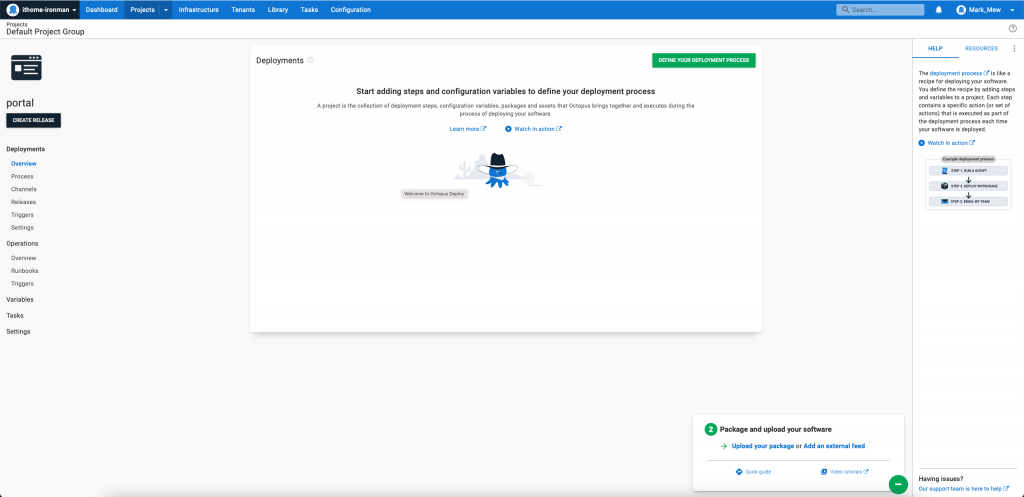
设定部署流程
进入专案页
点按左侧的 Process
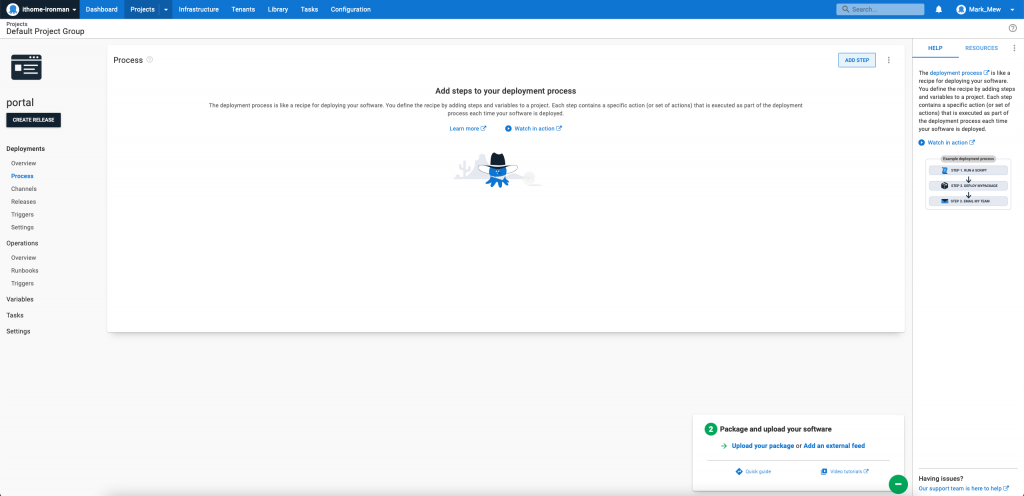
点按 ADD STEP,并选择 Kubernetes
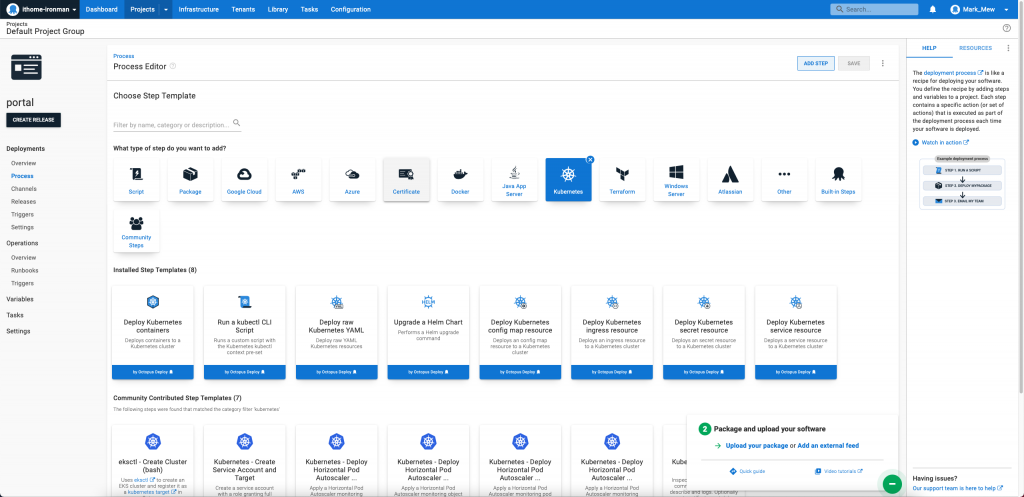
选择 Deploy Kubernetes RAW YAML
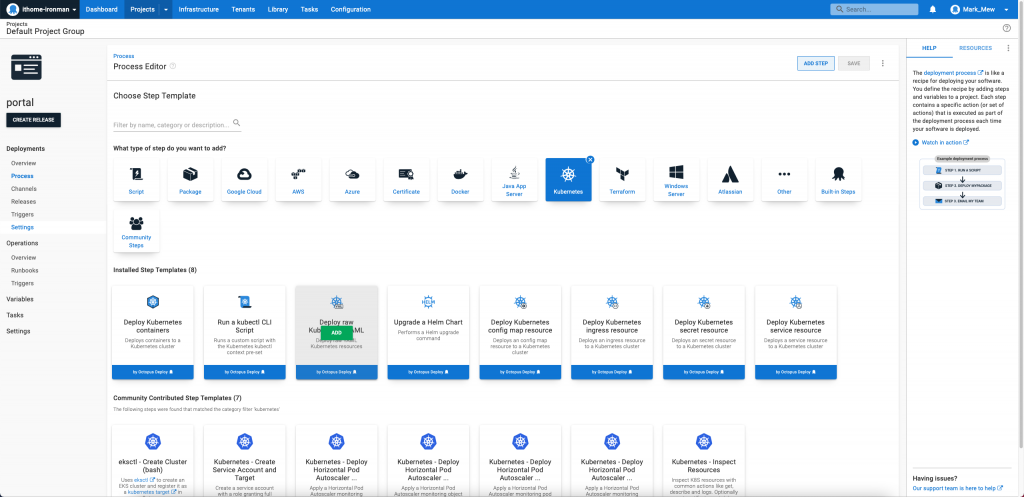
On Behalf Of 选择昨天建立的 jenkins-stage
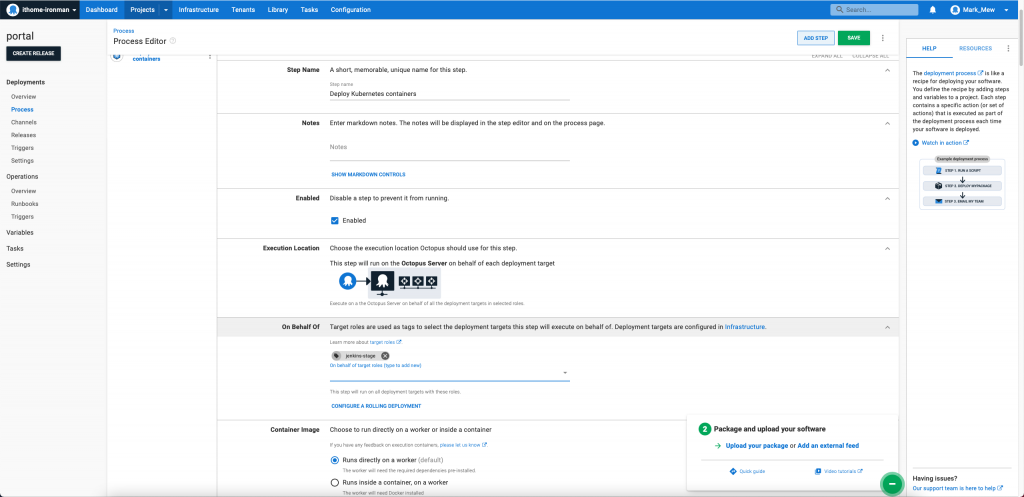
按下 ADD SOURCE CODE
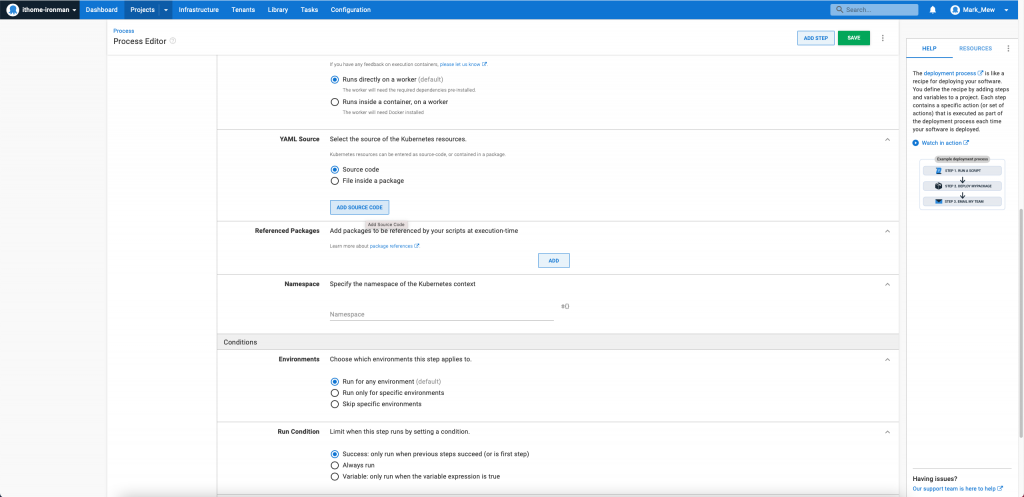
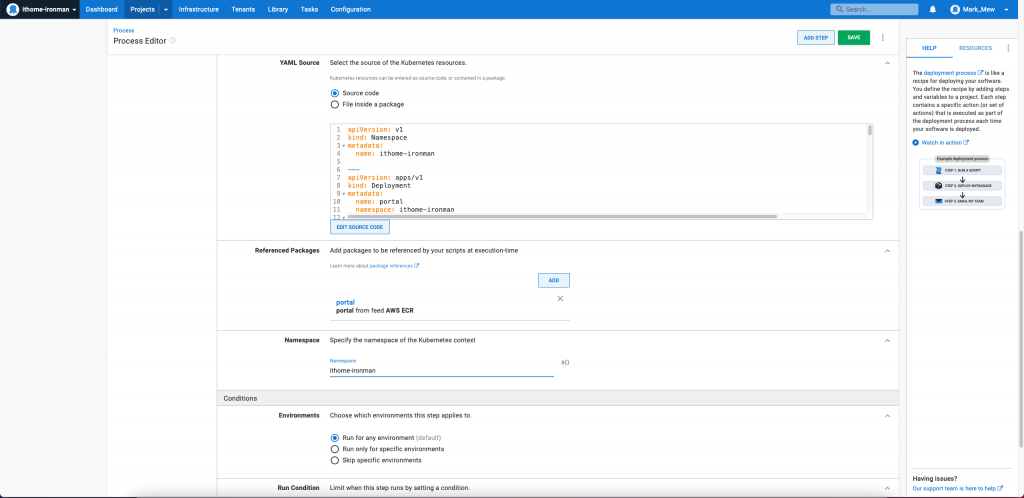
将之前部署流程的 deploy.yaml 贴上

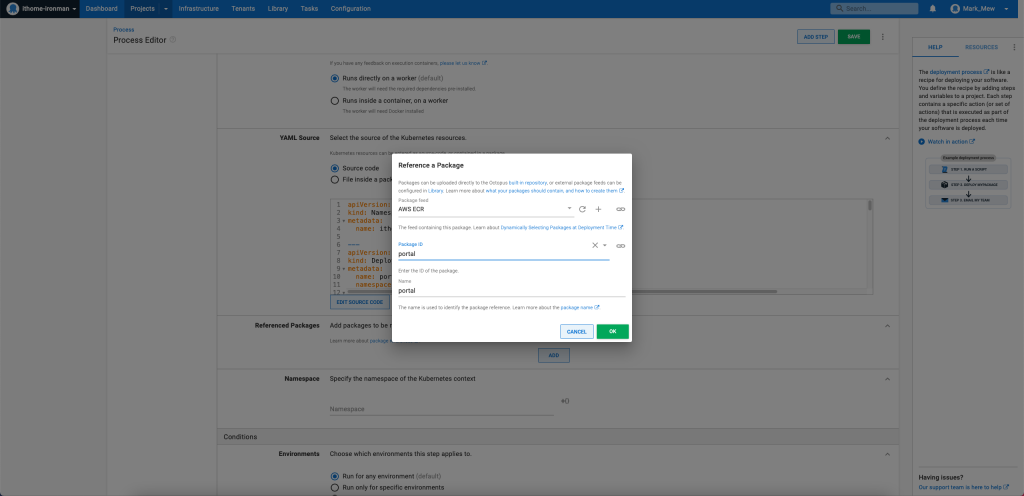
填写 ECR 资讯
填写 namespace
当然也可以选择
Deploy Kubernetes Container
不过经过测试
目前似乎 ingress 的部分
api version 卡在 v1beta1 和 v1 的部分
所以建议还是先使用

调整 YAML source code
新增 configMap
apiVersion: v1
kind: ConfigMap
metadata:
  name: portal-config
  namespace: ithome-ironman
data:
  config.json |
    {
      "RDS_HOST": "#{RDS_HOST}"
      "USERNAME": "#{USERNAME}"
      "PASSWORD": "#{PASSWORD}"
    }
Deployment 挂载 config map
apiVersion: apps/v1
kind: Deployment
metadata:
  name: portal
  namespace: ithome-ironman
spec:
  volumes:
    - name: portal-config-volume
      configMap:
        name: 'portal-config'
  replicas: 1
  selector:
    matchLabels:
      app: portal
  strategy:
    type: RollingUpdate
    rollingUpdate:
      maxSurge: 1
      maxUnavailable: 0
  minReadySeconds: 10
  template:
    metadata:
      name: portal
      labels:
        app: portal
    spec:
      containers:
      - name: portal
        image: [你的 AWS 10 码 ID].dkr.ecr.ap-northeast-1.amazonaws.com/portal:latest
        ports:
        - name: portal
          containerPort: 31000
        volumeMounts:
          - name: portal-config-volume
            mountPath: /var/www/portal/config.json
            subPath: config.json
        resources:
          limits:
            memory: "512M"
            cpu: "300m"
          requests:
            memory: "200M"
            cpu: "100m"
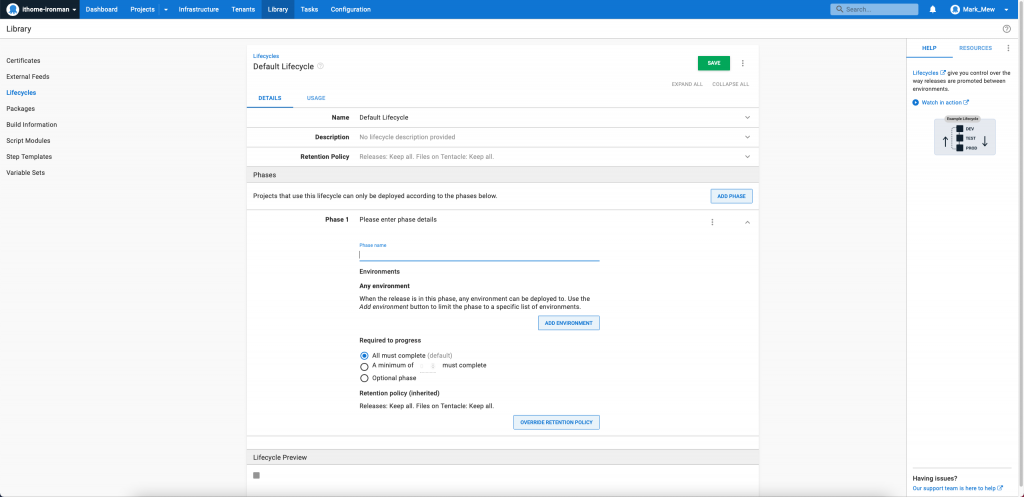
将专案调整成自动部署
网页上方选择 Library
选择 Lifecycles
选择 Default
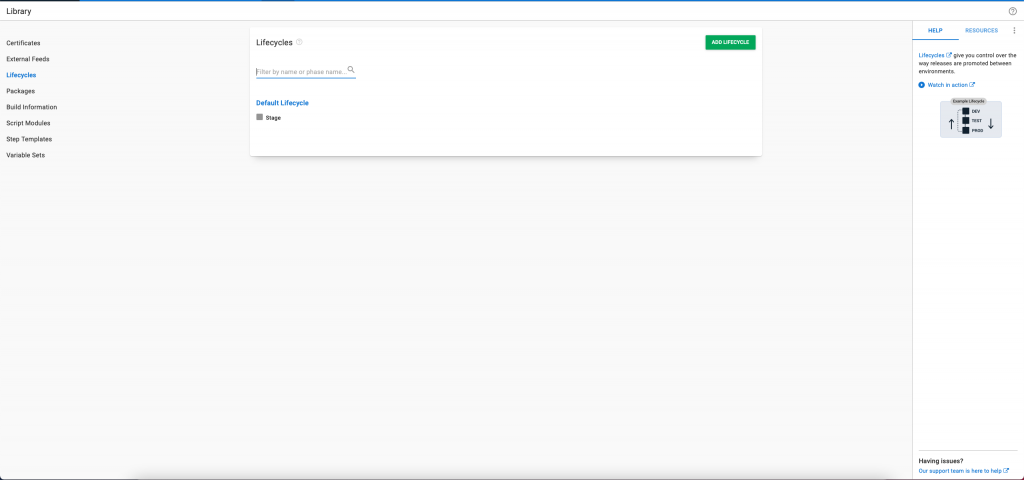
按下 ADD PHASE
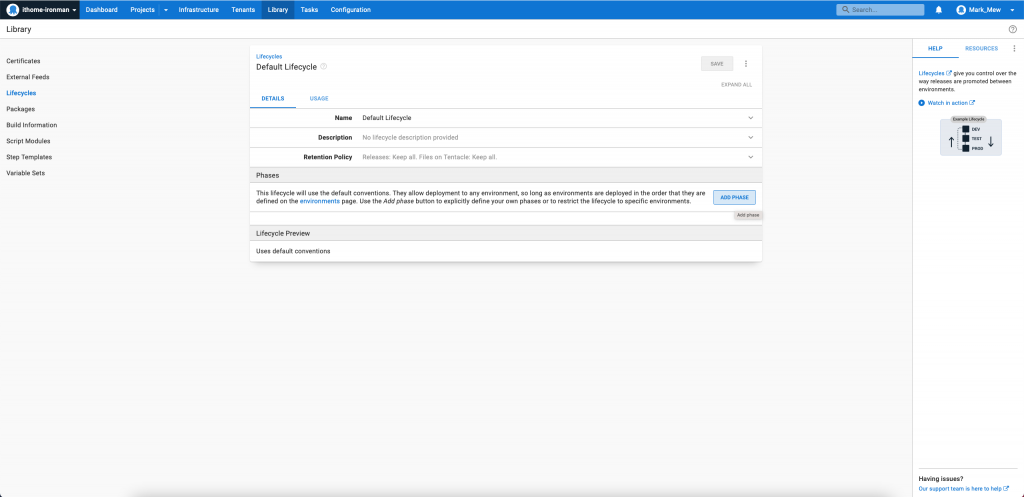
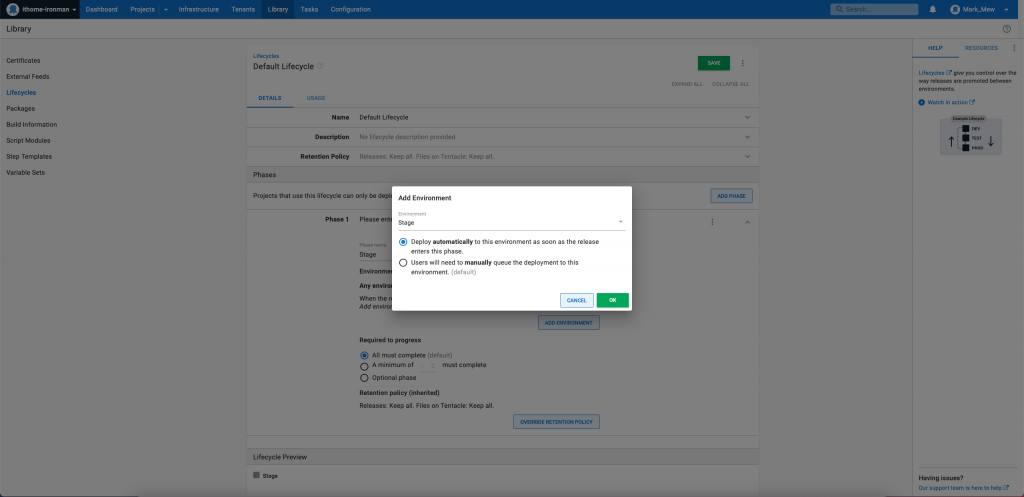
Phase 名称输入 Stage,并点按中间的 ADD ENVIRONMET
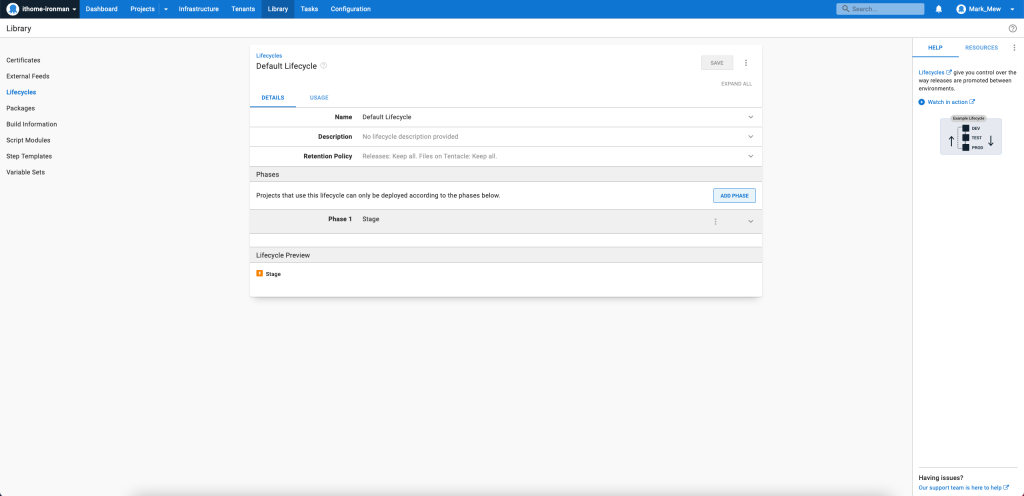
选择 Stage 和 Automatically Deploy
储存後可看到刚刚新增的结果
调整 Jenkins 部署
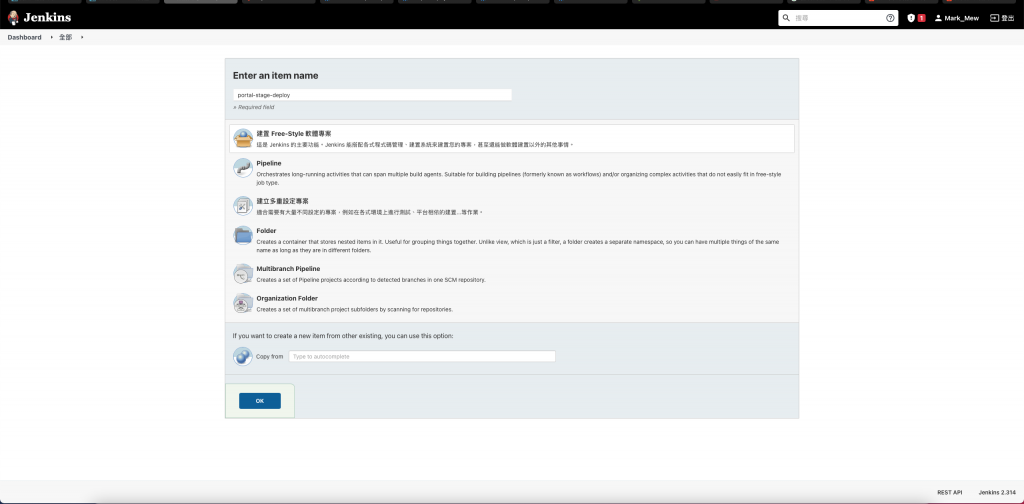
建立 FreeStyle 专案
Jenkins 首页
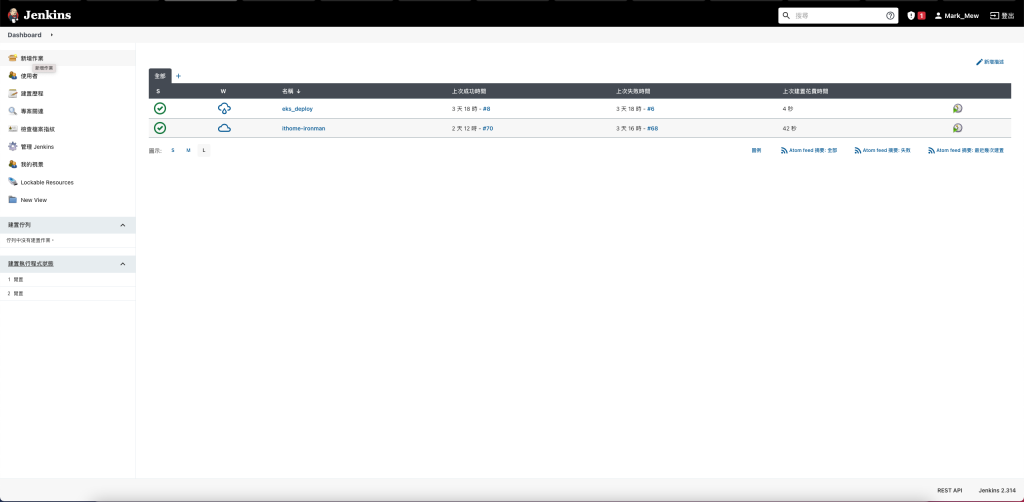
建立 FreeStyle 专案
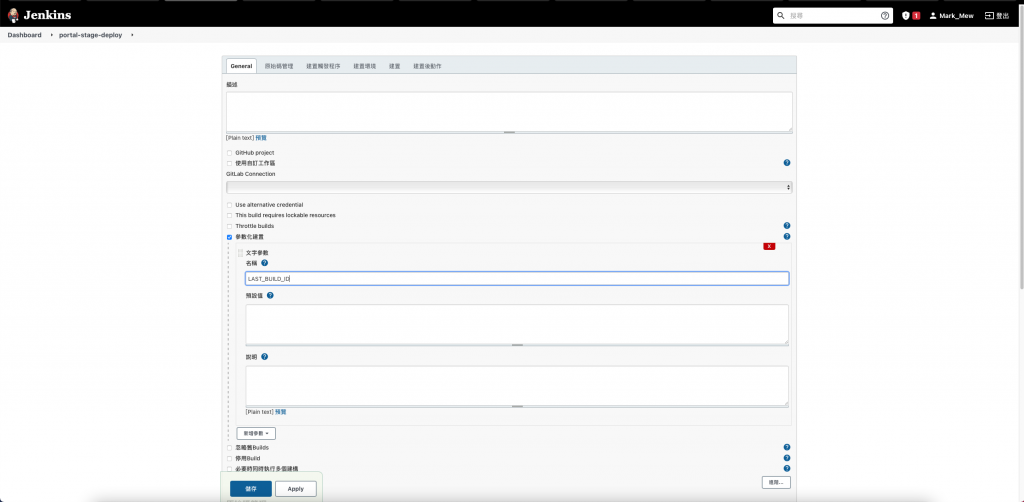
新增一个建置参数
等等会从原本的 pipeline 传入
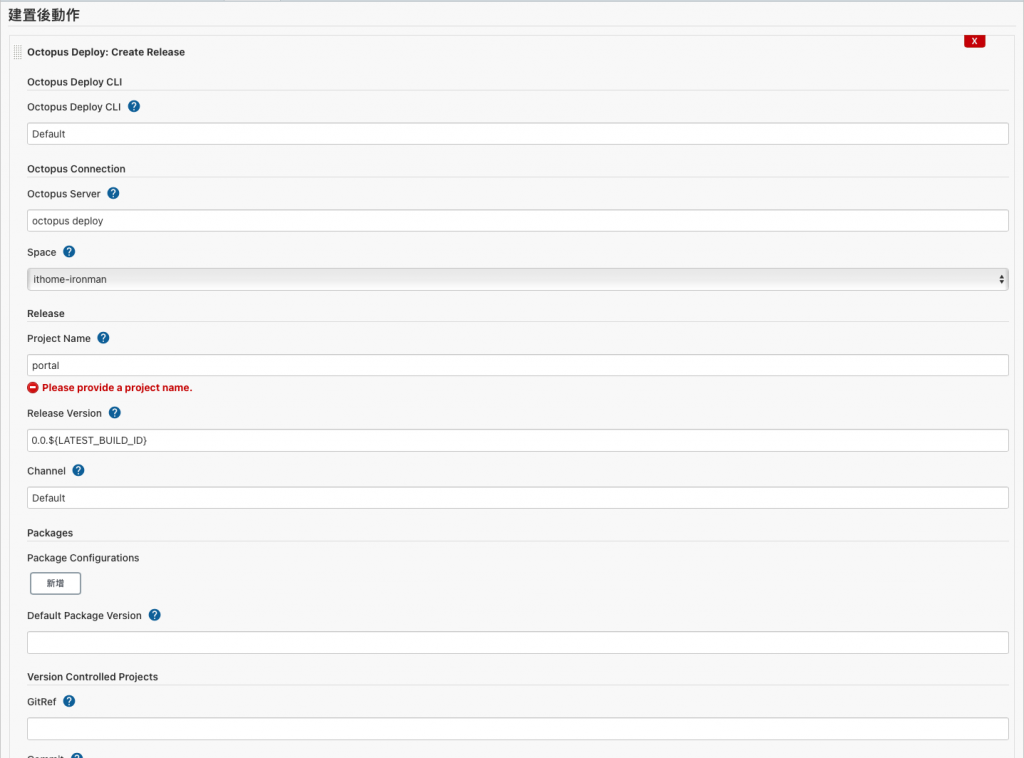
在建置後触发流程,选择 Create Release 到 Octopus

填写相关资讯
调整 Pipeline
新增 stage
将 Deploy to EKS 和 Deploy 删除起来
并新增 Trigger Octopus Deploy
    stage('Trigger Octopus Deploy') {
        steps {
            build job: 'portal-stage-deploy', parameters: [[$class: 'StringParameterValue', name: 'LATEST_BUILD_ID', value: "${env.BUILD_ID}"]]
        }
    }
新增 post action
在专案最下方
与 stages 同一层新增 post 区块
这个的用意是 CI/CD 结束後
清理 Workspace
如果没有清理 Workspace
会造成 CI 过程中打包的 .tar.gz 档不会更新
  post {
    always {
      cleanWs(cleanWhenNotBuild: false,
              deleteDirs: true,
              disableDeferredWipeout: true,
              notFailBuild: true,
              pattern: [[pattern: '.gitignore', type: 'INCLUDE'],
                        [pattern: '.pyc', type: 'INCLUDE'],
                        [pattern: '.propsfile', type: 'EXCLUDE']]

      )
    }
  }
Check-in 程序码
git add Jenkinsfile
git commit -m "adjust pipeline with integrating octopus deploy"
今天我们整合完 Octopus Deploy 和 Jenkins
让我们在 Push Code 之後
可以自动部署到 EKS
Octopus Deploy 的功能真的蛮强大的
除了支援各种部署方式以外
将系统参数打包成 Library Sets 更是好用的一种方式
系统连线的明码不进版控
而且有介面可以简单编辑
部署方面也充分模组化
只需要更改 lifecyle
当你需要多个环境时
可以修改 library sets 和 lifecyle
就可以根据不同的环境套用不同的参数
但是在部署流程中 (Process) 又是使用同一套方式
[Day08] TS:什麽!型别也能做条件判断?认识 Conditional Types
上面这个是今天会提到的内容,如果你已经可以轻松看懂,欢迎直接左转去看我队友们的精彩文章! 昨天我们...
使用storyboard实现代理功能
缘由: 这应该也算是我没学好的项目之一,tableview也算是开发实务里很常见的元件,举凡要连续套...
Rust-资料型别-整数、浮点数
Rust是静态型别语言,所以在编译时需要知道变数的型别是什麽 前面的程序范例很多是没有宣吿型别但是却...
未来流通产业情报站,资料团队分工厘清
每一次的重要决策,都左右着後面的行为发展,非常棒的产业蓝图关键链 跨足零售产业,电商产业,物流产业,...
【D24】使用新厨具:bid and ask
前言 现在取得资料也差不多了,换换使用bid and ask吧!看看这是什麽新厨具,可以制作出什麽新...