第20天~Fragment
Fragment片段
https://developer.android.com/guide/fragments
也是开新专案
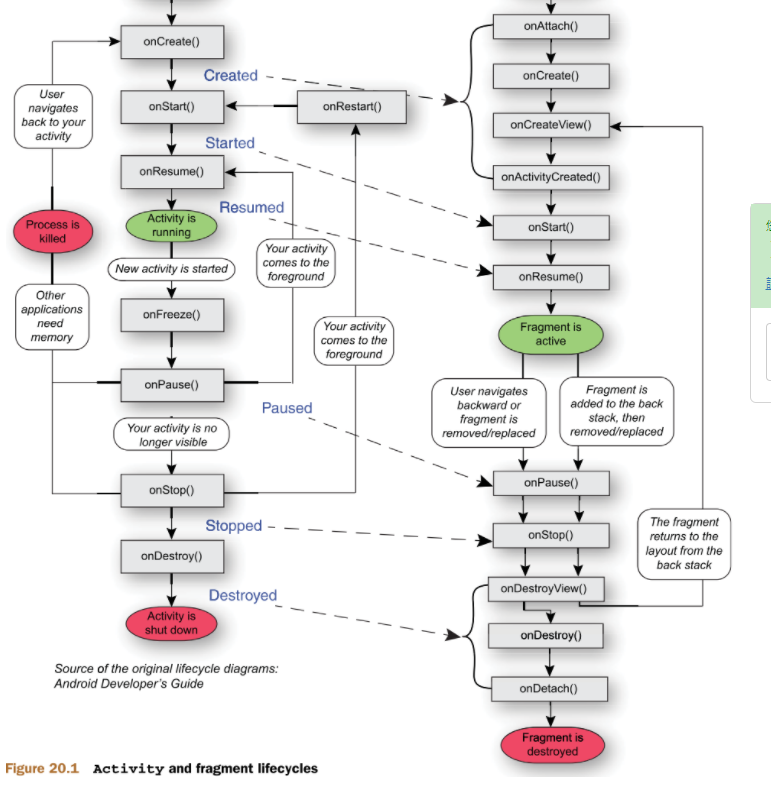
看流程图~
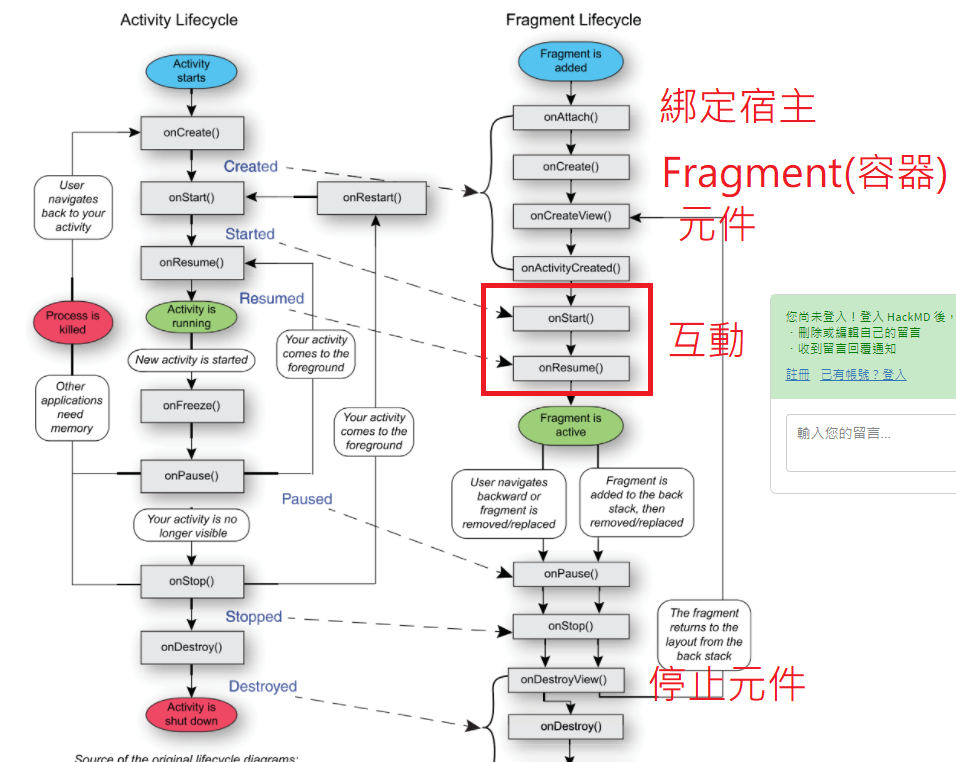
下面
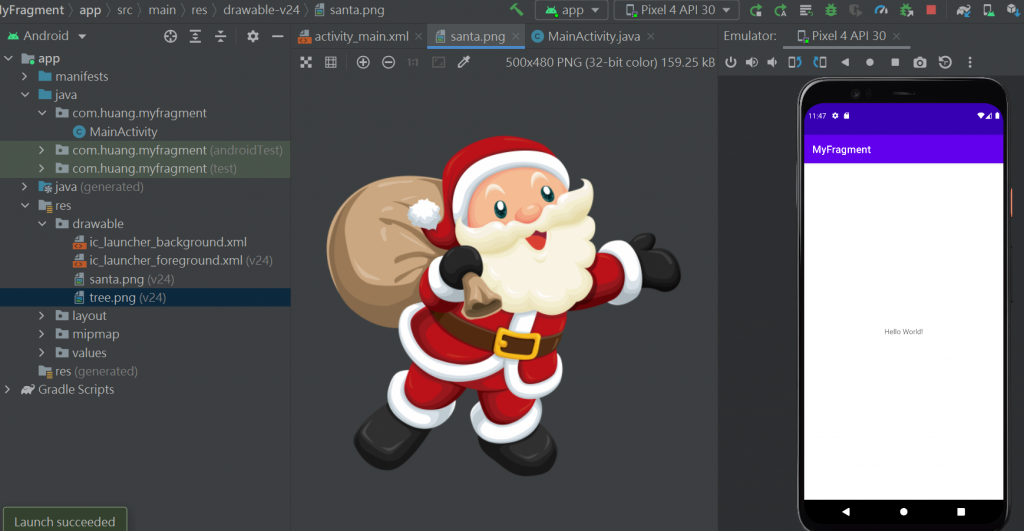
放入两张图片档
File-based resource names must contain only lowercase a-z, 0-9, or underscore
图片的命名只可以用a-z, 0-9
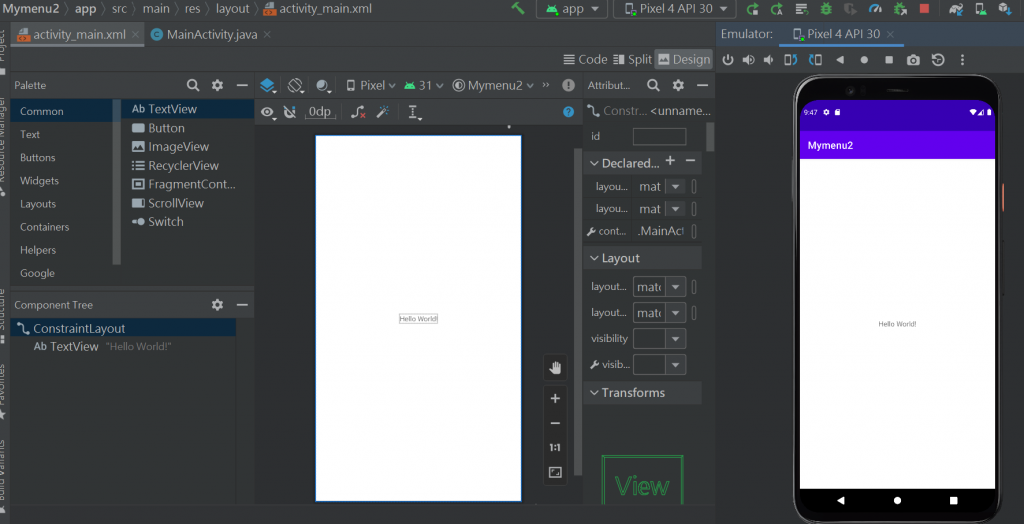
开始到xml档排版-
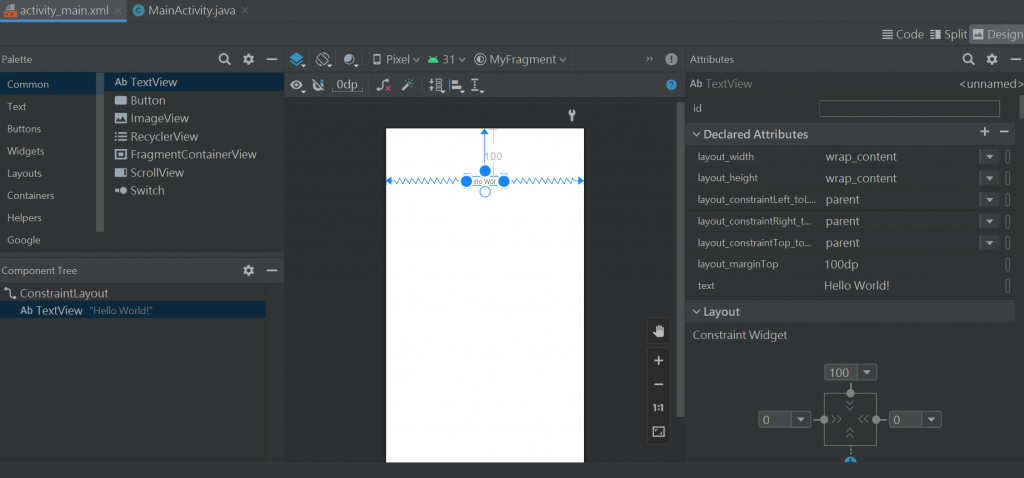
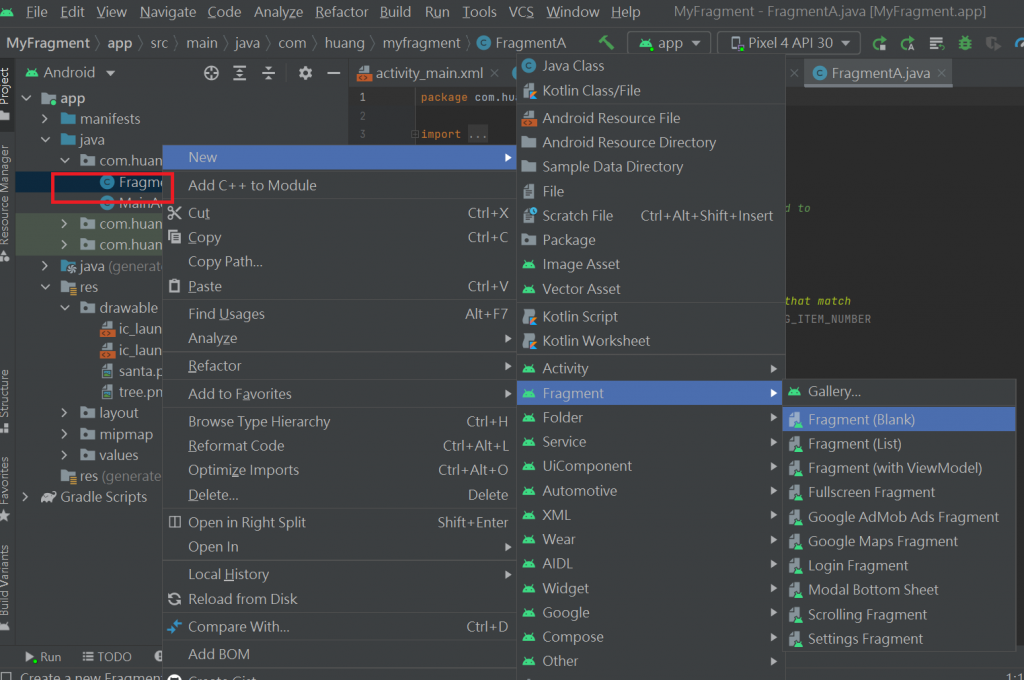
找Fragment
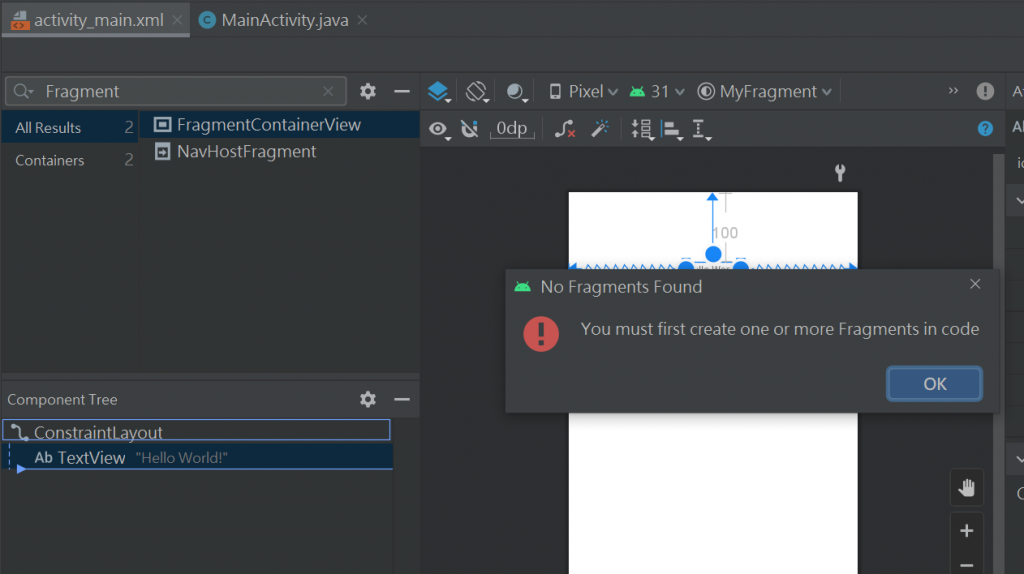
说要用code写
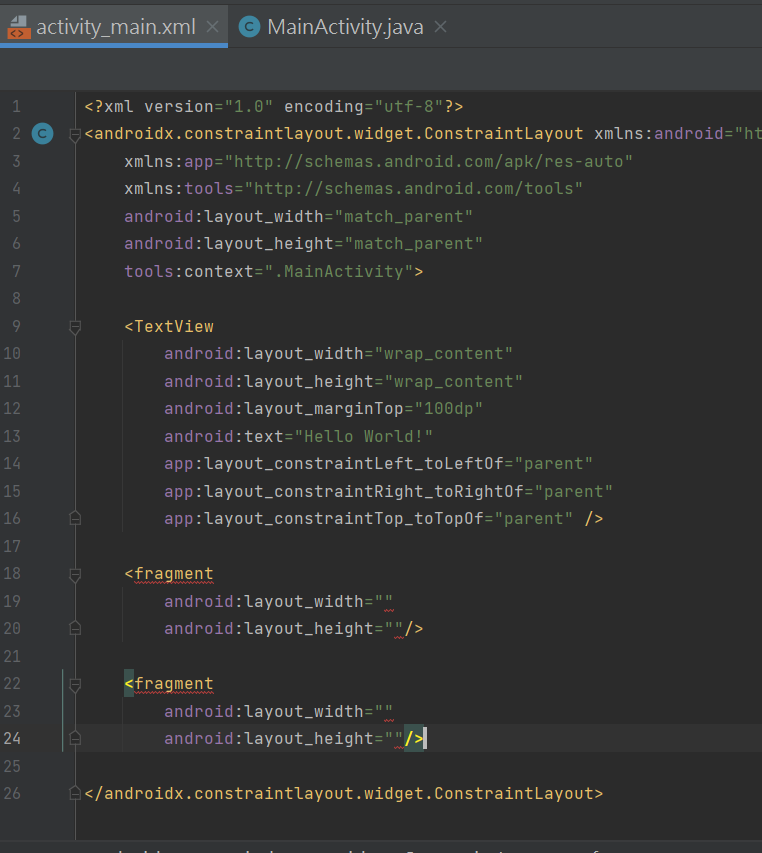
<fragment
        android:layout_width=""
        android:layout_height=""/>
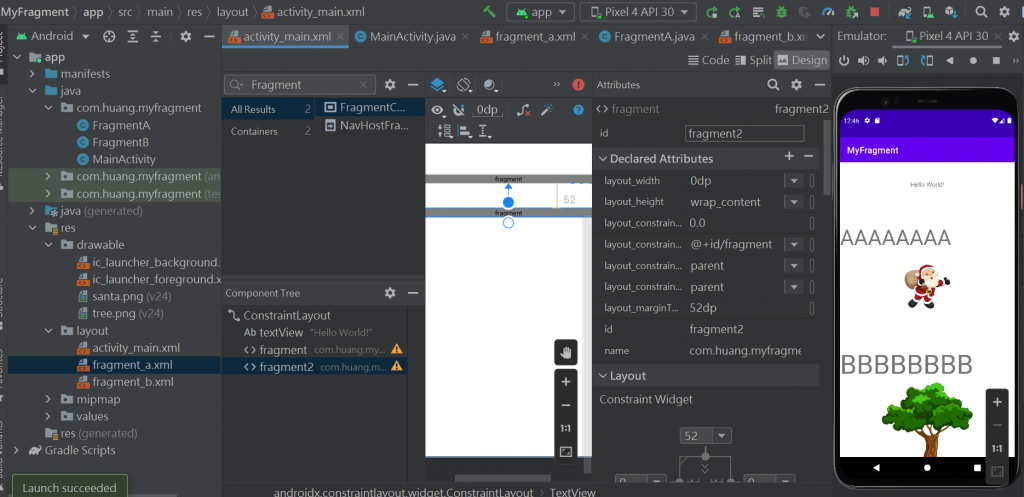
回到design去调
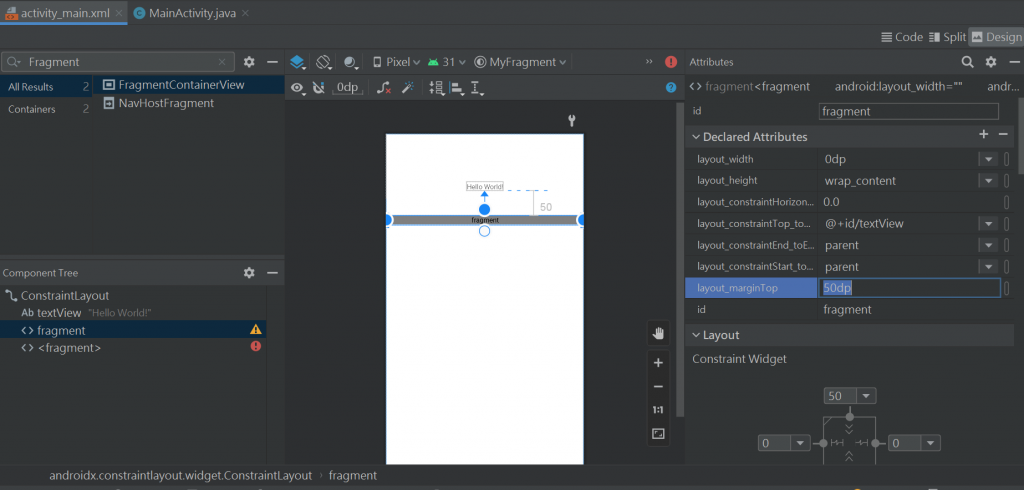
再调第2个
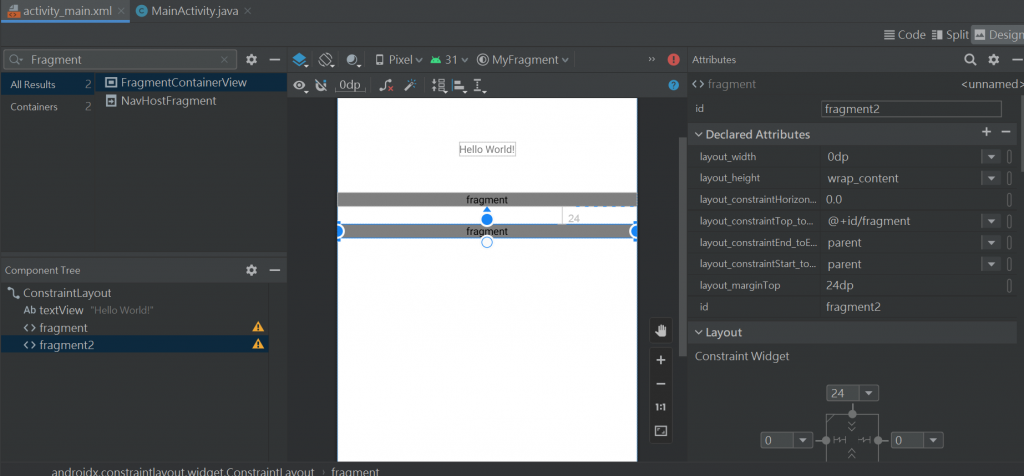
到目前的程序码-
<?xml version="1.0" encoding="utf-8"?>
<androidx.constraintlayout.widget.ConstraintLayout xmlns:android="http://schemas.android.com/apk/res/android"
xmlns:app="http://schemas.android.com/apk/res-auto"
xmlns:tools="http://schemas.android.com/tools"
android:layout_width="match_parent"
android:layout_height="match_parent"
tools:context=".MainActivity">
<TextView
android:id="@+id/textView"
android:layout_width="wrap_content"
android:layout_height="wrap_content"
android:layout_marginTop="100dp"
android:text="Hello World!"
app:layout_constraintLeft_toLeftOf="parent"
app:layout_constraintRight_toRightOf="parent"
app:layout_constraintTop_toTopOf="parent" />
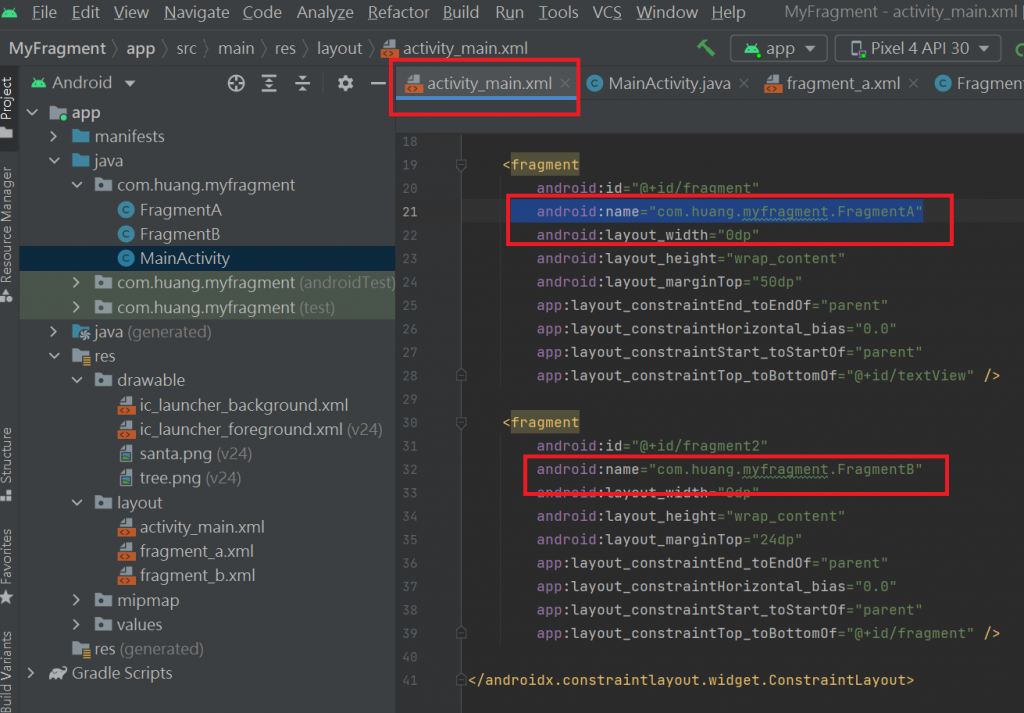
<fragment
android:id="@+id/fragment"
android:layout_width="0dp"
android:layout_height="wrap_content"
android:layout_marginTop="50dp"
app:layout_constraintEnd_toEndOf="parent"
app:layout_constraintHorizontal_bias="0.0"
app:layout_constraintStart_toStartOf="parent"
app:layout_constraintTop_toBottomOf="@+id/textView" />
<fragment
android:id="@+id/fragment2"
android:layout_width="0dp"
android:layout_height="wrap_content"
android:layout_marginTop="24dp"
app:layout_constraintEnd_toEndOf="parent"
app:layout_constraintHorizontal_bias="0.0"
app:layout_constraintStart_toStartOf="parent"
app:layout_constraintTop_toBottomOf="@+id/fragment" />
</androidx.constraintlayout.widget.ConstraintLayout>
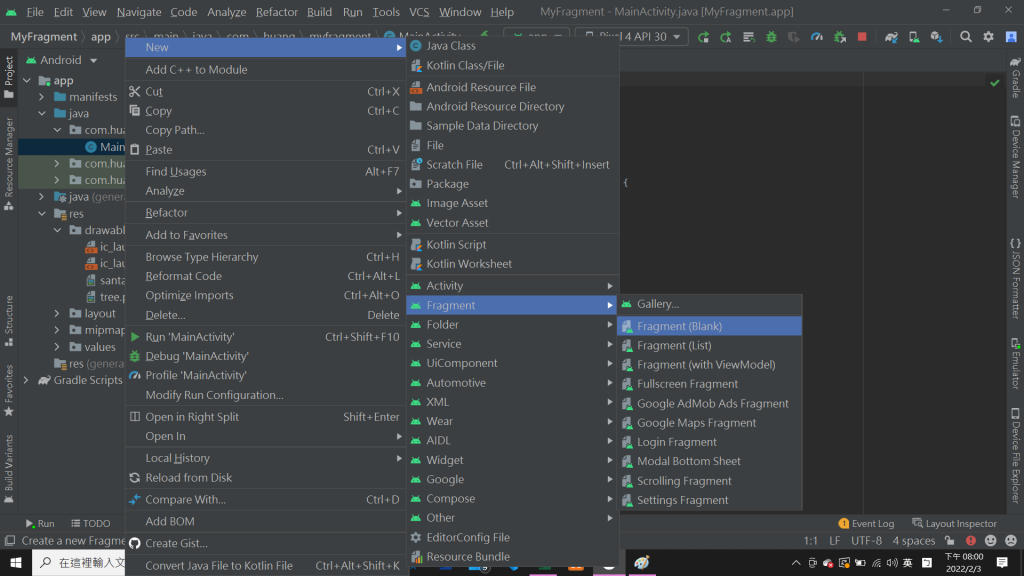
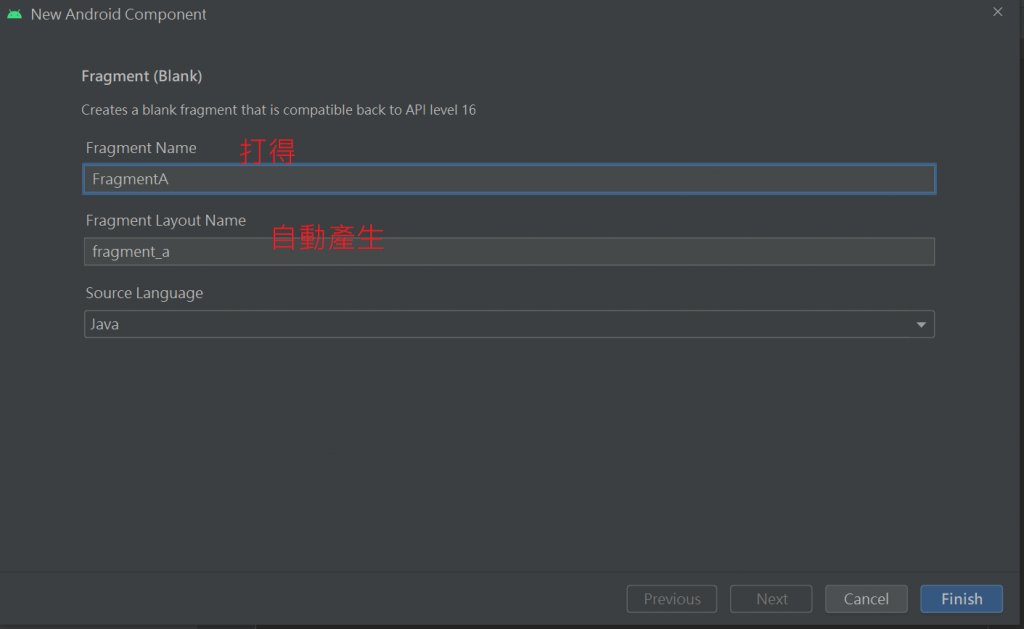
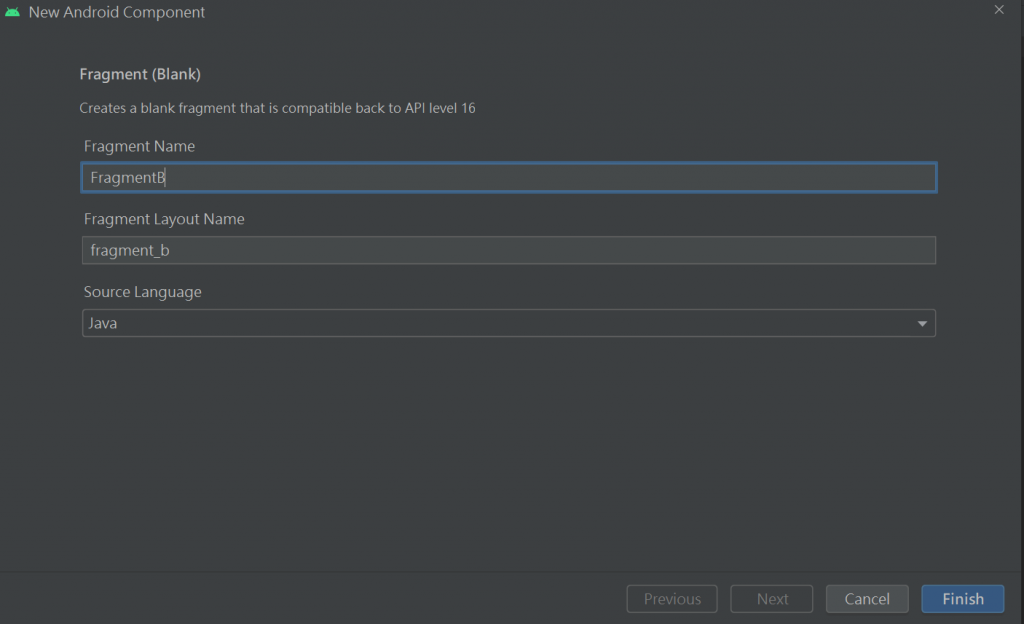
新增 fragment档
在manifests档里面没有是正常的~因为他是依附着
再新增一个

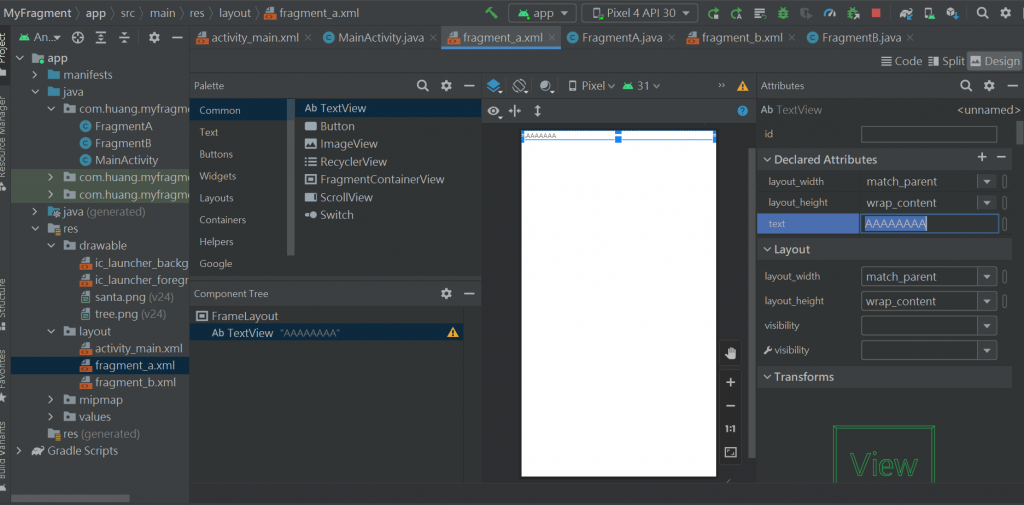
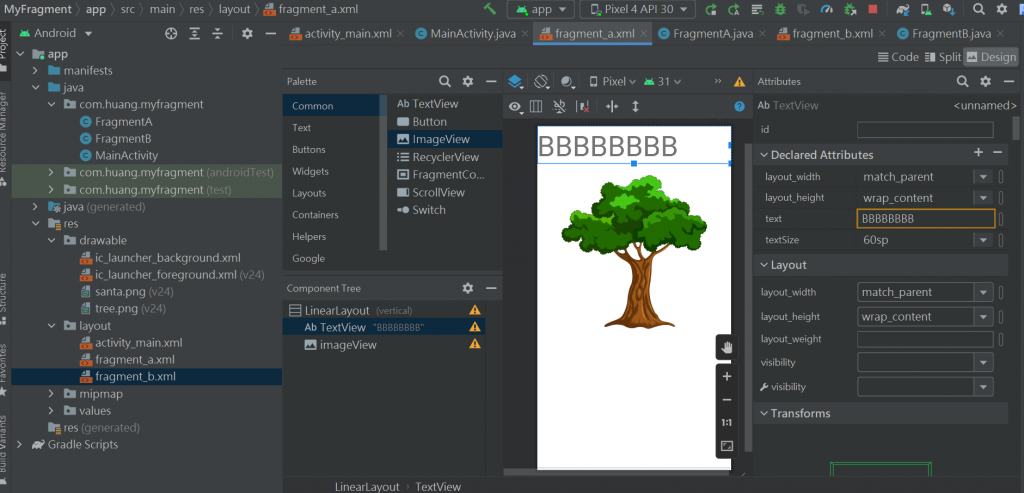
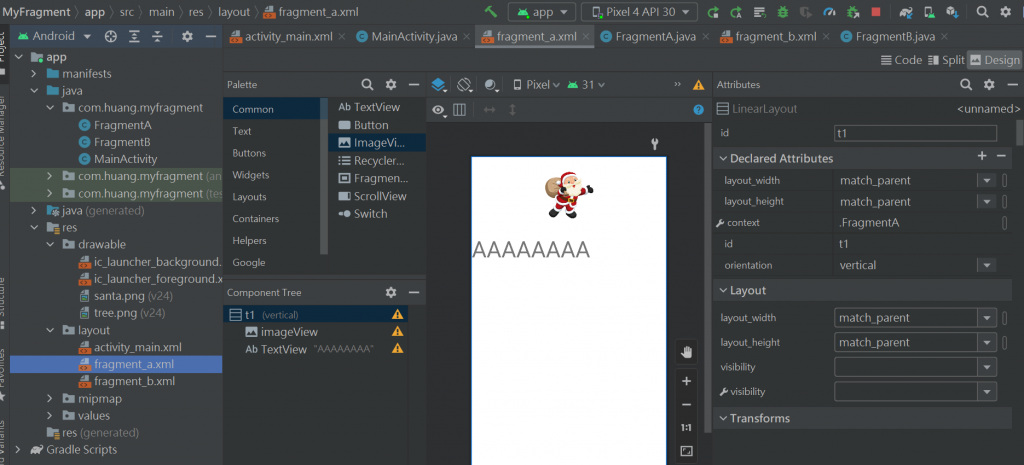
点到frafment_a.xml档
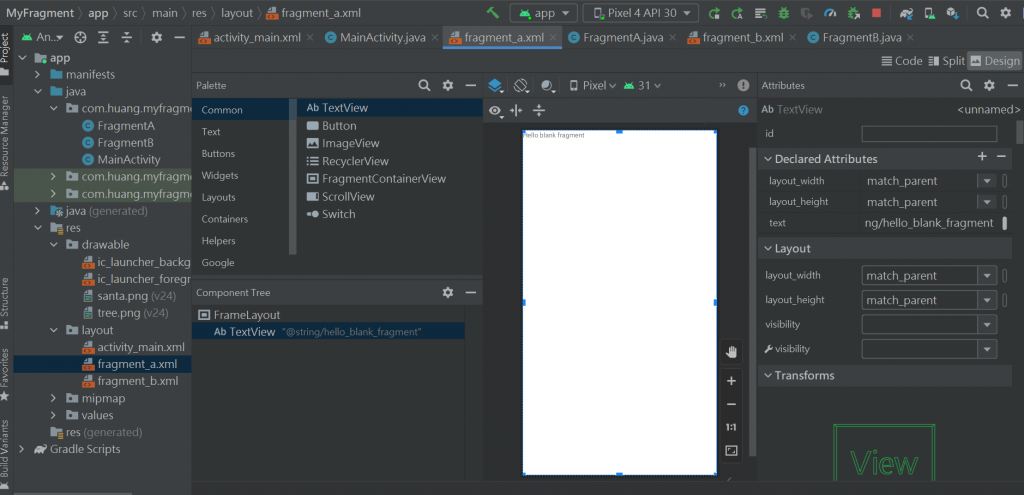
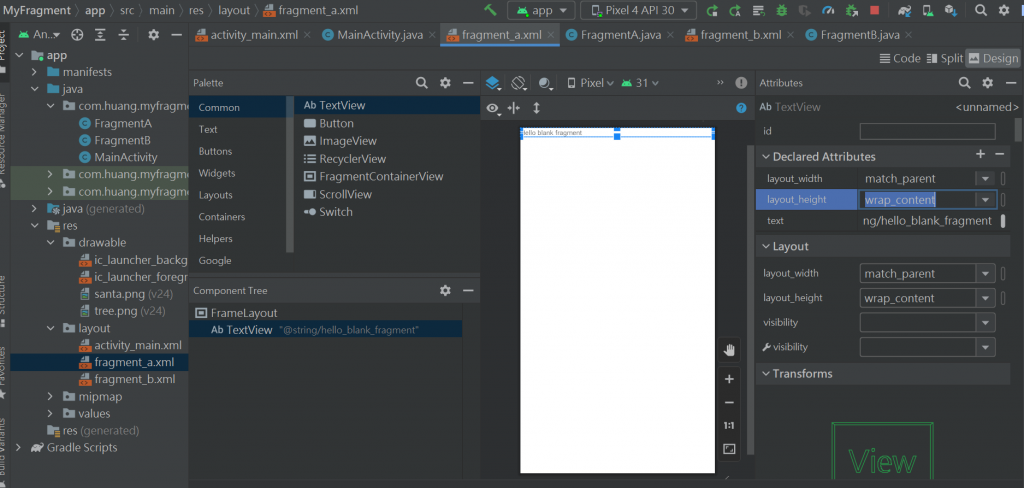
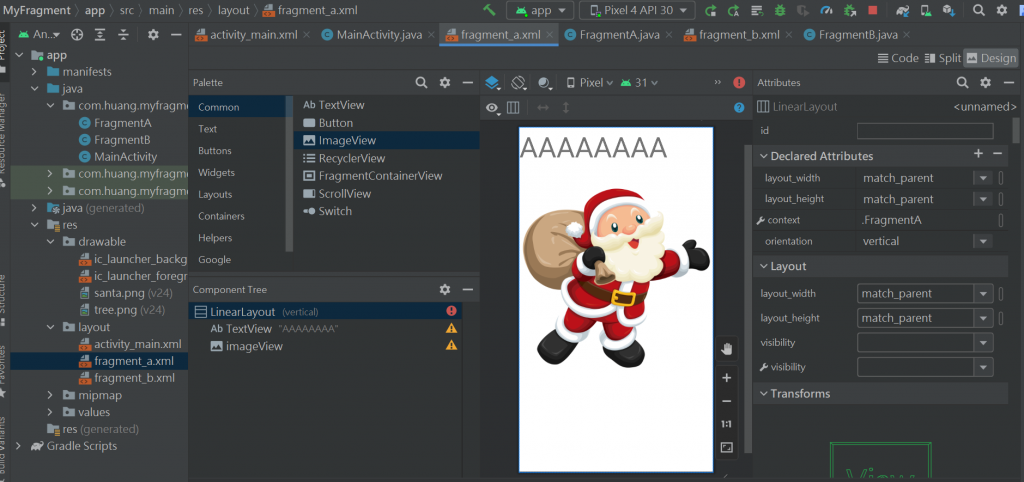
改layout_height为wrap_content就缩上去了
改文字内容为AAAAAAAA
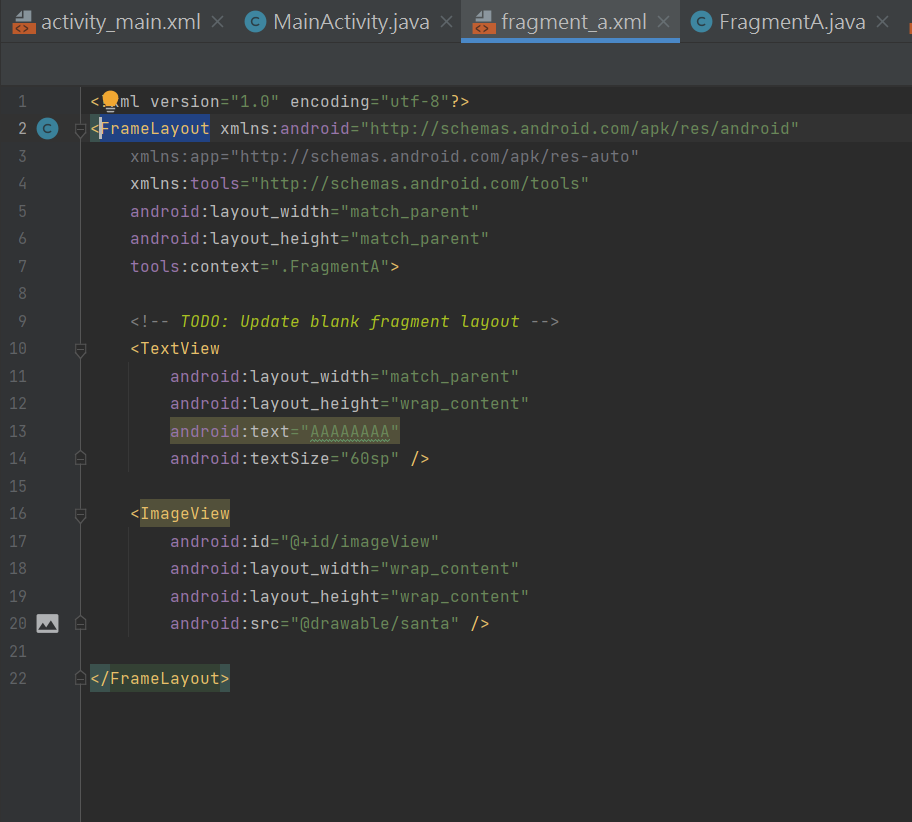
抓入imageView的图片
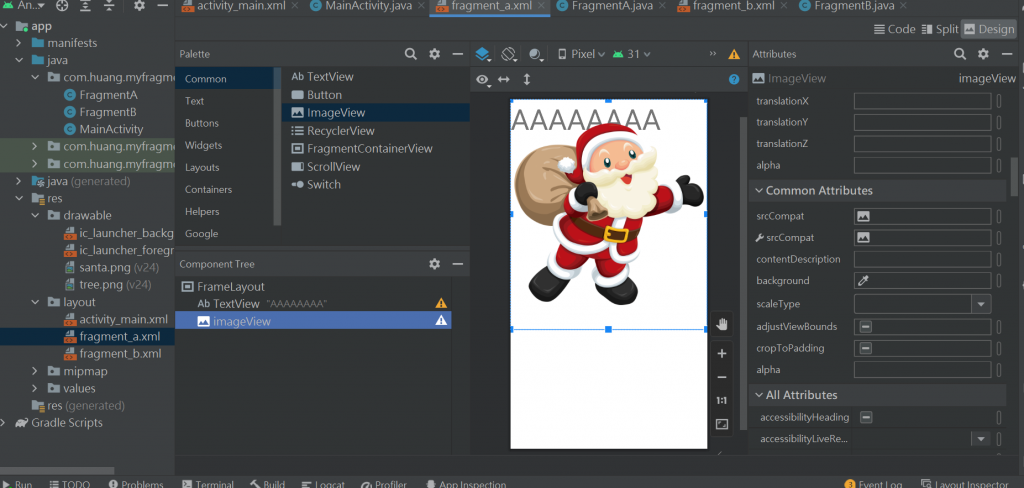
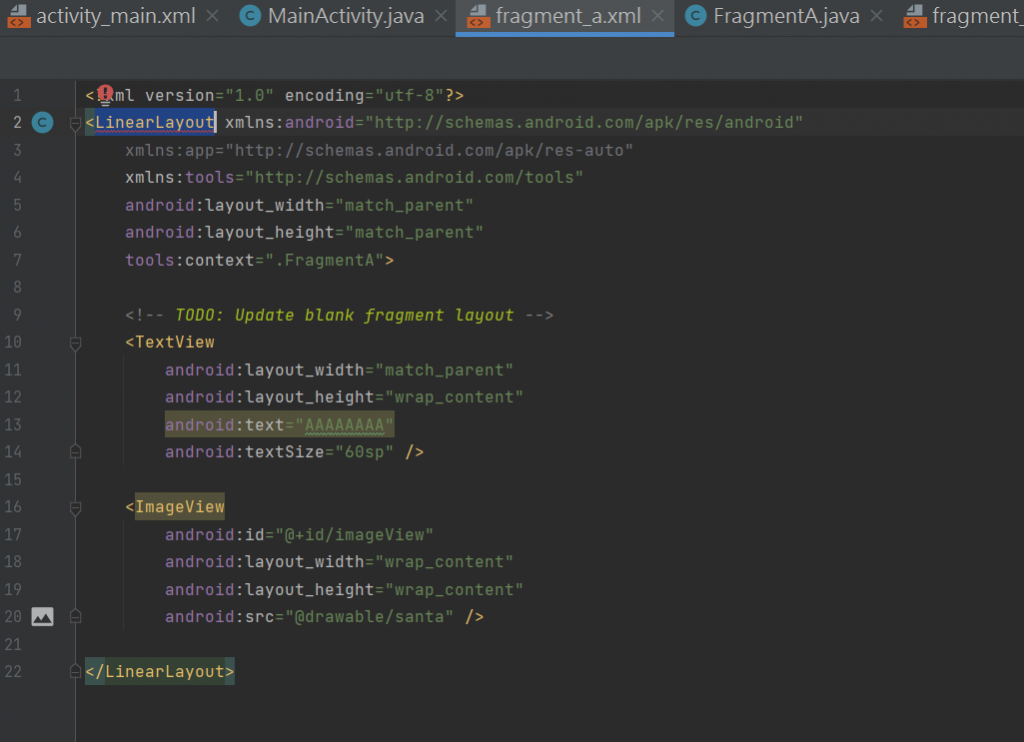
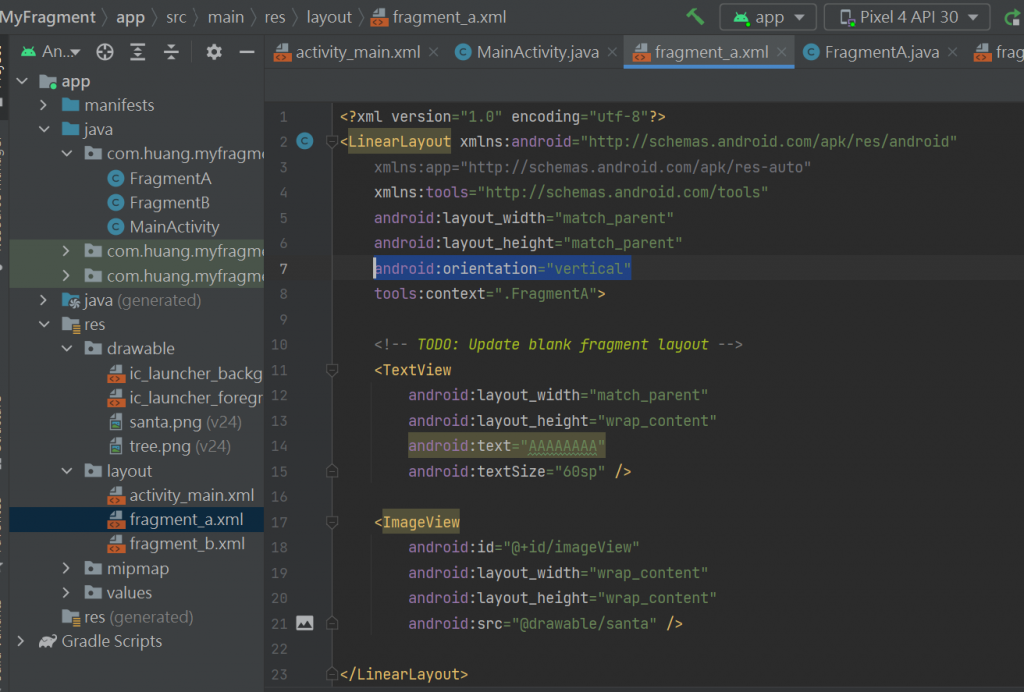
把FrameLayout改成LinearLayout
现在反红是因为没有指定方向
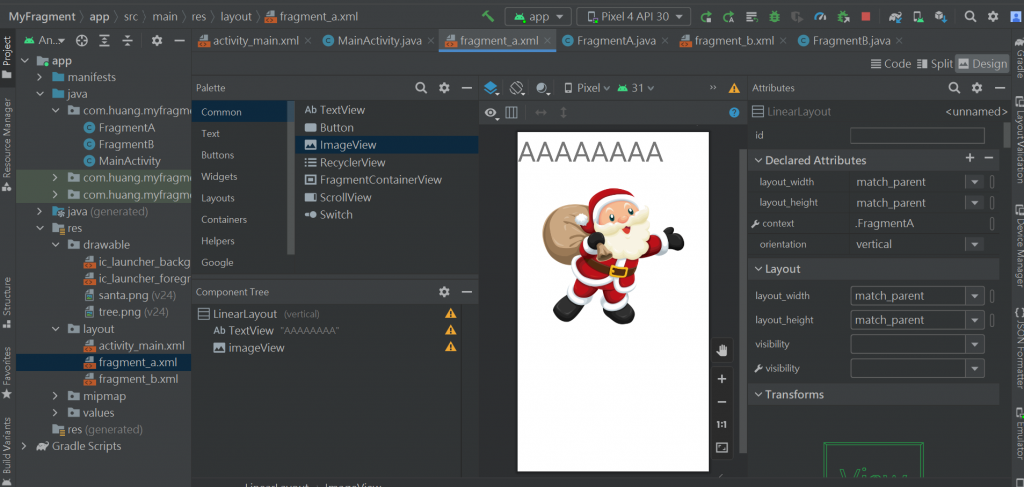
回design就发现排好了
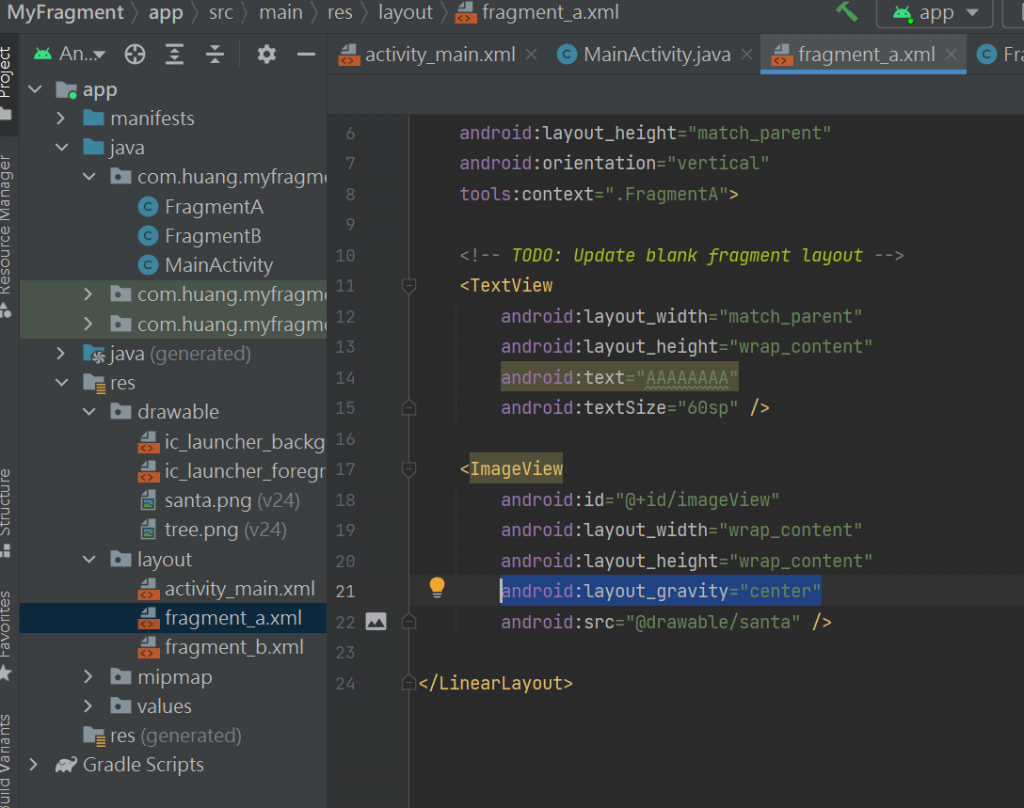
加入android:layout_gravity="center" 让照片置中
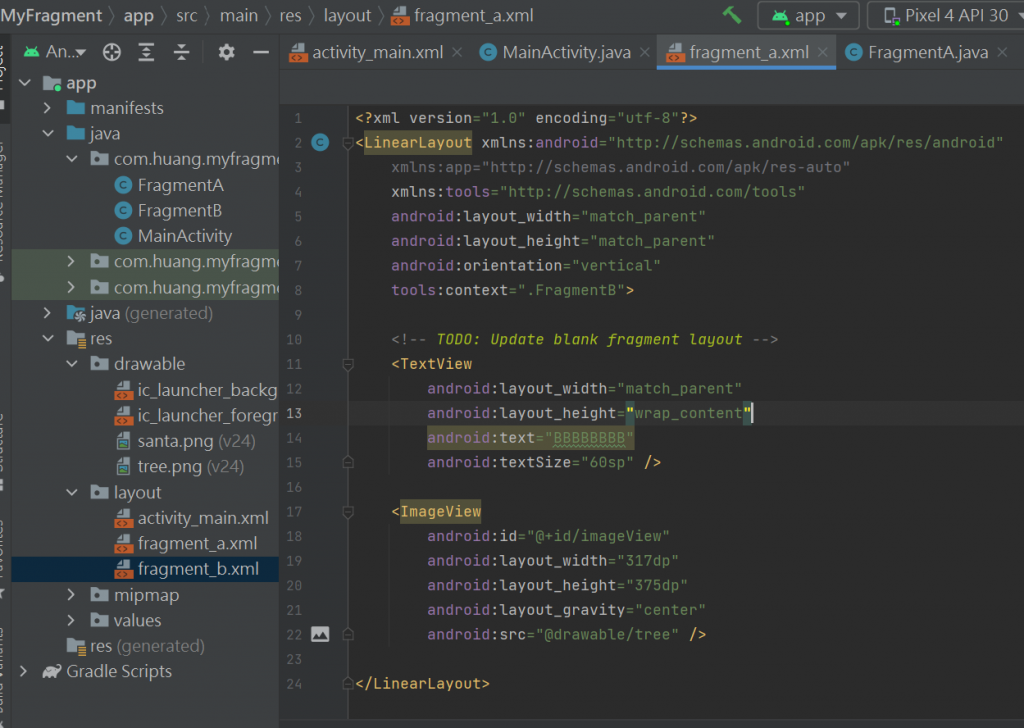
把CODE复制贴到B
<?xml version="1.0" encoding="utf-8"?>
<LinearLayout xmlns:android="http://schemas.android.com/apk/res/android"
    xmlns:app="http://schemas.android.com/apk/res-auto"
    xmlns:tools="http://schemas.android.com/tools"
    android:layout_width="match_parent"
    android:layout_height="match_parent"
    android:orientation="vertical"
    tools:context=".FragmentA">

    <!-- TODO: Update blank fragment layout -->
    <TextView
        android:layout_width="match_parent"
        android:layout_height="wrap_content"
        android:text="AAAAAAAA"
        android:textSize="60sp" />

    <ImageView
        android:id="@+id/imageView"
        android:layout_width="317dp"
        android:layout_height="375dp"
        android:layout_gravity="center"
        android:src="@drawable/santa" />

</LinearLayout>
要注意tools:context=".FragmentA"要改成tools:context=".FragmentB"
FragmentA.java 和 FragmentB.java 不要改
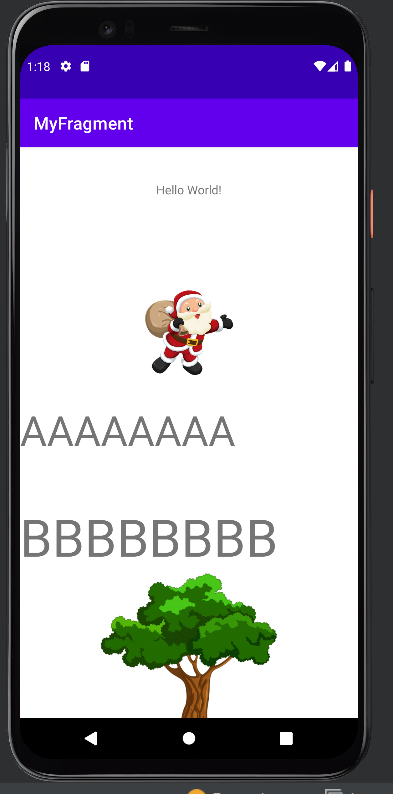
再到activity_main.xml档key入name
用模拟器看就载入了
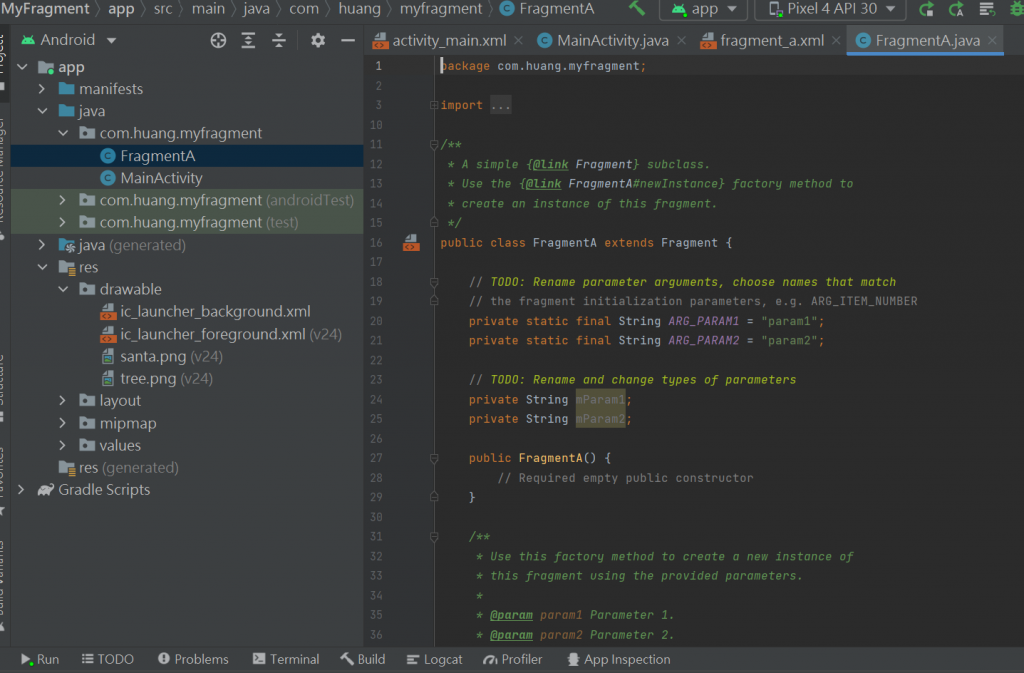
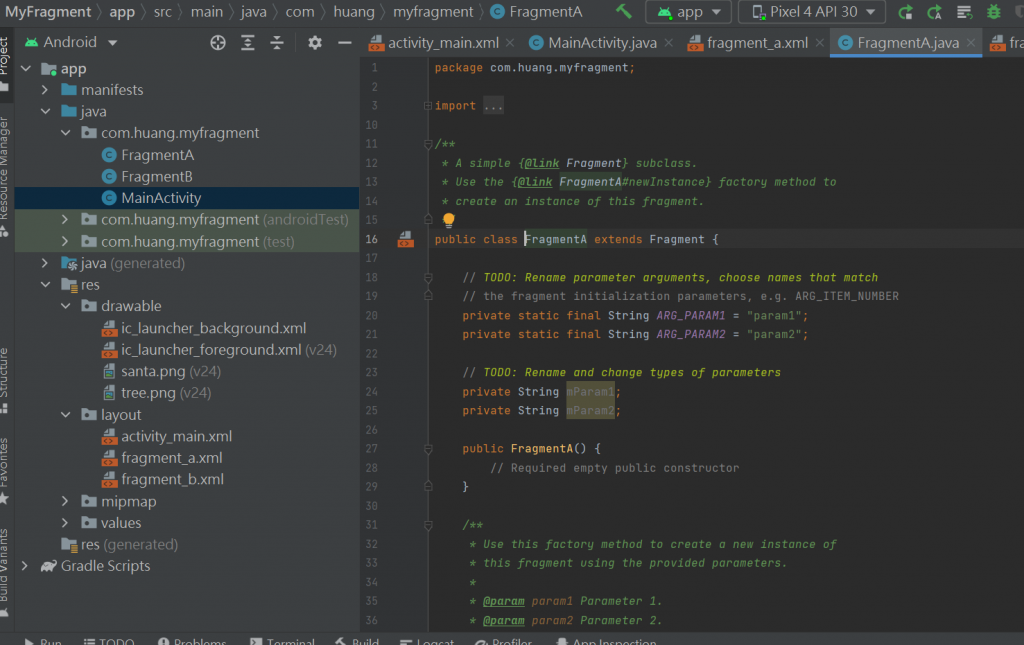
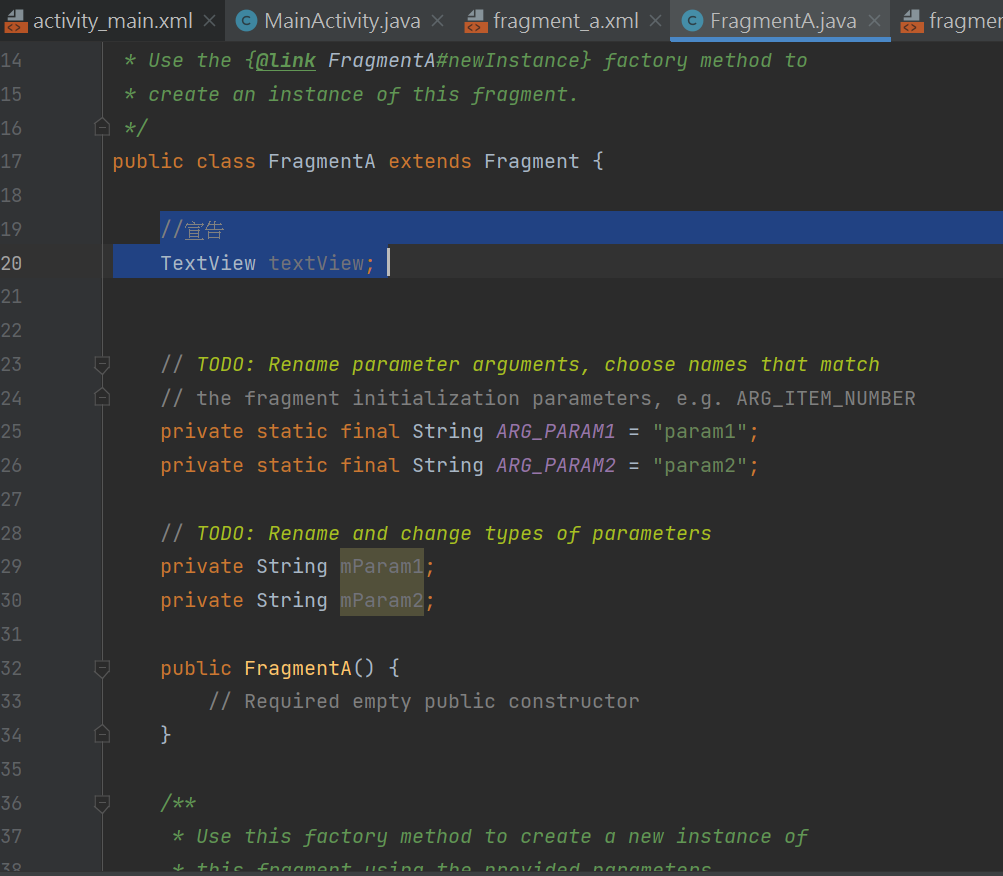
FragmentA.java档
//宣告
TextView textView;
Fragment_a.xml档要有id
原来
改成

目前FragmentA.java程序码:
package com.huang.myfragment;
import android.os.Bundle;
import androidx.fragment.app.Fragment;
import android.view.LayoutInflater;
import android.view.View;
import android.view.ViewGroup;
import android.widget.TextView;
/**
* A simple {@link Fragment} subclass.
* Use the {@link FragmentA#newInstance} factory method to
* create an instance of this fragment.
*/
public class FragmentA extends Fragment {
//宣告
TextView textView;
// TODO: Rename parameter arguments, choose names that match
// the fragment initialization parameters, e.g. ARG_ITEM_NUMBER
private static final String ARG_PARAM1 = "param1";
private static final String ARG_PARAM2 = "param2";
// TODO: Rename and change types of parameters
private String mParam1;
private String mParam2;
public FragmentA() {
// Required empty public constructor
}
/**
* Use this factory method to create a new instance of
* this fragment using the provided parameters.
*
* @param param1 Parameter 1.
* @param param2 Parameter 2.
* @return A new instance of fragment FragmentA.
*/
// TODO: Rename and change types and number of parameters
public static FragmentA newInstance(String param1, String param2) {
FragmentA fragment = new FragmentA();
Bundle args = new Bundle();
args.putString(ARG_PARAM1, param1);
args.putString(ARG_PARAM2, param2);
fragment.setArguments(args);
return fragment;
}
@Override
public void onCreate(Bundle savedInstanceState) {
super.onCreate(savedInstanceState);
if (getArguments() != null) {
mParam1 = getArguments().getString(ARG_PARAM1);
mParam2 = getArguments().getString(ARG_PARAM2);
}
}
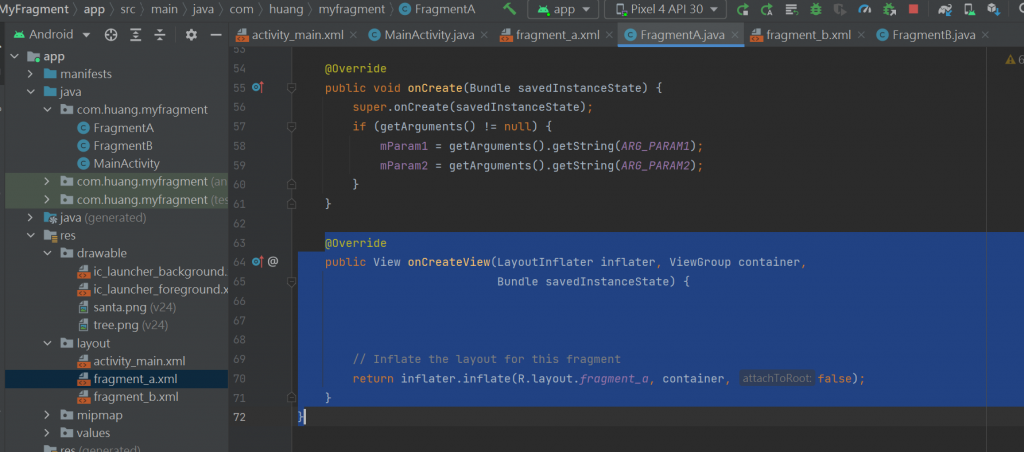
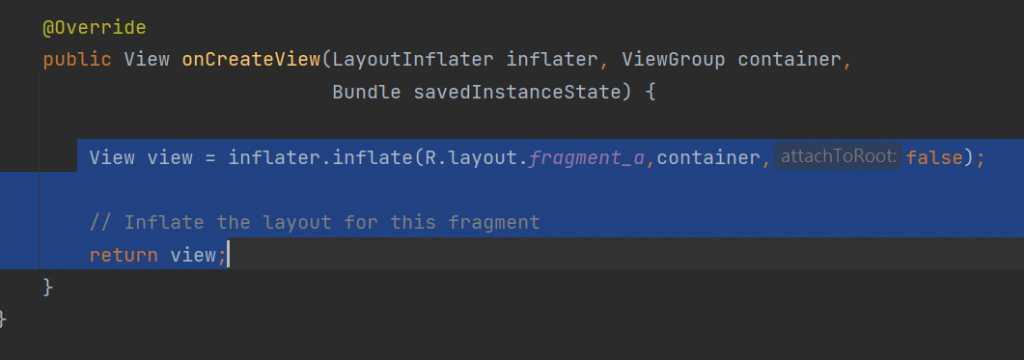
@Override
public View onCreateView(LayoutInflater inflater, ViewGroup container,
Bundle savedInstanceState) {
View view = inflater.inflate(R.layout.fragment_a,container,false);
// Inflate the layout for this fragment
return view;
}
}
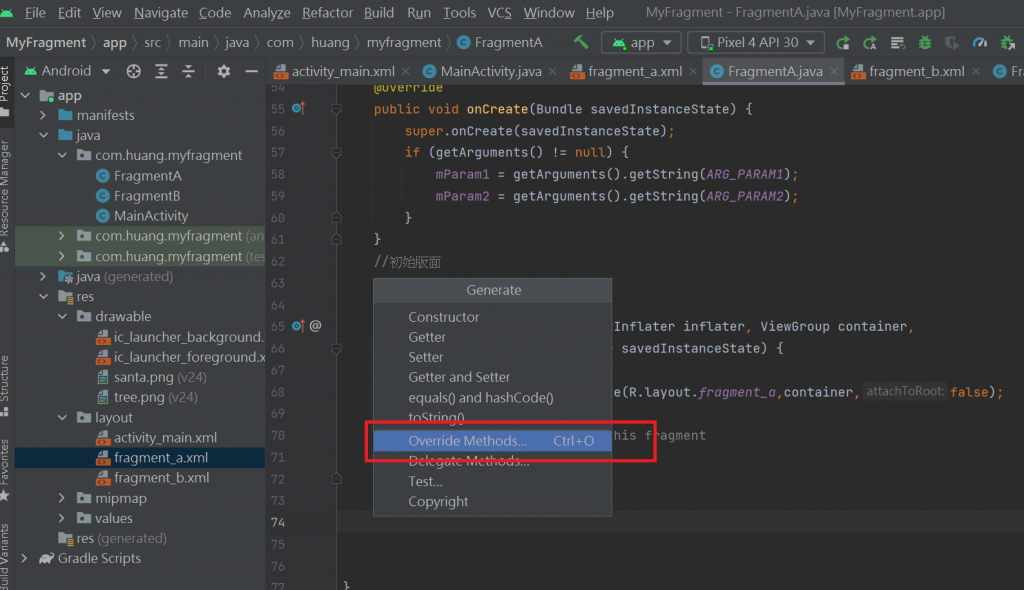
继续
//初始元件
也是按右键generare-->override-->
看模拟器-不能 因为fragment 中的 onActivityCreated() 被弃用了
https://flywith24.gitee.io/2020/04/09/Jetpack-fragment-onActivityCreated-Deprecated/
再把FragmentA.java改回来
package com.huang.myfragment;

import android.os.Bundle;

import androidx.fragment.app.Fragment;

import android.view.LayoutInflater;
import android.view.View;
import android.view.ViewGroup;

/**
 * A simple {@link Fragment} subclass.
 * Use the {@link FragmentA#newInstance} factory method to
 * create an instance of this fragment.
 */
public class FragmentA extends Fragment {

    // TODO: Rename parameter arguments, choose names that match
    // the fragment initialization parameters, e.g. ARG_ITEM_NUMBER
    private static final String ARG_PARAM1 = "param1";
    private static final String ARG_PARAM2 = "param2";

    // TODO: Rename and change types of parameters
    private String mParam1;
    private String mParam2;

    public FragmentA() {
        // Required empty public constructor
    }

    /**
     * Use this factory method to create a new instance of
     * this fragment using the provided parameters.
     *
     * @param param1 Parameter 1.
     * @param param2 Parameter 2.
     * @return A new instance of fragment FragmentA.
     */
    // TODO: Rename and change types and number of parameters
    public static FragmentA newInstance(String param1, String param2) {
        FragmentA fragment = new FragmentA();
        Bundle args = new Bundle();
        args.putString(ARG_PARAM1, param1);
        args.putString(ARG_PARAM2, param2);
        fragment.setArguments(args);
        return fragment;
    }

    @Override
    public void onCreate(Bundle savedInstanceState) {
        super.onCreate(savedInstanceState);
        if (getArguments() != null) {
            mParam1 = getArguments().getString(ARG_PARAM1);
            mParam2 = getArguments().getString(ARG_PARAM2);
        }
    }

    @Override
    public View onCreateView(LayoutInflater inflater, ViewGroup container,
                             Bundle savedInstanceState) {
        // Inflate the layout for this fragment
        return inflater.inflate(R.layout.fragment_a, container, false);
    }
}
<<: 爬虫怎麽爬 从零开始的爬虫自学 DAY21 python网路爬虫开爬-3我已满18岁(cookie)
Day 28 ~ AI从入门到放弃 - 猫狗辨识之三
今天延续之前的主题,我们将使用EfficientNetB0的架构,但不使用预训练权重,参考了Kera...
Azure AutoML01
在使用 Azure AutoML之前,我们得先了解资料的区别。在Azure dataset里面,主要...
如何在Windows 10中隐藏修复分区
在大多数PC上,默认情况下,修复分区是隐藏的,并且不会出现在档案总管(Windows Explore...
【D11】再度熟悉厨具:合约
前言 除了在Day6上面写的功能,发现合约还有很多东西可以玩。 概况 登入後,直接使用api.Con...
React Hooks - useState
前一篇有提到在 function component 没有 this,不能使用 this.state...