EP22 - 持续部署使用 Octopus Deploy 二部曲,安装 Octopus Deploy
昨天我们耗尽洪荒之力,
终於用 terraform 配置好整个基础设施,
今天我们将继续环境操作,
不过环境的部分,
会是以软件安装为主,
即使已经是在 Windows 上安装,
但是在一个全新的 Windows Server,
还需要另外设定防火墙,
自己开启 80 port,
这样昨天的 load balance 才能与今天安装好的 Octopus 接上。
安装
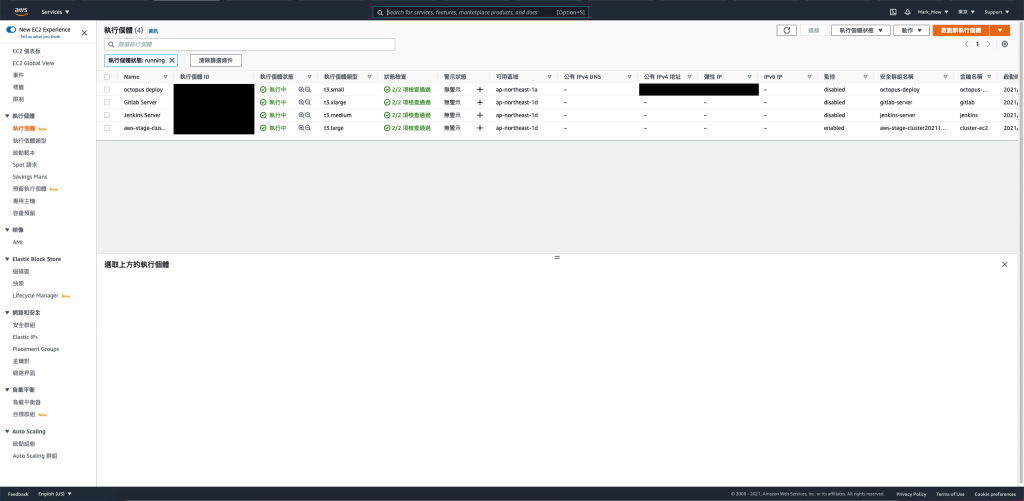
登入 AWS Console,并进入 EC2 列表页面
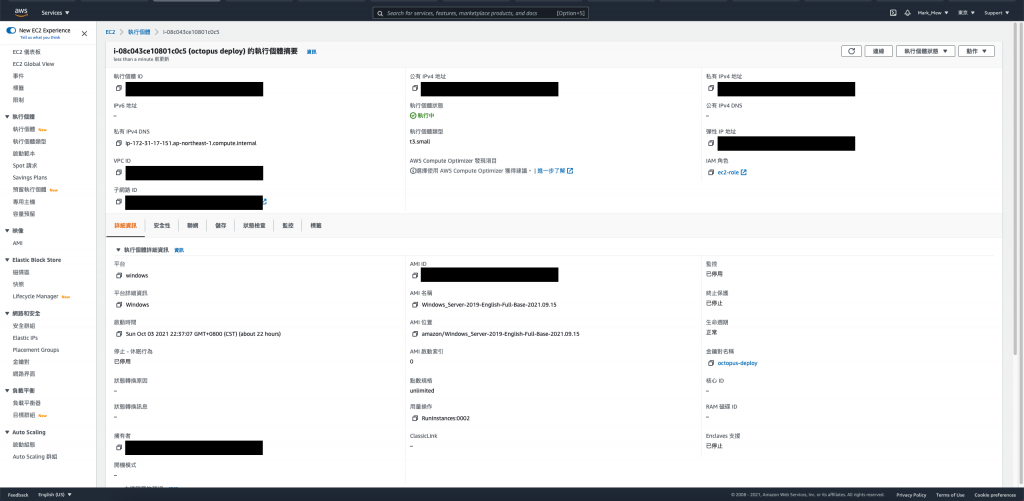
点选 octopus deploy 执行个体 ID 进入 EC2 明细页
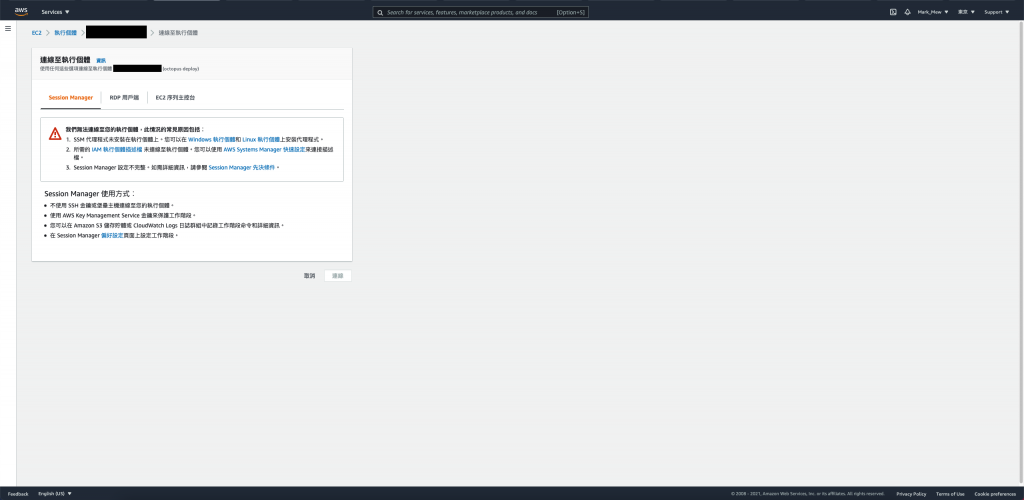
点选右上角的连线,进入操作页
点选 RDP 用户端页签
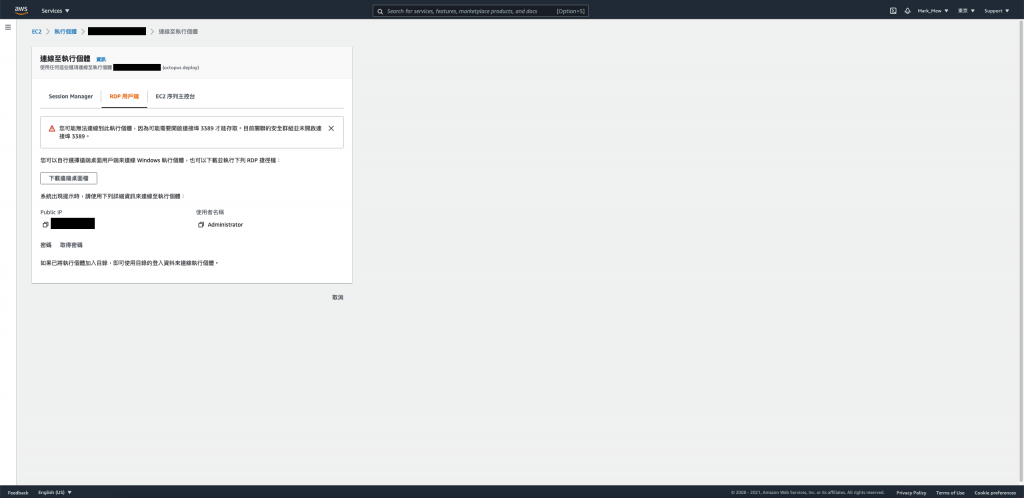
点按取得密码
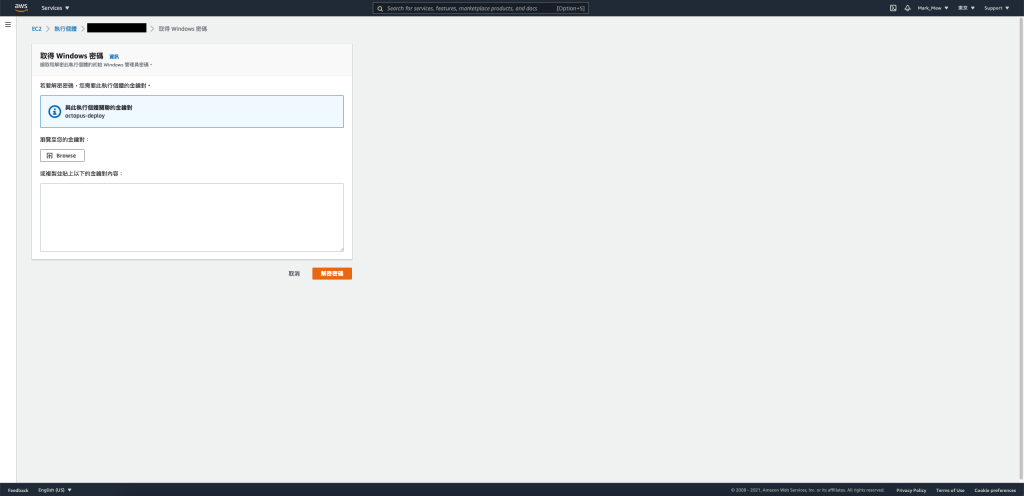
选择昨天使用 terrform 建立的 pem 档
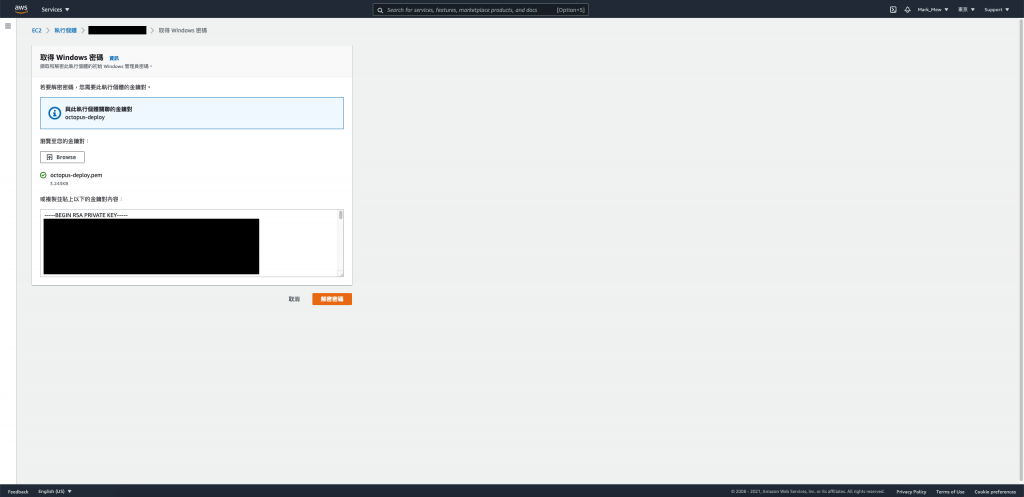
按下取得密码
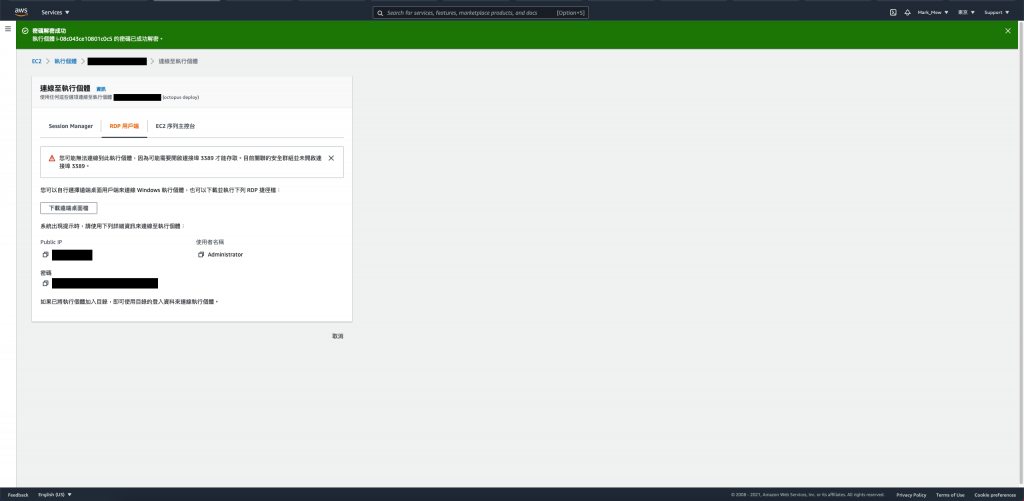
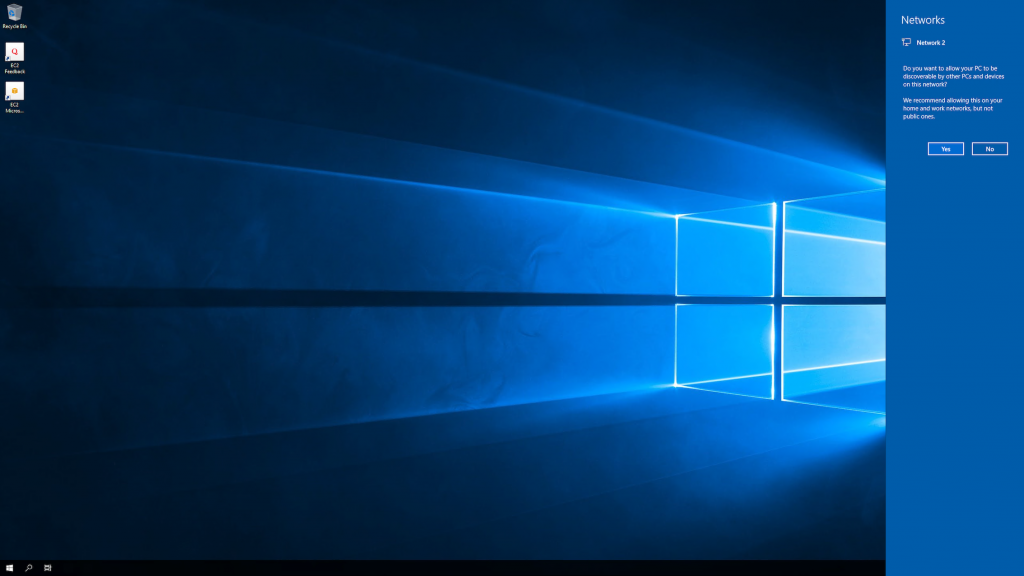
RDP 到 Windows Server
打开 IE,修改设定
齿轮 > Internet Option > Security > Trusted Sites > Sites > 将 Google 网页加到信任网站

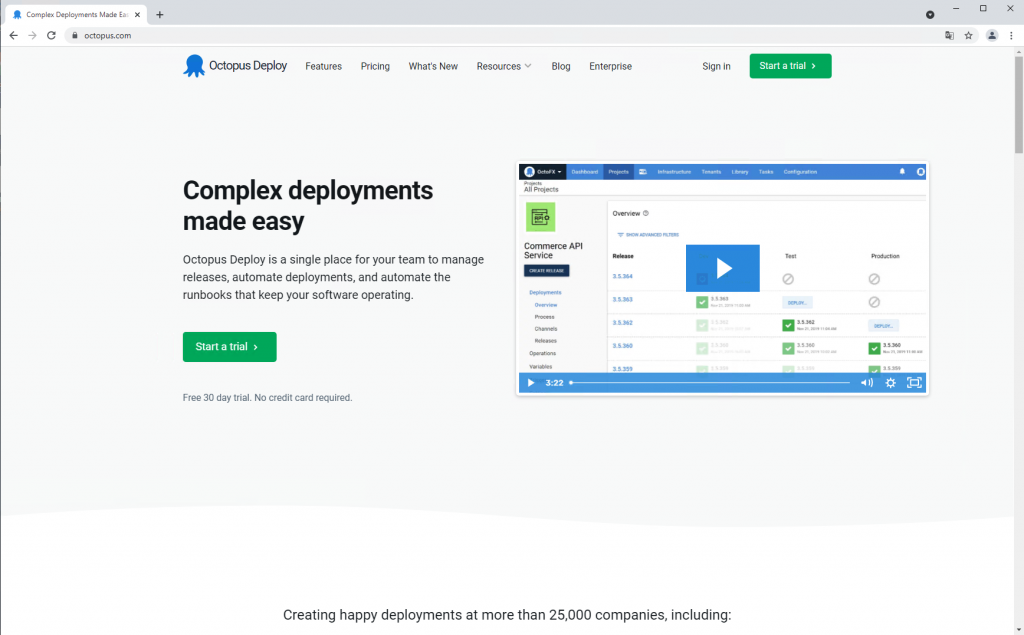
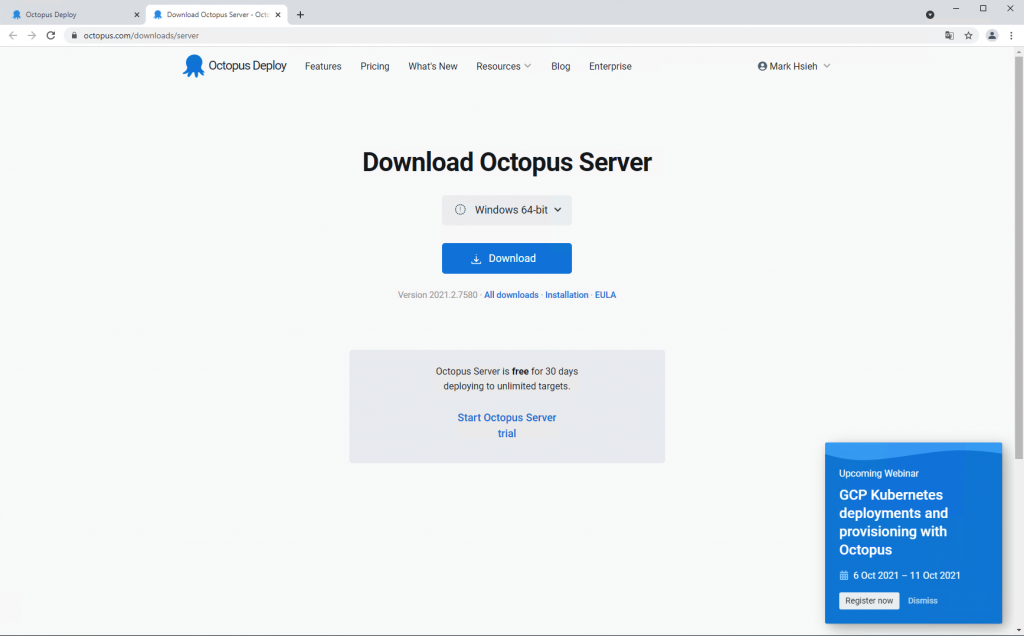
进入 Octopus Deploy 官网
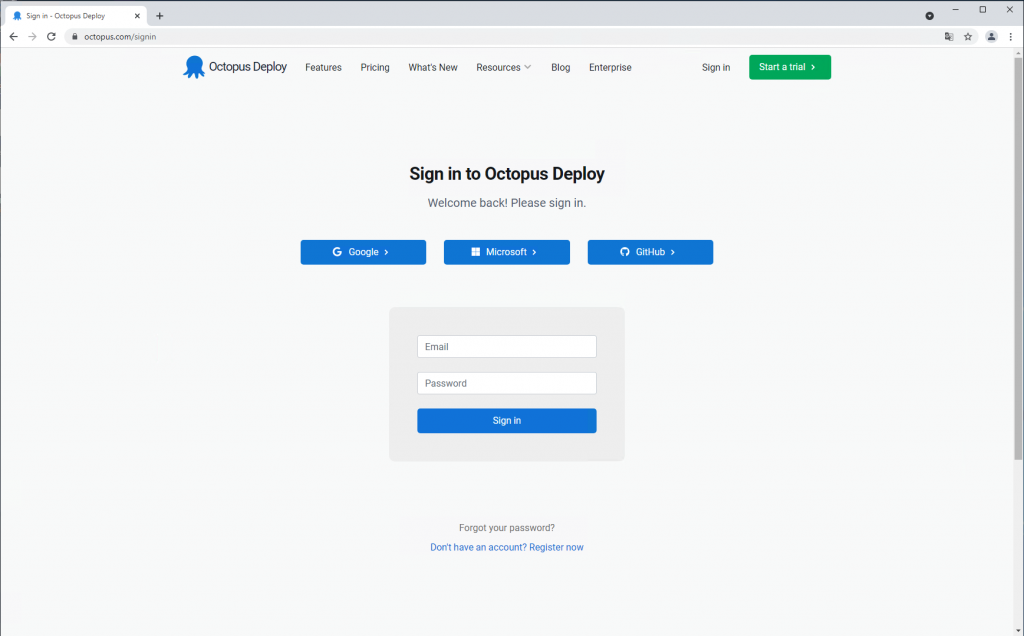
点选 Sign in 登入
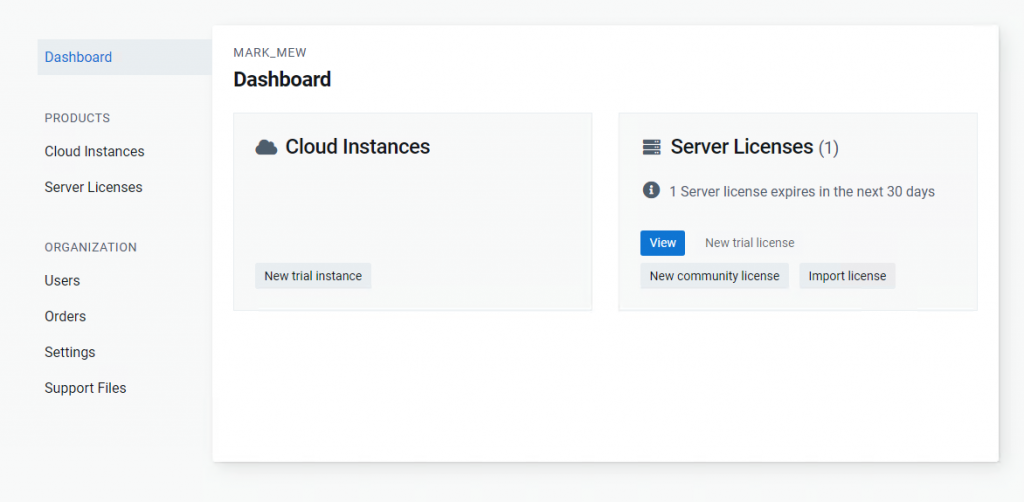
Dashboard 中点按 View
选择 License

点按中间的 Download
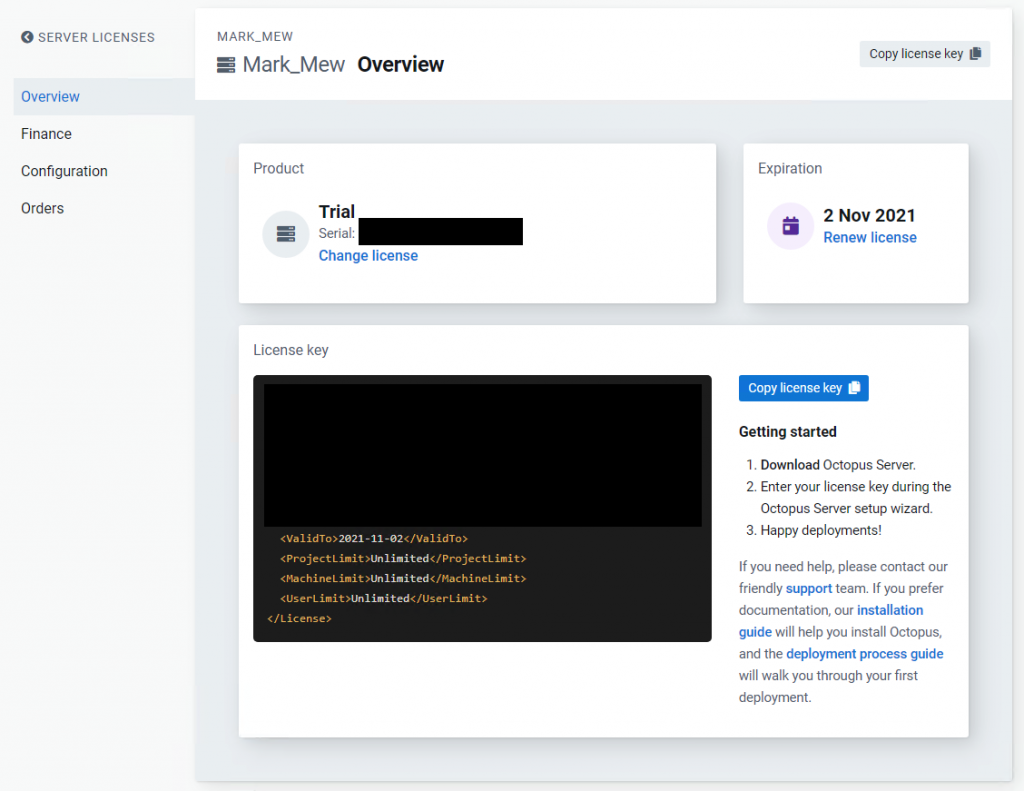
按下 Download
总共有 1.5GB,下载需要花一点时间
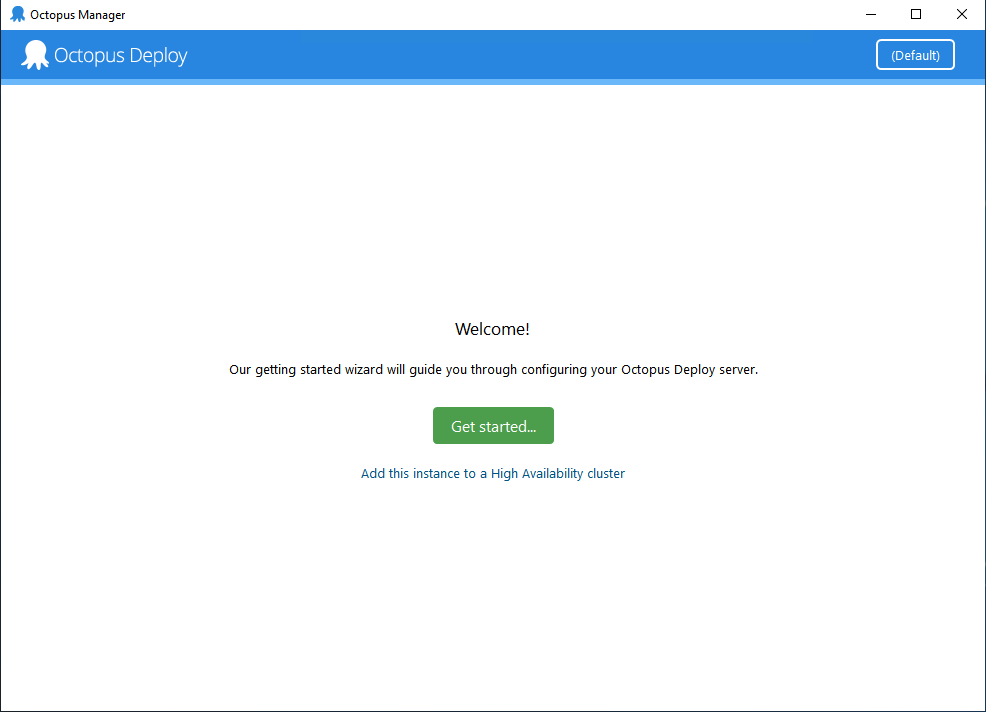
安装
下一步、我同意、我接受
Start Trial
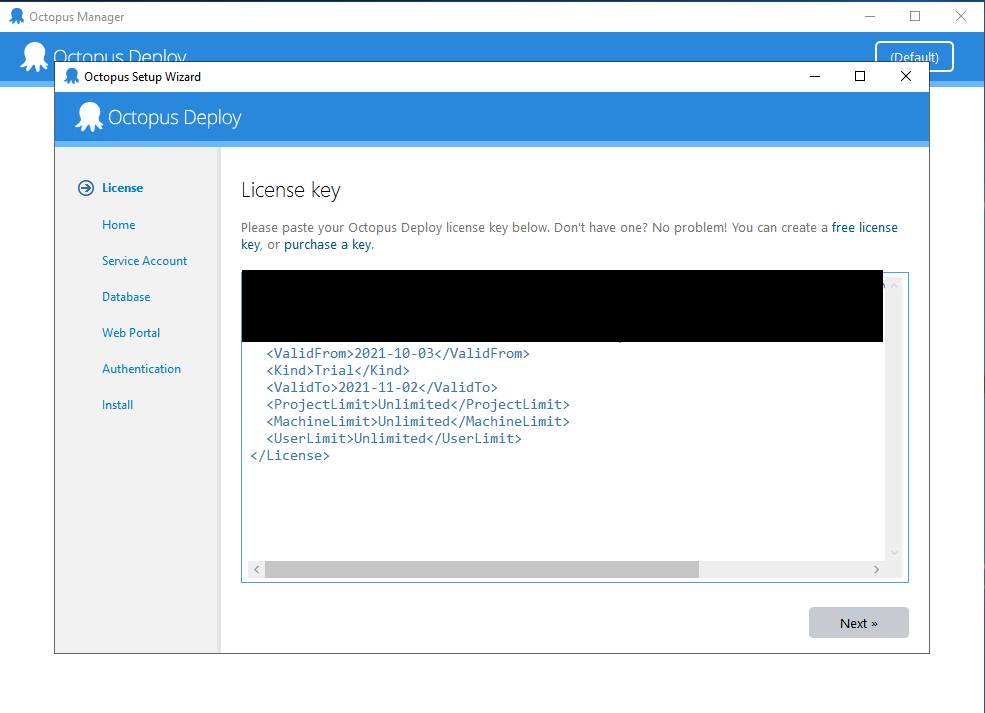
输入 License
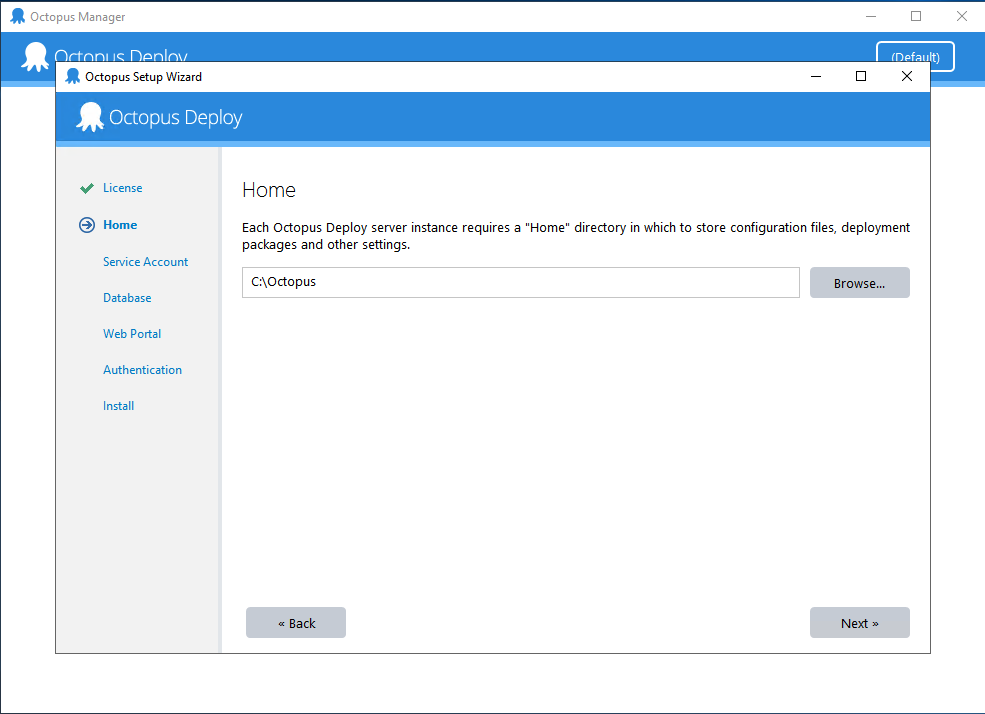
选择 Home
选择 Service Account
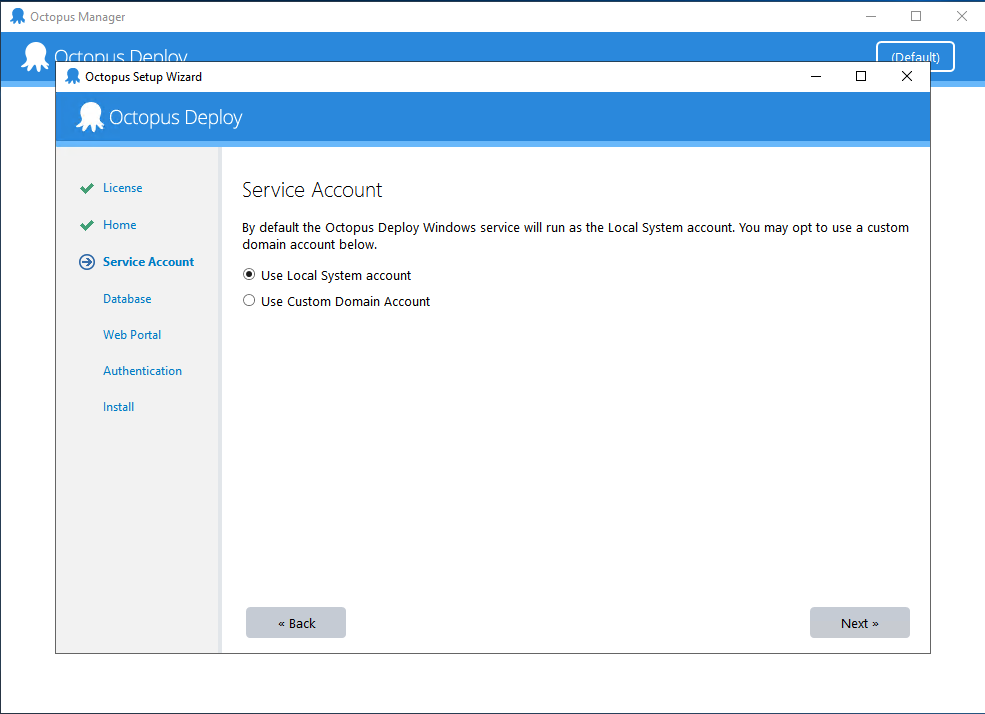
切换回 aws cloud console
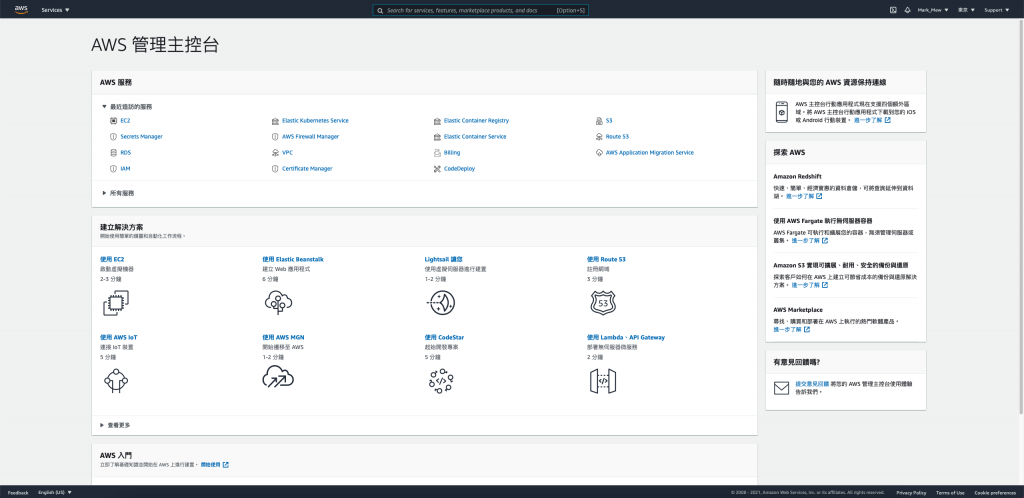
搜寻匡输入 Secrets Manager
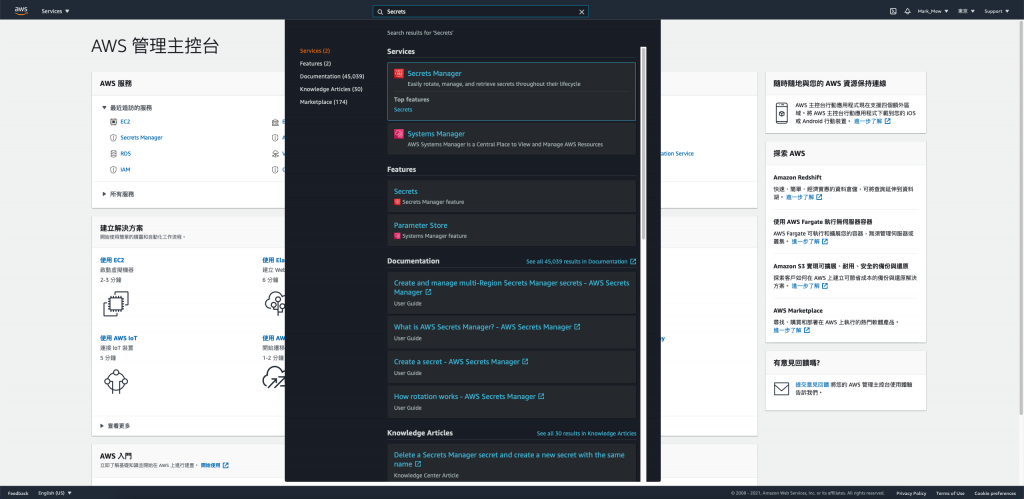
点选昨天建立的 octopus-deploy-credentials
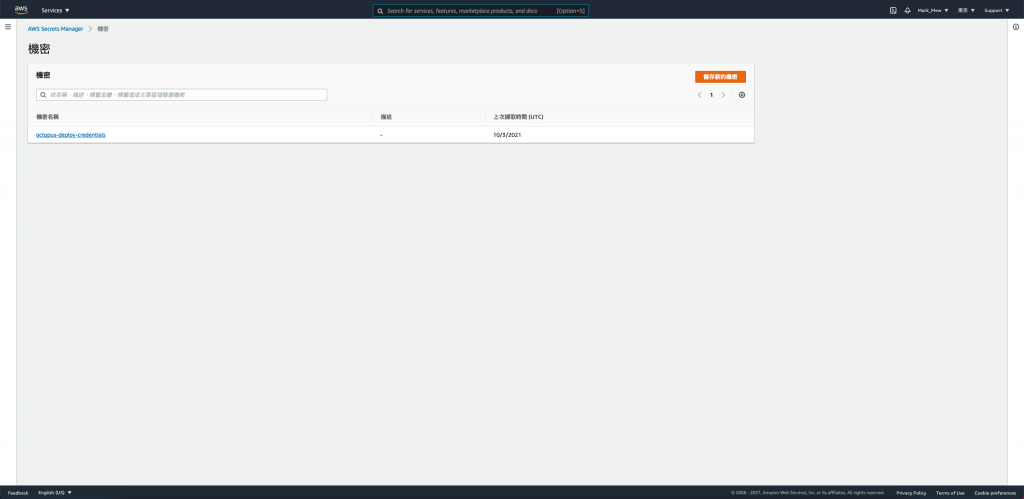
点选 撷取机密值
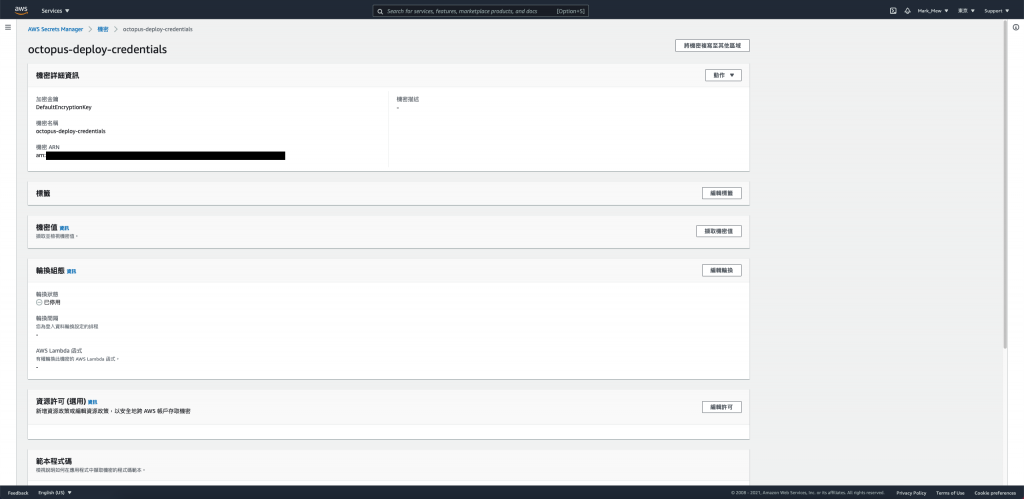
复制资料库资讯
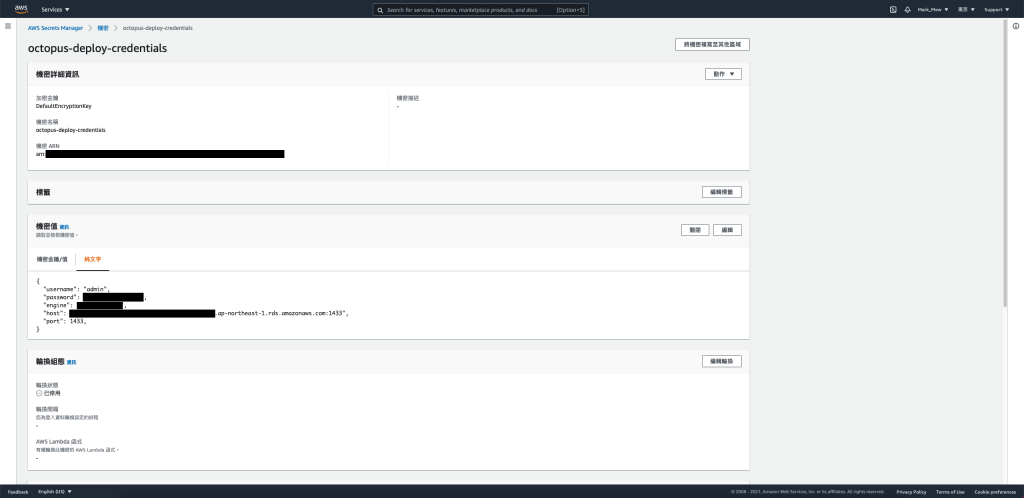
回到 Windows Server,填写帐号密码
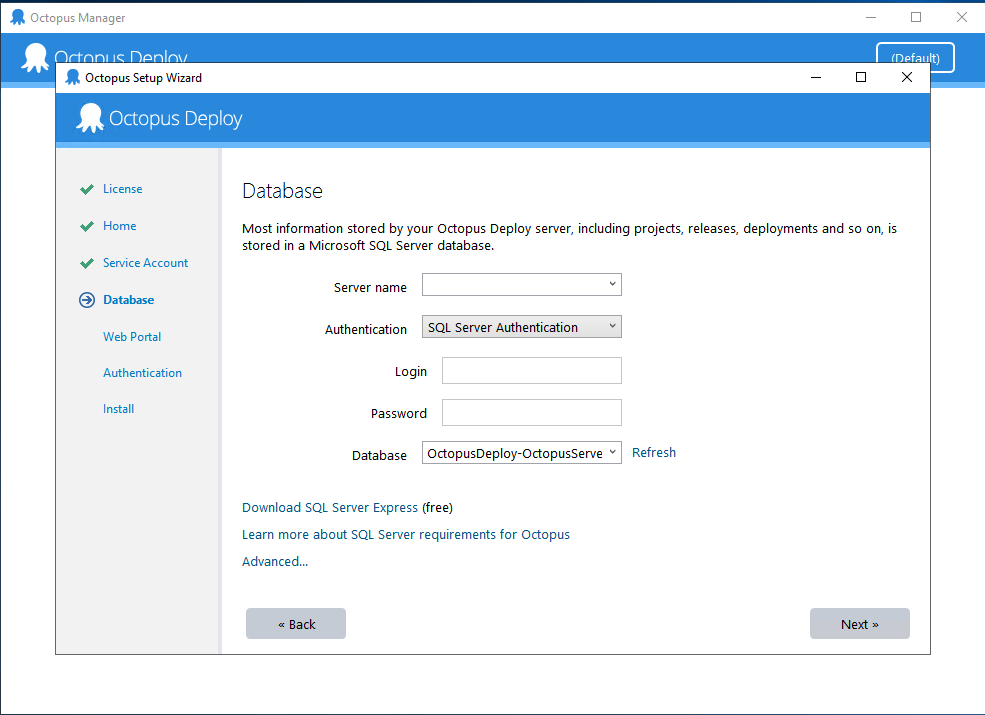
选择安装资料库
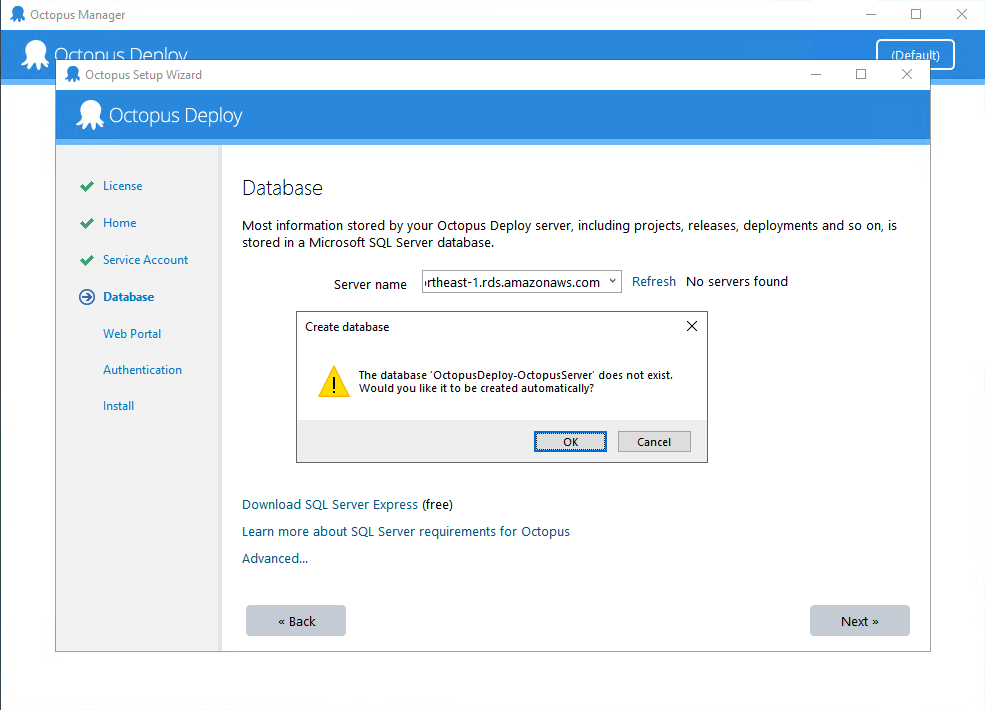
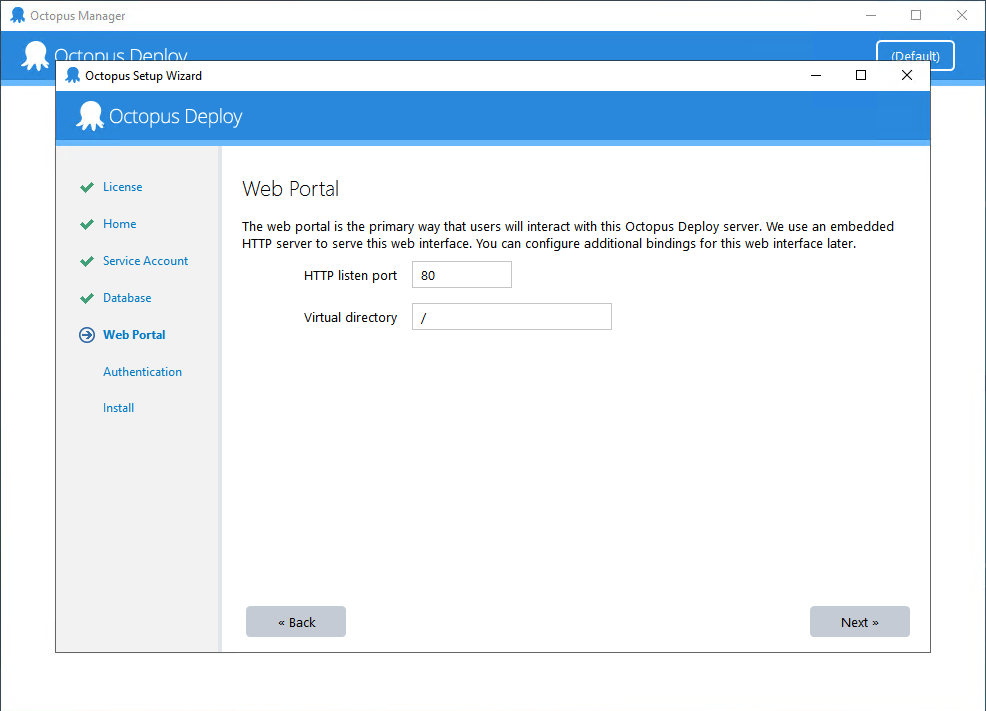
填写 Port 和路径
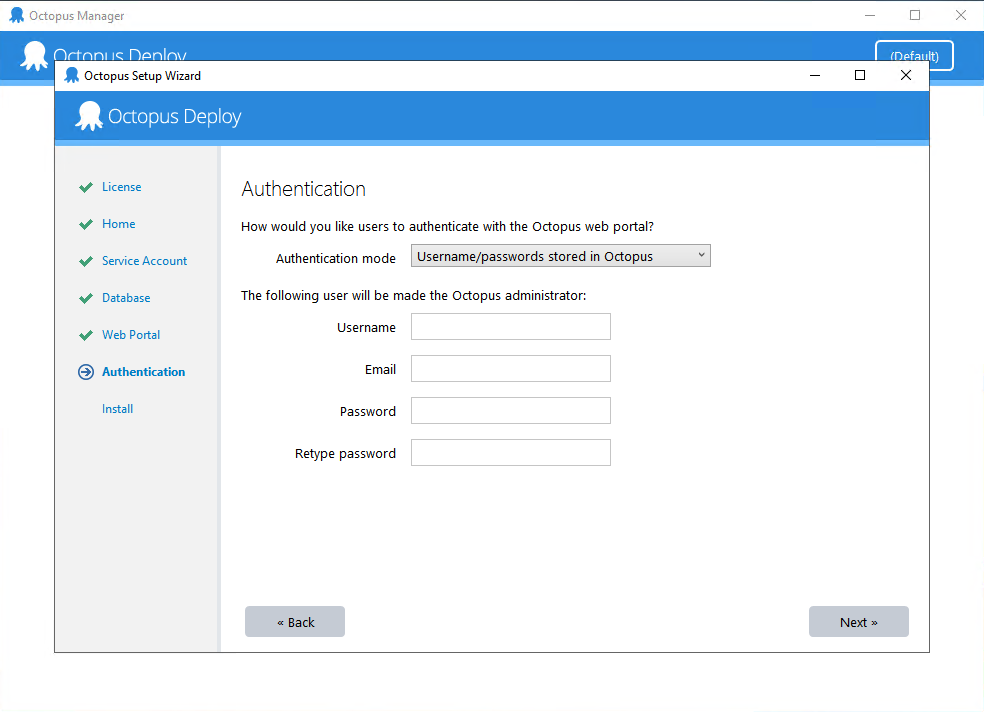
填写 Octopus Deploy admin 资讯
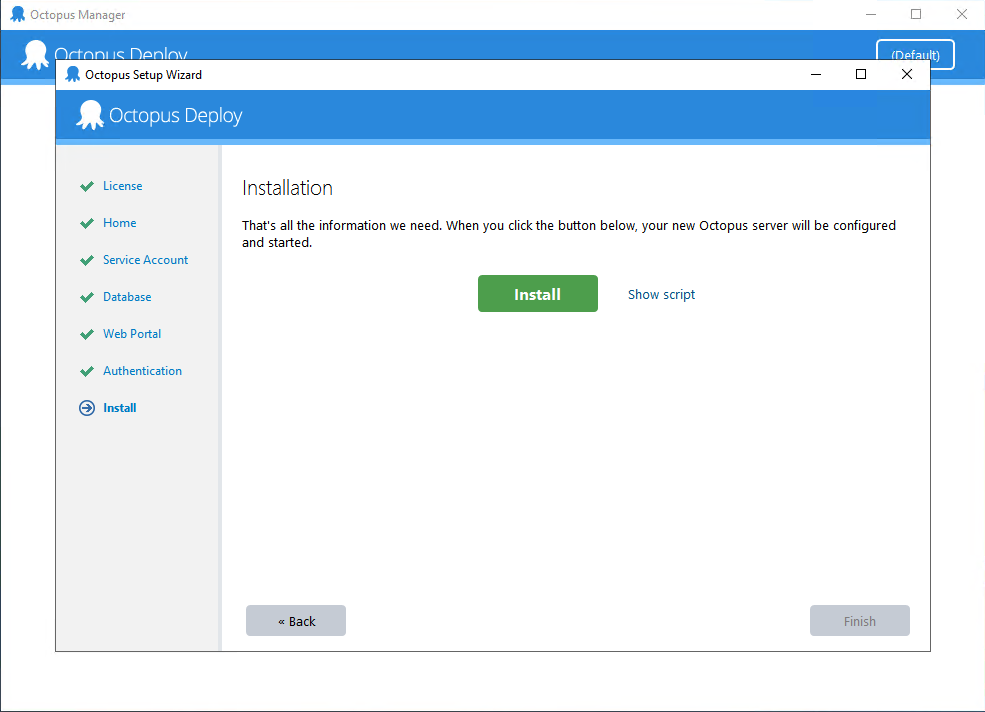
点按 Install 开始安装
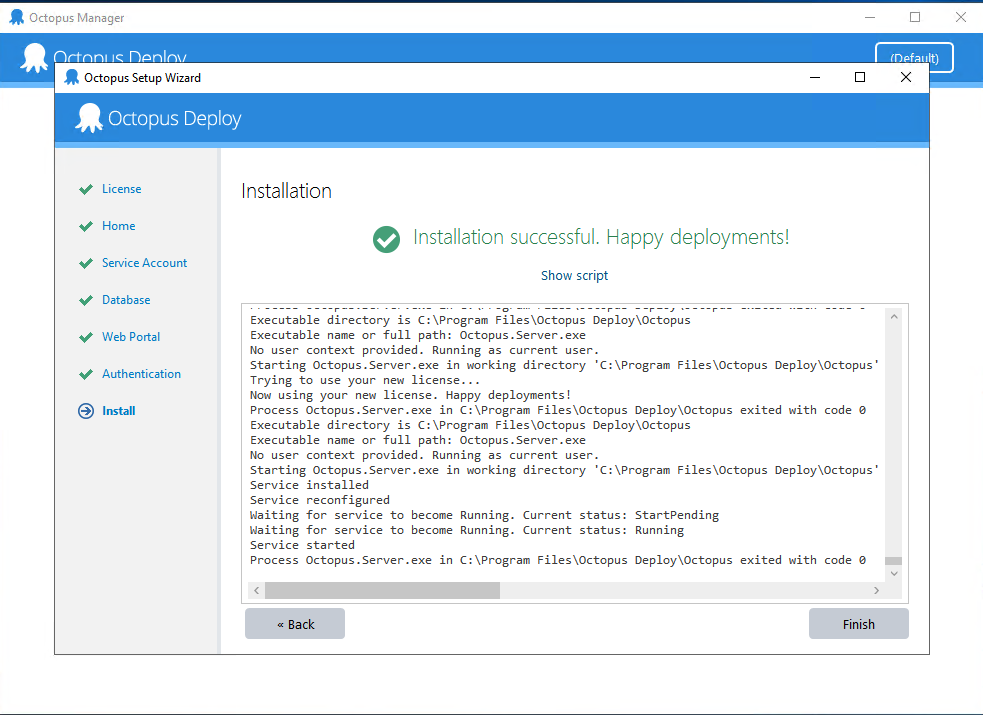
安装完成
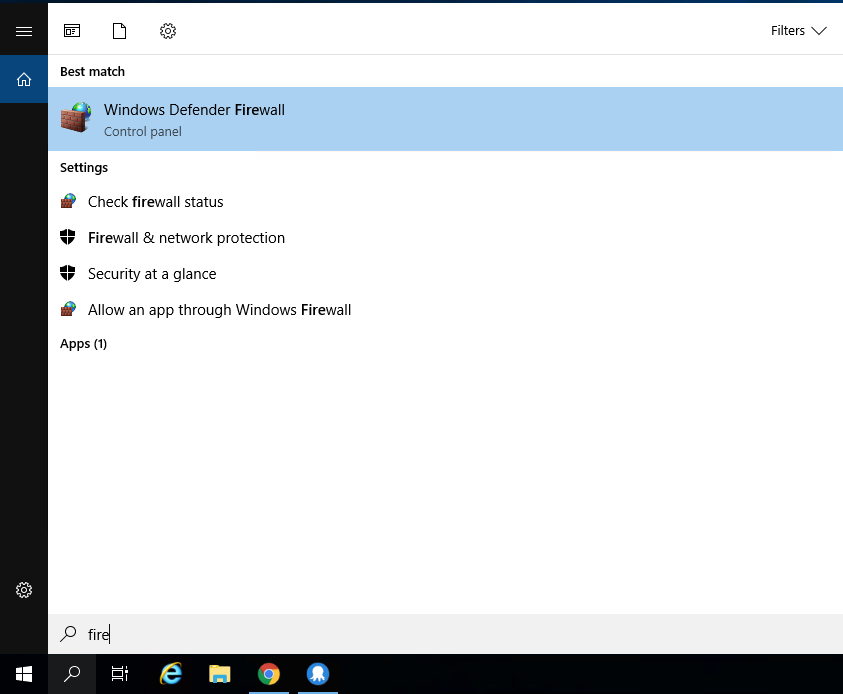
调整 Window Server 防火墙
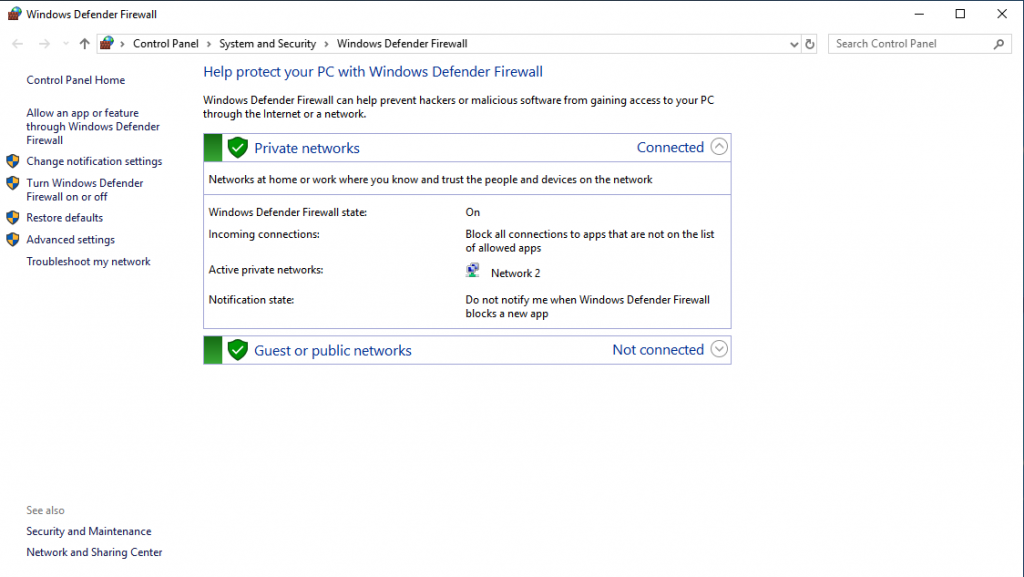
放大镜搜寻 firewall,并点按 Windows Defender firewall
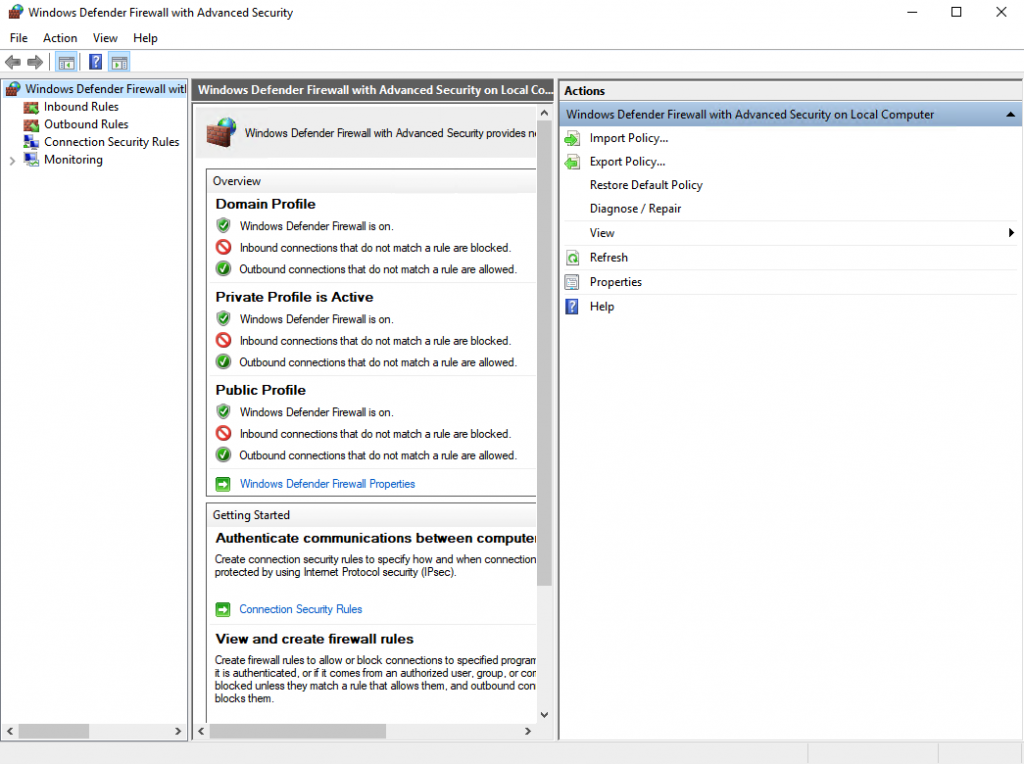
按下左侧 Advanced
选择左侧 Inbound Rules
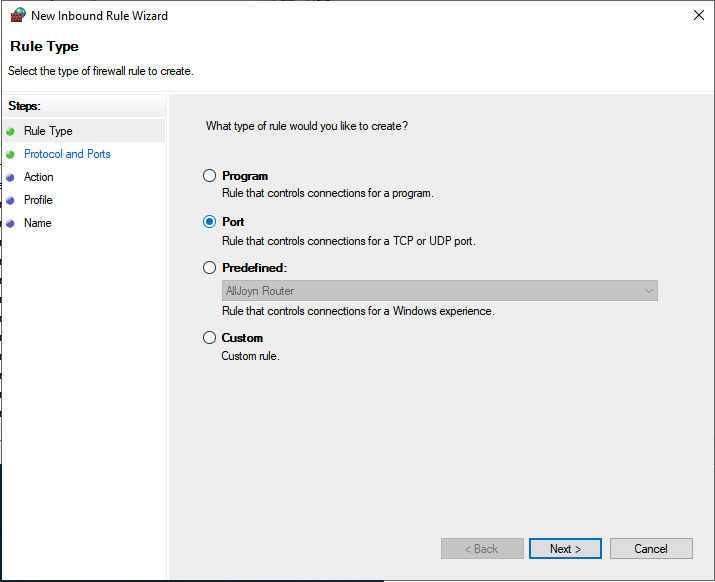
点按右侧 New Rules
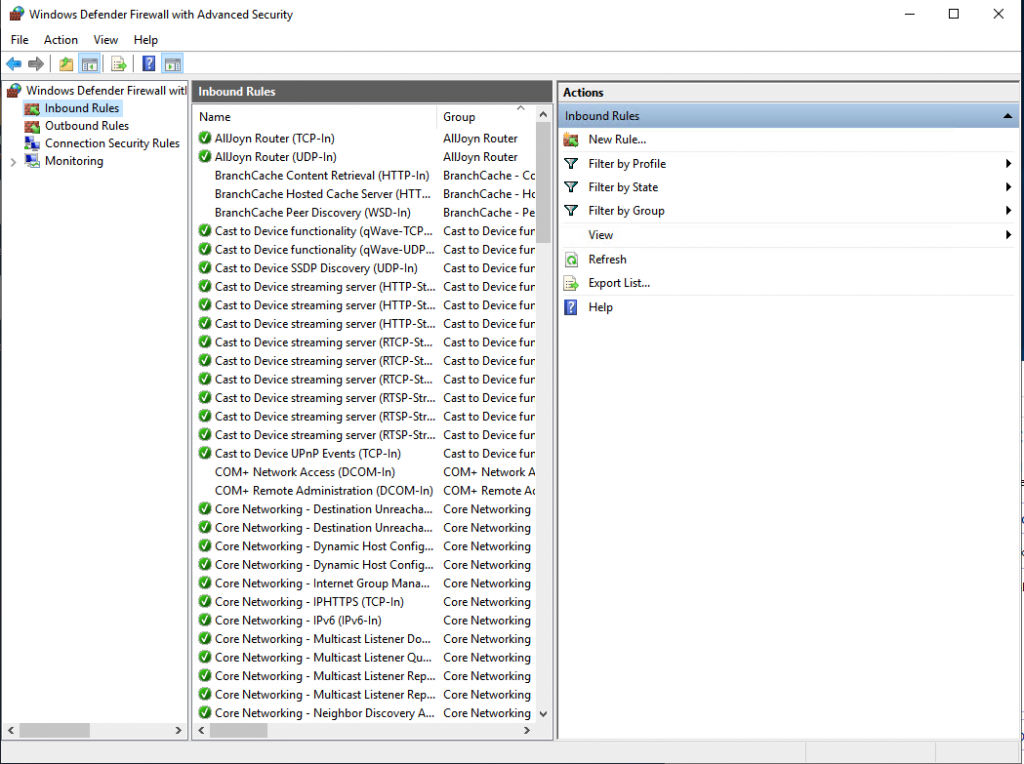
选择 Port,并按下 Next
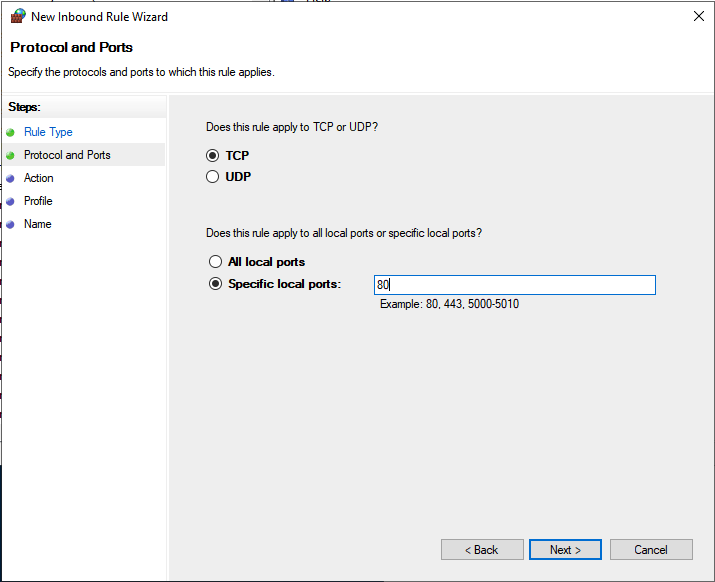
选择 TCP,并输入 80 port
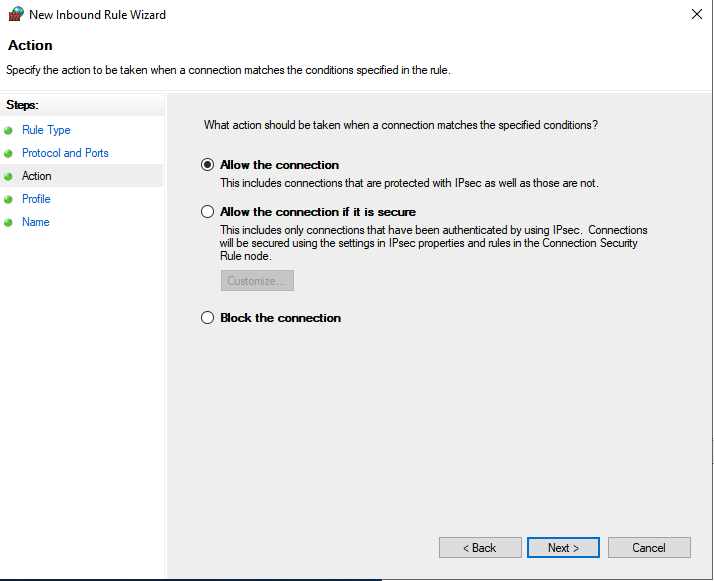
选择 Allow all the connection 然後按 Next
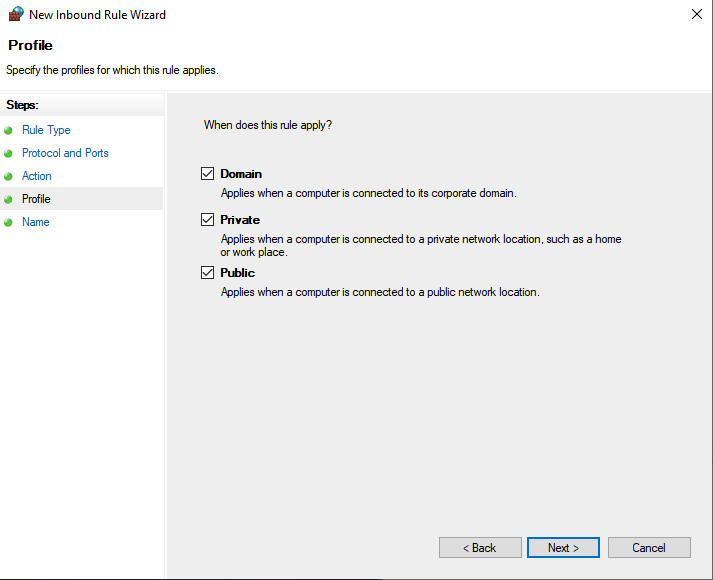
Next
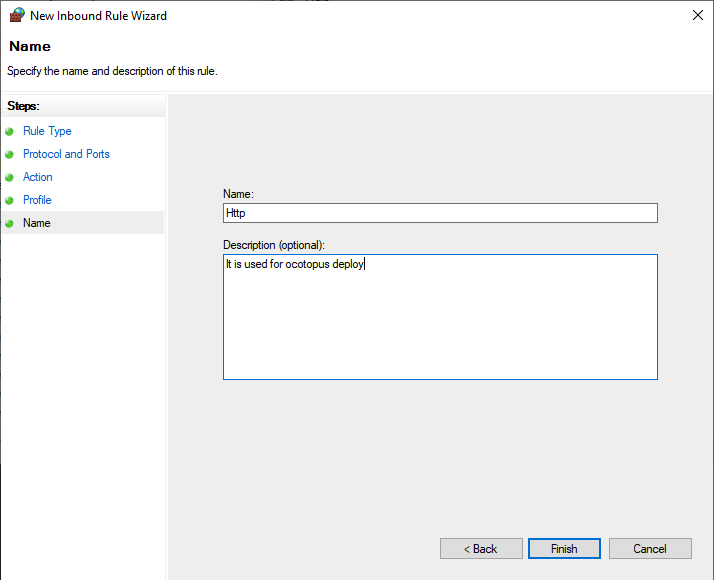
撰写 Rule 的名称和描述
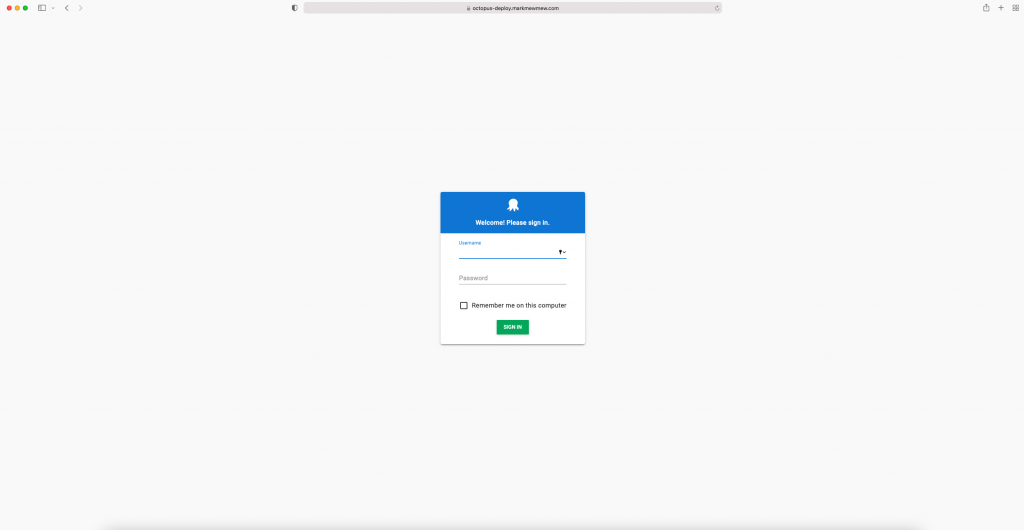
打开网页,就可以看到正常运作了
今天我们安装好整个环境
不过也还没串接好整个 CI/CD
尤其 portal 页面不得了
竟然还有 ALLOW_HOSTS 的错误
明天我们将在 pipeline 上有些微的调整
并在最後把整个 Octopus 的部署串接起来
<<: Re: 新手让网页 act 起来: Day19 - React Hooks 之 useReducer
>>: Day 20 - WooCommerce: 定义信用卡付款闸道
卡夫卡的藏书阁【Book29】- Kafka - MirroMaker 2
“I need solitude for my writing; not 'like a herm...
30天零负担轻松学会制作APP介面及设计【DAY 29】
大家好,我是YIYI,今天我要来回覆身边的朋友们看完我的文章後问我的问题。 QA Q:如果重来一次还...
有时差的我如何跟团队协作
由於目前人在美东,与台湾的时差刚好 12hr,完全可以说出:「当我在睡觉时,台湾的大家都还在认真工作...
EP 04 - gem 起手式之环境设定
Youtube 频道:https://www.youtube.com/c/kaochenlong ...
很难 vs 不可能
早期还在当工程师的时候,每次碰到一些自己没兴趣,或者自己的价值判断觉得不合理的东西,就会下意识的亮出...