Day 13:巢状路由的孩子-Nested Routes
目前设定的 Navbar 路由架构还算单纯,并且只有单层路径,但是当专案规模愈来愈大、功能类别拆分的愈趋详细时,整体网站就相对需要更具层级性的规划,此时路由架构就得跟着使用巢状设置来因应需求。本篇就来壮大一下专案规模,许愿一个新需求:
- 增设会员後台(暂且略过登入系统)
- 在後台可以浏览用户的个人资料及收藏纪录,且两者各有独立的连结路径
设置会员入口按钮
直接套用 BootstrapVue 的 Button 元件,加在 Navbar 元件 <b-collapse> 中的最後一个项目(显示在画面右上角);同时增加一个 MemberPage 元件作为会员页面的 layout,让点击会员入口按钮时能够导向 MemberPage 页面。
-
Navbar.vue
<b-button variant="primary" size="sm" class="my-2 my-sm-0" type="button" @click="$router.push('/member').catch((error) => error)" >会员</b-button> -
router/index.js
import MemberPage from "@/components/MemberPage.vue";
const routes = [
  ...
  {
    path: "/member",
    name: "MemberPage",
    component: MemberPage,
  },
];
设置会员导览列与会员项目路由
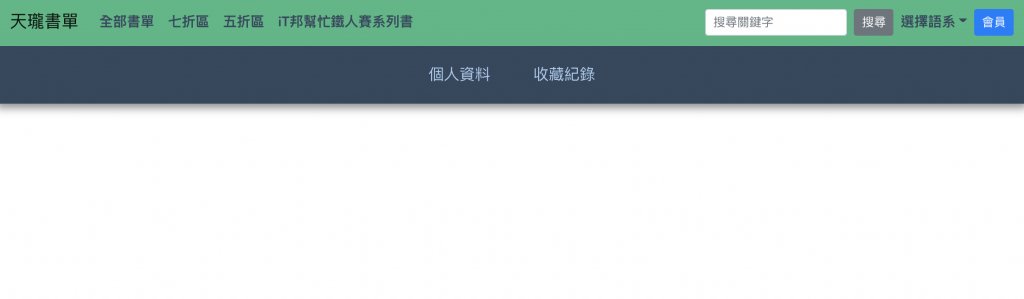
先为 MemberPage 增加一个会员专用的导览列,点选会员导览项目时会再导向其各自的路径,另外也为导览项目各自新增其对应的 .vue 元件档案。
然後别忘了要加上 <router-view>,才能因应路由切换而显示匹配路径的元件内容喔!
-
MemberPage.vue
<div class="MemberPage">
	<div class="tabs">
		<router-link
			v-for="tab in tabs"
			:key="tab.id"
			:to="tab.path"
			class="tab"
			>{{ tab.item }}</router-link
    >
  </div>
	<router-view />
</div>
data() { return { tabs: [ { id: 0, item: "个人资料", path: "/profile", }, { id: 1, item: "收藏纪录", path: "/collection", }, ], }; }, -
router/index.js
import MemberPage from "@/components/MemberPage.vue";
import Profile from "@/views/Profile.vue";
import Collection from "@/views/Collection.vue";
const routes = [
  ...
  {
    path: "/member",
    name: "MemberPage",
    component: MemberPage,
  },
	{
    path: "/profile",
    name: "Profile",
    component: Profile,
  },
  {
    path: "/collection",
    name: "Collection",
    component: Collection,
  },
];
此时 MemberPage 确实有了会员导览列,但是当我点选会员导览项目时,会员导览列却不见了?这是因为我们的路由路径不能像之前一样只设置单层,而是要让会员导览项目隶属於会员导览列之下。
巢状路由,区分层级
如果只是将会员导览项目路径改成「/member/profile」的形式还是不可行的,虽然初步展现出层级,但会员导览列仍仅限在 MemberPage 元件中使用,这时候正是使用巢状路由的时机了!
设置巢状路由的方法很简单,只要划分好父层和子层的相对关系,将共用元件放在父层提供给子层 children 共享即可。让我们再来重新改写路由架构:
// router/index.js
import MemberPage from "@/components/MemberPage.vue";
import Profile from "@/views/Profile.vue";
import Collection from "@/views/Collection.vue";

const routes = [
  ...
  {
    path: "/member",
    component: MemberPage,
    children: [
      {
        path: "profile",
        name: "Profile",
        component: Profile,
      },
      {
        path: "collection",
        name: "Collection",
        component: Collection,
      },
    ],
  },
];
这里需要特别留意的是,若巢状路由(children path)以「/」开头的话会被视为根路径,因此子层路由不需要加上「/」,让它直接接续父层路径即可。
设置 redirect 重导向至预设路由
最後,我们希望在点击会员入口按钮时,预设一律先导向个人资料页。做法有很多种,一般可能会先想到处理会员入口按钮的 click 事件:
- 指定路径:
@click="$router.push('/member/profile') - 指定路由名称:
@click="$router.push({ name: 'Profile' })
当然还有个更方便的作法,就是直接设定 redirect。click 事件一样维持为 @click="$router.push('/member')不用改动,只需要在 /router/index.js 中指定好预设路由即可,处理起来更直觉了吧!
- 指定路径:
redirect: "/member/profile" - 指定路由名称:
redirect: { name: "Profile" }

巢状路由的结构有点类似资料夹的分类和层级,因此从路由架构中多少能反映出网站架构,同时也牵涉到元件复用的程度,彼此之间会是互相呼应的状态。通常一个路由指向一个元件,若是单一元件指向多个路由,就会是巢状子层路由复用父层元件的情况;又若是单一路由指向多个元件,则是先前介绍过的命名视图(router-view)出场时机。
参考资料
<<: [Android Studio 30天自我挑战] Progress Bar练习2
Python课 第一式
print 输出指令 ?print Docstring: print(value, ..., sep...
[WMX3] 1.Create Project
开发环境 OS: Windows10 x64 Visual Studio: 2019 (2012以上...
[Day_1] Python基础小教室
嗨~大家好, 接下来是为期一个月的铁人挑战 print('Day_1') 今天是想先跟大家做跟心灵喊...
自动化测试,让你上班拥有一杯咖啡的时间 | Day 24 - 学习 trigger 的用法
此系列文章会同步发文到个人部落格,有兴趣的读者可以前往观看喔。 今天要跟大家分享当网页上有子表时,...
Day 20:专案04 - Facebook爬虫01 | ChromeDriver、Selenium
图片来源:https://unsplash.com/photos/m_HRfLhgABo 安安,今...