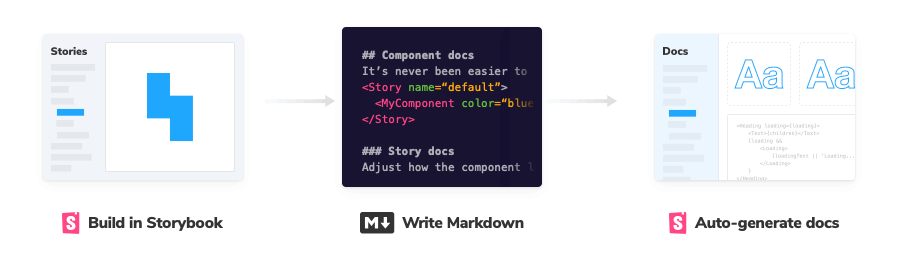
[Day13] Storybook - MDX
MDX 是 Storybook 提供的另一种攥写文件的格式,MDX 结合了 Markdown 和 JSX 的标准文件格式,使我们可以用一些 Markdown 语法(例如 # heading1) 来攥写自由度更高的 Story 文件。
基本范例
我们用 MDX 的方式重写一次 Button 的文件,来对比一下和 CSF (Component Story Format) 在攥写上的差异。
CSF
// Button.stories.js
import MyButton from './Button.vue'

export default {
  title: 'Example/Button',
  component: MyButton,
  argTypes: {
    size: {
      control: {
        type: 'select',
        options: ['small', 'medium', 'large']
      }
    }
  },
  parameters: {
    docs: {
      description: {
        component: 'This is Button\'s description.',
      }
    }
  }
}

const Template = (args) => ({
  components: { MyButton },
  setup () {
    return { args }
  },
  template: '<my-button v-bind="args" />',
})

export const Primary = Template.bind({})
Primary.args = {
  primary: true,
  label: 'Button',
}
MDX (需注意,要将副档名改成 .mdx)
// Button.stories.mdx

import { Meta, Story, Canvas, ArgsTable } from "@storybook/addon-docs";

import MyButton from "./Button.vue";

<Meta
  title="MDX/Button"
  argTypes={{
    label: {
      control: {
        type: "text",
      },
    },
    size: {
      control: {
        type: "select",
        options: ["small", "medium", "large"],
      },
    },
    primary: {
      control: {
        type: "boolean",
      },
    },
    backgroundColor: {
      control: {
        type: 'color'
      }
    }
  }}
/>

export const Template = (args) => ({
  components: { MyButton },
  setup() {
    return { args };
  },
  template: '<my-button v-bind="args" />',
});

# Button

This is Button's description.

<Canvas>
  <Story
    name="Primary"
    args={{
      primary: true,
      label: "Primary",
    }}
  >
    {Template.bind({})}
  </Story>
</Canvas>

<ArgsTable of={MyButton} />
来看一下结果

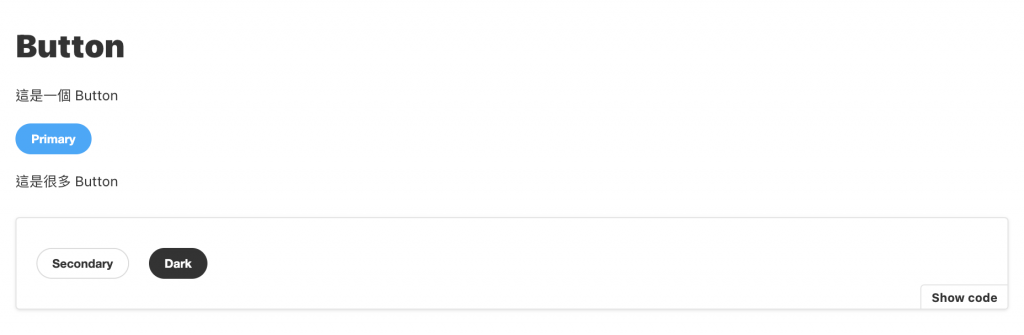
整体而言 CSF 能做到的事,MDX 都有方法能做到,唯独在 DocsPage 中 ArgsTable 少了 controls 功能,不过尽管如此也不会影响 MDX 的实用性,因为 MDX 能做到更多的事情,它提供给开发者更高的自由度可以随即任意所需的内容,也因此在排版上也有很大的弹性。
// Button.stories.mdx

...

# Button

这是一个 Button

<Story
  name="Primary"
  args={{
    primary: true,
    label: "Primary",
  }}
>
  {Template.bind({})}
</Story>

这是很多 Button

<Canvas>
  <Story
    name="Secondary"
    args={{
      primary: false,
      label: "Secondary",
    }}
  >
    {Template.bind({})}
  </Story>
  <Story
    name="Dark"
    args={{
      primary: true,
      label: "Dark",
      backgroundColor: "#333333",
    }}
  >
    {Template.bind({})}
  </Story>
</Canvas>

<ArgsTable of={MyButton} />
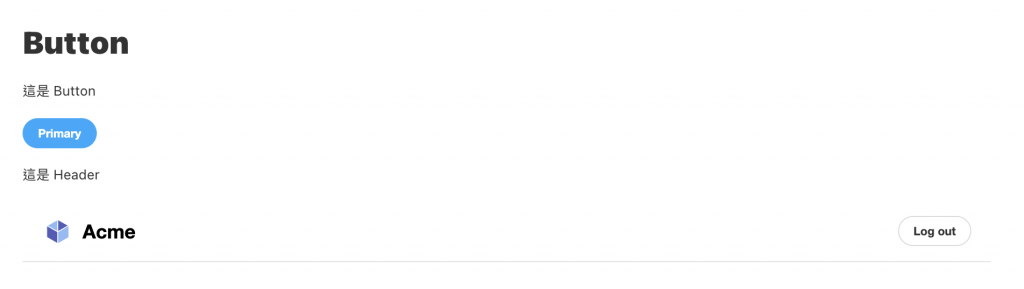
Embedding Stories
假设你已经有建立了其他的 Story,在 MDX 的语法中,我们可以直接将其嵌入至当前的文件中。
// Button.stories.mdx

...

# Button

这是 Button

<Story
  name="primary"
  args={{
    primary: true,
    label: "Primary",
  }}
>
  {Template.bind({})}
</Story>

这是 Header

<Story id="example-header--logged-in" />
而 Story 的 id 我们可以透过浏览器中的 URL 得知
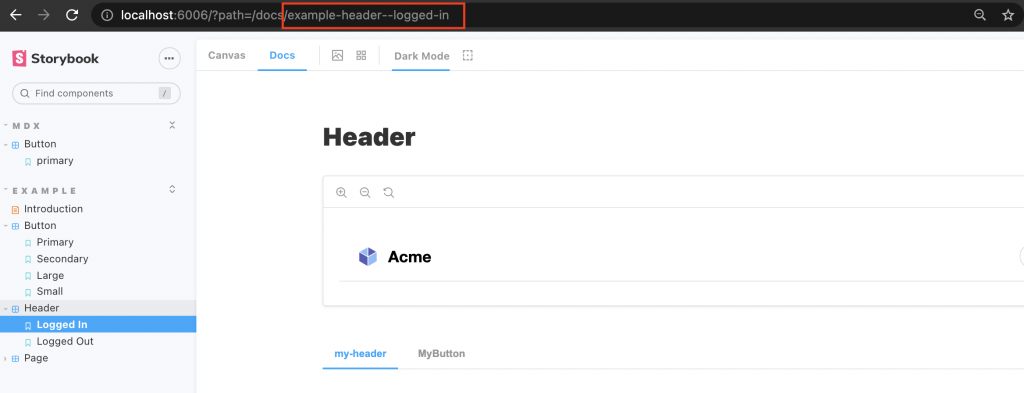
而它其实也是透过 title + story name 组合而来的
title =>  'Example/Header'
story name => 'LoggedIn'
-------------------------
example-header--logged-in
Parameters & Decorators
在 MDX 中添加 parameters 和 Decorators 的方法
import { Meta, Story } from '@storybook/addon-docs';

<Meta
  title="MyComponent"
  decorators={[ ... ]}
  parameters={{ ... }}
/>

<Story
	name="story"
	decorators={[ ... ]}
	parameters={{ ... }}
>
...
</Story>
Documentation-only MDX
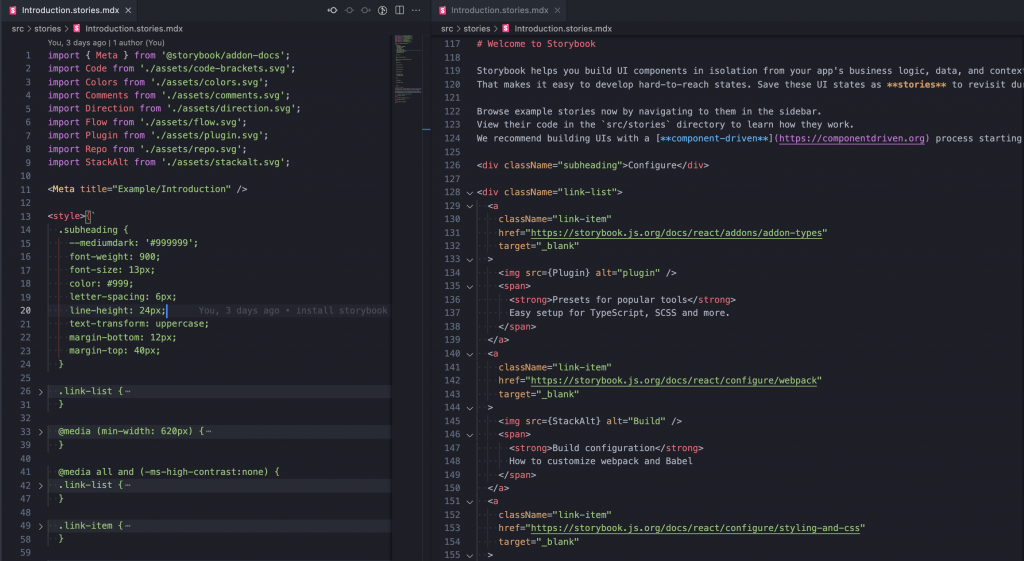
如果我们只是想写新手指引或是 Design guide 等性质的说明文件, MDX 会是你唯一的选择,基本上写法就完全像是在我们平常在写 Markdown 语法的文件,甚至因为有支援 JSX,所以可以添加 HTML 与 CSS 来产出更精美的文件,而 CLI 建立的专案中就有一个很好的例子 introduction.stories.mdx 。

参考资料
今天的分享就到这边,如果大家对我分享的内容有兴趣欢迎点击追踪 & 订阅系列文章,如果对内容有任何疑问,或是文章内容有错误,都非常欢迎留言讨论或指教的!
明天要来分享的是 Storybook 主题的第七篇 Colors & Typography,那我们明天见!
<<: [Day 27] 甚麽是ChromeDriver?可以自动驾驶吗?
Day 14 ( 中级 ) 平衡灯 ( 旋转感测 )
平衡灯 ( 旋转感测 ) 教学原文参考:平衡灯 ( 旋转感测 ) 这篇文章会介绍如何使用「旋转感测值...
[Day7] Local File Inclusion / Remote File Inclusion
前言 中场休息过後,来看一下LFI和RFI吧! 正文 LFI LFI全称Local File Inc...
【Day18】导航元件 - Breadcrumb
元件介绍 Breadcrumb 是一个导航元件,用於显示当前系统层级结构中的路径位置,并且点击路径能...
[Day 27] - 『转职工作的Lessons learned』 - Cube.js(III)
今天要说在後端的Cube.js Server连线DB後,对DB的请求需要做什麽样的设置,也就是如何建...
[Day27] 实作 - 动画篇4
想了一阵子的方法 还没找到适合的解法 先把锚点新增多一点来应急吧 每个event都命名为skill ...