Day 8 - 安装 Cloud-Init
那这次我们决定使用 Debian 11 作为系统
首先,进入 Debian 官网下载 ISO,也可透过以下连结来下载。
https://cdimage.debian.org/debian-cd/current/amd64/iso-dvd/
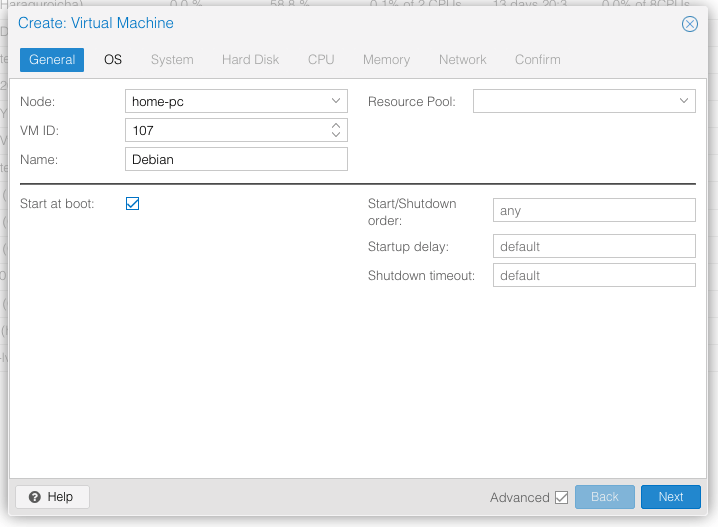
建立虚拟机
需求如下
CPU: 2C
RAM: 2G RAM
Disk: 10G
- VM ID 跟 Name 都自定义即可
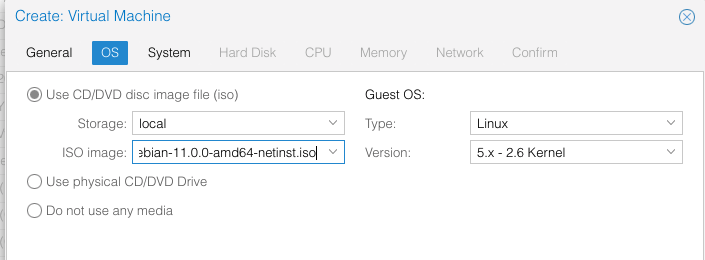
- 选择刚刚下载好的 Debian 11 ISO
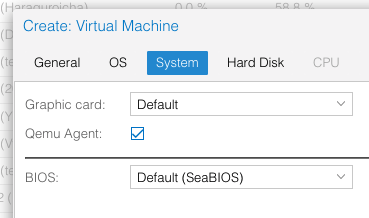
- 把 qemu-guest-agent 打勾,这样可以监控到一些 VM 资讯
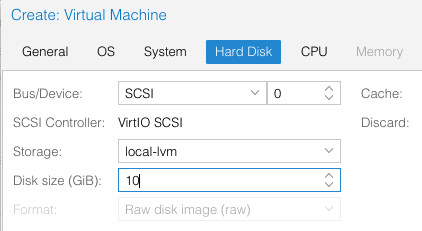
- 这边自己设定 Disk 大小
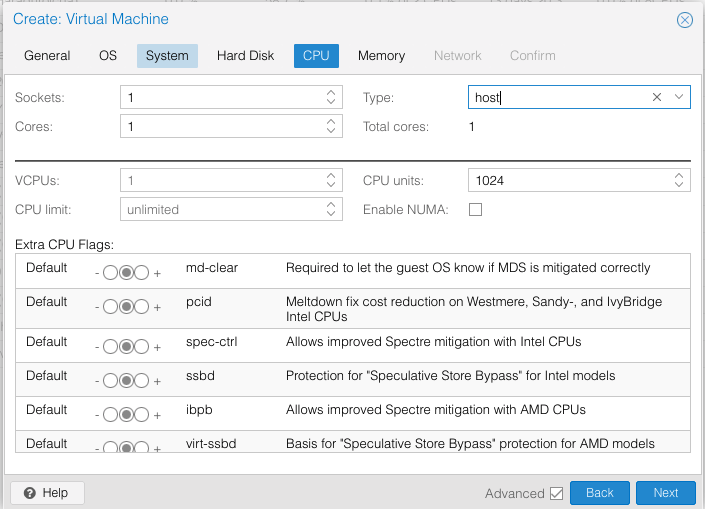
- 虚拟 CPU 核心数设定
- 记忆体设定

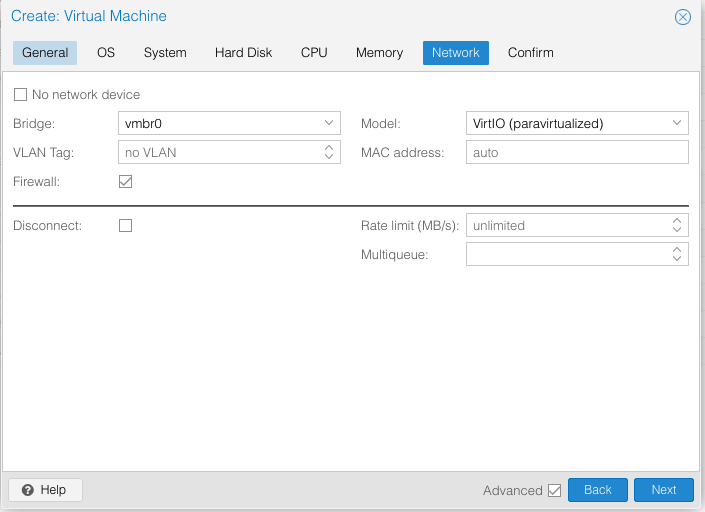
- 网路设定(若需要使用物理网卡,请在这边勾选 "No network drvice",并在结束後新增 PCI 装置)
设定 Cloud-Init
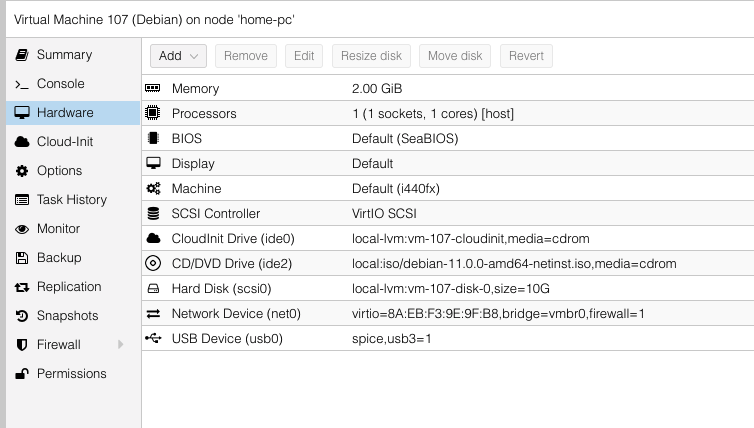
首先,我们先到 Hardware 的部分,新增两个硬体。
- USB Device
- CloudInit Drive
新增好之後,就会长这样。
接着点选左边的 Cloud-Init,依序设定,并按 Regenerate Image

安装 Cloud-Init
设定好 Cloud-Init 後,我们要在 VM 内安装
输入这个指令来安装 sudo apt install cloud-init -y
然後使用 sudo cloud-init init
就会部署了(或是重开机也可以)
>>: Day 23. Hashicorp Vault: KeePass into Vault
html的开始、让网页出现文字
开启visual studio code并且新增一个档案,将档案储存为html档,接下来在档案内输入...
Day30 完赛心得
很遗憾在第21天时没能来得及完成文章,但还是很庆幸自己有在铁人赛的过程中学习到很多,了解了更多Flu...
RDS Transacrion
由於RDS注重资料的一致性, Transaction就相对重要, 也是RDS的优势. 从最基本的Be...
[Day-30] R语言 - 分群总结与感言 ( Clustering Summary )
您的订阅是我制作影片的动力 订阅点这里~ 若内容有误,还请留言指正,谢谢您的指教 ...
Day01 从零开始学React
前言 因为是第一次挑战铁人赛,参赛组别是自我挑战组,所以不想给自己太大压力,期许只要能完成30天不断...