新新新手阅读 Angular 文件 - Day06
学习目标
本文章将会是阅读官方文件Add navigation with routing 内容所做的笔记。
主要内容是如何在专案中设定路由路径并设定相对应的元件。
在专案中新增路由模组
在本文的练习我们需要引入 router 到我们的专案中。一般来说当 router 模组被我们引入之後,它的模组 class 名称会是 AppRoutingModule 且这个模组隶属於 app-routing.module.ts 这个档案。
所以,我们要在终端机输入以下的指令
ng generate module app-routing --flat --module=app
在官方文件上有特别说明 -- flat 是直接将产出的 router 档案放到 src/app 目录底下,而不是像元件那样被放在自己的资料夹中。 --module=app 是叫 CLI 直接将这个 router 模组直接注册到 AppModule 模组的 imports 阵列里面。
设定路由
当输入完上面的指令後,应该可以成功地在 src/app 目录底下看到 app-routing.module.ts 这个档案,接着,我们就要在这个档案中加入各页面的路由路径设定了。
首先,在 app-routing-module.ts 将以下内容取代它原本的内容,并引入 heroes 元件:
--- app-routing-module.ts ---
import { NgModule } from '@angular/core';
import { RouterModule, Routes } from '@angular/router';
import { HeroesComponent } from './heroes/heroes.component';

const routes: Routes = [
  { path: 'heroes', component: HeroesComponent }
];

@NgModule({
  imports: [RouterModule.forRoot(routes)],
  exports: [RouterModule]
})
export class AppRoutingModule { }
以上的设定就代表,当网页的路由被切换到 heroes 这个路径的时候,Angular 必须为我们将 HeroesComponent 元件挂载到画面上。
路由档案中的 @NgModule
接着来看一下同样在 routing 档案里面的另一个区块 @NgModule。
--- app-routing-module.ts ---
const routes: Routes = [
  { path: 'hero', component: HeroesComponent }
];

@NgModule({
  imports: [RouterModule.forRoot(routes)],
  exports: [RouterModule]
})
imports 部分,会将我们定义的 routes 变数的内容设定到 RouterModule 里面。
接着, exports 部分,会将设定完成的 RouterModule 输出出去,让我们的专案档可以引入这个模组,进而让整个专案档都可以吃到这个路由设定。
将路由画面挂载到画面上
接着,要搭配我们设定的路由将该路由对应的元件挂载到画面中。
我们就要到 app.component.html 档案中,将原本的 <app-heroes></app-heroes> 替换成 <router-outlet></router-outlet> ,这个替换的动作,就是从原本直接指定要呈现 HeroesComponent 元件的内容,转成交由 router 模组来判断当当下路由被切换到哪一个 url ,就挂载对应的元件上去画面。
--- app.component.html ---
<h1>
  {{ title }}
</h1>
<!--<app-heroes></app-heroes>-->  // 拿掉 HeroesComponent 元件的 html 标签
<router-outlet></router-outlet>   // 加入路由模组的 html 标签
加入这个 router-outlet 标签之後,此时,画面中应该只有出现 title 的内容,那是因为现在网站的 url 路径是 http://localhost:4200/ ,结尾是 / ,而不是 hero 结尾,所以,只要我们将 url 改成 http://localhost:4200/hero ,就可以看到 HeroesComponent 元件的内容被渲染到画面上罗~
最後的结果就像下面这样子罗~
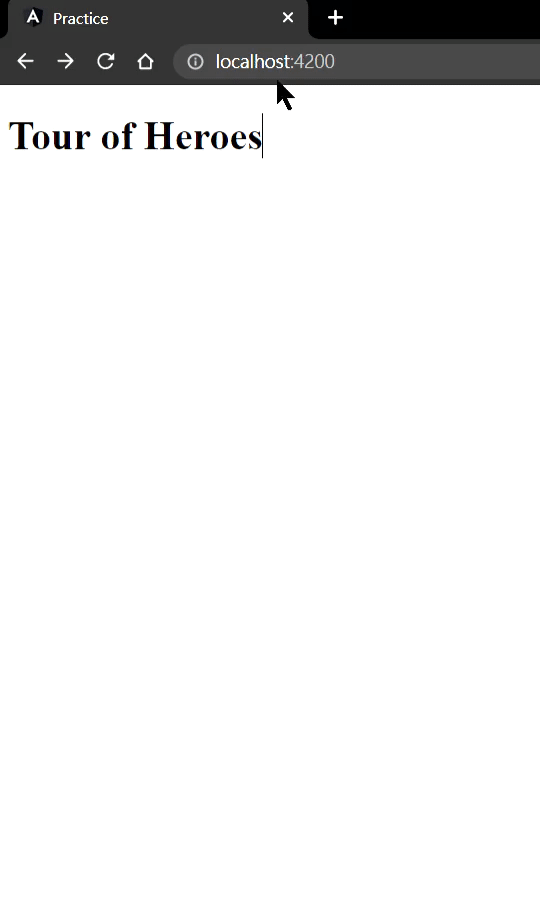
可以看到当将後面的路由路径改成 heroes 之後,就可以看到 heroes 的内容罗。
Summary
这边做个总结
- 知道输入什麽样的指令可以为专案加入路由的模组
- 在设定路由的档案中引入元件并设定其相对应的路由,当我们更改网页的路由路径之後,就可以在画面上看到这个对应元件的内容罗~
>>: Django + MariaDB + RESTful API + ARC-Day 06
[13th][Day1] 前言
about golang Produced by Google C Basic,简单明了,语法与 C...
EP 05 - [TDD] HashID 计算
Youtube 频道:https://www.youtube.com/c/kaochenlong ...
连续 30 天 玩玩看 ProtoPie - Day 24
先把原本的内容跟完。 现在不管转多少都还是 0% ,要怎麽让数值显示出来呢? 使用 Variable...
Day37 - Windows 提权(8)-提权手法统整 Password 密码相关
与 Password 密码相关的 Windows 提权手法 储存与注册表中的明文密码 储存於 pow...
Day20 Vue元件中的网页模板
我们现在应该大概了元件到底在干嘛了,今天的话我们就来聊聊HTML模板怎麽写在我们的元件里面,通常我们...