EP03 - aws cli configuration 与 terraform 配置
准备工具
- Visual Studio Code 或自己习惯的 IDE
- 可用的 AWS 帐户
目标
昨天能够透过 vagrant 建立并启动虚拟机械
并且安装好 aws-cli
接续昨天的进度
预计装好 terraform 并配置好 aws 的设定
配置环境
新增 IAM
昨天安装好 aws-cli 後
还需要另外配置使用者资讯
才有办法对 aws 进行操作
登入 aws 并进入 IAM 页面
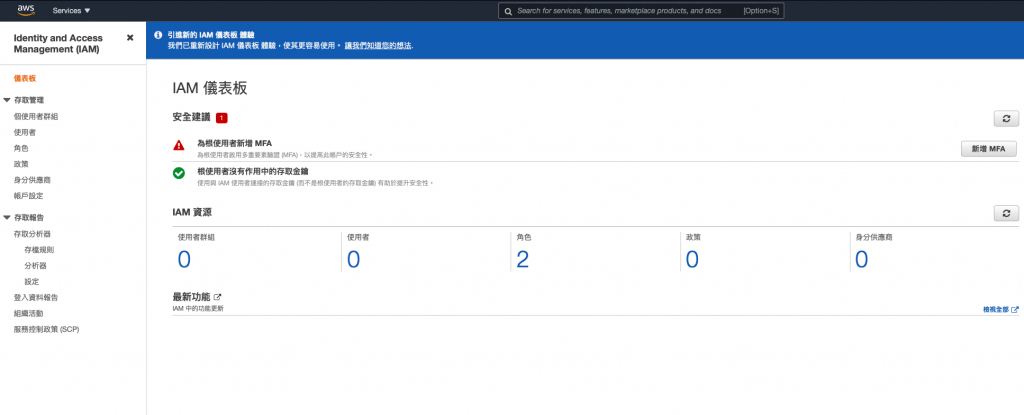
新的帐号如果没有使用 MFA 会跳出警示
建议帐号的使用加上 MFA 会比较保险
进入使用者页面
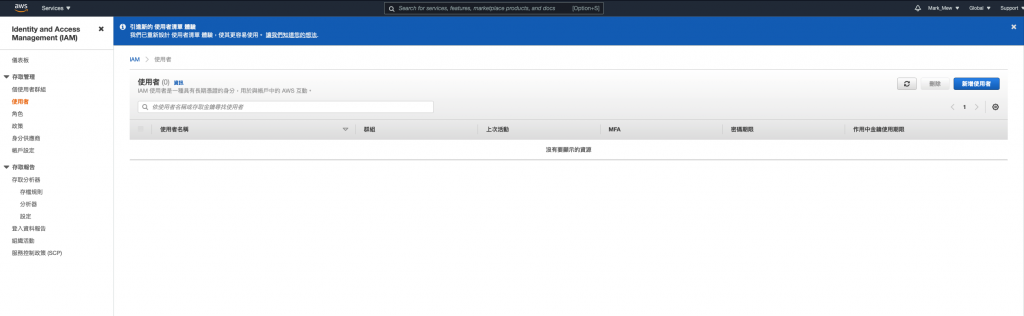
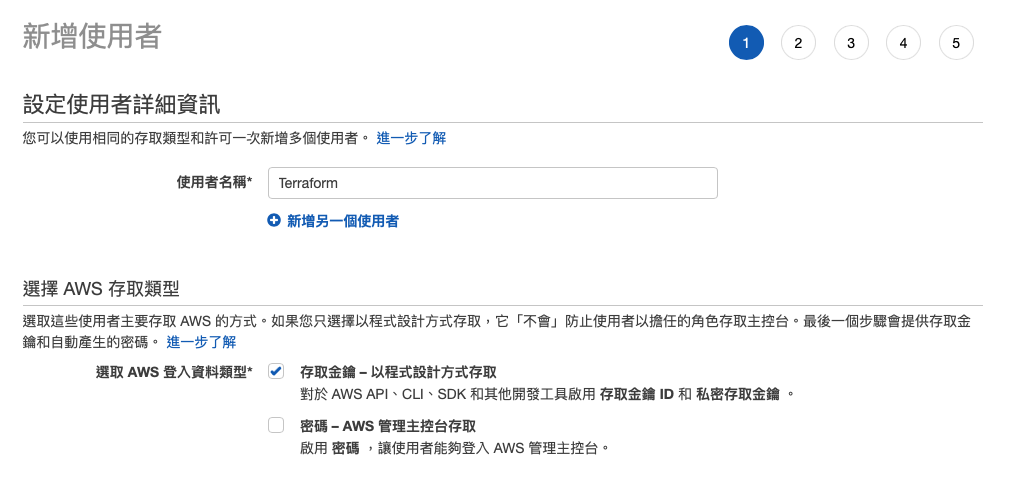
新增使用者
因为是程序使用需要
因此勾选第一项即可
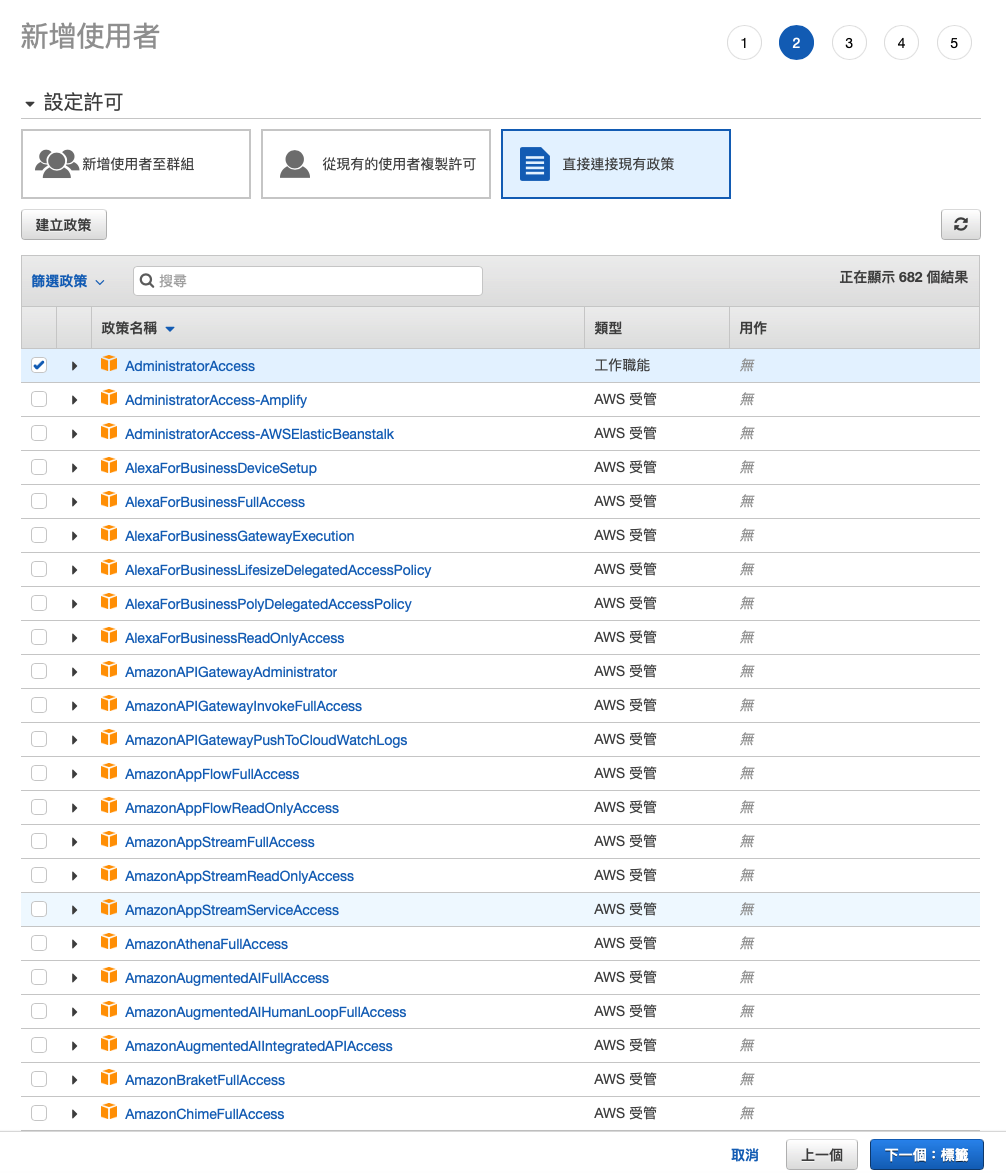
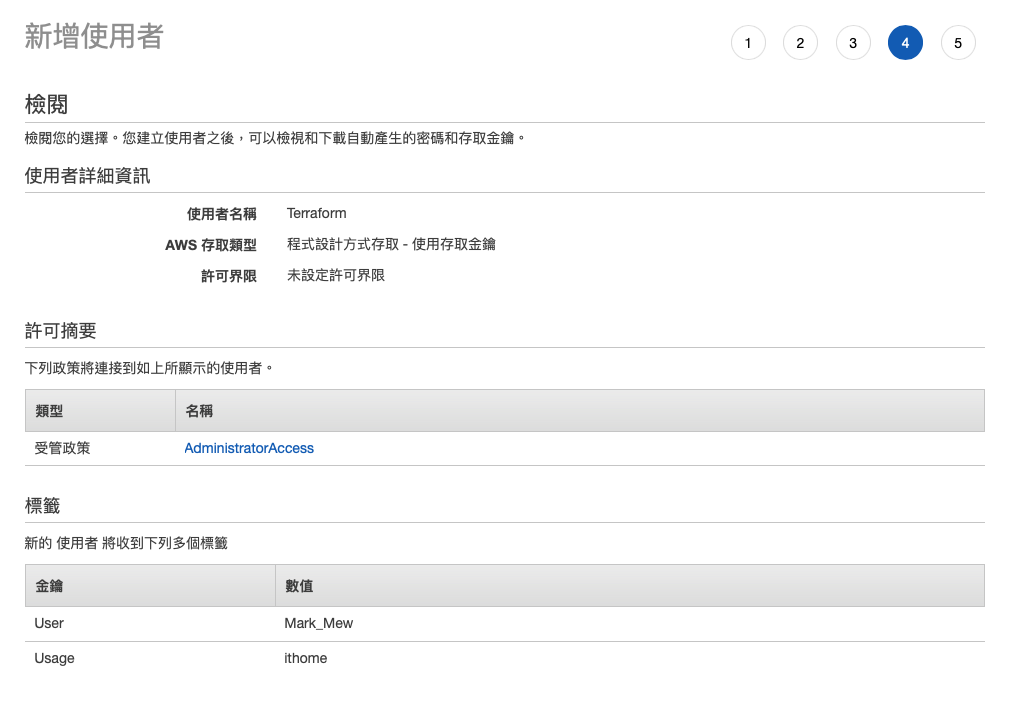
设定许可
这里的操作上会使用 AdministratorAccess
但是仅限於本机使用
如果在 EC2 或是其他部分的操作
建议给予适当的权限即可
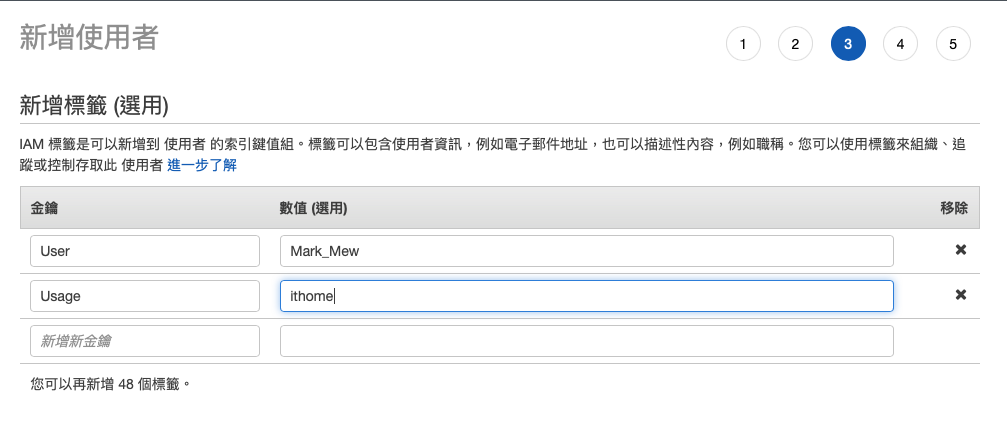
设定标签
此处的标签无特别用处
方便自己辨识即可
检阅
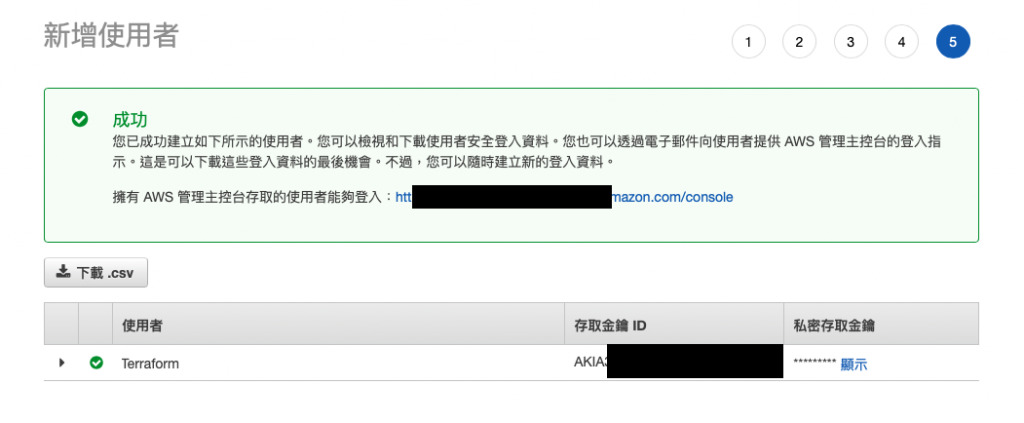
建立使用者
建立完後会给予一组金钥
私密存取金钥仅会在此页面显示
怕忘记的记得下载 CSV 储存
aws configuration
回到昨天建立的虚拟机械
vagrant ssh 进入虚拟机械後
输入以下指令
aws configure
分别输入完刚刚拿到 Access Key ID 和 Secret Access Key
以及 Default Region Name 和 Default output format後就完成了
预设区域会 aws 未来预计建立机械的区域
如果没有特别考量建议可以使用离台湾较近的 ap-northeast-1(东京)或 ap-southeast-1(新加坡)
而 output format 则会影响到下 aws-cli 结果的显示

如果有需要调整或是修改
档案位在 ~/.aws 底下
分别是 credentials 和 config
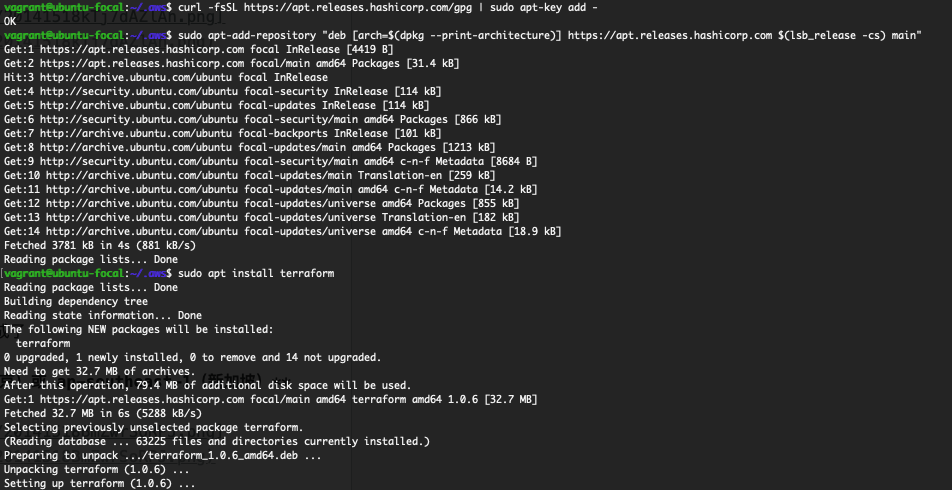
安装 terraform
在 ubuntu 底下安装 terraform 需要手动添加 repository
curl -fsSL https://apt.releases.hashicorp.com/gpg | sudo apt-key add -
sudo apt-add-repository "deb [arch=$(dpkg --print-architecture)] https://apt.releases.hashicorp.com $(lsb_release -cs) main"
sudo apt install terraform
第一个 terraform
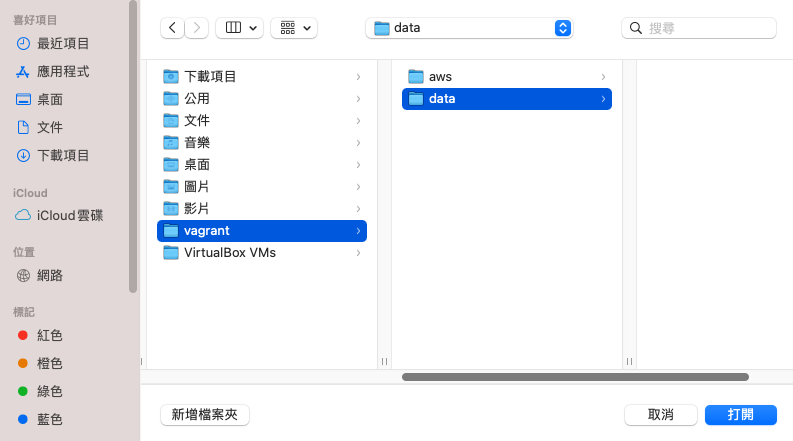
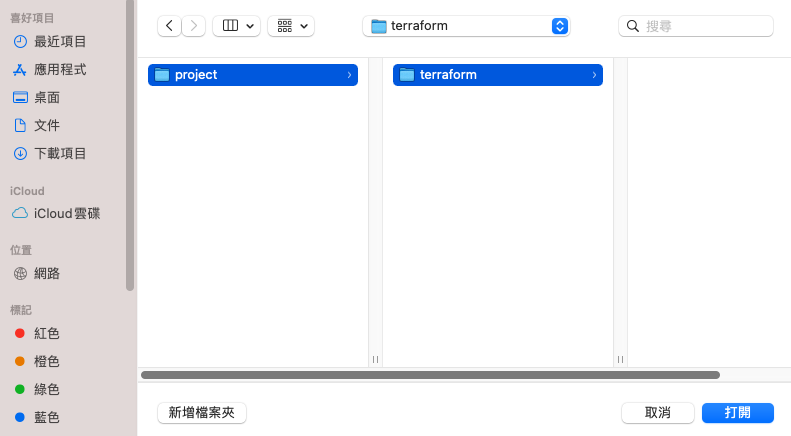
开启 visual studio code 并选择昨天建立的 vagrant/data 资料夹
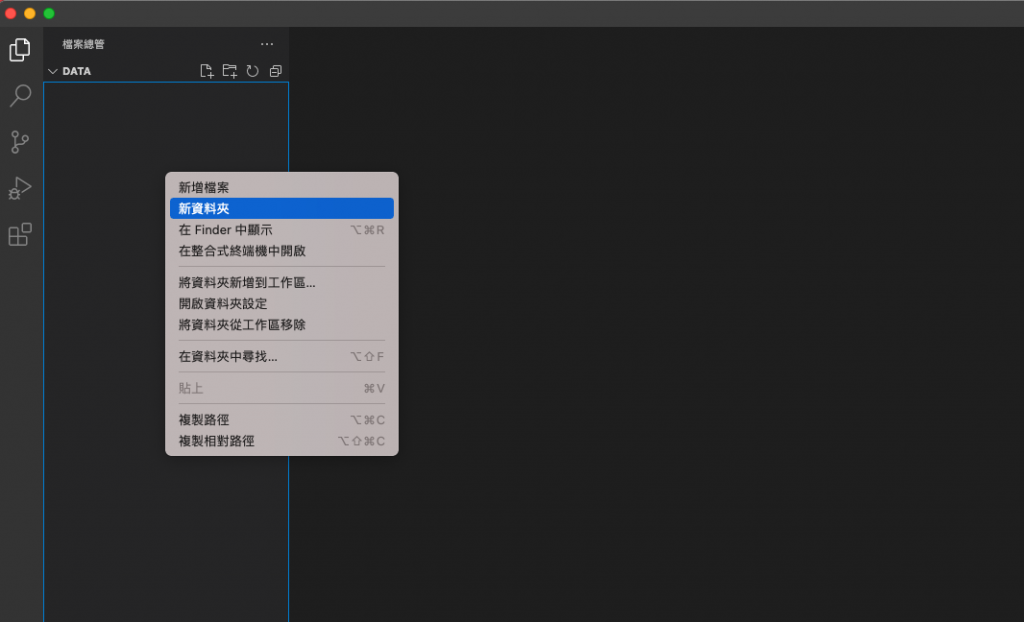
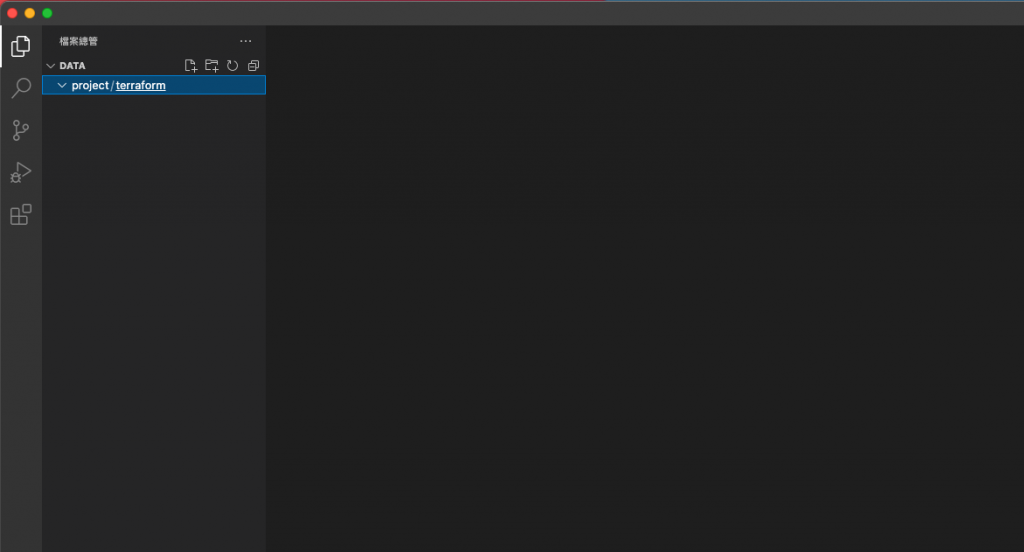
新增 project 资料夹,并在其之下新增 terraform 资料夹
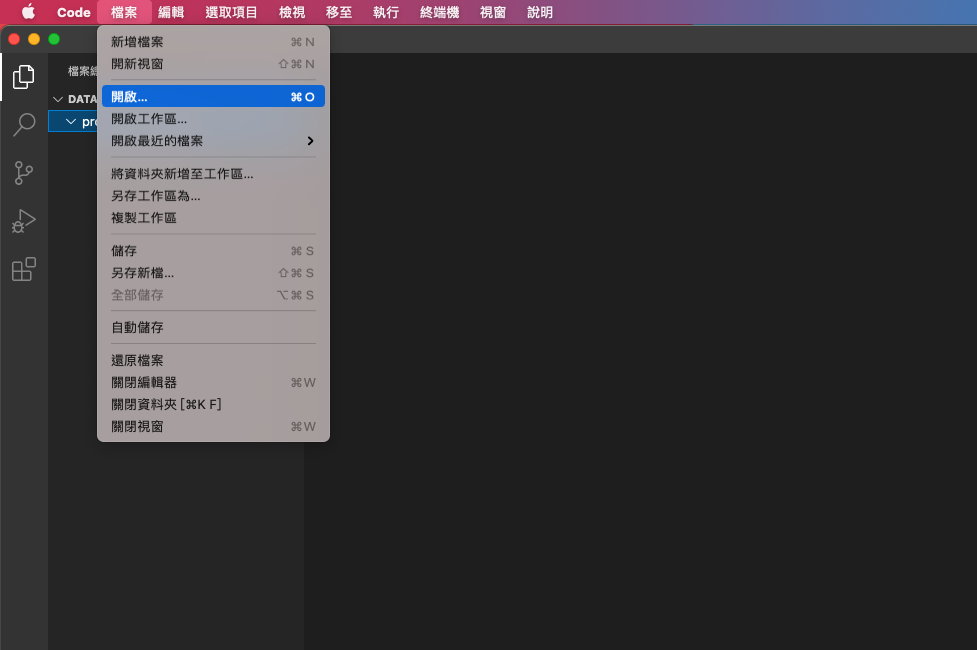
在 visual studio code 上开启刚刚建立的 terraform 资料夹
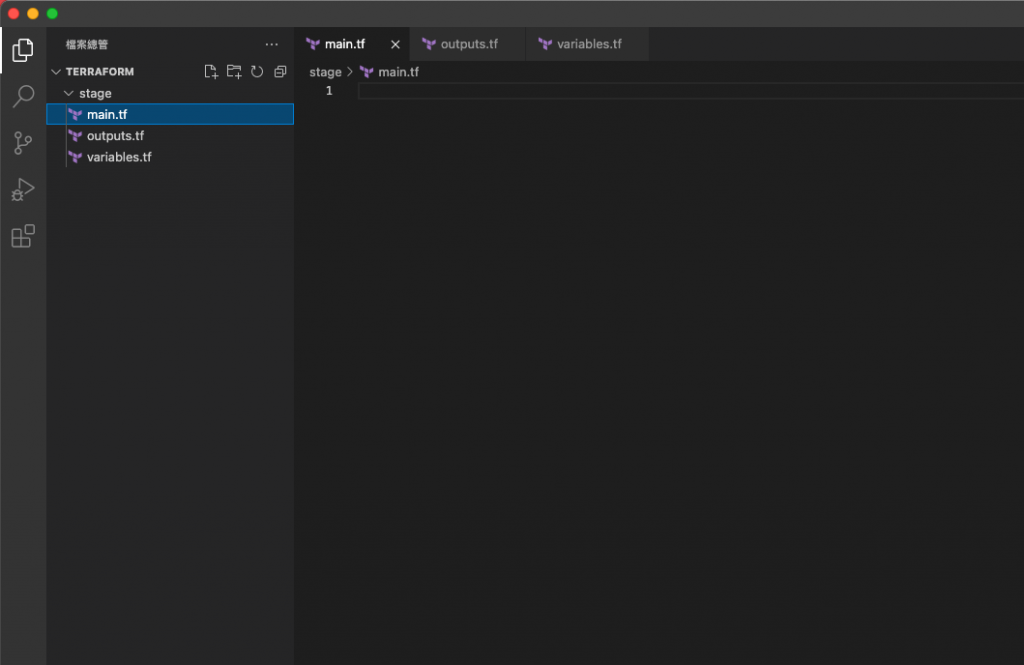
建立 stage 资料夹,并在资料夹下建立 main.tf、outputs.tf 和 variables.tf
在 terraform 的基础配置上
官方说明建议的标准配置就是这三个档案
在 terraform 上配置 aws credentials
由於这段程序码未来会进 git 做版控
因此不建议在此直接填入上方拿到的 Access Key ID 和 Secret Access Key
provider "aws" {
    region                  = "ap-northeast-1"
    shared_credentials_file = "~/.aws/credentials"
    profile                 = "default"
}

terraform {
    required_providers {
        aws = {
            source  = "hashicorp/aws"
            version = "~>3.0"
        }
    }
}
在 terraform 官方的教学文件
有说明 credential 的配置
虽然可以直接把 Access Key ID 和 Secret Access Key 放上
但这是不建议的方式
比较推荐的方式还是像上方这样
透过资料夹的方式去指定 credentials 的位置
工作切回 command line
cd /vagrant_data/project/terraform/stage
初始化 terraform
terraform init
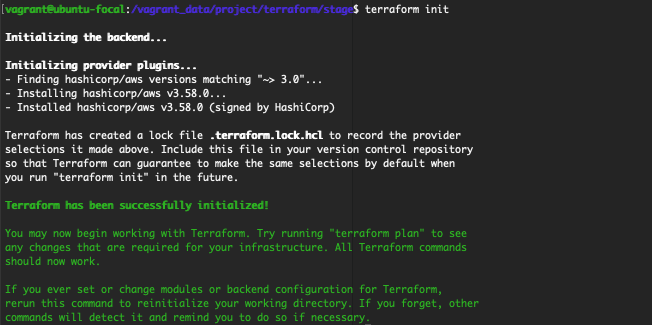
到此,其实开发环境配置就完成了
如果需要关闭虚拟机械的指令
记得要先 exit 後再下 vagrant halt
<<: [30天 Vue学好学满 DAY15] prop & emit-2
DAY2:简介Android Studio与Kotlin
首先,我们先对於Android Studio以及所使用的Kotlin语言来做个简单的介绍。 Andr...
HERE API Example - Context menu
本文说明如何为地图和地图物件加入 Context menu,当您在地图上按滑鼠右键即显示该位置的经纬...
【Day 04】 Data Analytics Pipeline 对应於 AWS 中的服务 ( 2 )
今天继续针对 Data Analytics Pipeline on AWS 中常见的 AWS 服务来...
【把玩Azure DevOps】Day16 Artifacts应用:让外部合作夥伴也可以从Private nuget安装Package
前面几篇文章都在提Azure DevOps Artifacts,也就是如何利用这个服务来达成私有化的...
Day6-Go叙述
前言 Go 语言的叙述,与大部分程序语言用法差不多,所以对学过程序语言的朋友,不会太需要花时间理解,...