PVE 虚拟机 Ubuntu Server 20.04 服务器版本 安装 LibreNMS
PVE 虚拟机 Ubuntu Server 20.04 服务器版本 安装 LibreNMS
PROXMOX Virtial Environment 先安装一台 Ubuntu Server 20.04 起来
IP:192.168.254.18
英文安装
要记得安装 OpenSSH Server 使用 telnet ssh 我是觉得比较方便
安装好 Ubuntu Server 之後
telnet ip
先检查 date 日期时间对不对
这很重要
因为时间时区不对会影响等一下的 LibreNMS 安装
我们在台湾
sudo -s 之後
timedatectl set-timezone Asia/Taipei
之後就可以照这份文件安装
https://docs.librenms.org/Installation/Install-LibreNMS/#install-php-dependencies
里面说明很清楚
需要修改的部分我们说明如下
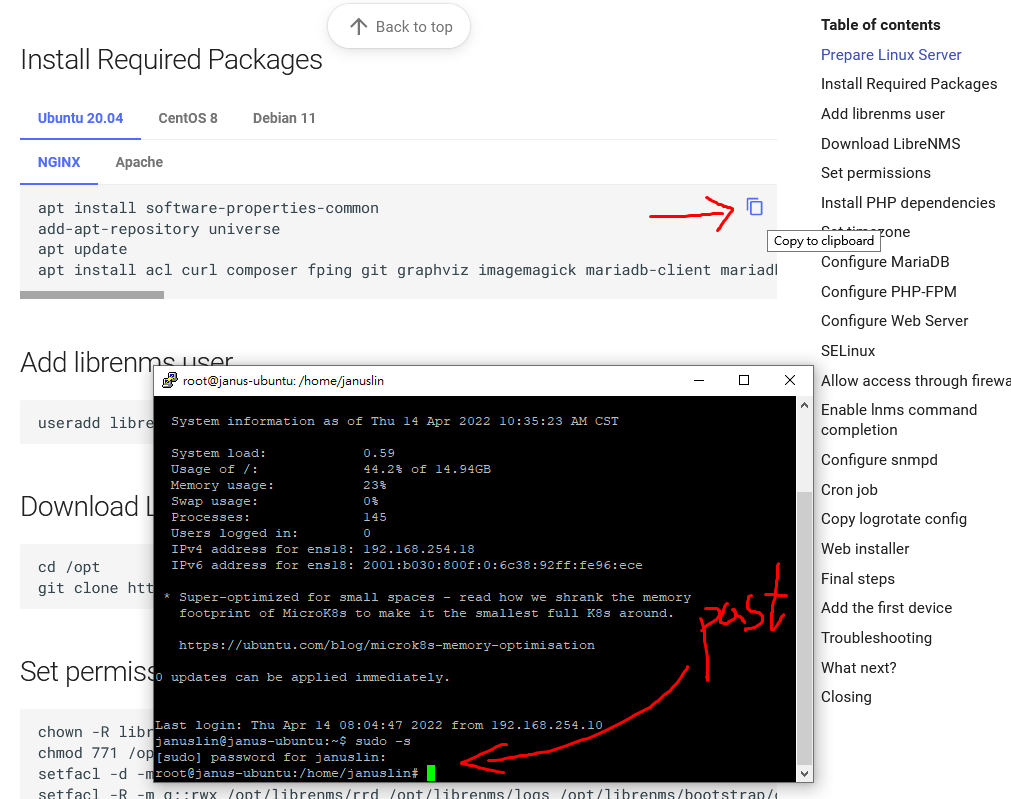
Install Required Packages
apt install software-properties-common
add-apt-repository universe
apt update
apt install acl curl composer fping git graphviz imagemagick mariadb-client mariadb-server mtr-tiny nginx-full nmap php7.4-cli php7.4-curl php7.4-fpm php7.4-gd php7.4-gmp php7.4-json php7.4-mbstring php7.4-mysql php7.4-snmp php7.4-xml php7.4-zip rrdtool snmp snmpd whois unzip python3-pymysql python3-dotenv python3-redis python3-setuptools python3-systemd python3-pip
Add librenms user
useradd librenms -d /opt/librenms -M -r -s "$(which bash)"
Download LibreNMS
cd /opt
git clone https://github.com/librenms/librenms.git
Set permissions
chown -R librenms:librenms /opt/librenms
chmod 771 /opt/librenms
setfacl -d -m g::rwx /opt/librenms/rrd /opt/librenms/logs /opt/librenms/bootstrap/cache/ /opt/librenms/storage/
setfacl -R -m g::rwx /opt/librenms/rrd /opt/librenms/logs /opt/librenms/bootstrap/cache/ /opt/librenms/storage/
Install PHP dependencies
su - librenms
./scripts/composer_wrapper.php install --no-dev
exit
Set timezone
vi /etc/php/7.4/fpm/php.ini
vi /etc/php/7.4/cli/php.ini
找到这一行[Date] 把时区改为 Asia/Taipei
timedatectl set-timezone Asia/Taipei
Configure MariaDB
vi /etc/mysql/mariadb.conf.d/50-server.cnf
Within the [mysqld] section add:
innodb_file_per_table=1
lower_case_table_names=0
存档後退出 vi
systemctl enable mariadb
systemctl restart mariadb
执行
mysql -u root
看你要不要把 password 改掉後你要记得
CREATE DATABASE librenms CHARACTER SET utf8mb4 COLLATE utf8mb4_unicode_ci;
CREATE USER 'librenms'@'localhost' IDENTIFIED BY 'password';
GRANT ALL PRIVILEGES ON librenms.* TO 'librenms'@'localhost';
FLUSH PRIVILEGES;
exit
Configure PHP-FPM
cp /etc/php/7.4/fpm/pool.d/www.conf /etc/php/7.4/fpm/pool.d/librenms.conf
vi /etc/php/7.4/fpm/pool.d/librenms.conf
Change [www] to [librenms]:
[librenms]
Change user and group to "librenms":
user = librenms
group = librenms
Change listen to a unique name:
listen = /run/php-fpm-librenms.sock
Configure Web Server
vi /etc/nginx/conf.d/librenms.conf
新增 librenms.conf 里面的 server_name 改成你要的,如果不知道
直接填入 Ubuntu Server IP
server {
 listen      80;
 server_name 192.168.254.18;
 root        /opt/librenms/html;
 index       index.php;

 charset utf-8;
 gzip on;
 gzip_types text/css application/javascript text/javascript application/x-javascript image/svg+xml text/plain text/xsd text/xsl text/xml image/x-icon;
 location / {
  try_files $uri $uri/ /index.php?$query_string;
 }
 location ~ [^/]\.php(/|$) {
  fastcgi_pass unix:/run/php-fpm-librenms.sock;
  fastcgi_split_path_info ^(.+\.php)(/.+)$;
  include fastcgi.conf;
 }
 location ~ /\.(?!well-known).* {
  deny all;
 }
}
存档退出执行下面命令
rm /etc/nginx/sites-enabled/default
systemctl restart nginx
systemctl restart php7.4-fpm
SELinux
Allow access through firewall
因为 Ubuntu Server 安装时就没有打开
所以不需要调整
Enable lnms command completion
ln -s /opt/librenms/lnms /usr/bin/lnms
cp /opt/librenms/misc/lnms-completion.bash /etc/bash_completion.d/
Configure snmpd
cp /opt/librenms/snmpd.conf.example /etc/snmp/snmpd.conf
Edit the text which says RANDOMSTRINGGOESHERE and set your own community string.
编辑联络资讯改成你的资料
我是没有改
vi /etc/snmp/snmpd.conf
退出 vi 後执行
curl -o /usr/bin/distro https://raw.githubusercontent.com/librenms/librenms-agent/master/snmp/distro
chmod +x /usr/bin/distro
systemctl enable snmpd
systemctl restart snmpd
Cron job
cp /opt/librenms/librenms.nonroot.cron /etc/cron.d/librenms
Copy logrotate config
cp /opt/librenms/misc/librenms.logrotate /etc/logrotate.d/librenms
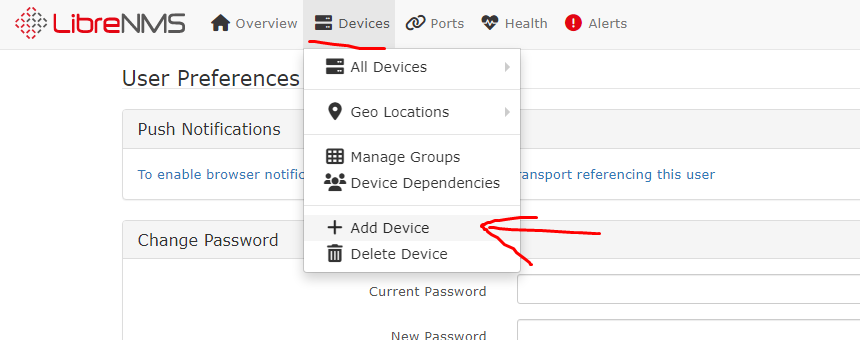
Web installer
http://192.168.254.18/install
跑完由左到右四个项次就完成了
之後输入
http://192.168.254.18/
打完帐号密码就可以登入了
右边车轮旁边的人头
点 My Setting
Preferences
Language

就可以把它改为节省哥JSJSS的繁体中文版本了
以上
>>: 热门AI平台分享 | Dataiku 让跨专业的数据协作成为可能
[Angular] Day6. Sharing data between child and parent directives and components
我们了解到 Angular app 是由无数个大大小小的 Component 所组成的,所以就会常常...
Day 20 | Livewire 实作 Todo List(二): 完成/删除待办事项
接续昨天的内容。昨天做完了 新增待办事项 ,今天就来把 修改 跟 删除 的功能给做出来吧!! 功能三...
you only look once - YOLO (2)
今天来讲一下yolo v1的架构与损失函数,架构如下: 首先先把图片改变成448 * 448的大小,...
day 1 - 魔鬼藏在细节里
前言 程序写了一阵子之後,工程师就会发展出自己习惯的模式,小到命名方式,大到系统架构,而在我们团队中...
Day 09:遍历资料好便利-v-for
目前为止,我们成功引入了 BootstrapVue 的元件 Navbar,也调整了样式和内容。 突然...