[DAY25] 用 Azure Machine Learning SDK 注册模型与部署
DAY25 用 Azure Machine Learning SDK 注册模型与部署
之前提过在 Azure Machine Learning 里面,提供了模型注册的功能。这样子的功能很重要,在当代 MLOps 的工具里面都会有这类的功能,因为好好的管理每个版本的模型是现代企业导入 AI 最重要的事情之一。我们今天就来讲怎麽用 AML SDK 注册模型和部署吧!
注册模型
- 注册模型的方式很简单,使用 Model 物件就可以了。参考程序码如下:
from azureml.core import Model

classification_model = Model.register(workspace=ws,
                       model_name='mnist_model',
                       model_path='mnist.h5', # local path
                       description='mnist 的模型')
- 另外也可以再 Run 里面注册模型哦!
run.register_model( model_name='mnist_model',
                    model_path='outputs/mnist.h5', # run outputs path
                    description='A classification model')
-
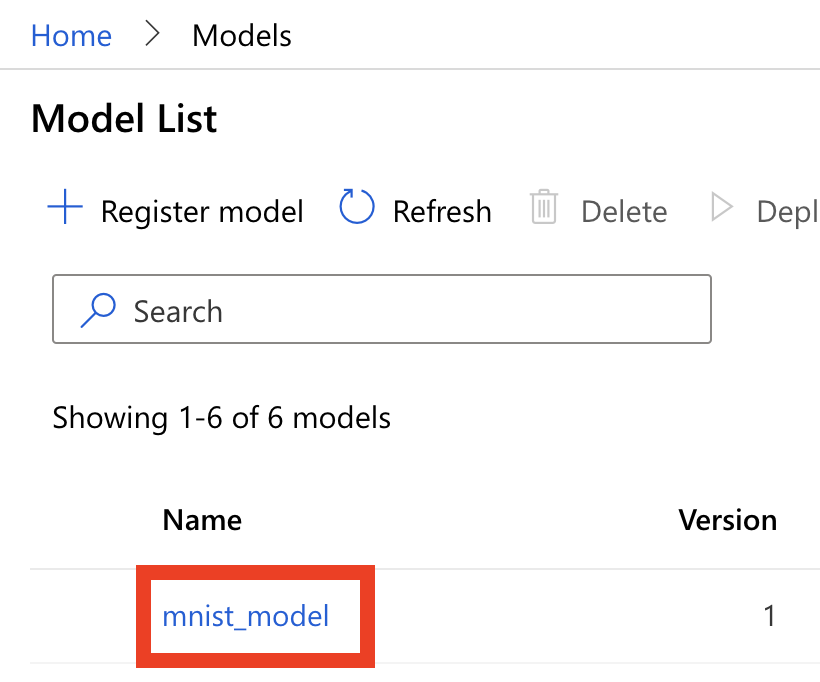
我们进到图形化介面,可以看到已经被注册进去罗!如下图:
-
当然也可以用 SDK 的方式来取得:
for model in Model.list(ws):
    print(model.name)
部署模型
- 在部署模型时,我们要先建立一个 script,一般都取名为
score.py。这个 script 至少要有两个 function:
- init(): 初始化时呼叫。
- run(raw_data): 资料提交时呼叫。
根据 MNIST 的 model,程序码参考如下:
import json
import numpy as np
import os
from tensorflow.keras.preprocessing import image
from tensorflow.keras.models import load_model

def init():
    global model
    # AZUREML_MODEL_DIR 是环境变数
    model_path = os.path.join(os.getenv('AZUREML_MODEL_DIR'), 'mnist.h5')
    model = load_model(model_path)

def run(raw_data):
    data = np.array(json.loads(raw_data)['data'])

    predictions = model.predict(pred_img)

    return predictions.tolist()
- 接着开新的档案,来写部署的程序。我们要使用 InferenceConfig 这个物件,就像 ScriptRunConfig 一样,都是一个包装用的设定工具。
from azureml.core import Environment, Workspace
from azureml.core.model import InferenceConfig

ws = Workspace.from_config()

env = Environment.get(ws,"AzureML-tensorflow-2.4-ubuntu18.04-py37-cuda11-gpu")
env.inferencing_stack_version='latest'

mnist_inference_config = InferenceConfig(source_directory = '.',
                                              entry_script="score.py",
                                              environment=env)
- 接着建立部署的运算资源,这里和我们前几天开运算资源非常的相似哦!我们建立一个 AKS cluster吧!跟之前一样,这里会等待比较久哦!
from azureml.core.compute import ComputeTarget, AksCompute

cluster_name = 'MnistAksCluster'
compute_config = AksCompute.provisioning_configuration(location='westus2')
production_cluster = ComputeTarget.create(ws, cluster_name, compute_config)
production_cluster.wait_for_completion(show_output=True)
- 然後再建立 AksWebservice。
from azureml.core.webservice import AksWebservice

classifier_deploy_config = AksWebservice.deploy_configuration(cpu_cores = 2,
                                                              memory_gb = 1,
                                                              enable_app_insights = True)
- 接着就部署上去罗!
from azureml.core.model import Model

model = ws.models['mnist_model']
service = Model.deploy(workspace=ws,
                       name = 'mnist-classification',
                       models = [model],
                       inference_config = mnist_inference_config,
                       deployment_config = classifier_deploy_config,
                       deployment_target = production_cluster)
service.wait_for_deployment(show_output = True)
- 接着我们进到图形化介面的 Endpoints 里,就可以看到我们刚刚部署完成的 endpoint 啦!一样到 Comsume 里面有提供程序码可以对接,记得要把影像转成 numpy array 哦!

今天我们就讲完了模型的注册和部署了,明天我们来讲 Pipeline 吧!
bind, call, apply
在未经过绑定的this会指向Windows Bind 使用Bind会return 一个functio...
Golang 最佳实践
概述 这是Golang编程语言的一组安全原则。 该指南旨在作为应用程序安全团队的安全软件开发生命周期...
Day02 - 修改 Rails console edit 编辑模式
前言 在 rails console 中,若一次贴行数较多的 code 时,有时会失败,变成要逐段复...
[Day17]-应用模组2
时间time模组 使用前要先import time Time()可以传回自1970/1/1以来的秒...
Day1 准备好计算纸
Why? 数据分析和资料视觉化是近期耳熟能详的主题,但确少有关注偏乡的应用概念,在一个没网路(内网...