EP20 - 整合 Jenkins 自动部署到 EKS
之前我们自动部署的时候,
没有在 Jenkins Server 上 config aws,
而是起一个 Docker 去做各项 aws 的操作,
今天我们部署到 EKS,
也打算如法炮制,
制作一个部署用的容器,
透过这容器在部署的时候可以自动部署到 EKS。
撰写部署用容器
撰写容器时要注意
一般来说
也不建议在建置的时候
将帐号密码这类机敏资讯包进去
而是要另外 mount 上去
这也是为什麽我们另外包一层的时候
也没有顺便包进去
怕的就是我们包了一个过高权限的 iam 进容器
结果容器落到有心人手里
而造成其他问题
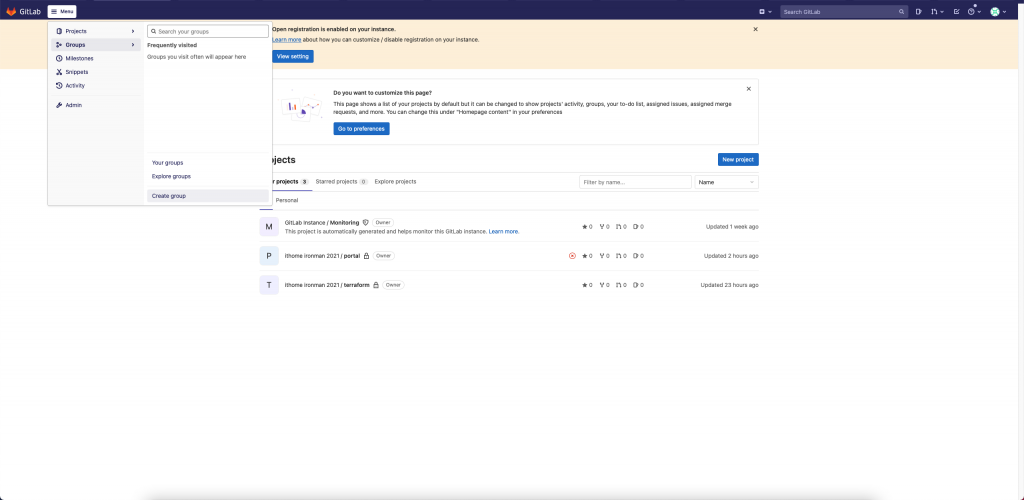
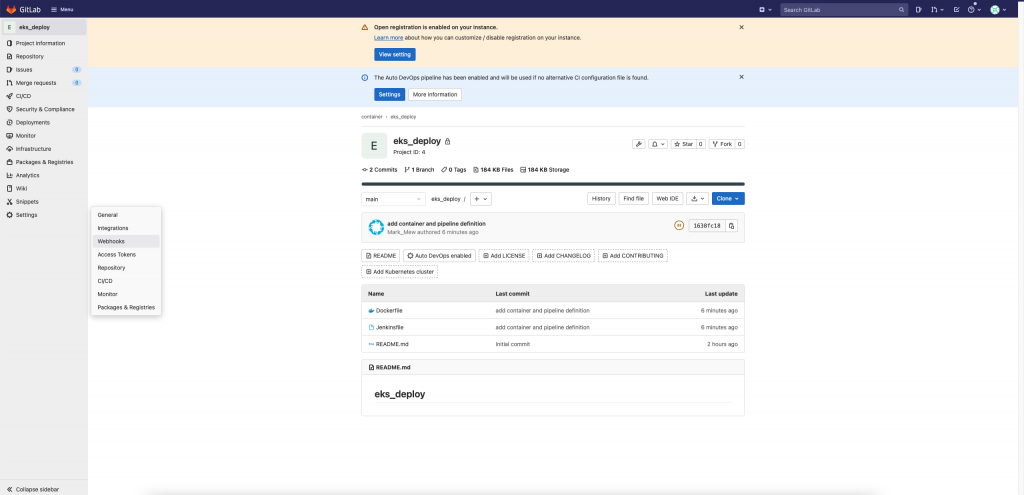
Gitlab 开新专案
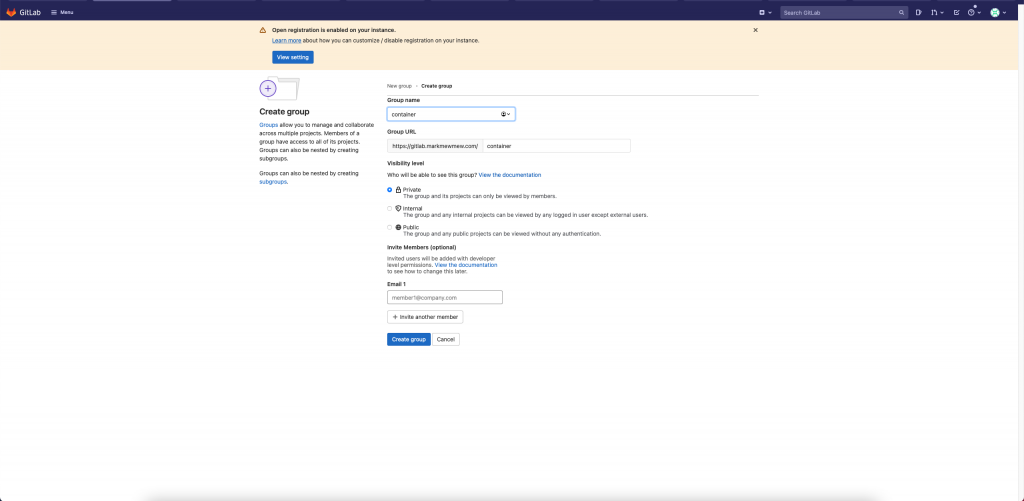
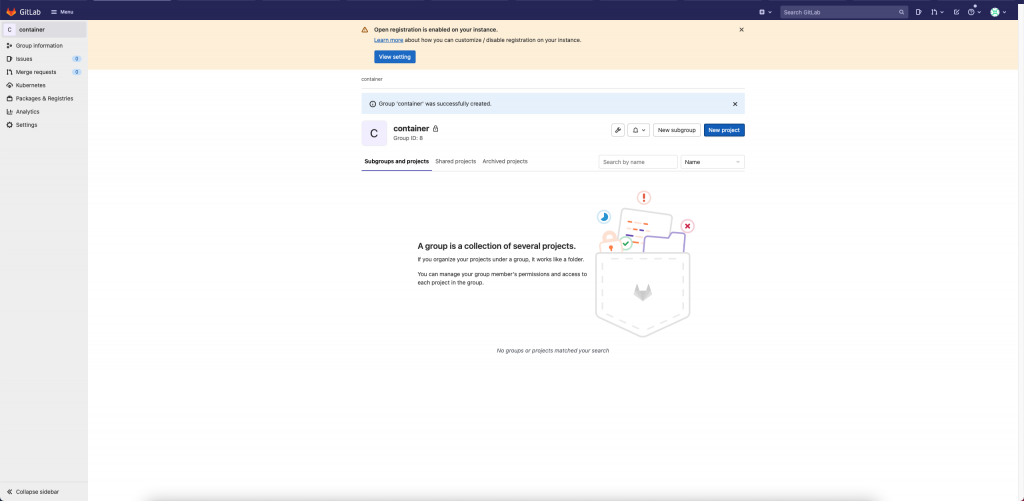
建立新 Group
Create Group

输入 Group 名称
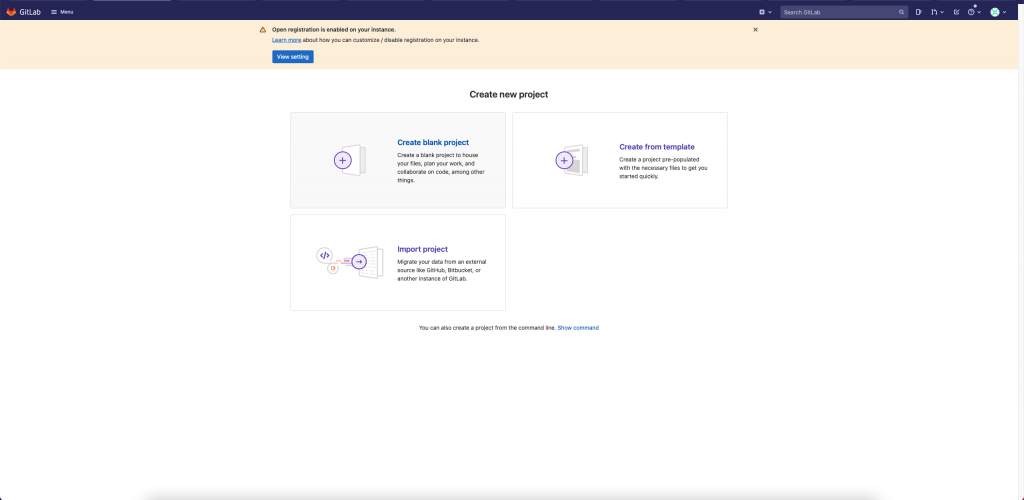
建立新专案
Create Blank Porject
输入专案名称
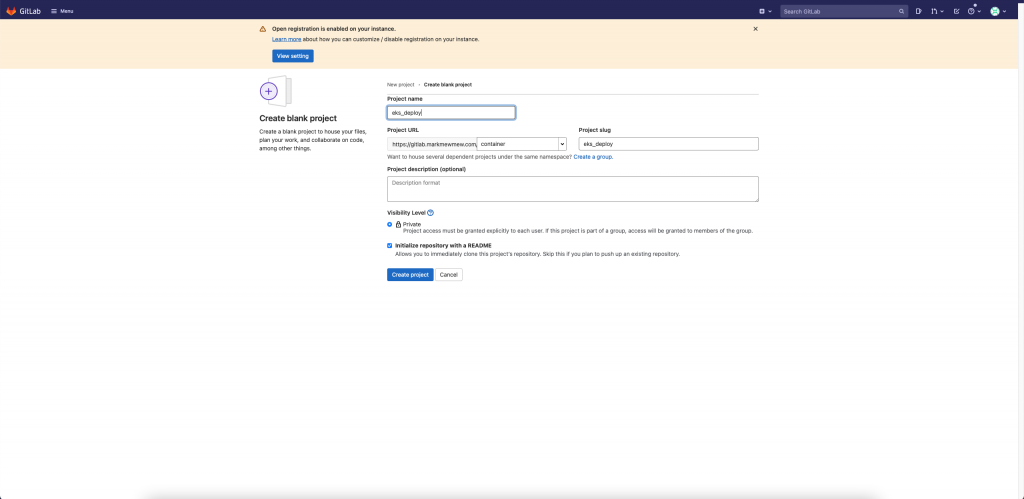
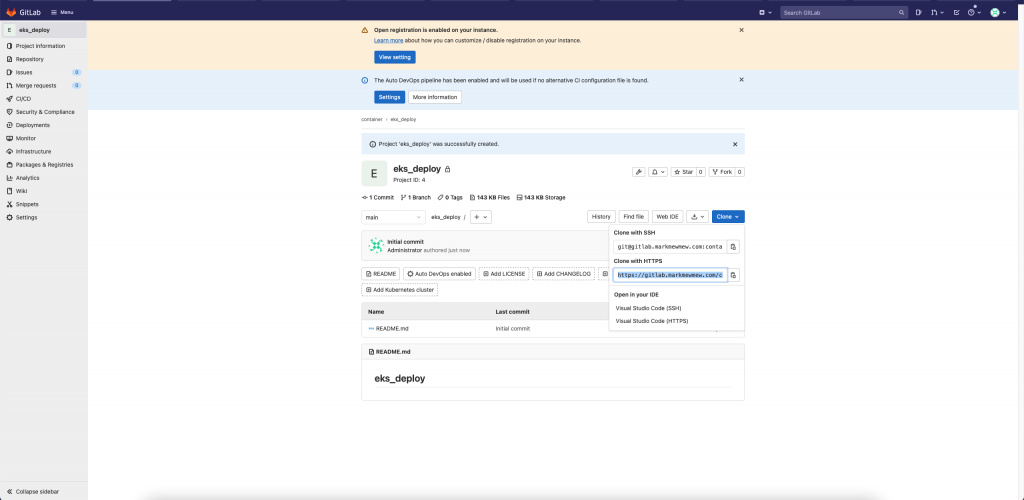
复制专案名称
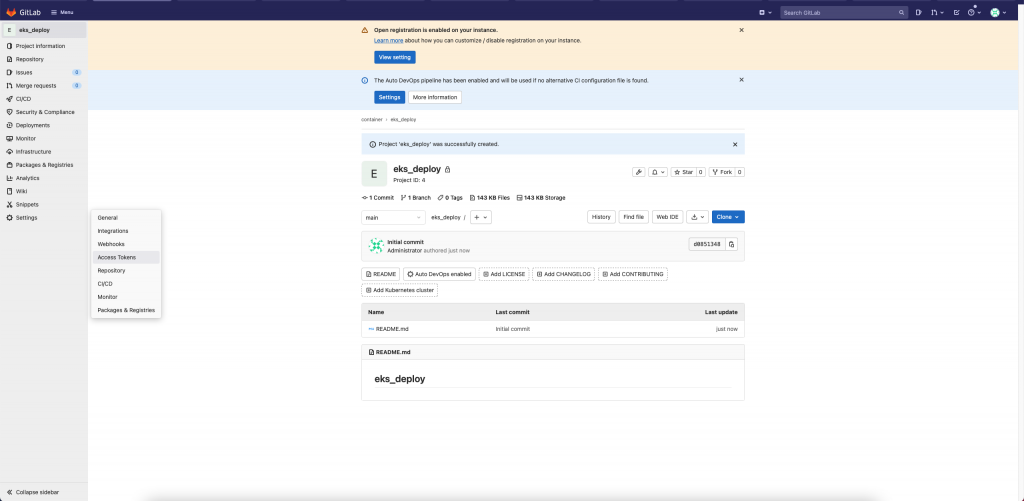
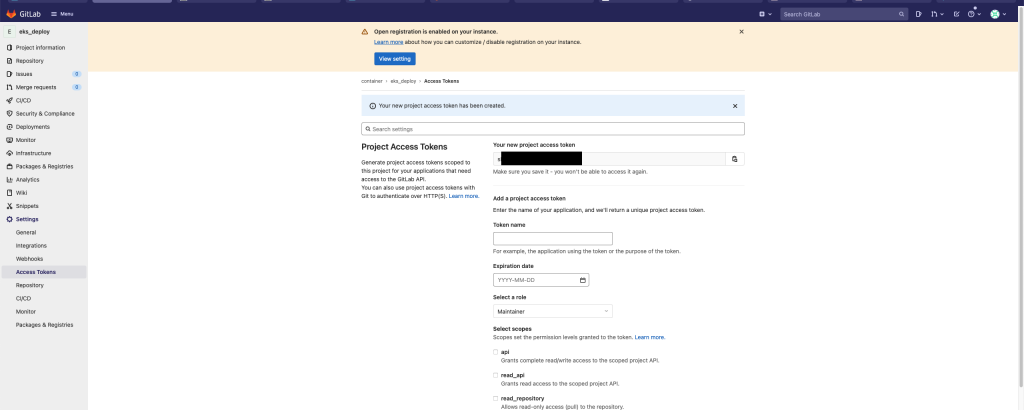
侧栏选择 Settings > Access Token
输入建立 Token 所需资讯并创建
因为我们有 container,所以下面两个也要勾选
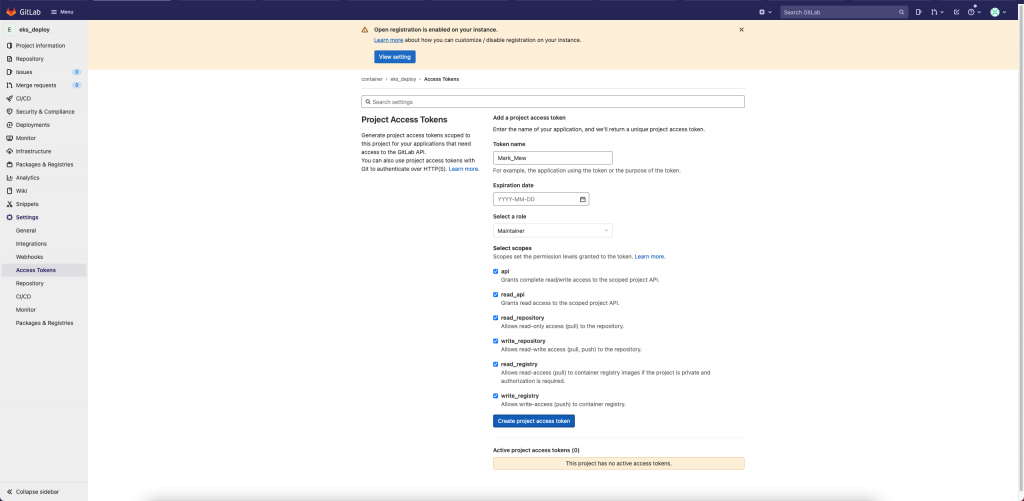
保存好 Token 备用
Gitlab 串接 Jenkins
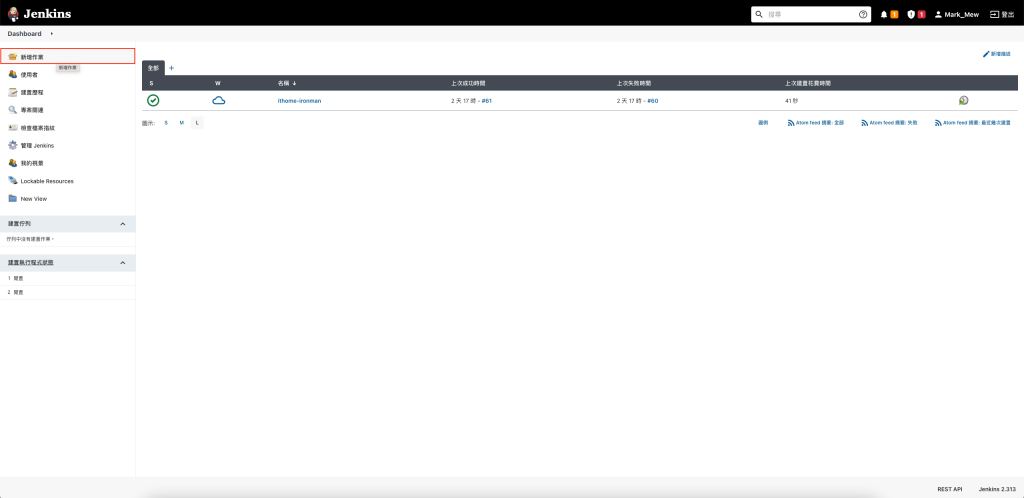
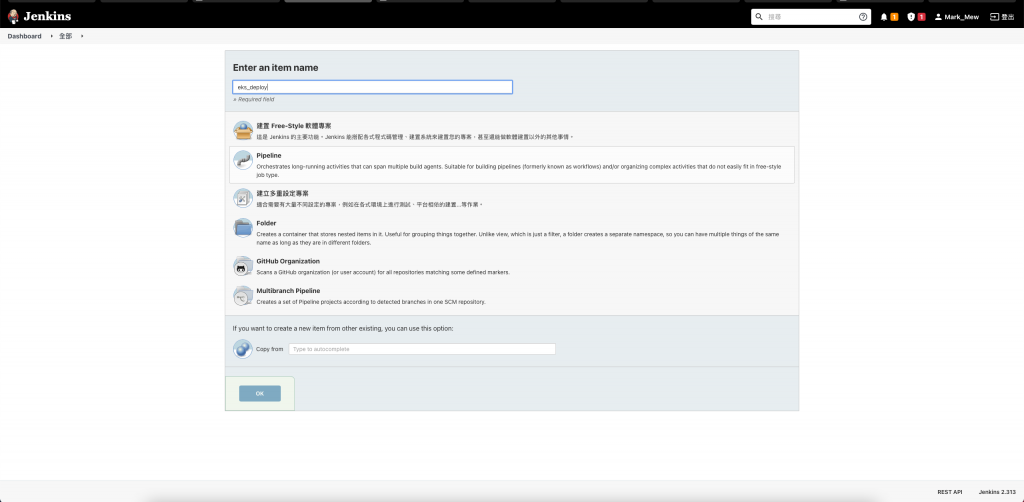
Jenkins 新增作业
填写 Pipeline 名称
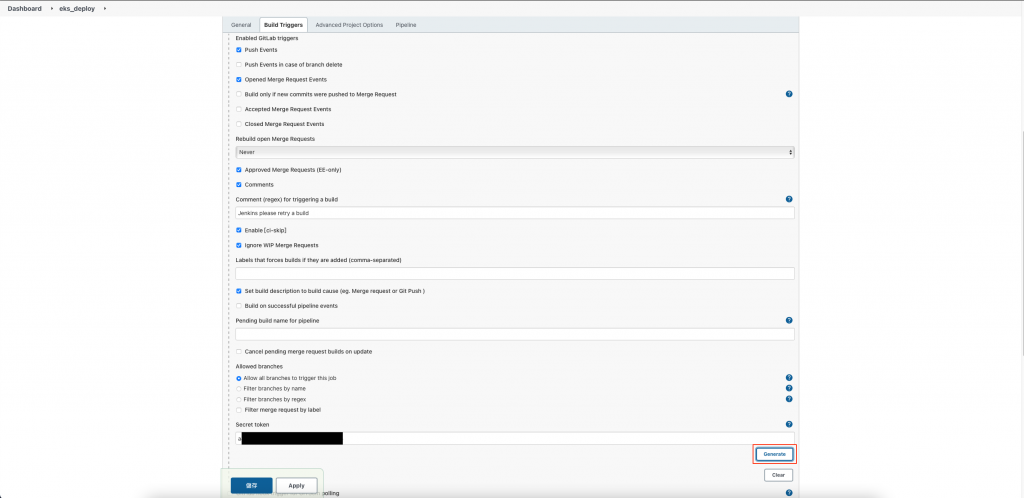
勾选 Build when a change is pushed to GitLab.
点按进阶,并按下 Generate 产生 Token
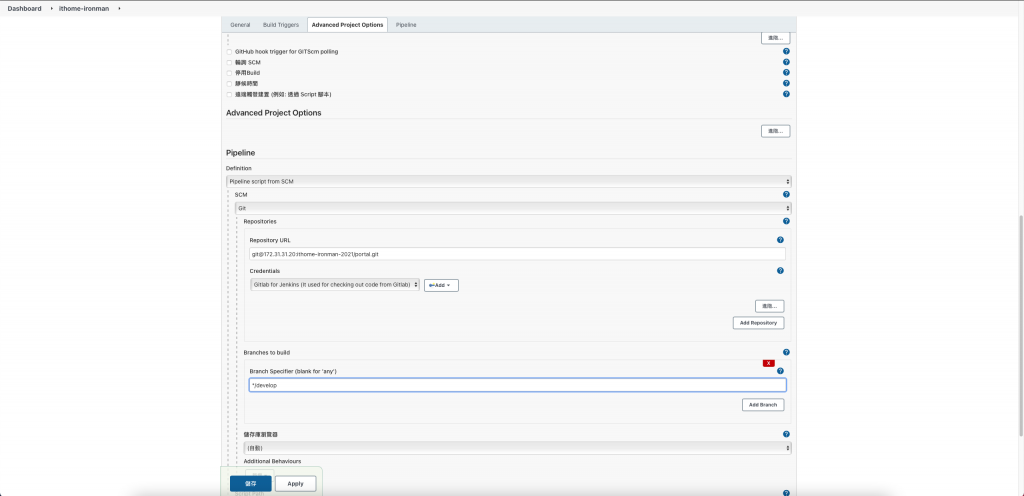
Pipeline -> Definition 选择 Pipeline from SCM
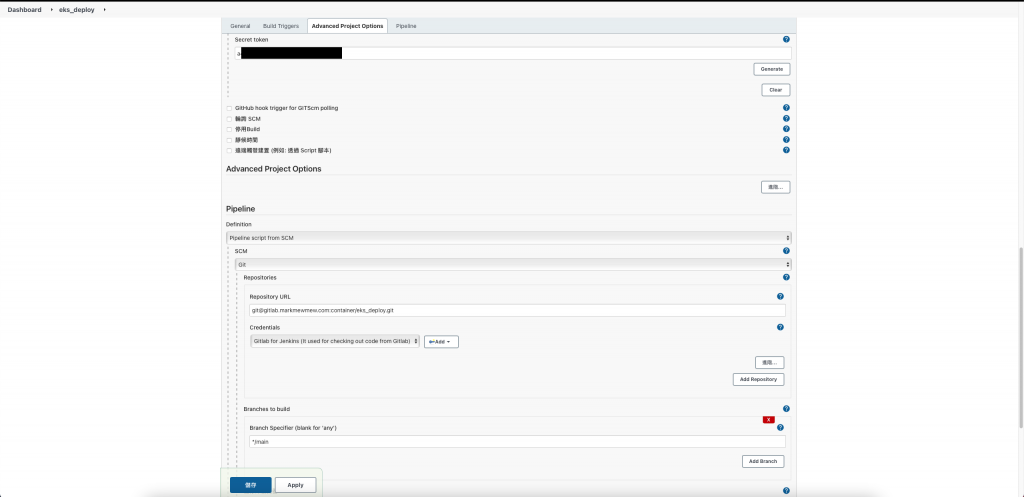
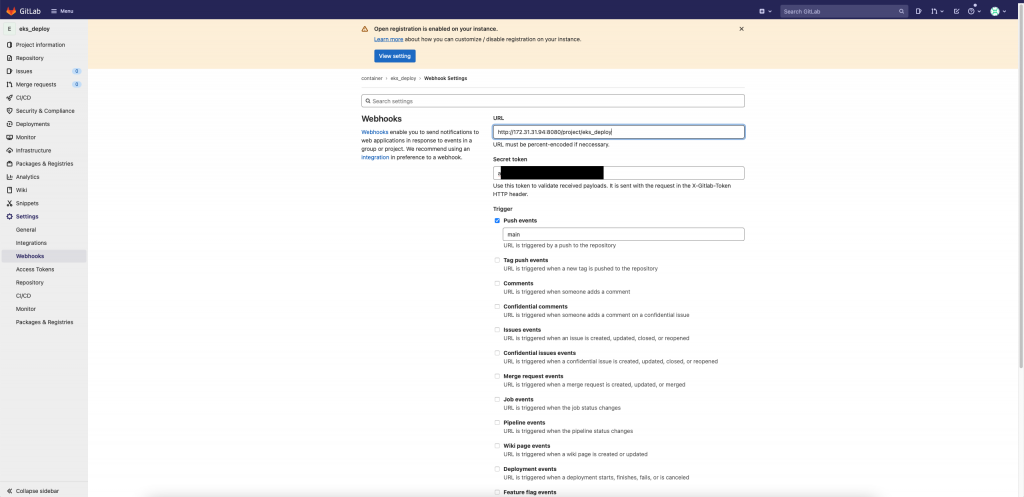
Gitlab 专案页面左侧 Settings 选择 Webhook
贴上 Pipeline 网址和 Token 并按下 Add hook
制作容器
因为我们只会在 Jenkins Server 上使用
所以就先没有 push 上 ECR
只要 Jenkins Server 上有执行过
在部署的时候
就可以抓取 local(Jenkins)上的 eks-deploy 直接执行
Clone 专案
cd /vagrant_data/project/
git clone https://[使用者名称]:[Access Token]@[Git Repository]
制作容器
FROM mikesir87/aws-cli
MAINTAINER Mark_Mew

RUN sed -i 's/stable\/updates/stable-security/g' /etc/apt/sources.list \
  && apt-get update -qq \
  && apt-get install -y curl \
  && apt-get upgrade -y \
  && apt-get clean

RUN curl -LO "https://dl.k8s.io/release/$(curl -L -s https://dl.k8s.io/release/stable.txt)/bin/linux/amd64/kubectl" \
  && install -m 0755 kubectl /usr/local/bin/kubectl
Jenkinsfile
pipeline {
    agent any
    stages {
        stage('Build Docker Image') {
            steps {
                echo 'Building...'
                script {
                    def customImage = docker.build("eks-deploy:${env.BUILD_ID}", "./")
                }
            }
        }
        stage('Clean Workspace') {
            steps {
                echo 'Cleaning....'
                cleanWs()
            }
        }
    }
    post {
        // Clean after build
        always {
            cleanWs(cleanWhenNotBuilt: false,
                    deleteDirs: true,
                    disableDeferredWipeout: true,
                    notFailBuild: true,
                    patterns: [[pattern: '.gitignore', type: 'INCLUDE'],
                               [pattern: '.pyc', type: 'INCLUDE'],
                               [pattern: '.propsfile', type: 'EXCLUDE']])
        }
    }
}
Checkin 进 Git
git add Dockerfile
git add Jenkinsfile
git commit -m "add container and p
git push
Portal Pipeline 调整
调整 IAM Jenkins 权限
之前我们在电脑中手动部署
因为是 administrator 的关系
因此可以任意操作
但是当我们是使用 IAM 的话
就需要再另外加权限上去了
stage/main.tf
更新 kubeconfig
resource "aws_iam_user_policy" "jenkins_update_kube_config" {
    name = "JenkinsUpdateKubeConfig"
    user = aws_iam_user.jenkins.name

    policy = <<EOF
{
  "Version": "2012-10-17",
  "Statement": [
    {
      "Action": "eks:DescribeCluster",
      "Effect": "Allow",
      "Resource": "arn:aws:eks:ap-northeast-1:[你的AWS Account数字]:cluster/*"
    }
  ]
}
EOF
}
stage/main.tf
读取 eks 资源权限
其实这功能非必要
只是觉如果只是 read only 权限
是可以放一下
resource "aws_iam_policy" "eks_limit_access" {
    name        = "EKSLimitAccess"
    path        = "/"
    description = ""

    policy = jsonencode({
      Version = "2012-10-17"
      "Statement": [
        {
          "Action": [
            "eks:ListNodegroups",
            "eks:DescribeFargateProfile",
            "eks:UntagResource",
            "eks:ListTagsForResource",
            "eks:ListAddons",
            "eks:DescribeAddon",
            "eks:ListFargateProfiles",
            "eks:DescribeNodegroup",
            "eks:DescribeIdentityProviderConfig",
            "eks:ListUpdates",
            "eks:DescribeUpdate",
            "eks:TagResource",
            "eks:AccessKubernetesApi",
            "eks:DescribeCluster",
            "eks:ListClusters",
            "eks:DescribeAddonVersions",
            "eks:ListIdentityProviderConfigs"
          ],
          "Effect": "Allow",
          "Resource": "*"
        }
      ]
    })
}

resource "aws_iam_user_policy_attachment" "jenkins_eks_limit_access" {
    user       = aws_iam_user.jenkins.name
    policy_arn = aws_iam_policy.eks_limit_access.arn
}
执行配置
terraform apply
调整 Jenkinsfile 并进版控
Portal 新增 Jenkinsfile
增加 Deploy to EKS 这个 stage
也因为我们之前有另外建一个资料夹
在资料底下做事情
但...其实它也没有非一定要的存在
也可以顺便把它移除了
pipeline {
  agent any

  stages {
    stage('Run Test') {
        steps {
            echo 'Run Python Unittest ...'
            script {
                withDockerContainer(image: 'python:3.7.10-buster', args: '-u root:root') {
                    sh """
                    apt-get install libpq-dev
                    pip install --user -r requirements.txt
                    python manage.py test
                    rm -rf __pycache__
                    rm -rf */__pycache__
                    rm -rf */*.pyc
                    """
                }
            }
        }
    }
    stage('Archieve Project') {
        steps {
            echo 'Archieve...'
            sh 'git archive --format=tar.gz --output ./portal.tar.gz HEAD'
        }
    }
    stage('Upload to S3') {
        steps {
            echo 'Upload...'
            sh "docker run --rm -v ${WORKSPACE}:/app -v /usr/local/src/aws_docker_file/.aws:/root/.aws mikesir87/aws-cli aws s3 cp /app/portal.tar.gz s3://ithome-ironman-markmew-jenkins/portal/stage/portal-${env.BUILD_ID}.tar.gz"
        }
    }
    stage('Build and Push Docker Image') {
        steps {
            script {
                echo 'Building...'
                def customImage = docker.build("portal:${env:BUILD_ID}", "./")
                echo 'Validating... aws'
                sh 'docker run --rm -v /usr/local/src/aws_docker_file/.aws:/root/.aws mikesir87/aws-cli aws ecr get-login-password --region ap-northeast-1 | docker login --username AWS --password-stdin [你的 AWS 10 码 ID].dkr.ecr.ap-northeast-1.amazonaws.com'
                echo 'Tag docker image'
                sh "docker tag portal:${env:BUILD_ID} [你的].dkr.ecr.ap-northeast-1.amazonaws.com/portal:${env:BUILD_ID}"
                sh "docker tag portal:${env:BUILD_ID} [你的 AWS 10 码].dkr.ecr.ap-northeast-1.amazonaws.com/portal:latest"
                echo 'Push docker image'
                sh "docker push [你的 AWS 10 码 ID].dkr.ecr.ap-northeast-1.amazonaws.com/portal:${env:BUILD_ID}"
                sh "docker push [你的 AWS 10 码 ID].dkr.ecr.ap-northeast-1.amazonaws.com/portal:latest"
            }
        }
    }
    stage('Deploy to EKS') {
        steps {
            echo 'Applying portal to eks ...'
            script {
                withDockerContainer(image: 'eks-deploy:latest',
                                    args:"-u root:root -v /usr/local/src/aws_docker_file/.aws:/root/.aws -v ${WORKSPACE}/deploy.yaml:/aws/deploy.yaml") {
                    sh 'aws eks --region ap-northeast-1 update-kubeconfig --name aws-stage-cluster'
                    sh 'kubectl apply -f deploy.yaml'
                }
            }
        }
    }
    stage('Deploy') {
        steps {
            echo 'Deploy ...'
            sh "docker run --rm -v /usr/local/src/aws_docker_file/.aws:/root/.aws mikesir87/aws-cli aws deploy create-deployment --application-name ithome-ironman-portal --deployment-config-name CodeDeployDefault.OneAtATime --deployment-group-name ithome-ironman-portal --description \"codedeploy test\" --s3-location bucket=ithome-ironman-markmew-jenkins,bundleType=tgz,key=portal/stage/portal-${env.BUILD_ID}.tar.gz"
        }
    }
  }
}
调整 Jenkins 组态
Jenkinsfile 来源改成 SCM
Check-in git
git add deploy.yaml
git add Jenkinsfile
git commit -m "add Jenkinsfile for CI"
git push
昨天我们尝试手动部署到 EKS
今天更近一步
使用容器将我们需要的东西包起来去执行 kubectl 的指令
通常来说只要能做到手动部署
其实自动部署也就差不多了
这边会多做一步
另外包一层 docker 去执行
主要是因为我们没有特别做乾净的 Jenkins AMI
就算有可能也意义不大
现实中不太有机会时常从乾净的环境开始重建
比较多会是做灾难演练
因此在做完备份後
从备份中复原
之前我们有提过如何复原 Snapshot
未来有机会会再提如何建立备份
大致上阳春版的部署已经完成
我们有了阳春版的 EC2 部署
也有了阳春版的 EKS 部署
明天我们会提高难度
进行不同的部署
<<: [DAY 19] _ARM-M0-内核外设SysTick-写个精准的Delay
Day10:今天来讲一下microsoft defender for endpoint的装置执行动作
在我们导入microsoft defender for endpoint後,我们主要工作是修复事件。...
Day3 建立React环境
这次来介绍两个方式在专案里设置使用React吧! 本系列文章使用的环境系统为 电脑系统:macOS ...
Day 14 在VSCode中使用Azure
前言 由於接下来要开始写到attention和Capsule的实作,主要是会研究一些github或是...
【Day30】30天的分享,是结束或是开始由你决定!
#odoo #开源系统 #数位赋能 #E化自主 总结 终於来到了30天IT铁人赛的最终回,这30天内...
Day 26 介绍 vite
vite 是 Vue.js 的作者所做的一个新的 bundler ,如果你有用过应该会知道,它最特别...